Quick Links
-
Best Way To Earn Coins Fast
-
Pickaxes And Bags, Which To Skip And Which To Nab
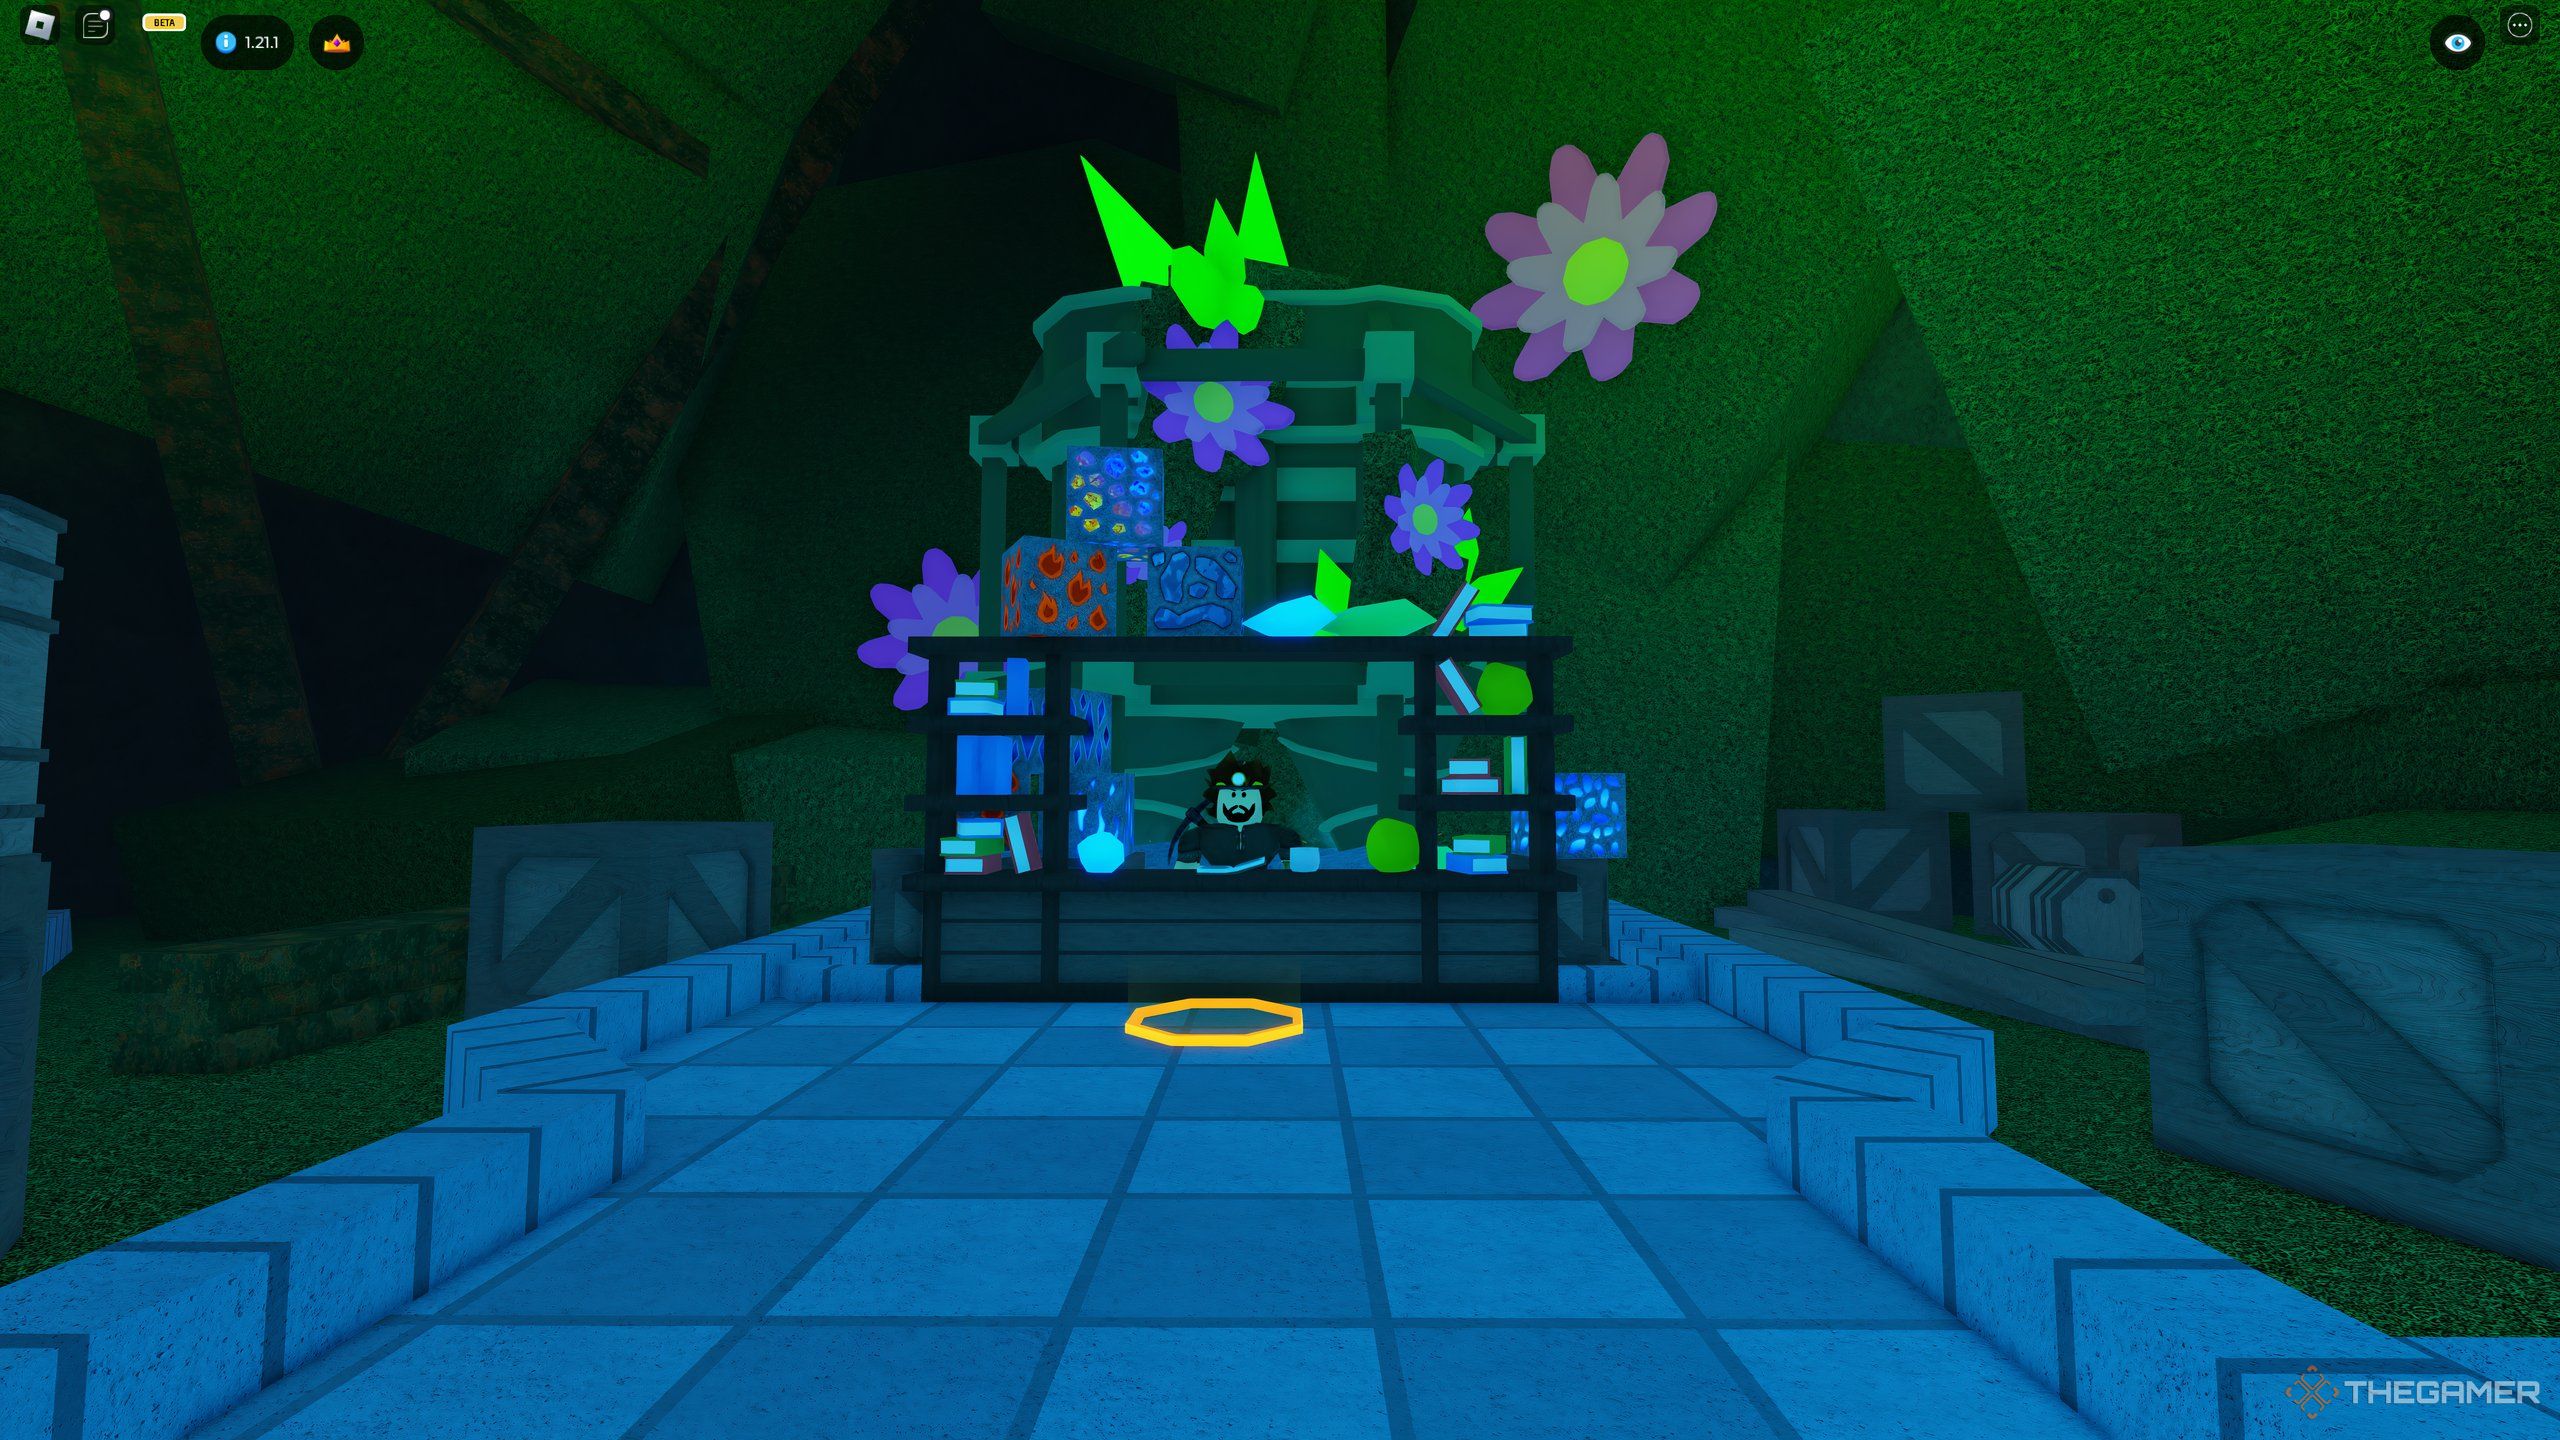
Rarity Miner is a Roblox game where players can traverse the vast cave system found below. In Rarity Miner, you’ll find yourself exploring a mine with a simple premise, but far more depth (pun intended) than you may expect. You can upgrade your base and gear, and find ores that few have seen, and even fewer know where to find.
You might find yourself wondering where to start, how to earn the most coins, what materials you’re going to want to keep for upgrades, and which you should sell. This guide will help you with all your burning questions and more, so let’s dig in!
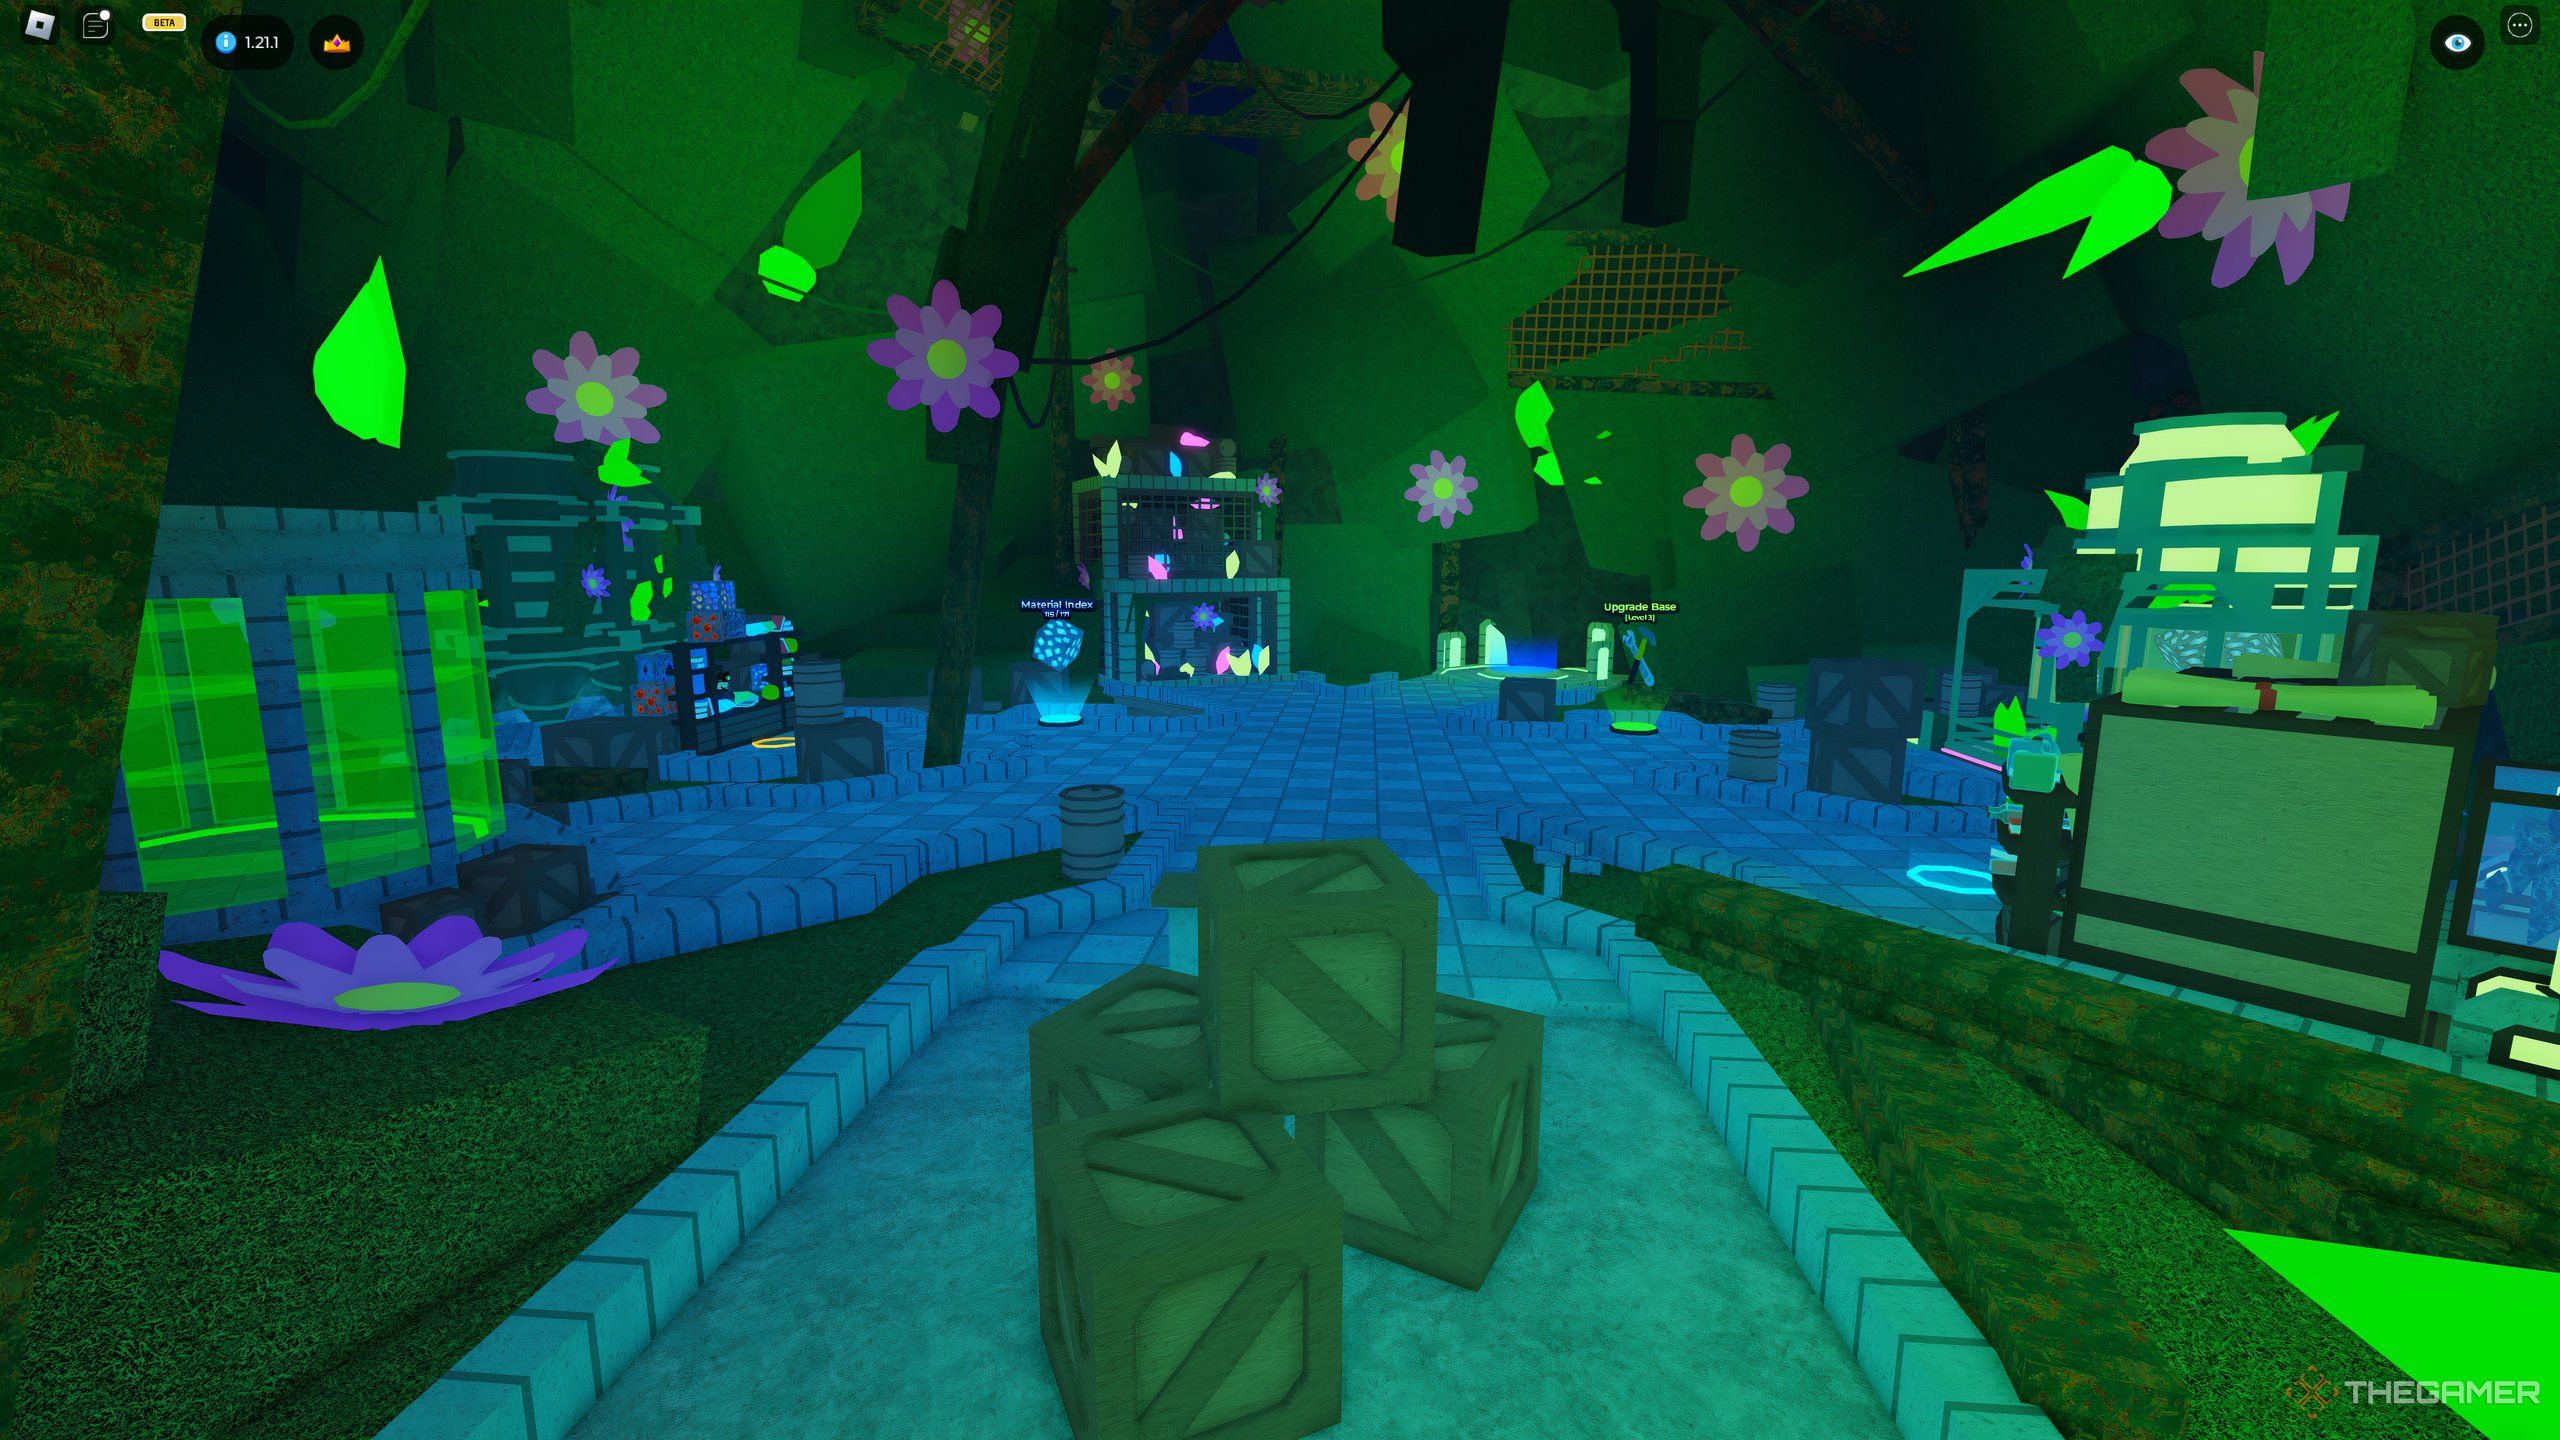
The Base
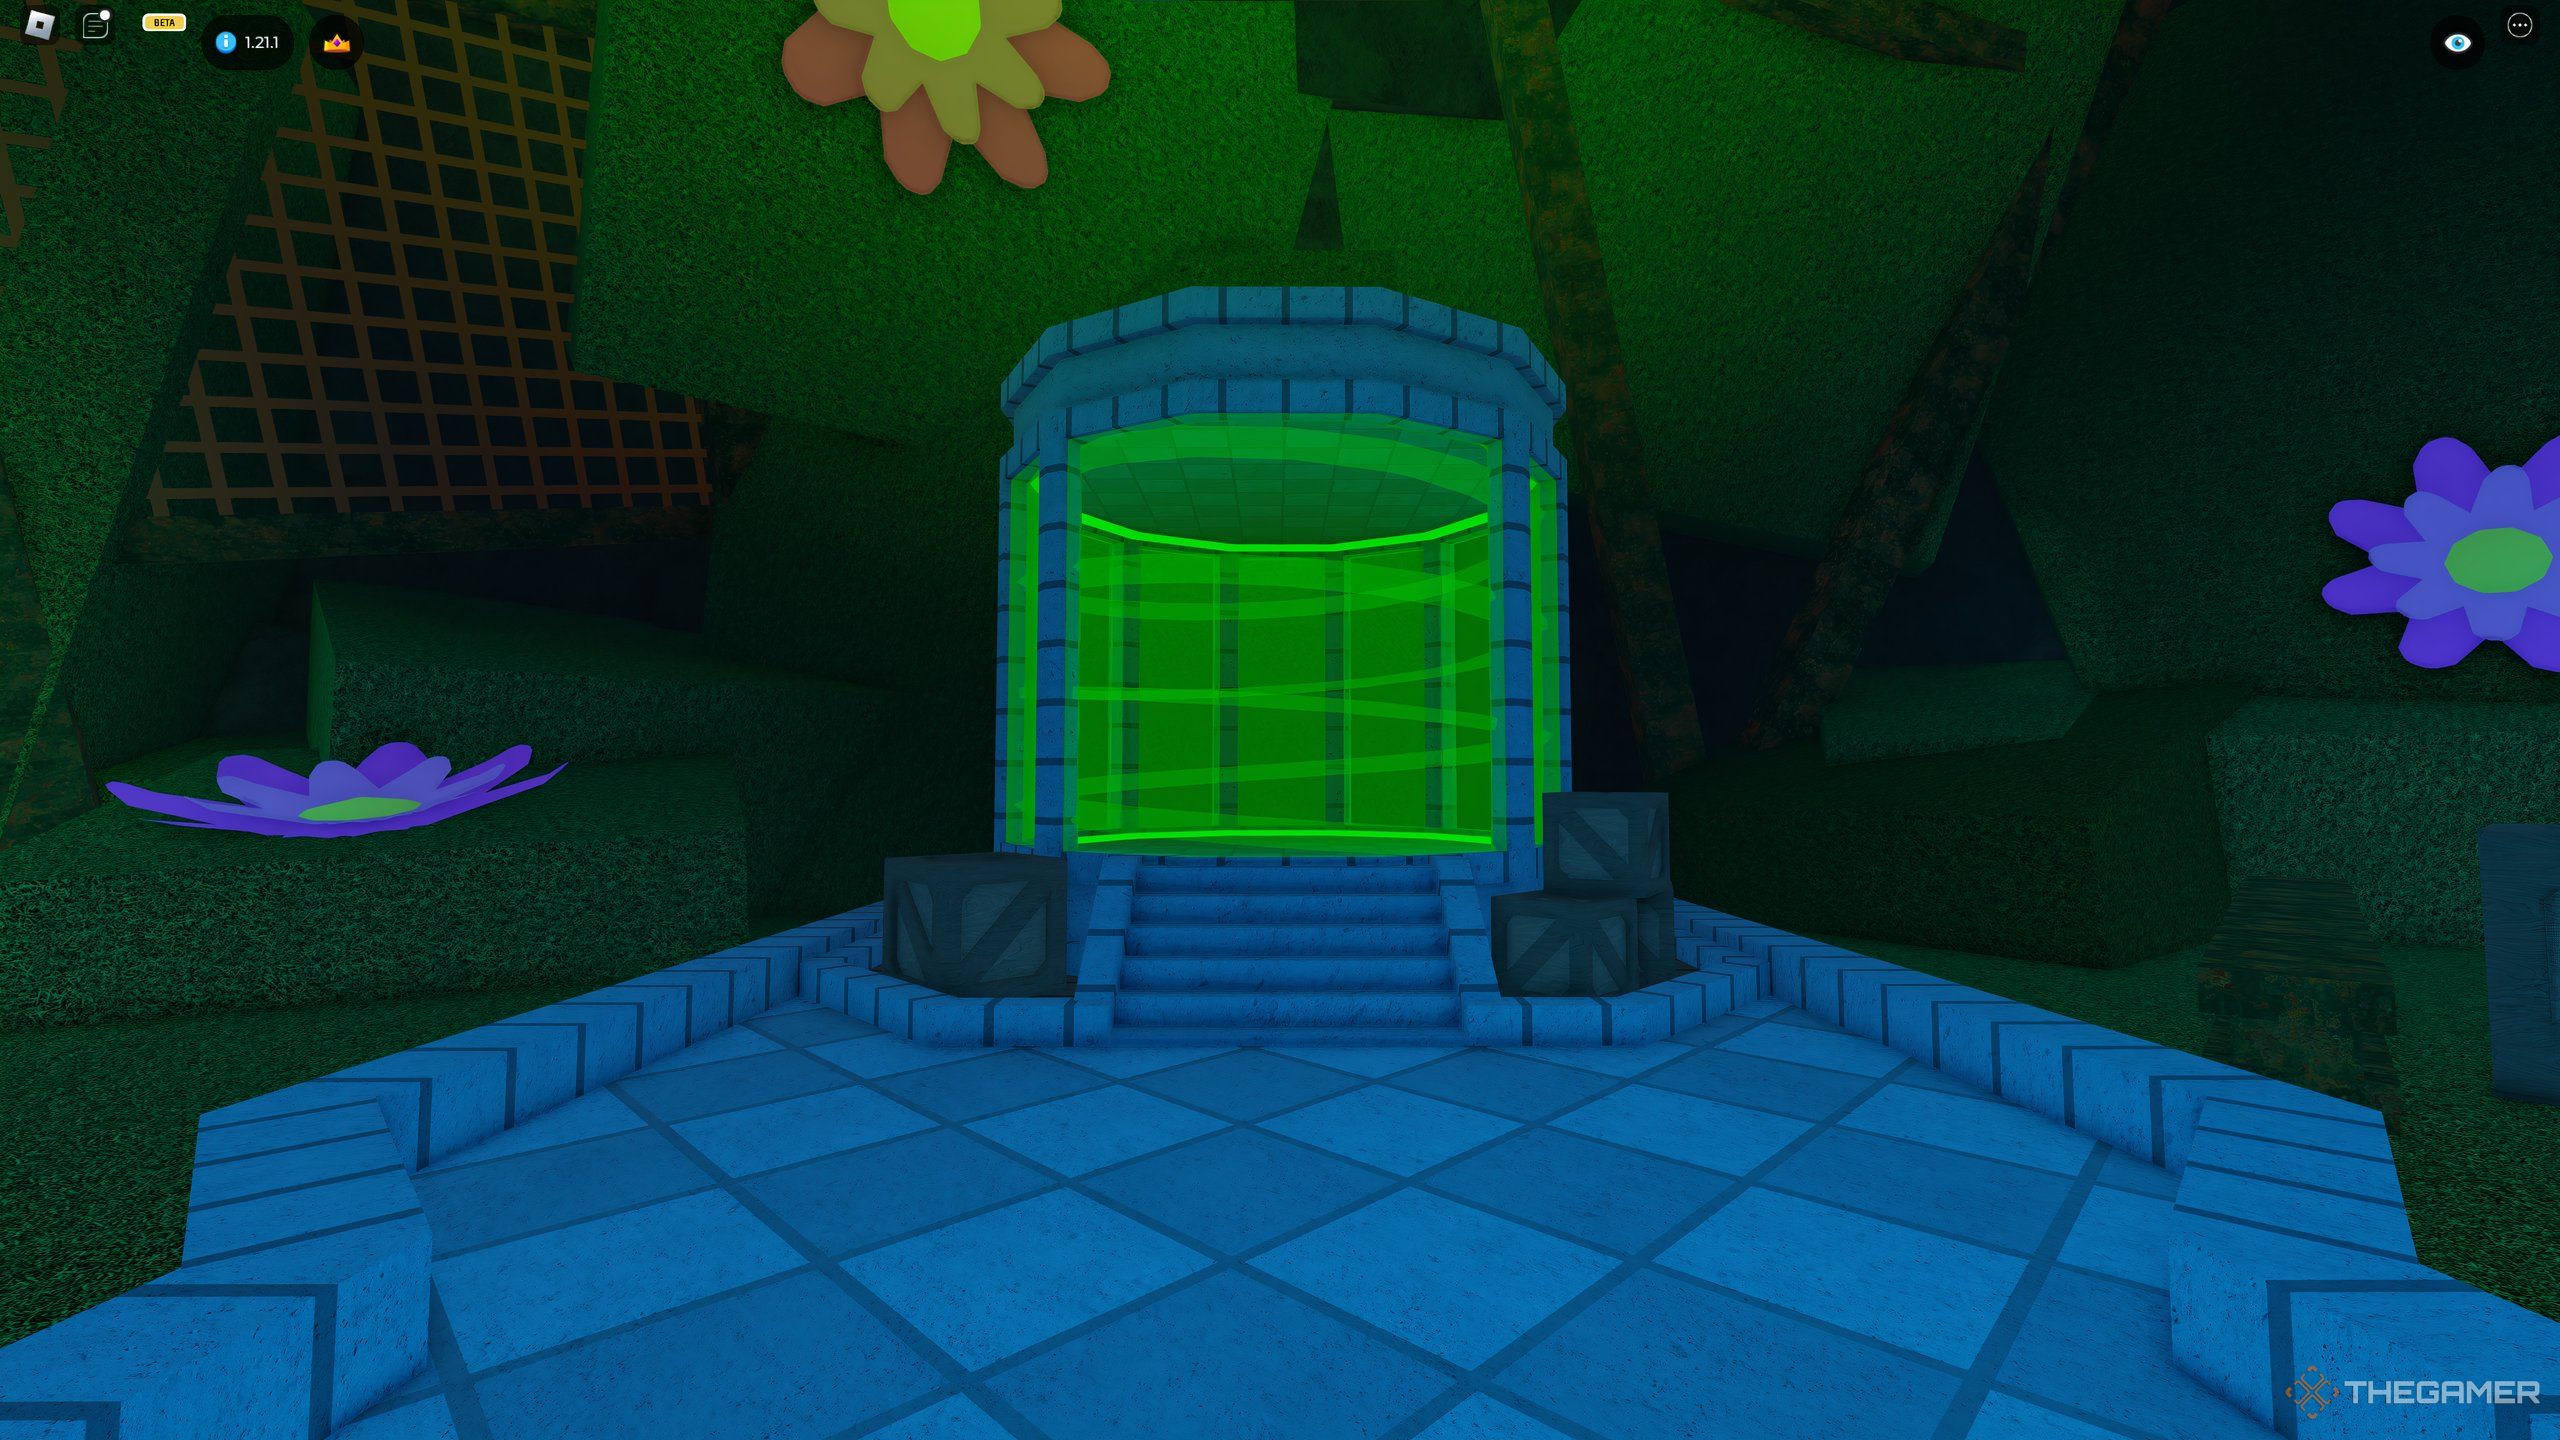
This is going to be the place to go for a quick rest between your mining ventures. The base’s level dictates what services it offers, so when starting out with level 1 you’ll have access to the Research, the Refinery, Storage, and the Teleporter. Once you upgrade your base, you will also have access to the Driller and Gravity buildings on base levels 2 and 3, respectively.
The Teleporter isn’t upgradeable, and you can find a shortcut to teleport anywhere at the top of your screen. The rest of the buildings are, however, and the upgrades serve different bonuses. Each upgrade requires ores from the mine, and some coins. Once all the buildings have been upgraded completely, it’s time to upgrade the base to unlock more upgrades.
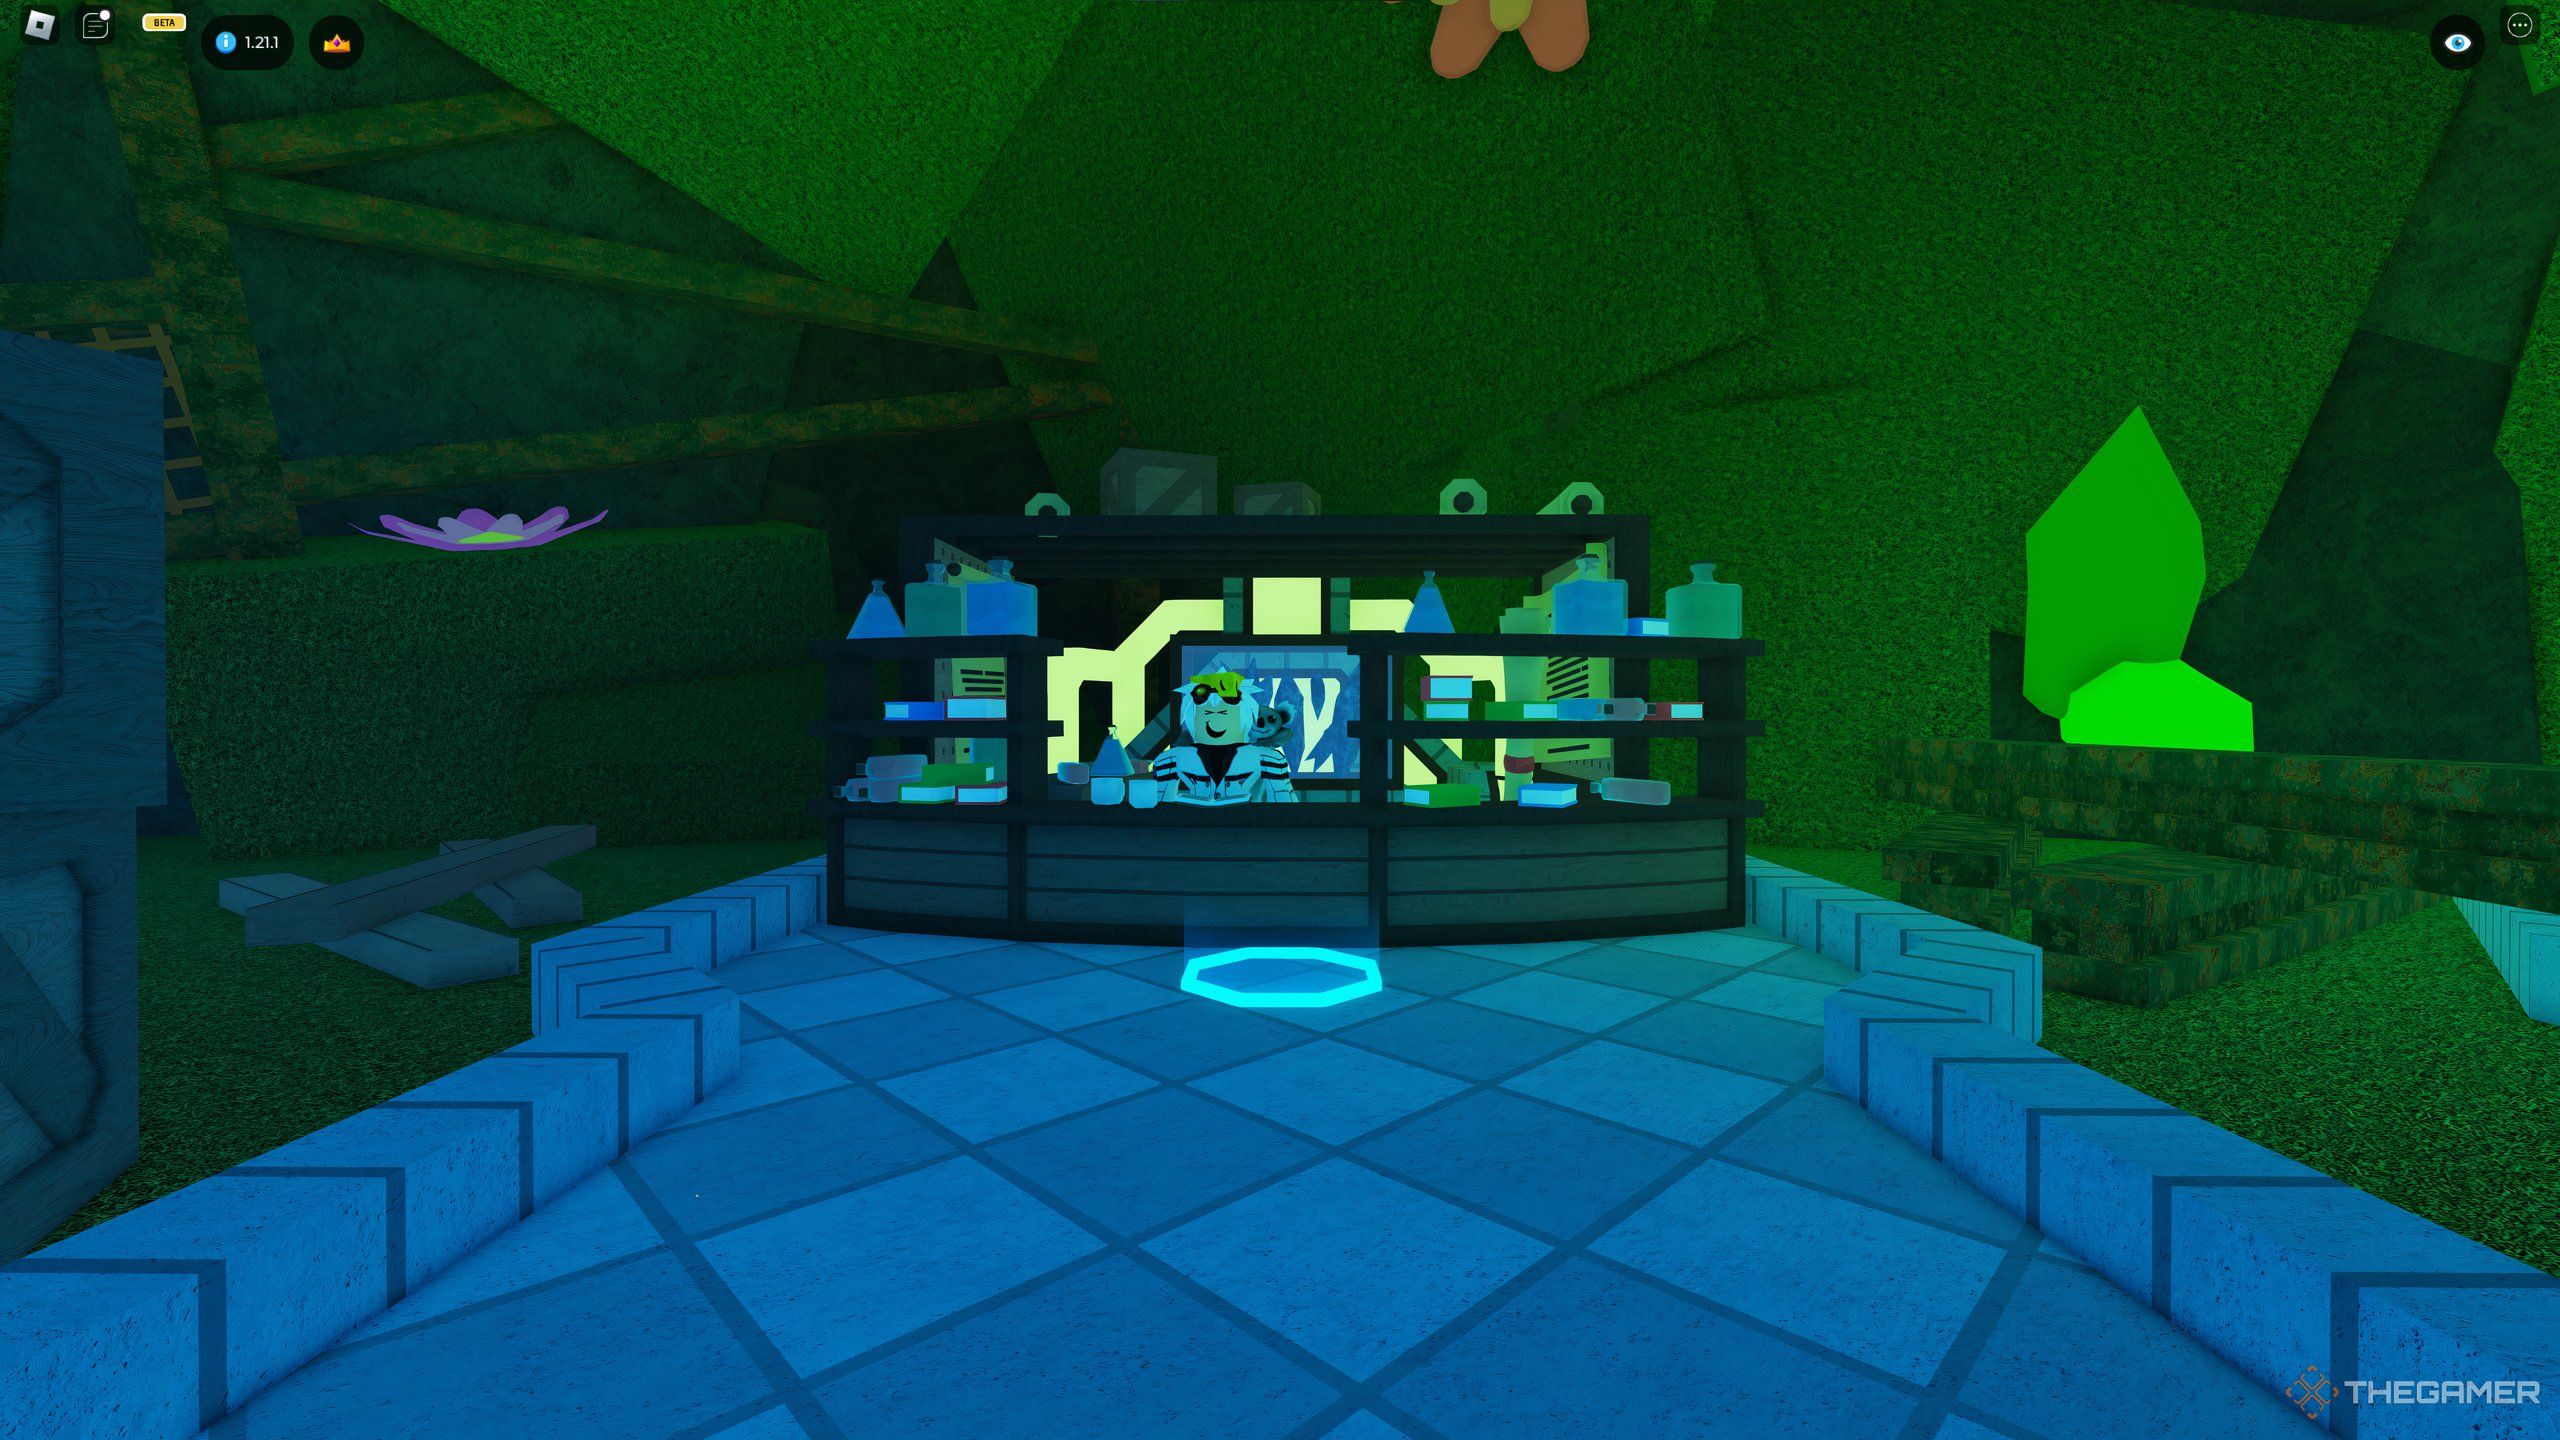
Research
Research is your bread and butter, as it’s required to progress in the game. Every time you upgrade it, you’ll be allowed to go further down into the mine and get better pickaxes — so, it’s foundational for progressing further down. The upgrades require ores from the layers that you already have unlocked, but the more you upgrade this building, the rarer the materials required are.
Below is a table with everything you need.
|
Level |
Layer Unlocked |
Pickaxes unlocked |
Cost |
|---|---|---|---|
|
1 |
Layer 2 – Granite |
Pyrite, Gold |
Free |
|
2 |
Layer 3 – Grayslate |
Silver, Mythril |
250 Coins, 3 Nickel, 2 Iron |
|
3 |
Layer 4 – Smokeslate |
Silverthorn, Diamond, Black Diamond |
500 Coins, 5 Iron, 2 Silver |
|
4 |
Layer 5 – Bedrock |
Mercury, Cinnabar |
1,500 Coins, 5 Gold, 2 Platinum |
|
5 |
Layer 6 – Basalt |
Bluesteel |
2,500 Coins, 8 Platinum, 4 Lithium |
|
6 |
Layer 7 – Blueslate |
Black Iron, Orichalc |
7,500 Coins, 8 Lithium, 4 Lead, 1 Sapphire |
|
7 |
Layer 8 – Iceslate |
Cobalt, Burnite, Omega |
15,000 Coins, 8 Lead, 6 Zinc, 2 Black Iron |
|
8 |
Layer 9 – Tuff |
Tungsten, Beryl |
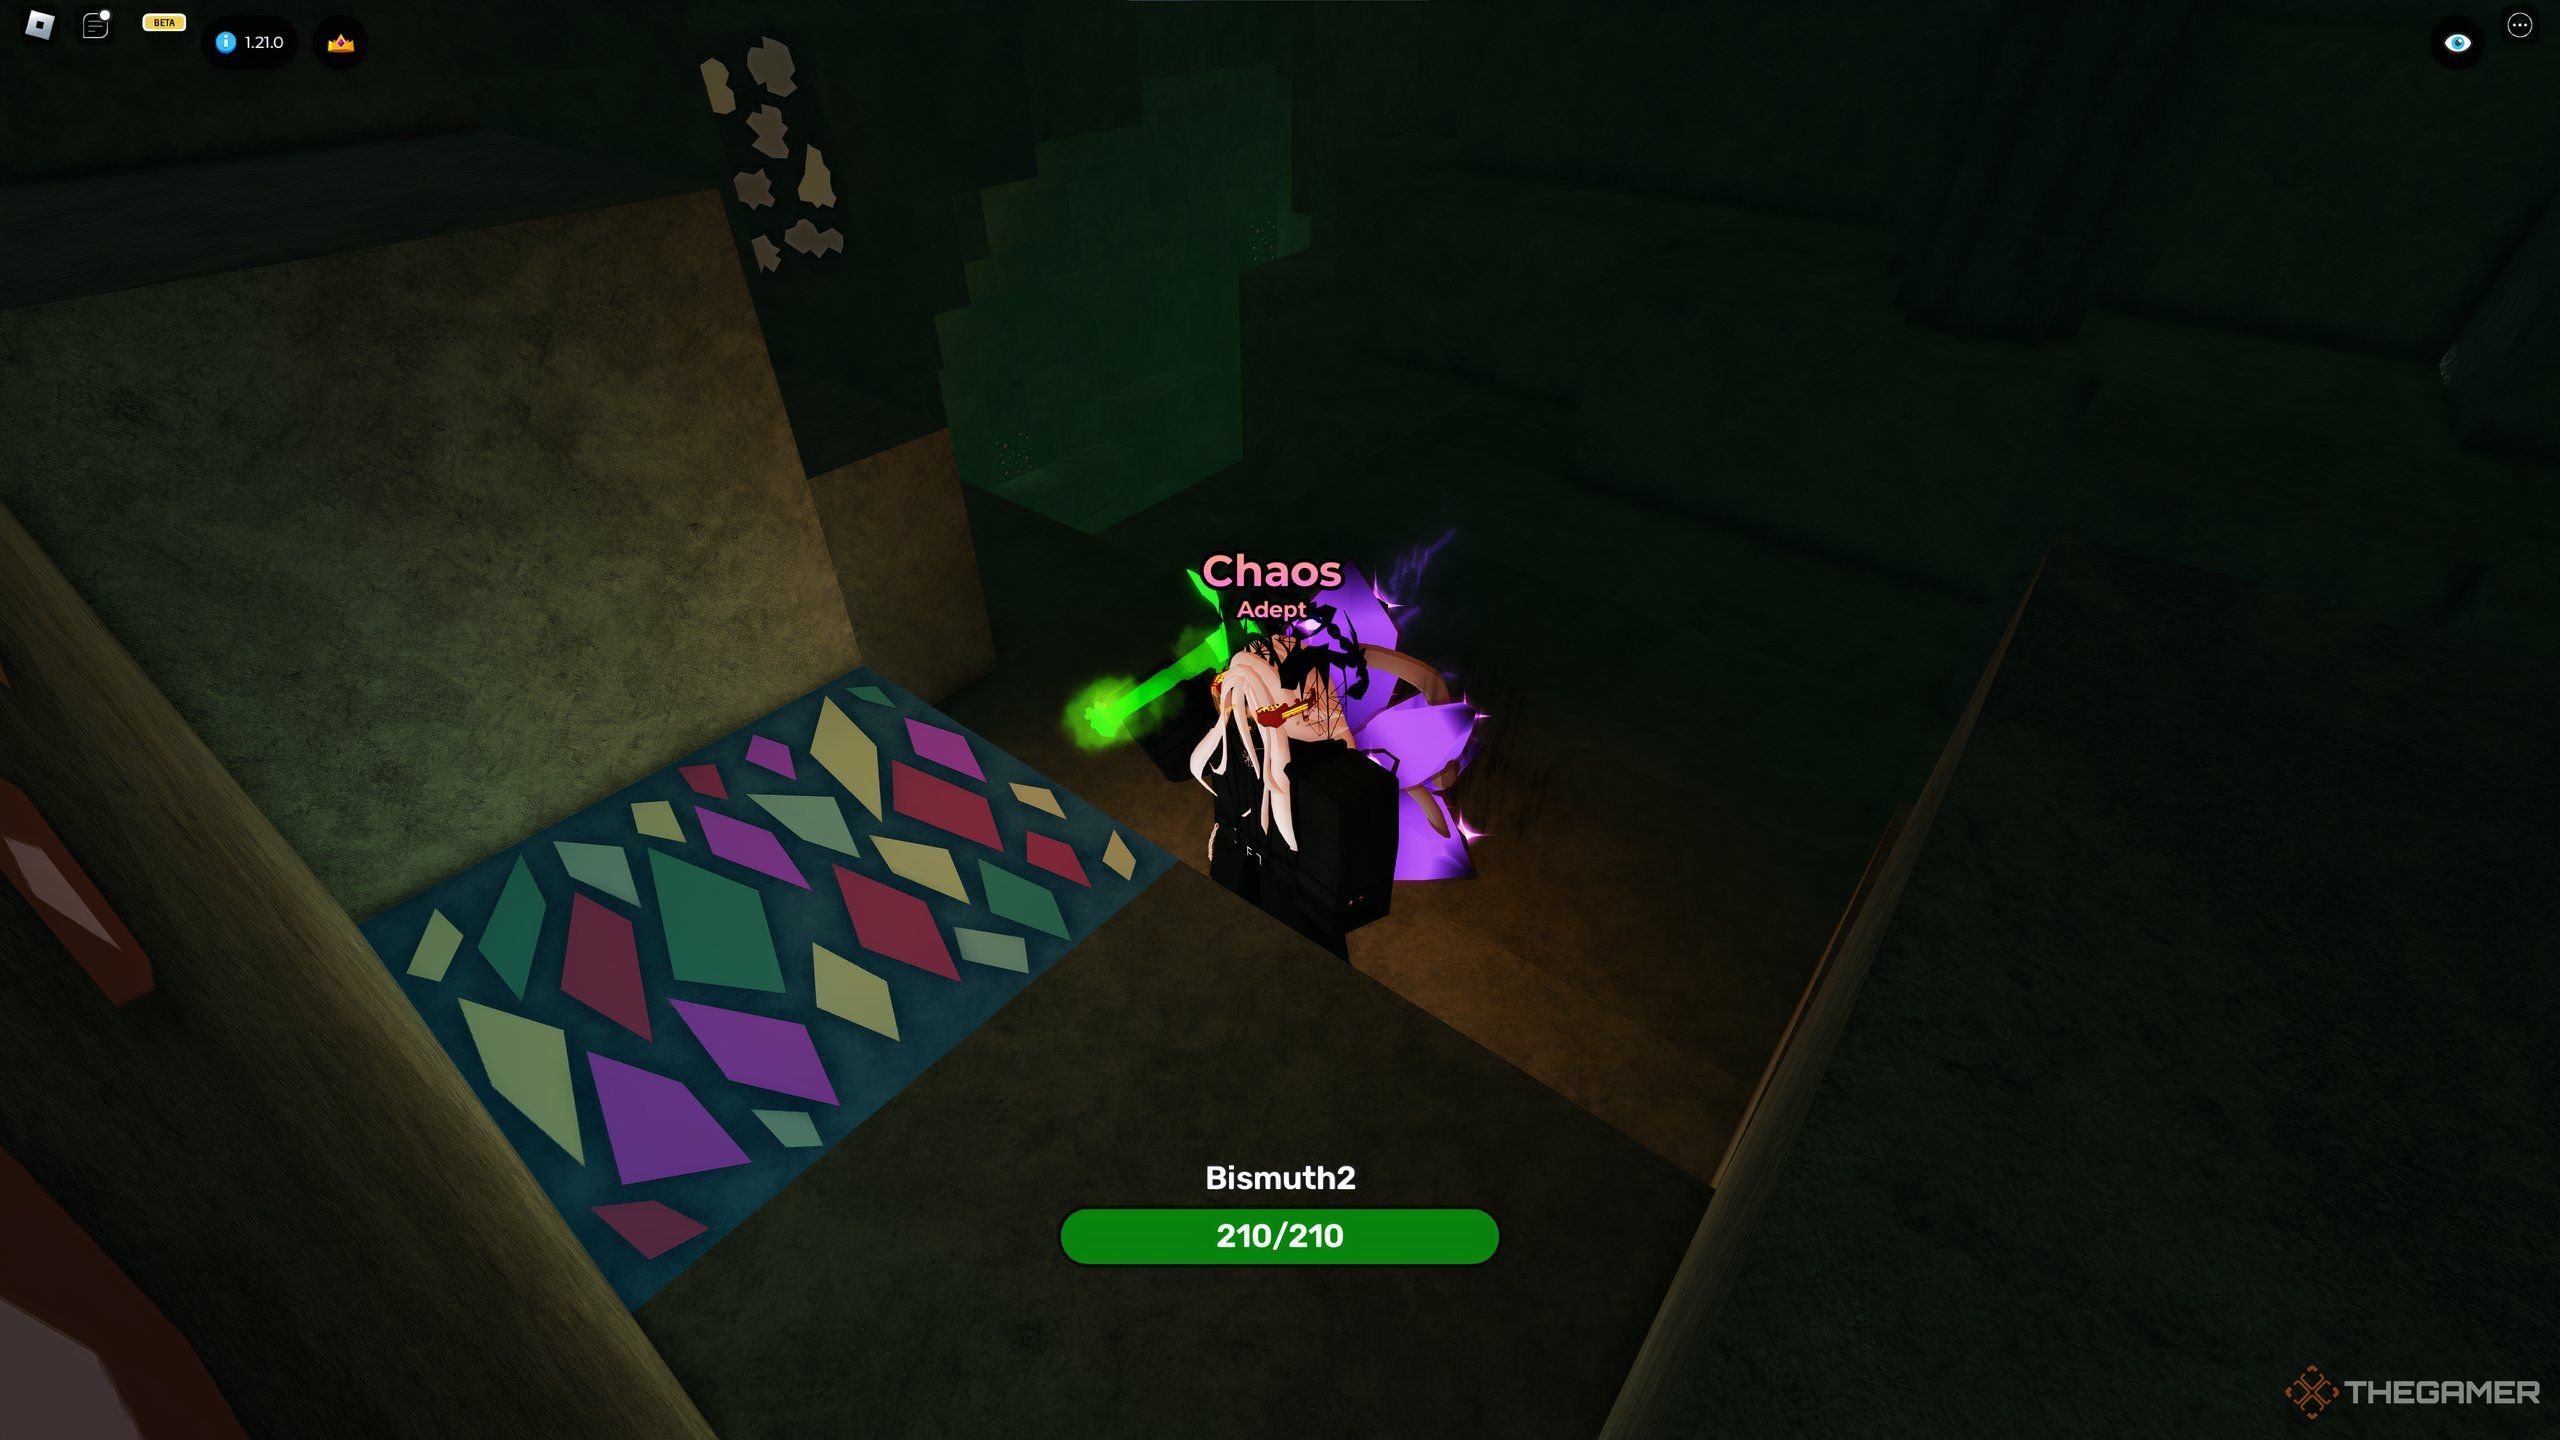
35,000 Coins, 1 Burnite, 3 Bismuth2 |
|
9 |
Layer 10 – Rhyolite |
Viridian, Uranium |
55,000 Coins, 3 Tungsten, 4 Beryl |
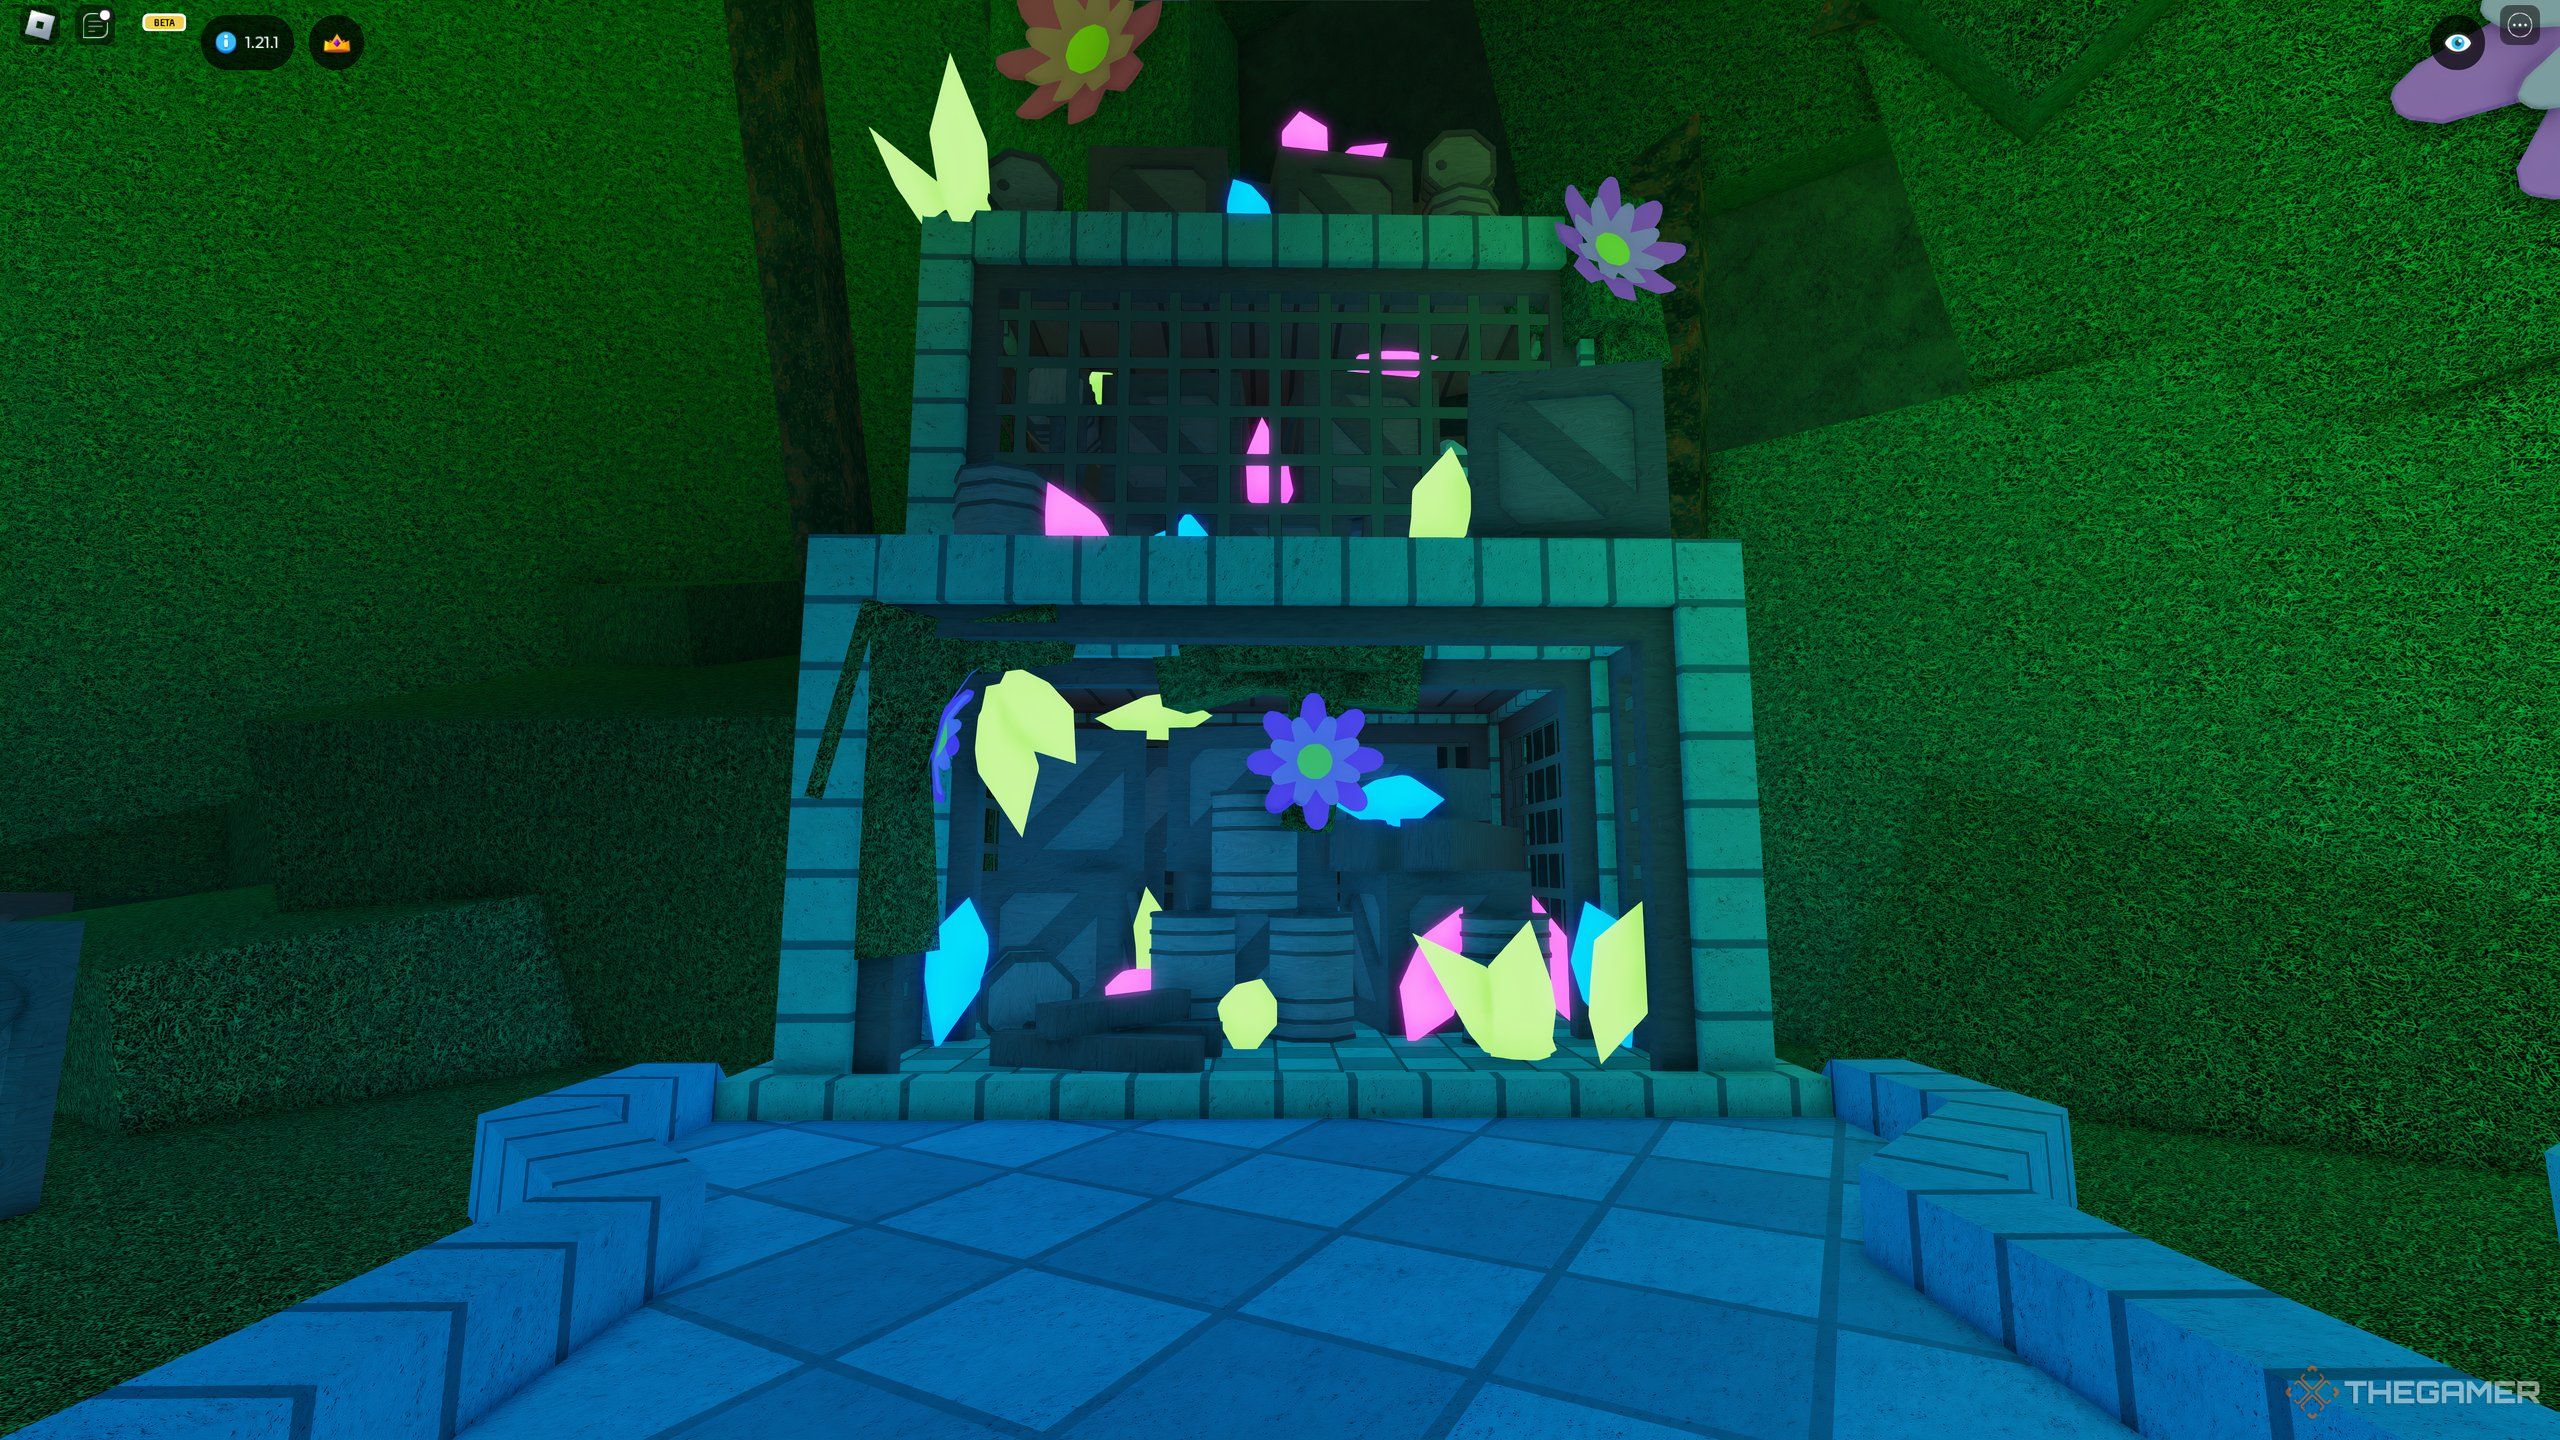
Storage
Storage is where you can store materials you don’t want in your inventory at all times. For example, here you can store ores you’ll need for upgrades to other buildings.
Later, once the Driller has been unlocked, Storage gains a new use, as by this point you likely have a lot of backpack storage anyway. The upgrades for this building are very simple. They require no materials of any sort – just coins.
|
Level |
Storage |
Cost |
|---|---|---|
|
1 |
35 |
1,500 Coins |
|
2 |
85 |
2,200 Coins |
|
3 |
125 |
3,500 Coins |
|
4 |
250 |
4,500 Coins |
|
5 |
375 |
5,000 Coins |
|
6 |
550 |
7,500 Coins |
|
7 |
680 |
10,500 Coins |
|
8 |
800 |
12,500 Coins |
|
9 |
1,200 |
20,000 Coins |
|
10 |
1,600 |
24,000 Coins |
|
11 |
2,100 |
31,000 Coins |
|
12 |
2,500 |
45,000 Coins |
|
13 |
2,850 |
60,000 Coins |
|
14 |
3,240 |
75,000 Coins |
|
15 |
3,400 |
105,000 Coins |
|
16 |
4,000 |
200,000 Coins |
|
17 |
4,250 |
350,000 Coins |
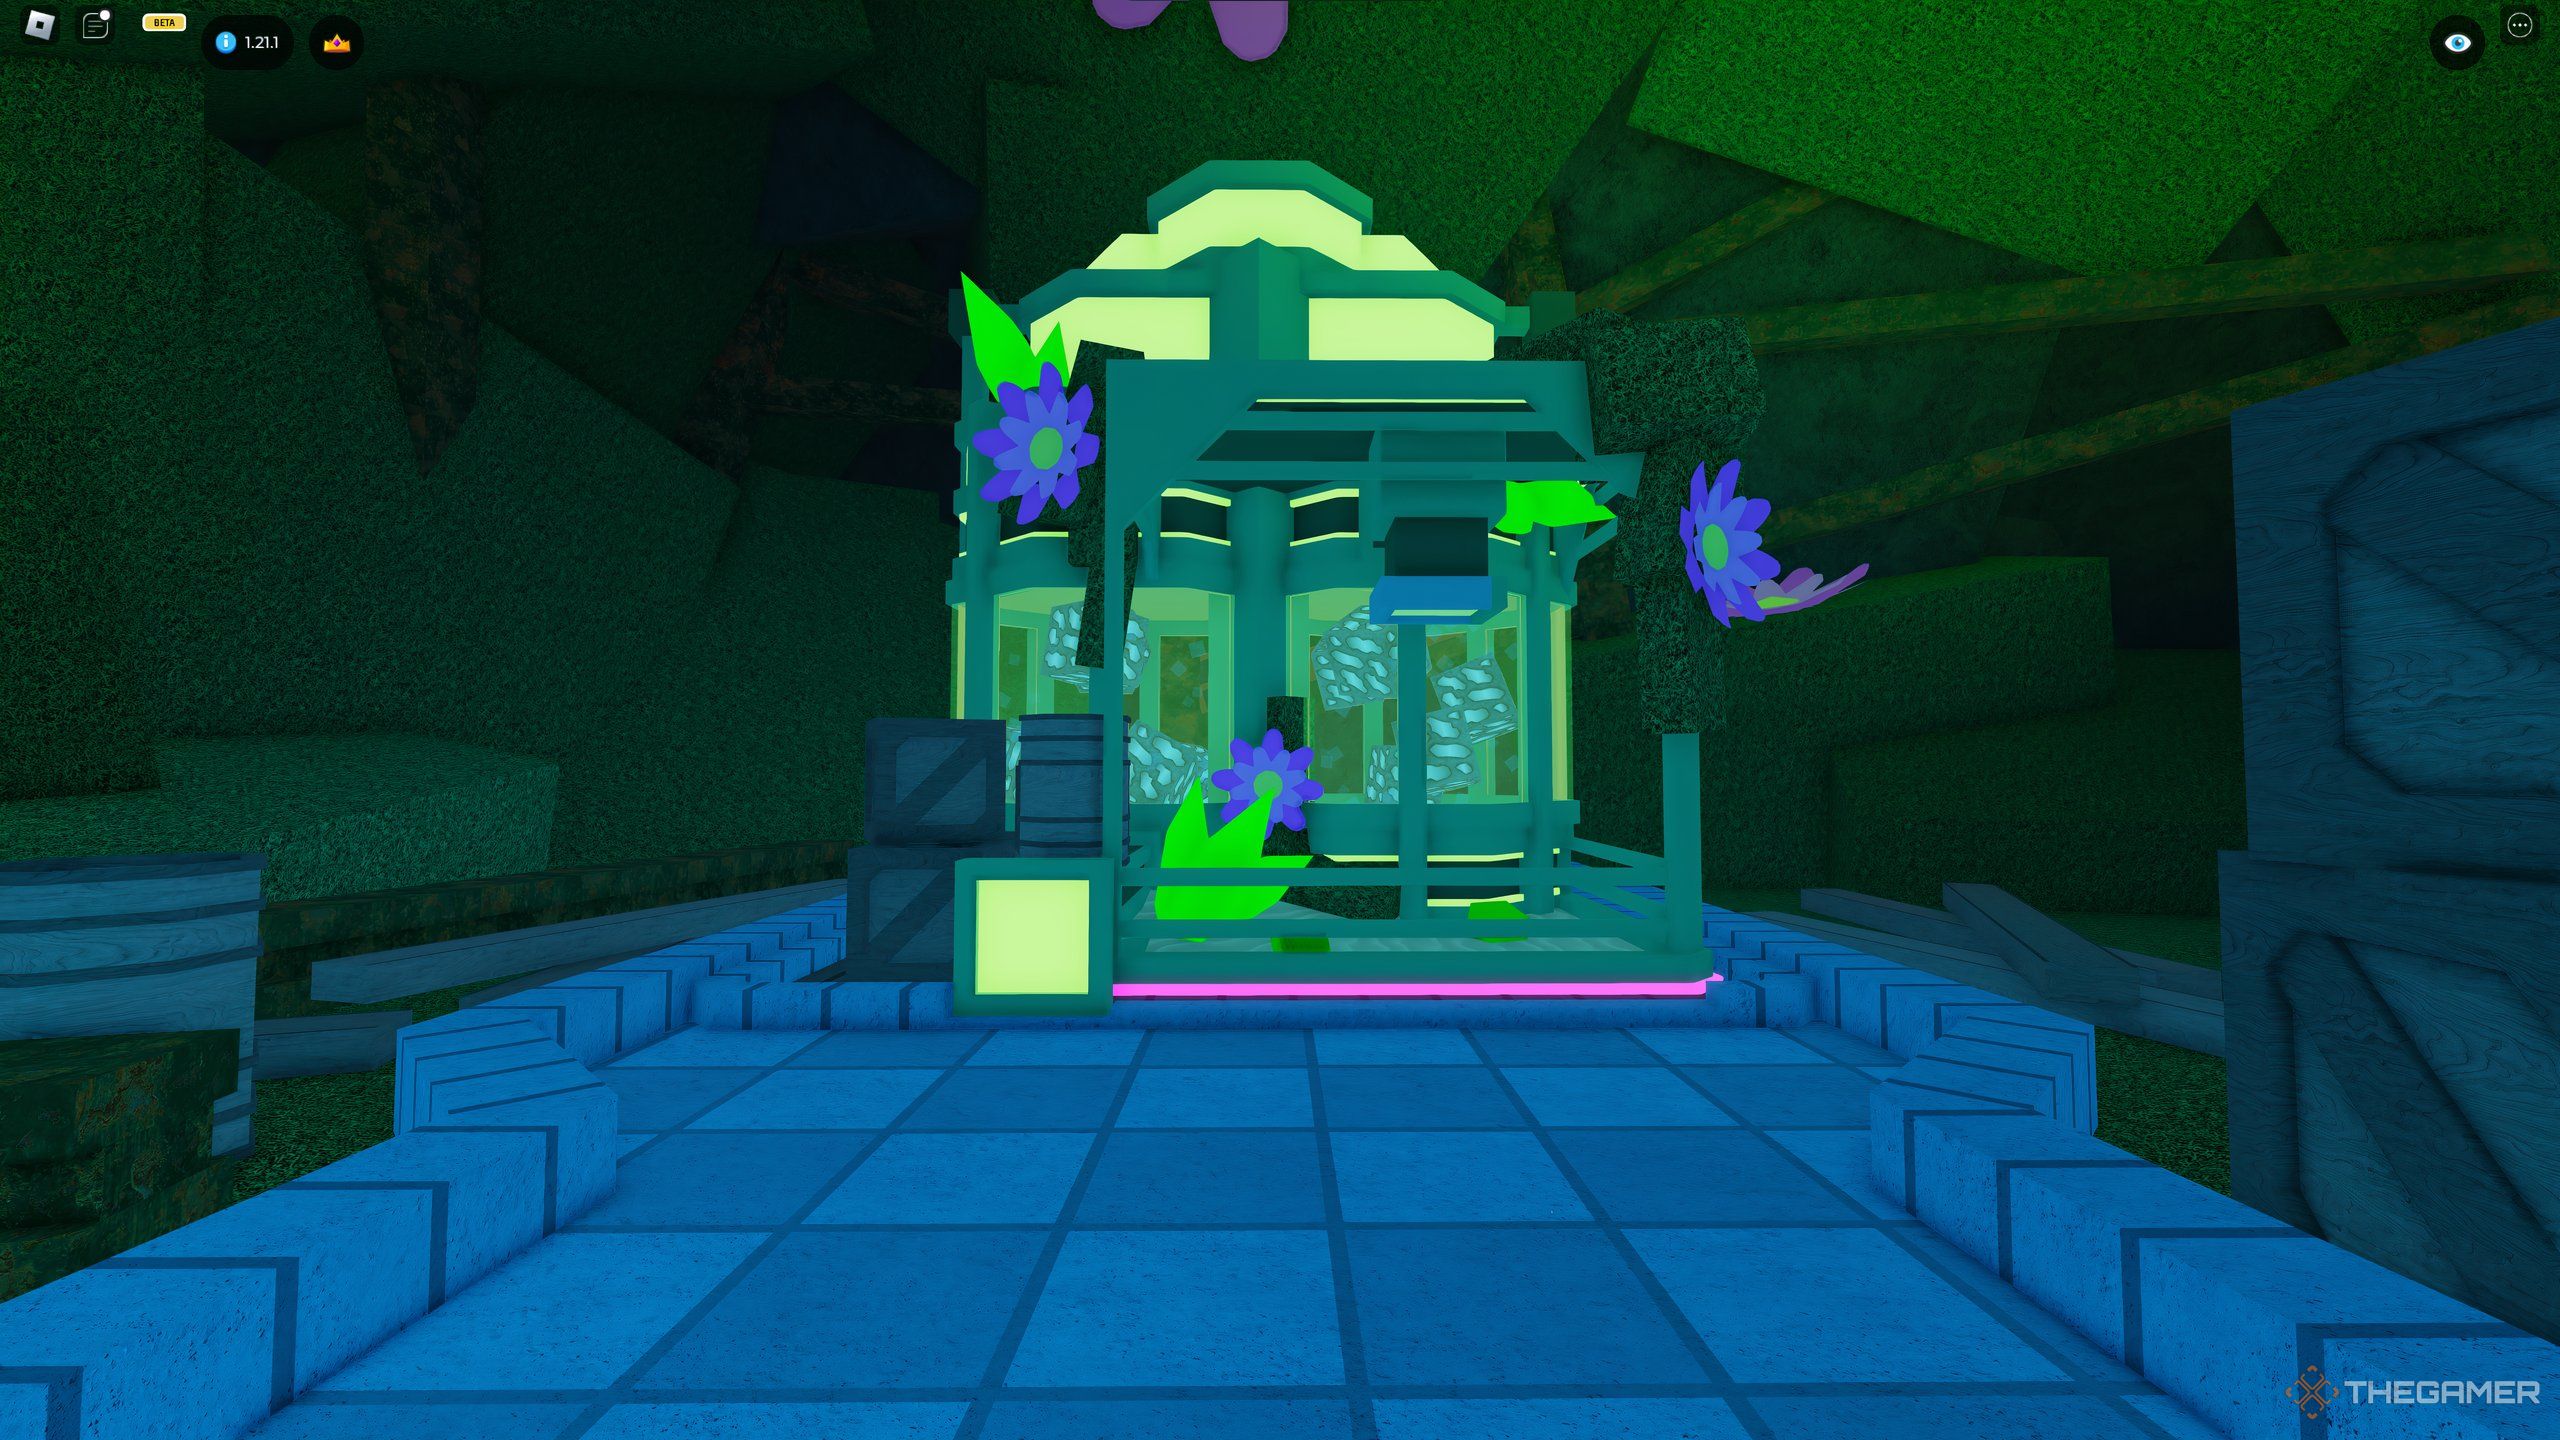
Refinery
The Refinery is interesting. It sells any materials put into it automatically at a higher price but does so very slowly. It only has a limited amount of space, but this can be upgraded along with its speed, and the multiplier with which the price of the ores is calculated.
This building shouldn’t be your priority for upgrades, but if you have the resources, and you’re not bleeding for some coins for other purposes – the small upgrades really do add up.
Speaking of upgrades for it, here’s what you’re going to need.
|
Level |
Time to process |
Multiplier |
Storage |
Cost |
|---|---|---|---|---|
|
1 |
3s |
x1.15 |
25 |
500 Coins, 5 Coal, 3 Iron |
|
2 |
2.75s |
x1.2 |
50 |
800 Coins, 5 Iron, 3 Pyrite |
|
3 |
2.5s |
x1.25 |
100 |
1,470 Coins, 2 Silver, 5 Pyrite |
|
4 |
2.25s |
x1.3 |
150 |
2,000 Coins, 5 Gold, 2 Silverthorn |
|
5 |
2s |
x1.35 |
250 |
4,500 Coins, 15 Coal, 5 Lithium, 1 Mercury |
|
6 |
1.75s |
x1.4 |
500 |
7,500 Coins, 25 Pyrite, 6 Zinc, 4 Lead |
|
7 |
1.75s |
x1.4 |
750 |
12,500 Coins, 5 Bismuth1, 2 Orichalc, 1 Anitmony |
|
8 |
1.75s |
x1.4 |
1000 |
25,000 Coins, 8 Aluminium, 5 Black Iron, 1 Tungsten |
|
9 |
1.5s |
x1.4 |
1250 |
45,000 Coins, 12 Cesium, 8 Rhenium, 2 Viridian |
Driller
Upon upgrading your base to level 2, you’ll be introduced to the Driller. It passively mines ores, and dumps them in Storage. This provides you with a nice, AFK, consistent flow of money, but there’s a catch – you’ll need to provide a sample of the ores it generates yourself. This isn’t by any means required for progression, but we do recommend using it as it pairs itself nicely with the Refinery.
Once you deliver the required materials, it will start generating them. The upgrades to it unlock ores from the layer, but you still need to bring a sample of the ores, even after upgrading. The costs of the upgrades are a bit more merciless than the other ones too.
|
Level |
Cost |
|---|---|
|
1 |
5,000 Coins, 20 Gold, 40 Pyrite |
|
2 |
8,000 Coins, 1 Mythril, 30 Silver |
|
3 |
14,000 Coins, 1 Diamond, 25 Silverthorn |
|
4 |
22,000 Coins, 1 Cinnabar, 5 Mercury |
|
5 |
37,000 Coins, 1 Sapphire, 15 Bluesteel |
|
6 |
50,000 Coins, 1 Orichalc, 20 Black Iron |
|
7 |
75,000 Coins, 1 Bismuth2, 20 Cobalt |
|
8 |
125,000 Coins, 1 Orichalc, 5 Bismuth1, 25 Gold |
|
9 |
175,000 Coins, 5 Bismuth2, 1 Burnite, 10 Cobalt |
|
10 |
250,000 Coins, 5 Rhenium, 2 Tungsten, 8 Bismuth2 |
Gravity
The final building, unlocked after reaching base level 3, is the Gravity. It gives you a jump height buff that lasts a certain amount of time. This upgrade is rather inconsequential to your playthrough at first, but becomes useful to have later when exploring caves that stretch vertically.
Each upgrade increases the strength and duration of the buff, but these upgrades are by far the most expensive.
|
Level |
Buff |
Time |
Cost |
|---|---|---|---|
|
1 |
x1.5 |
15m |
100,000 Coins, 10 Mythril |
|
2 |
x1.5 |
15m |
100,000 Coins, 10 Mythril |
|
3 |
x1.75 |
30m |
250,000 Coins, 3 Beryl, 1 Viridian |
|
4 |
x2 |
45m |
500,000 Coins, 2 Viridian, 1 Uranium |
Best Way To Earn Coins Fast
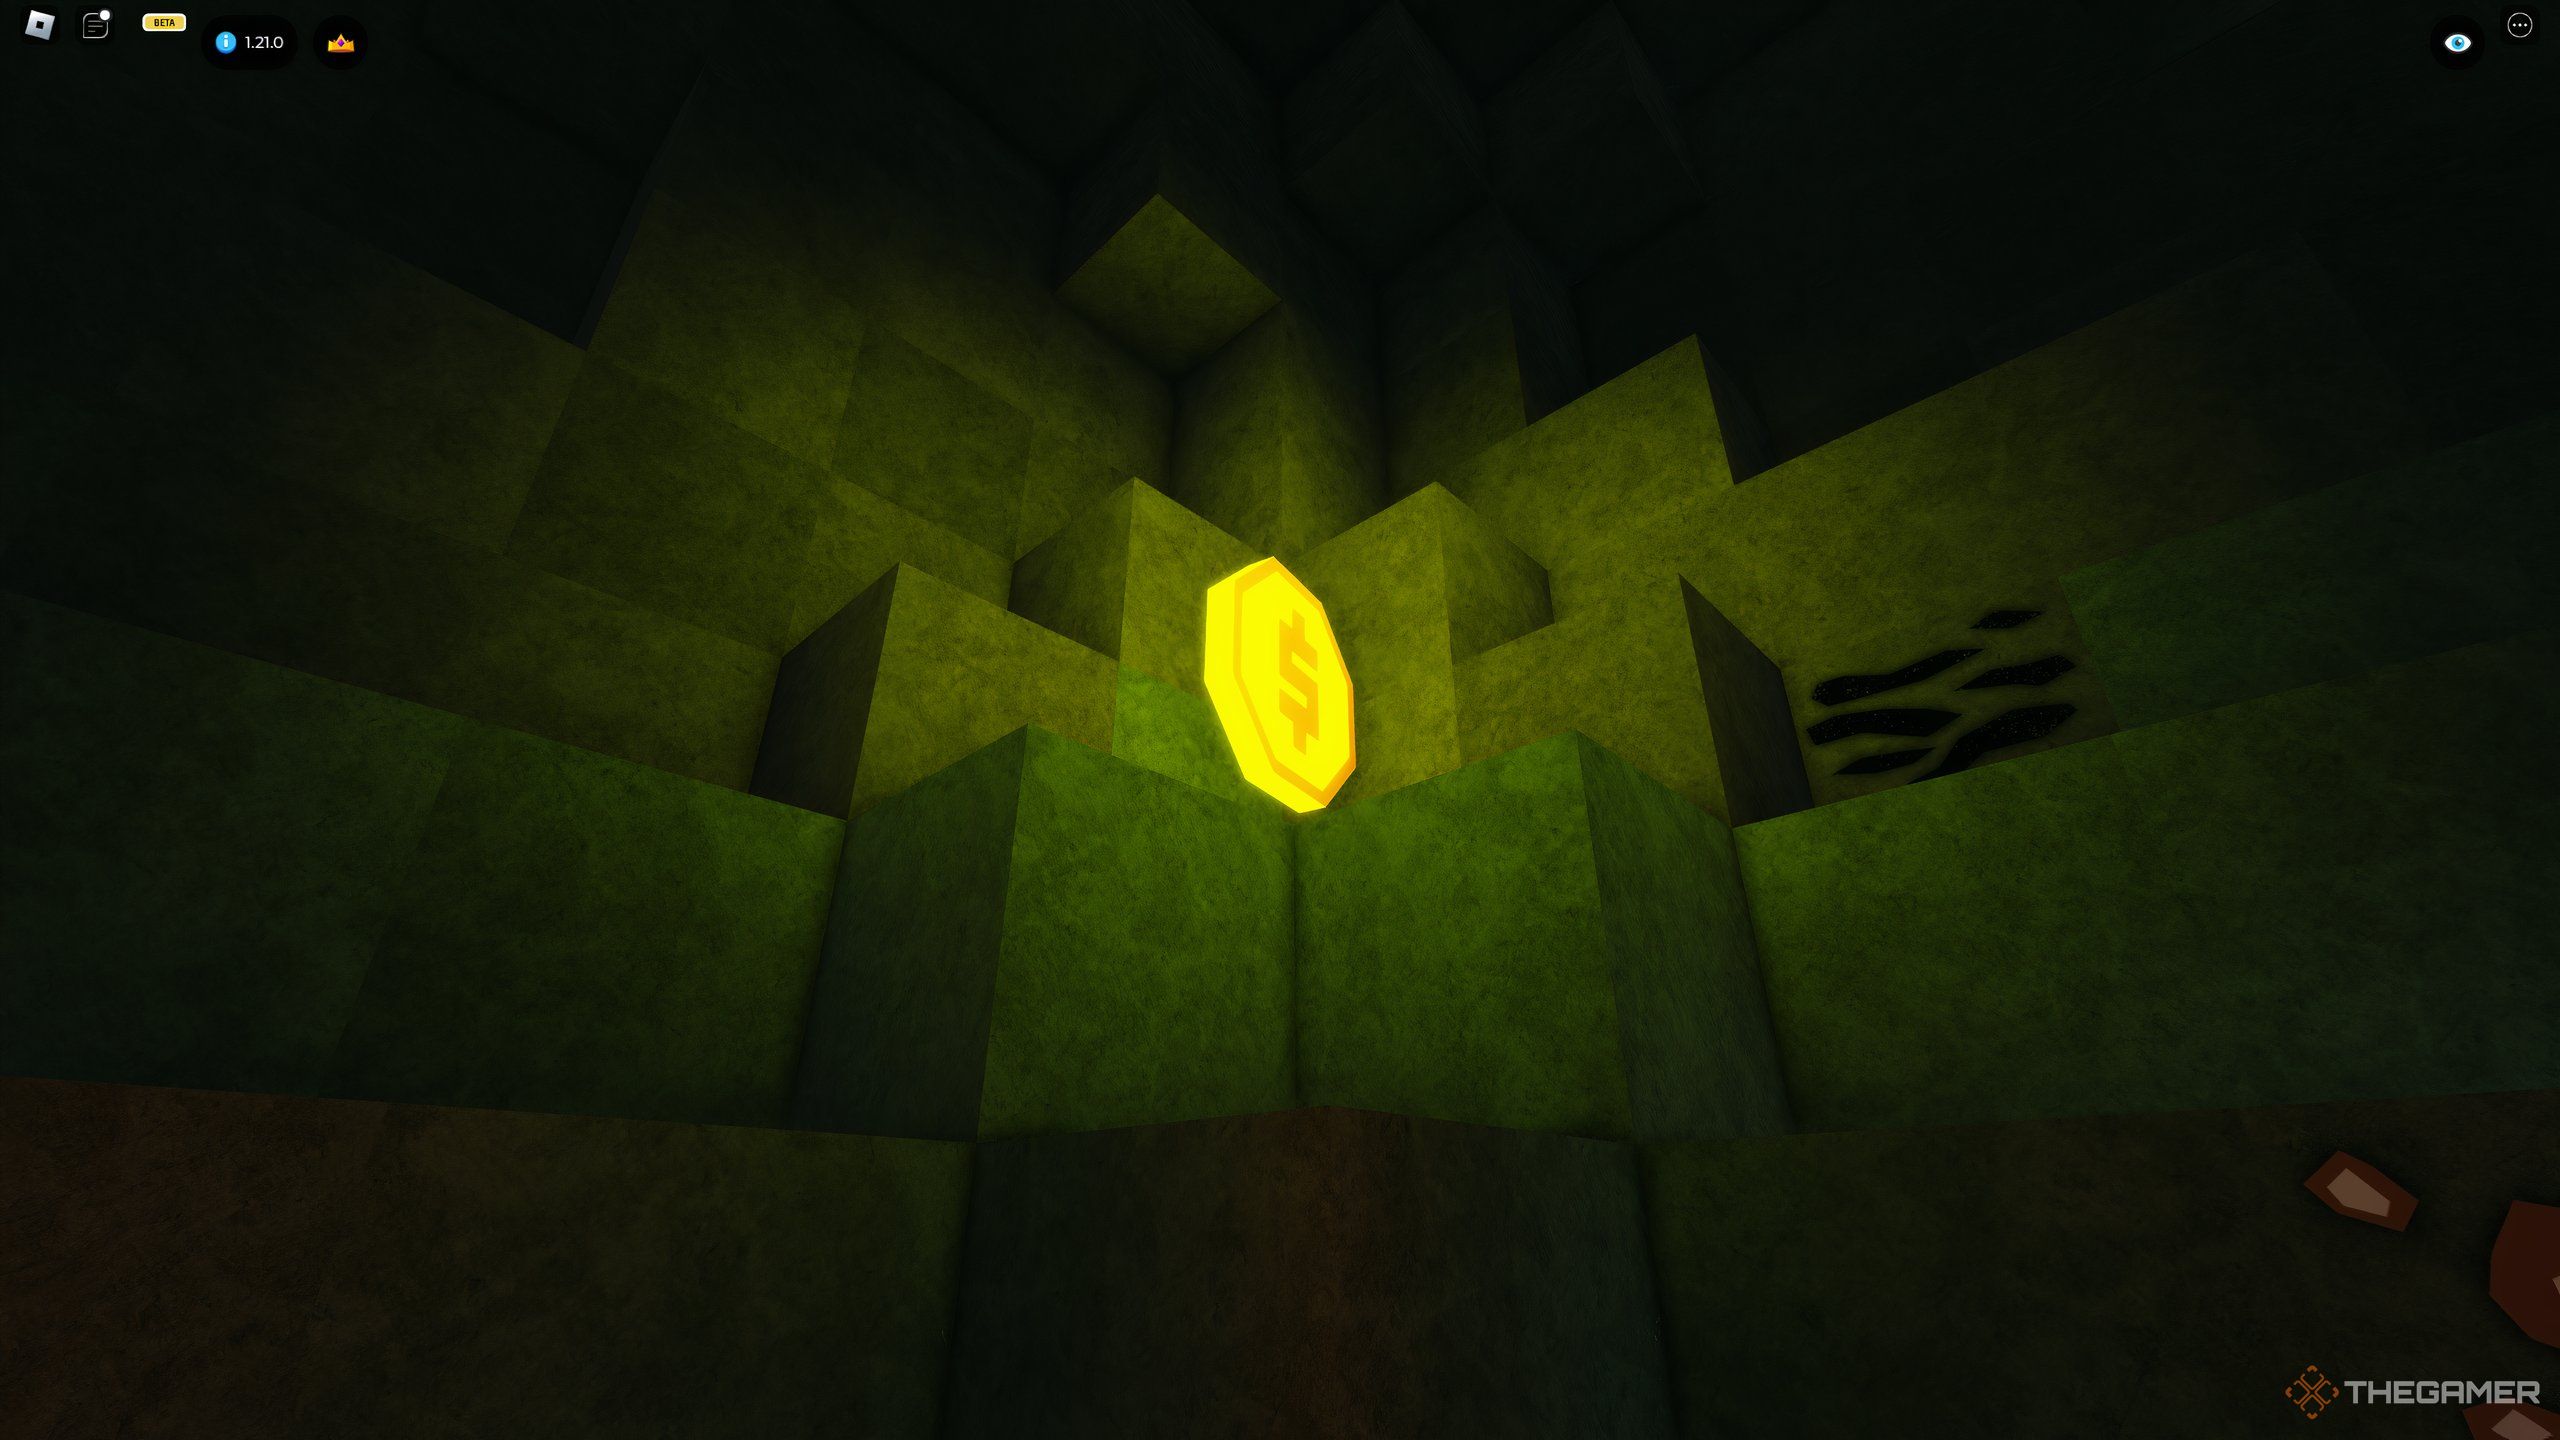
When you’re down in the mine, the stone of that layer is probably the cheapest thing you’ll be mining next to Coal. At the surface, there is an NPC to whom you can sell all your ores to – but we recommend you only sell your stone to them, and t he rest of your ores should go right into the Refiner.
Why Not Use The Refiner For Everything?
Well, you can, but even at maximum level, the Refiner just can’t keep up with your mining speed and the Driller. In essence, you’ll be mining faster than the Refiner can sell.
By the time you’re back up at your base, the Refiner might be just halfway done – and your inventory is full, meaning you’ll end up just putting whatever you can into it and selling the rest at the NPC at the mine for a lower price or putting it in Storage until it’s full too.
At level 6, the Refiner already reaches its maximum multiplier of 1.4x, and as most of your money comes from the ores you find, it’s best to sell those at a higher price and sell the stone to the NPC.
There is an exception to this if you intend to be AFK. In this case, you’re not mining, so the Refiner can easily keep up with the Driller, and you can just put everything into the Refiner.
How Deep Should You Mine When Farming Coins?
You might think it should just be the deepest layer you can reach, but it mostly depends on your pickaxe mining speed and power. If it takes too long to break the stone, you’d be wasting time breaking it for minimal bonus coins – so, as a rule of thumb, it’s best to mine on the layer where you can break the stone in two pickaxe swings or less.
On that note, if the deepest layer you can break the stone takes two swings, but the one right above only takes one swing – you’d have to consider what you need more: the ores from the layer you’re mining in, or the coins you could potentially earn from the layer above.
Remember to
always check if the ores you want to sell are needed for any upgrades first!
There will always be ores you don’t need, so keep the ores you’ll need for upgrades and sell the rest.
Pickaxes And Bags, Which To Skip And Which To Nab
There are a lot of pickaxes and bags, and each one is a very big investment in either materials or coins. You don’t need them all in order, as the upgrades they offer to your mining performance are sometimes minimal… that is, unless you want to collect them all.
Here is a general suggestion for progression though, if you’re interested in the nerdy optimization side of things.
Pickaxes
Starting off with pickaxes, there are two factors to its efficiency: its speed, and its damage. The speed of the pickaxe is very important, as it’s a flat multiplier to the efficiency of it. Generally, pickaxes with the highest speed will be the best and most powerful for the Research level that you have.
There is an important factor to consider with this, however, and that is the hitpoints of the stone in the layer you’re mining at. Every layer’s stone has hitpoints that are divisible by five; Lightslate has ten hitpoints, Granite has 15, Grayslate has 20, and so on.
The damage of the pickaxe is equivalent to the number of hitpoints dealt to the block you’re mining, so we are also looking for pickaxes with damage that is divisible by five, or even more preferably, match the number of hitpoints that layer’s stone has.
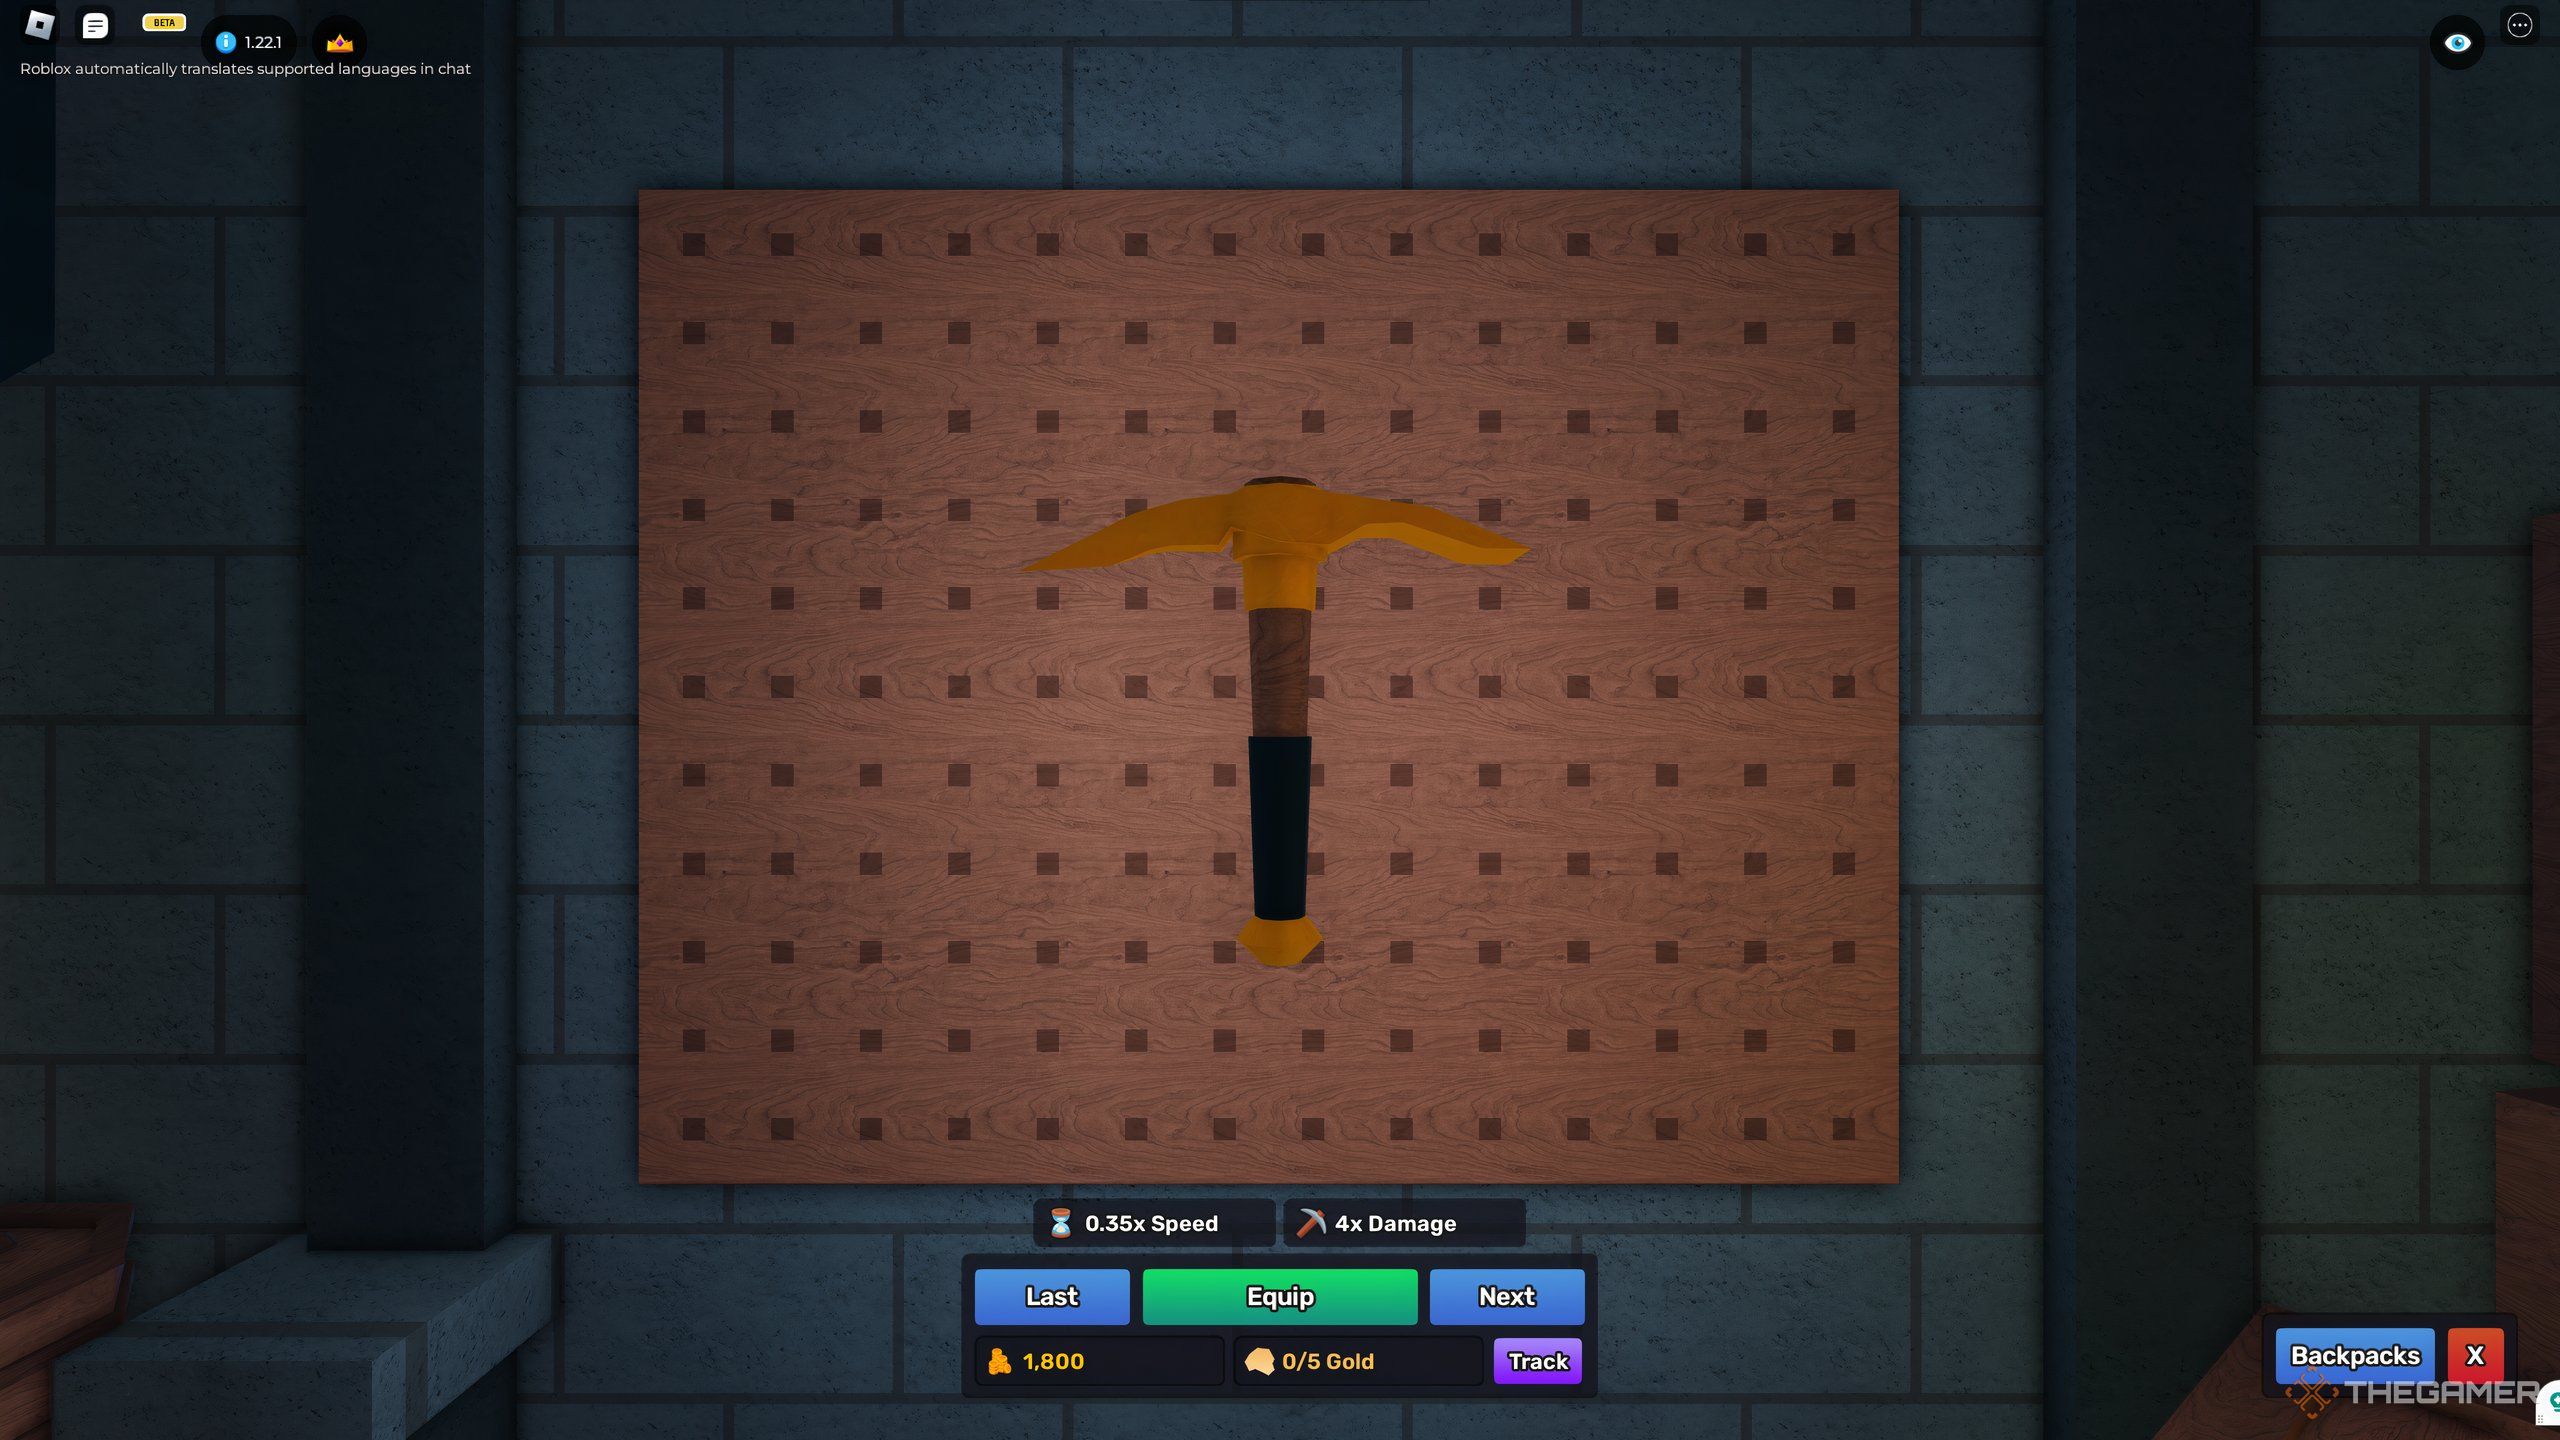
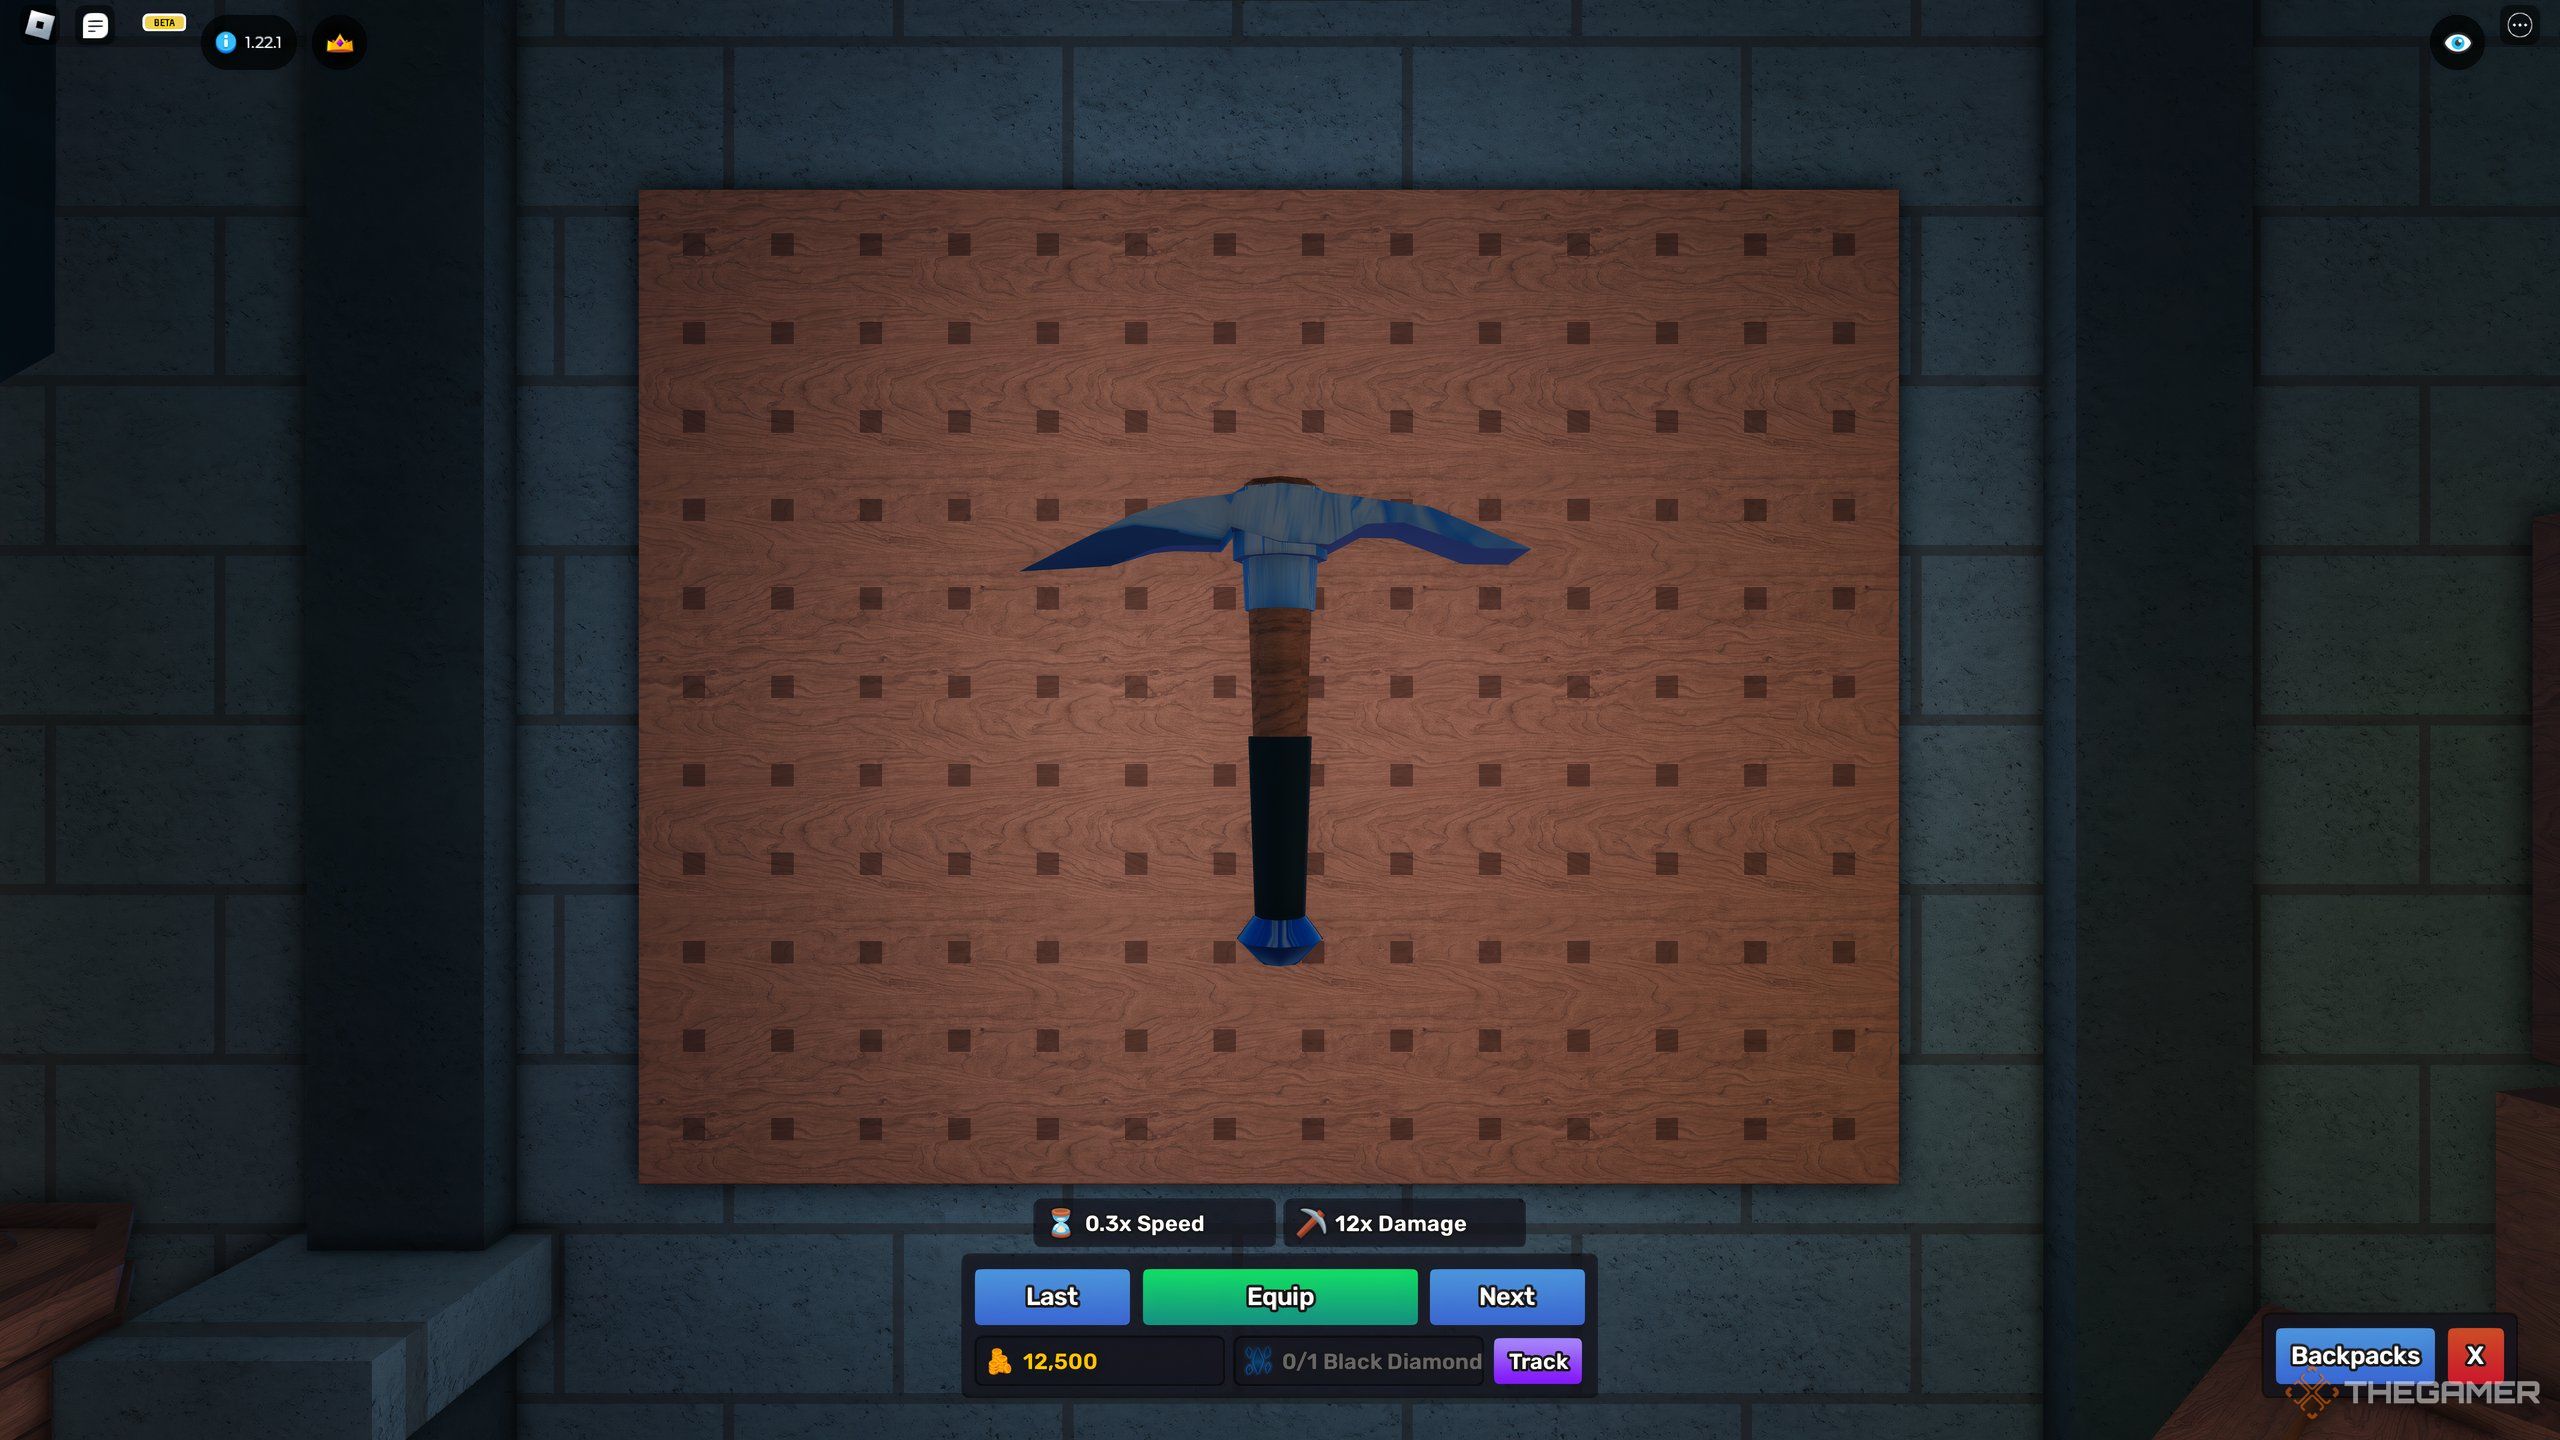
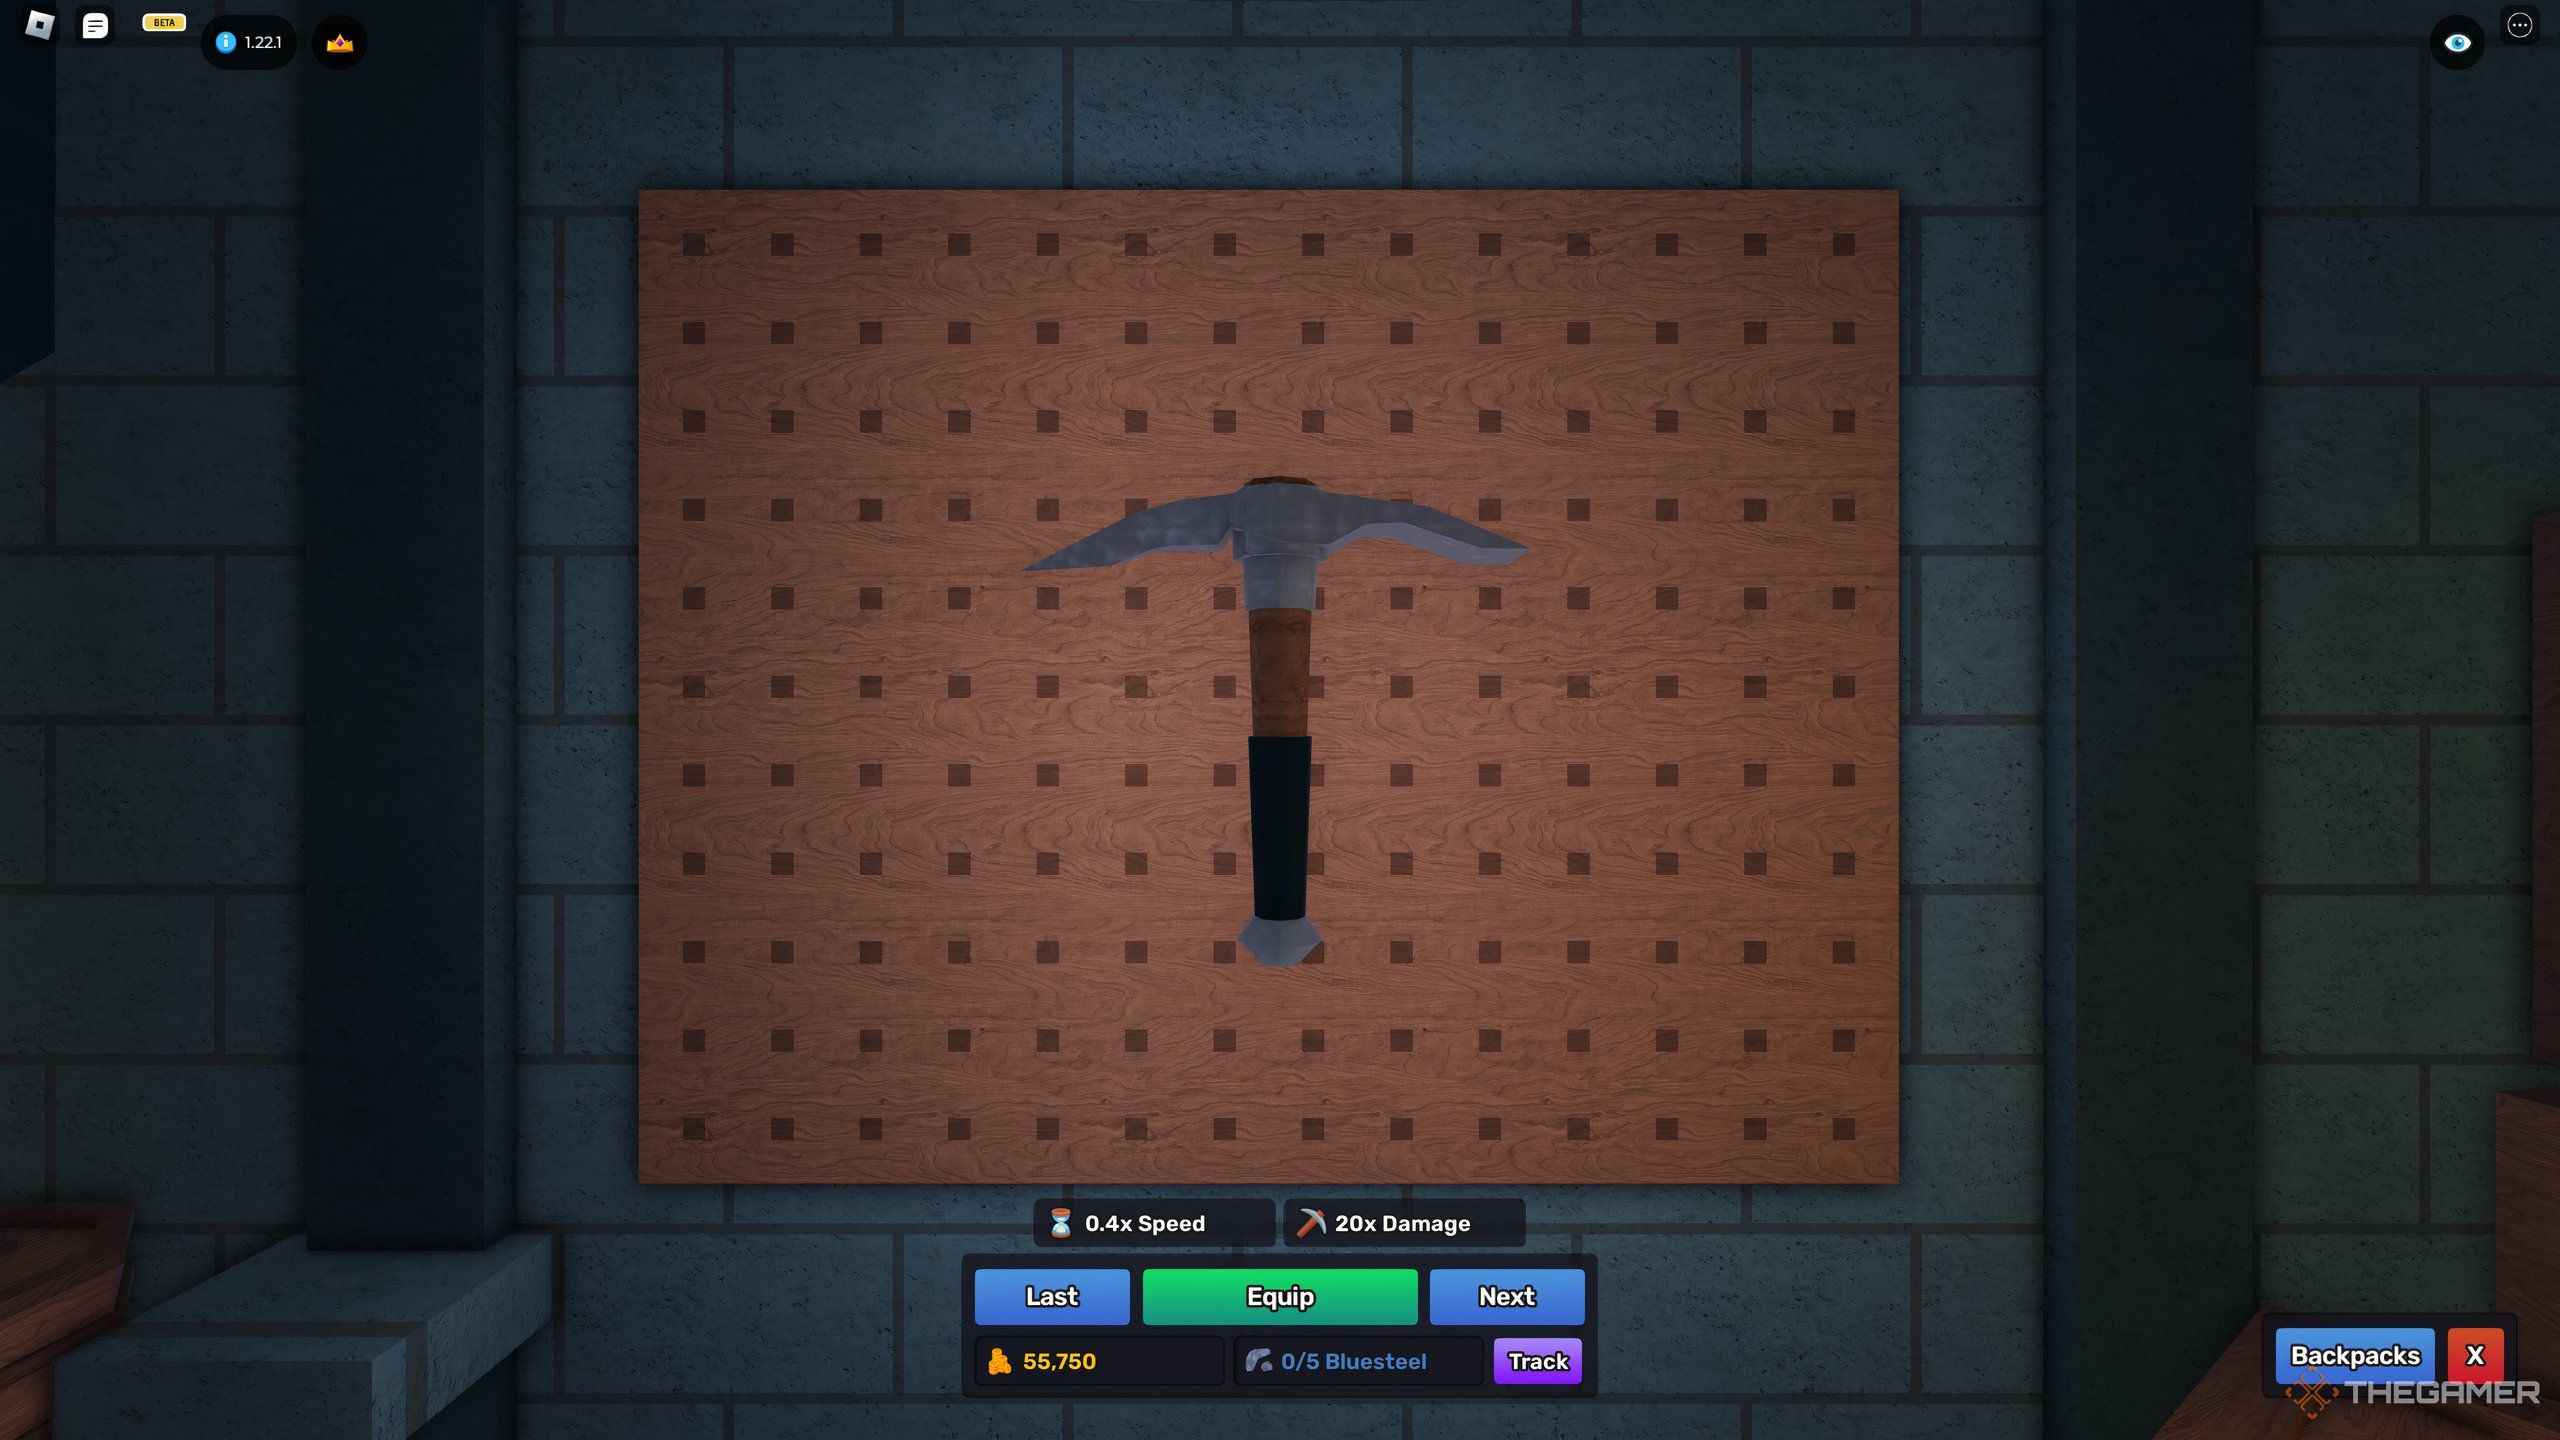
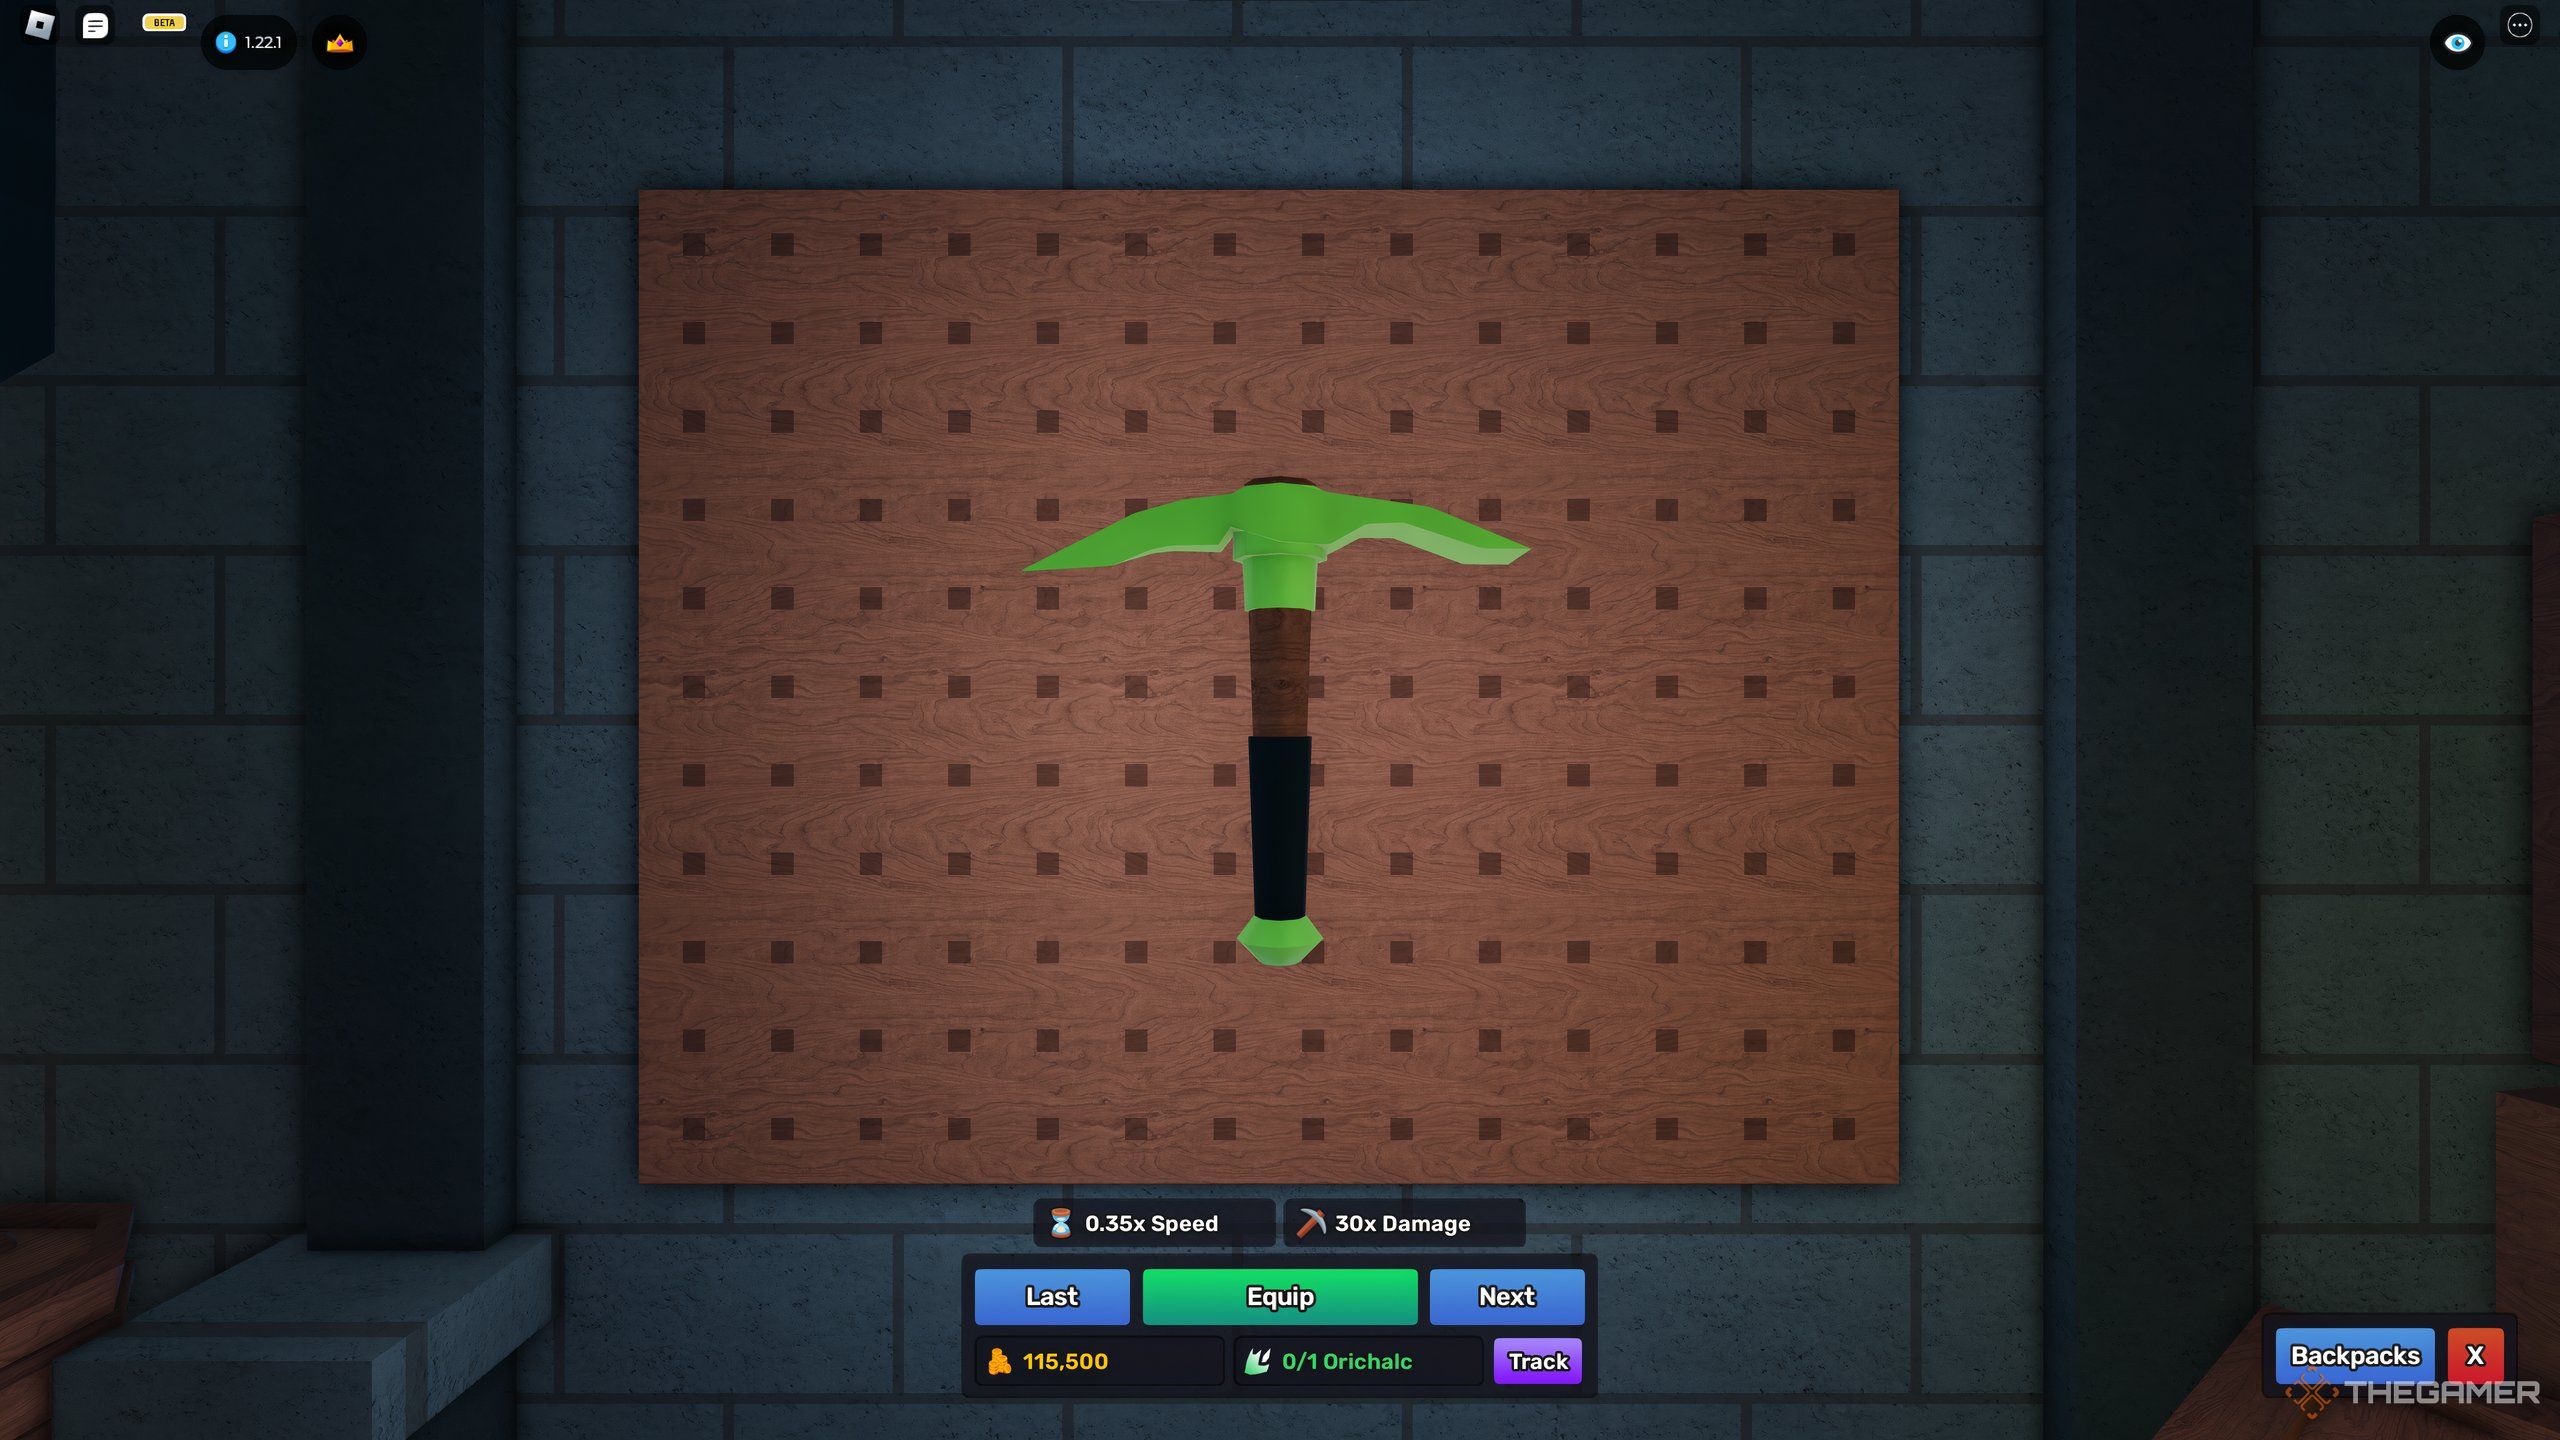
With all that being said, here are the pickaxes we recommend you take after the Copper pickaxe you get at the end of your tutorial – and an alternative, in case you get lucky on your mining trip.
|
Pickaxe in-game |
Research level |
Recommendation |
Alternative |
|---|---|---|---|
 |
Level 1 |
Gold Pickaxe It is way better than the Copper pickaxe, but do upgrade to the next one as soon as you can. |
|
 |
Level 3 |
Black Diamond Pickaxe Black Diamonds are rare, but if you do find one – this pickaxe is the best you can get, simply because its speed isn’t matched for the next few Research levels. It breaks through Lightslate in one hit. |
Diamond Pickaxe It’s not as fast as the Black Diamond Pickaxe, but it still packs a punch, breaking through Lightslate in one hit as well. |
 |
Level 5 |
Bluesteel Pickaxe It’s slower than the Black Diamond Pickaxe, but it does deal almost twice the damage. If you’d like to save materials, though, this one is not necessary. |
|
 |
Level 6 |
Orichalc Pickaxe It’s faster than the Bluesteel Pickaxe, and it deals enough damage to melt through Smokeslate. It’s a fine upgrade even from the Black Diamond Pickaxe. |
|
 |
Level 7 |
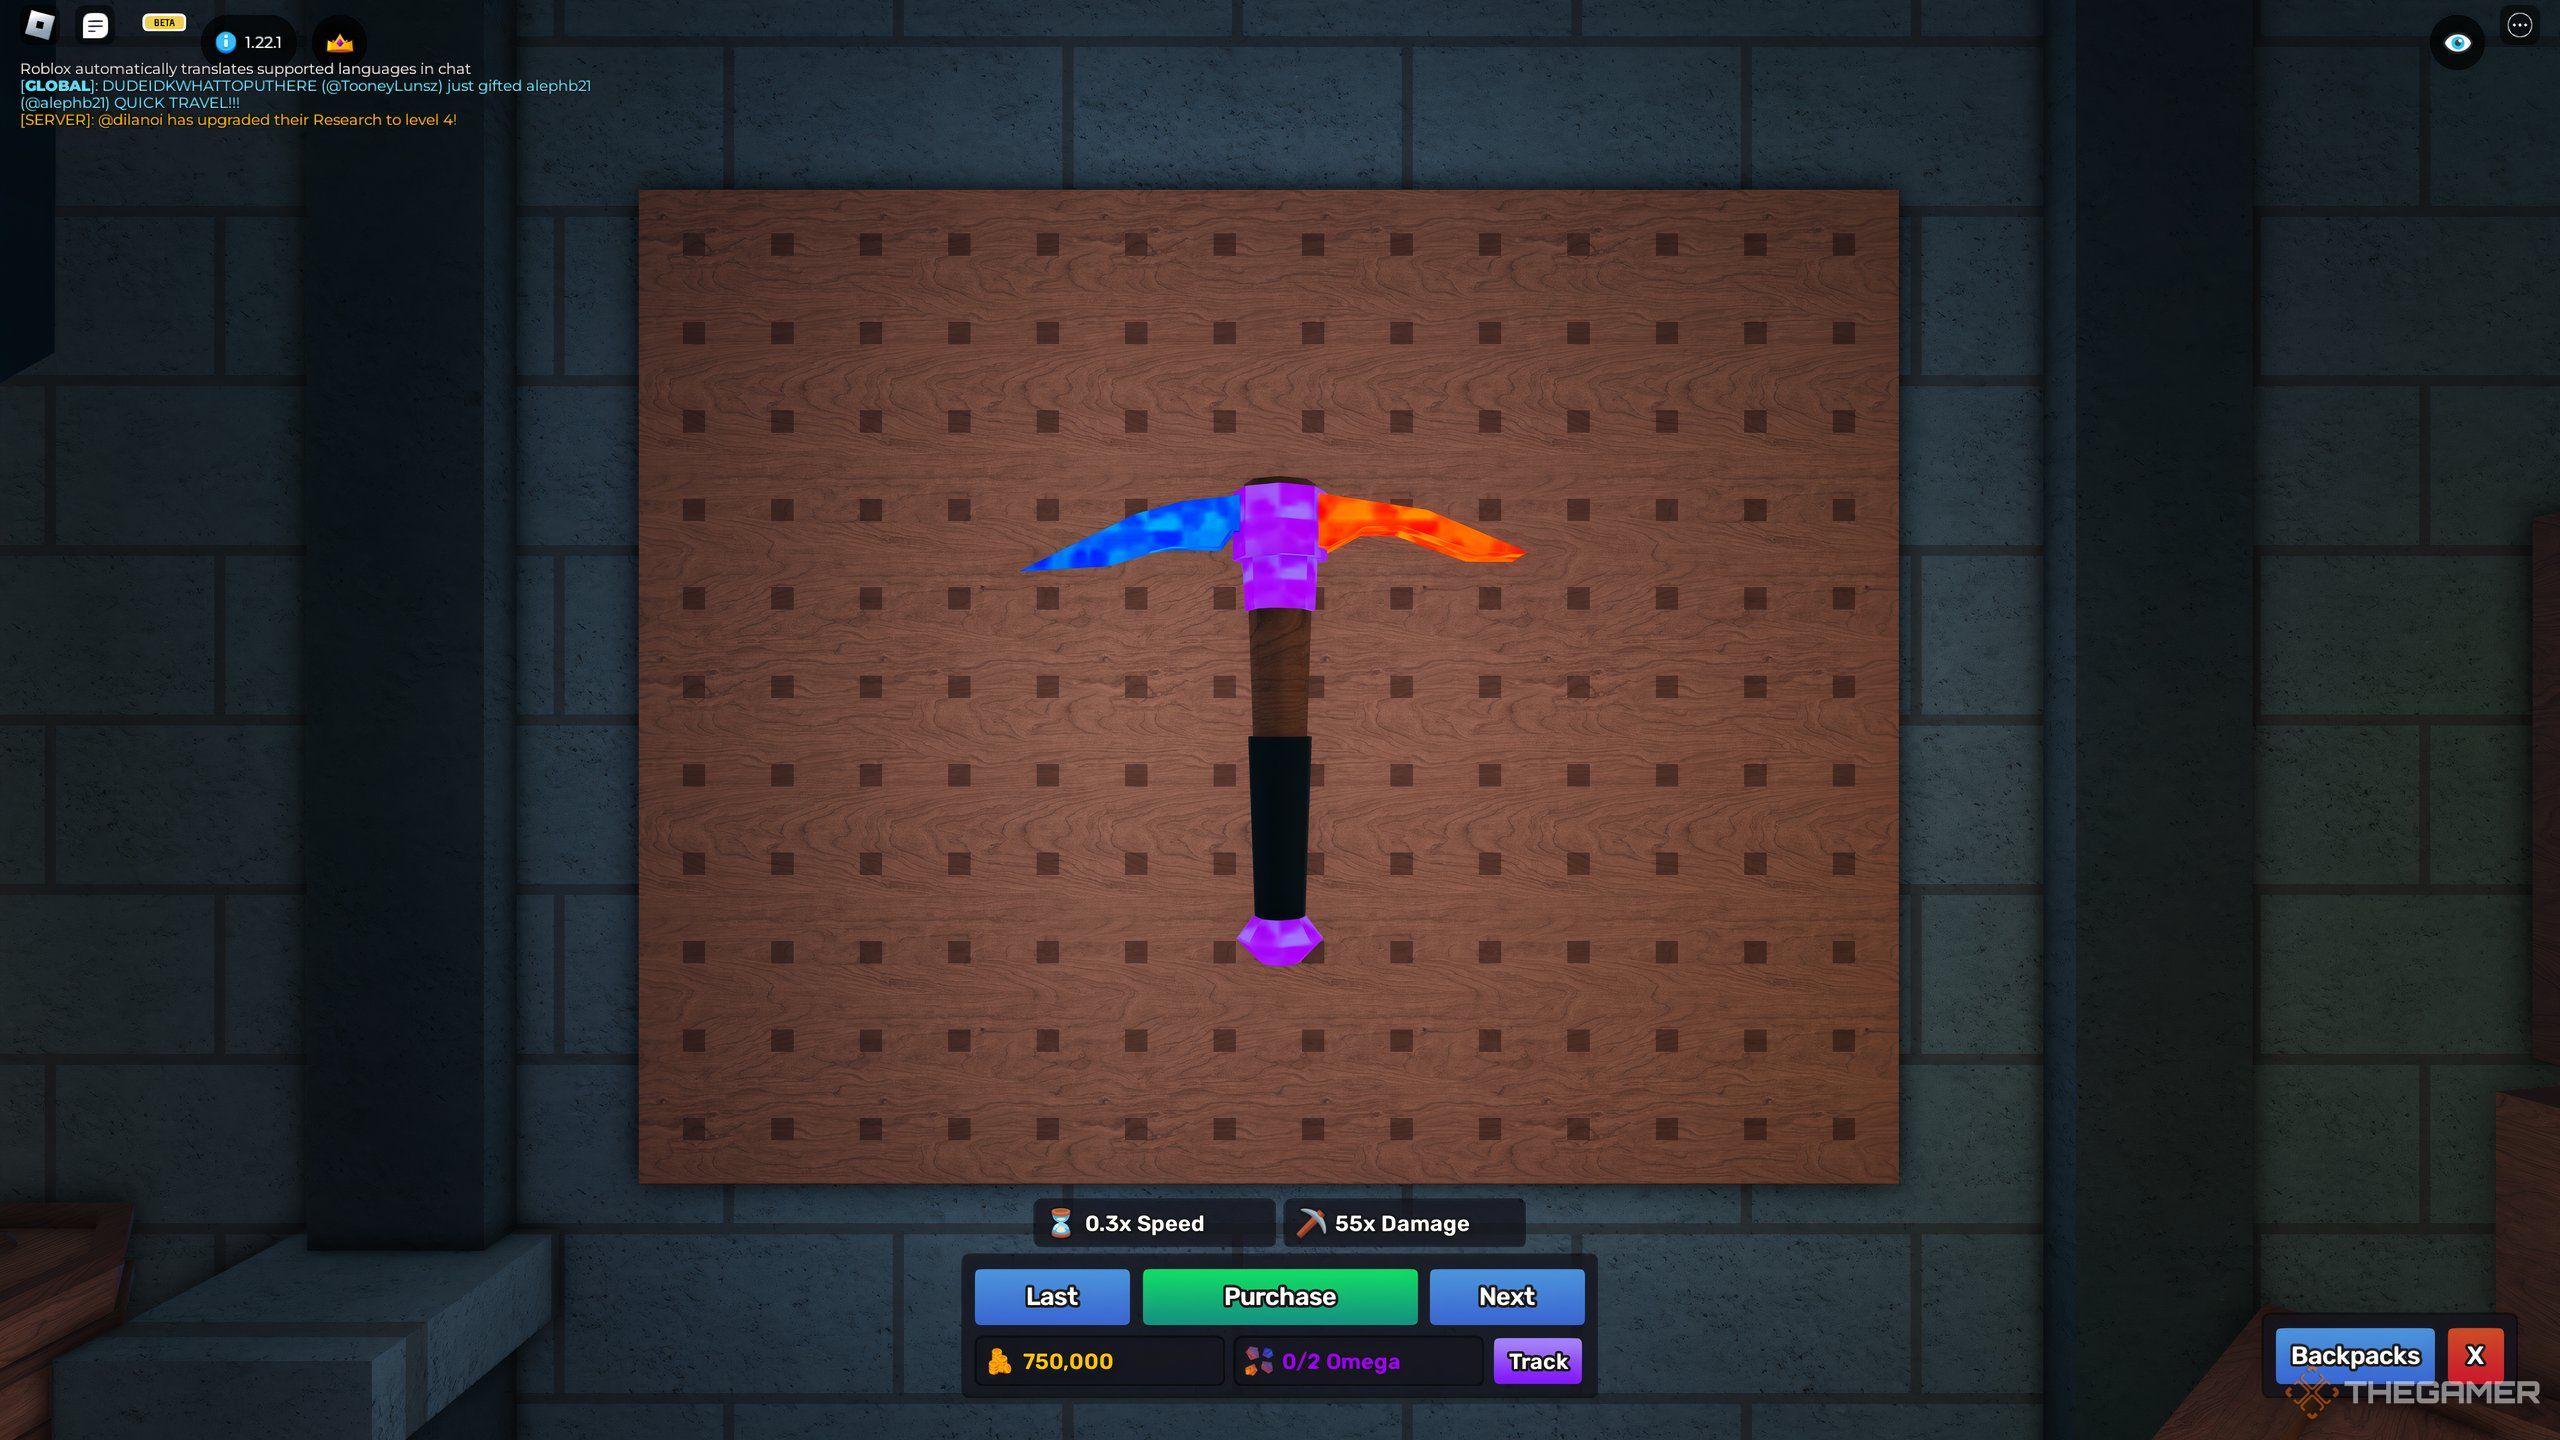
Omega Pickaxe The Omega pickaxe is the one of the best pickaxes in the game, but Omega ore is incredibly rare (1/50,000 chance of spawning). If you do manage to find some Omega, we recommend this one. |
Burnite Pickaxe Burnite may be rare (1/3,000 chance of spawning), but if you already found some, it’s not a bad upgrade. The next pickaxe is definitely a better investment, though. |
 |
Level 8 |
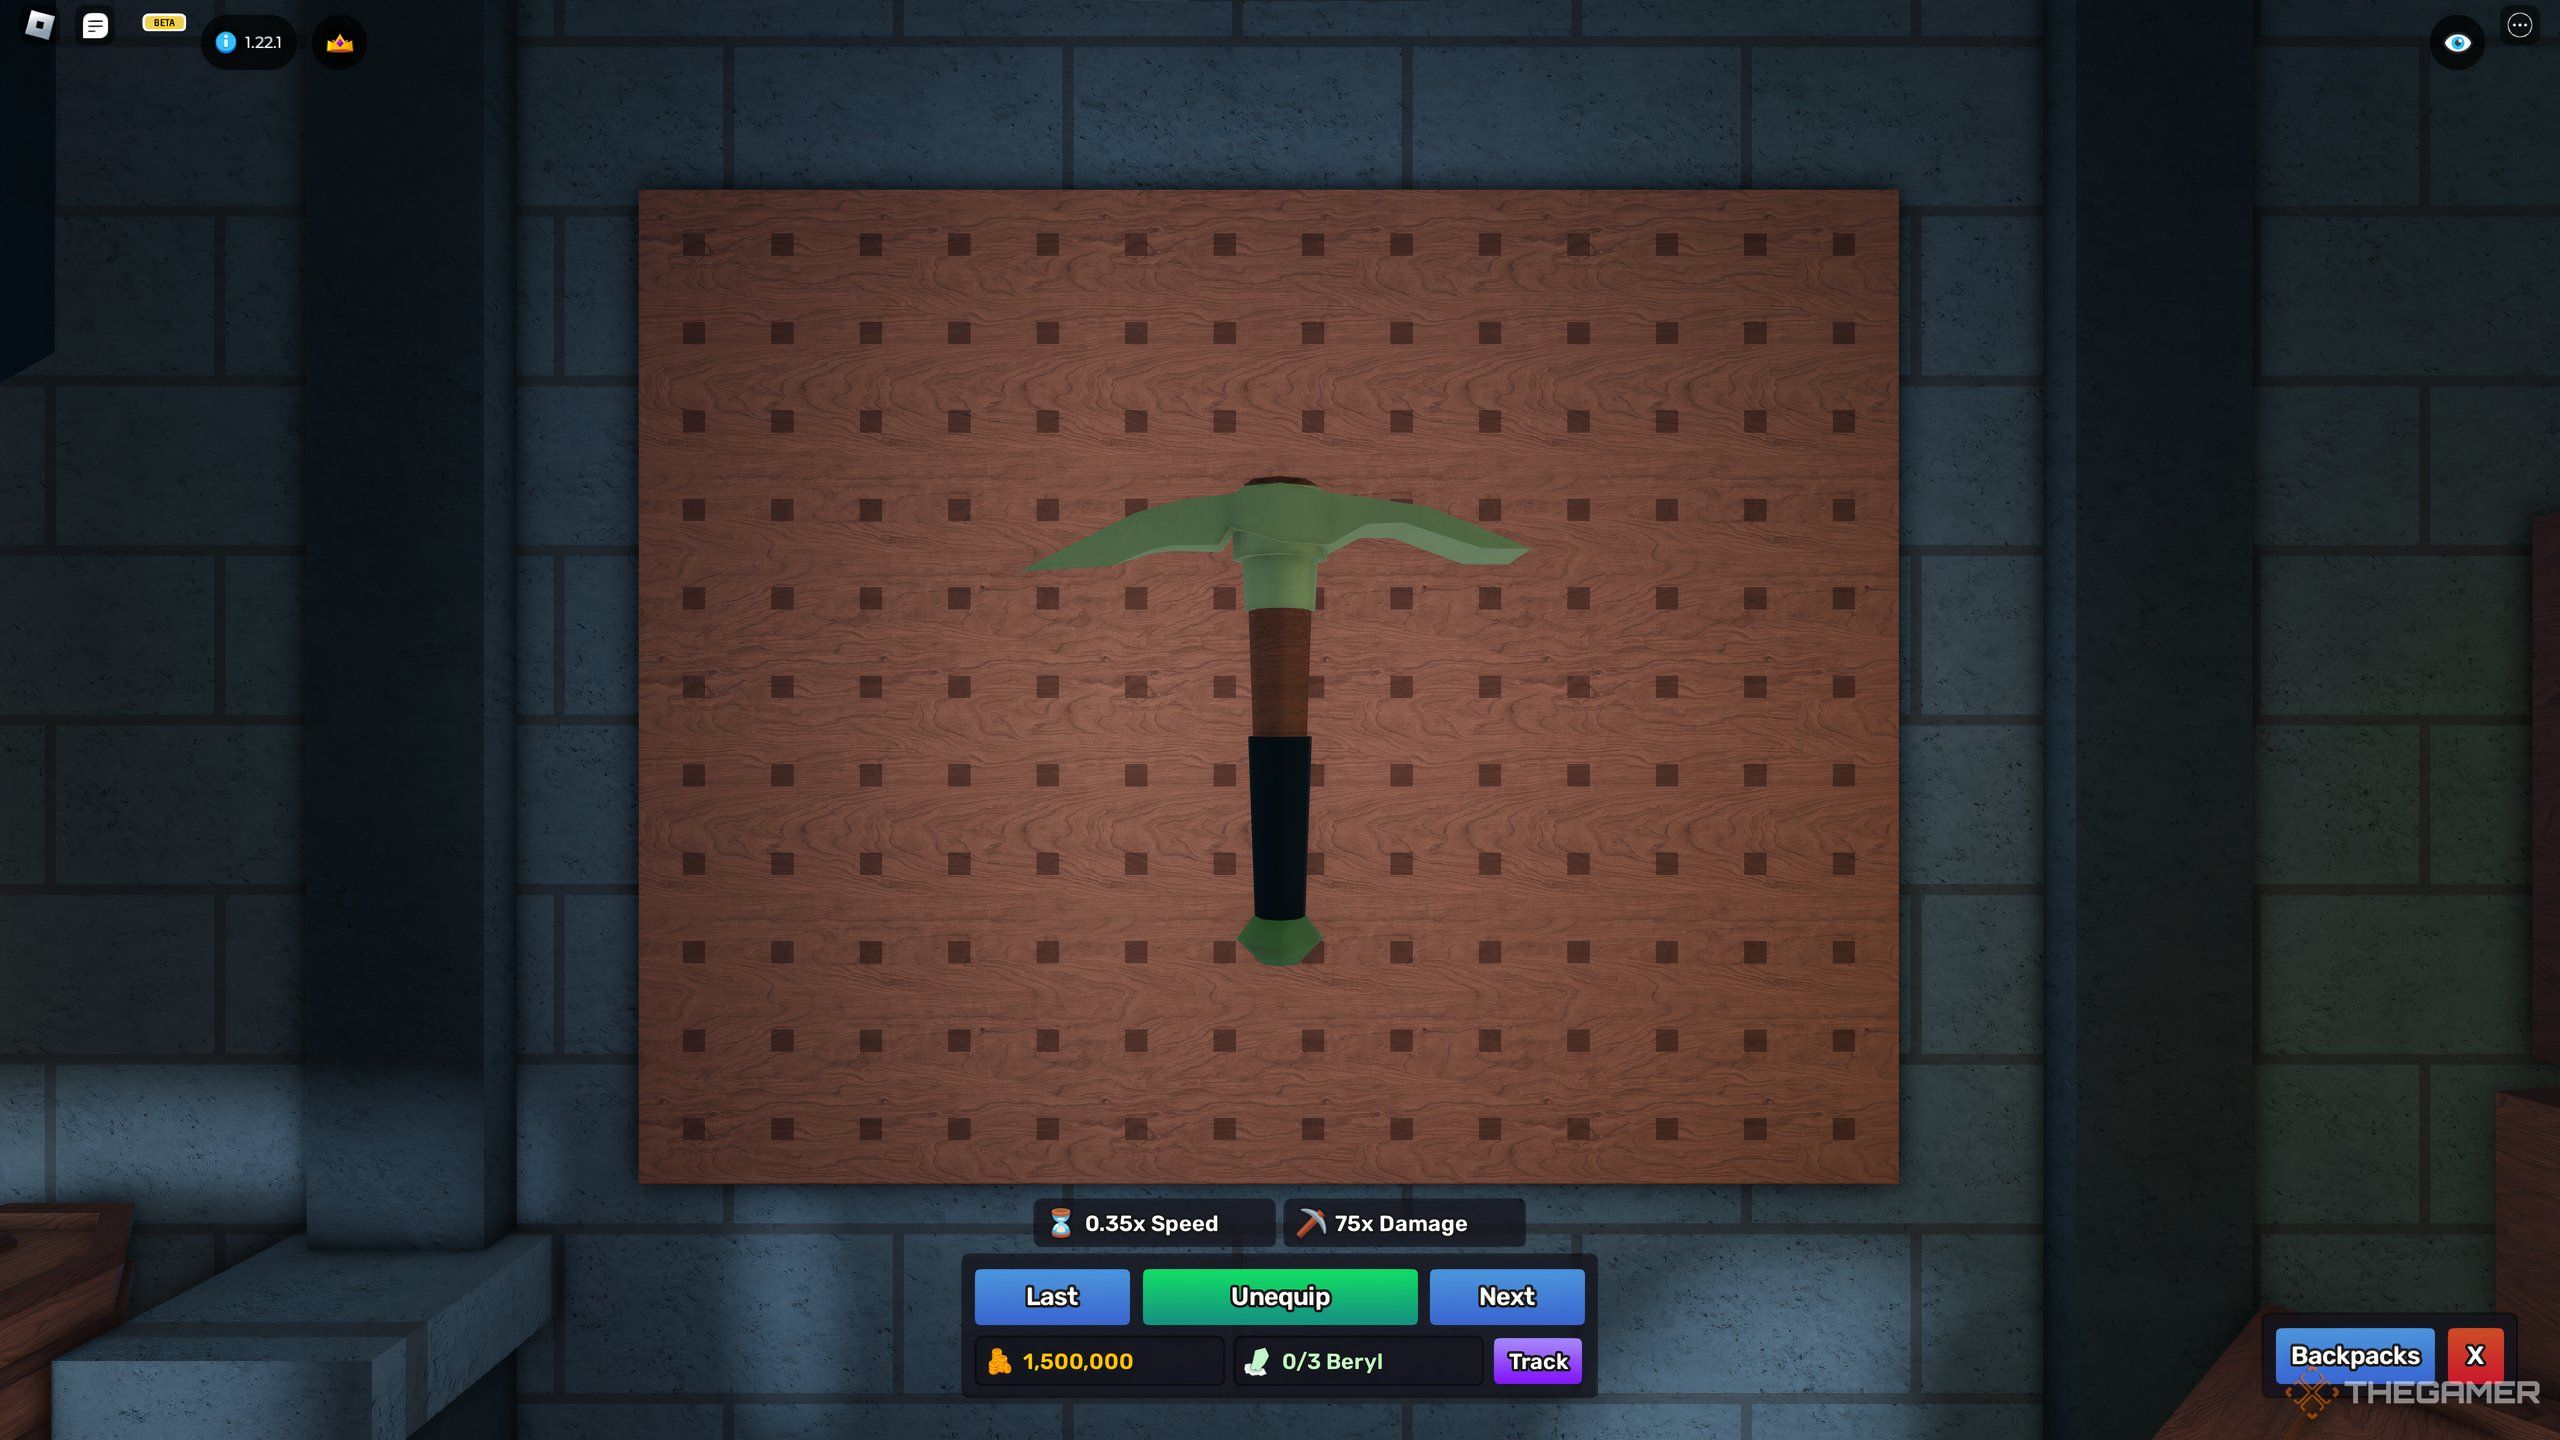
Beryl Pickaxe The second best pickaxe in the game. Beryl is pretty common at its respective layer, where it breaks Rhyolite in two hits, so this is most likely the best pickaxe you’ll have for a while. |
|
 |
Level 9 |
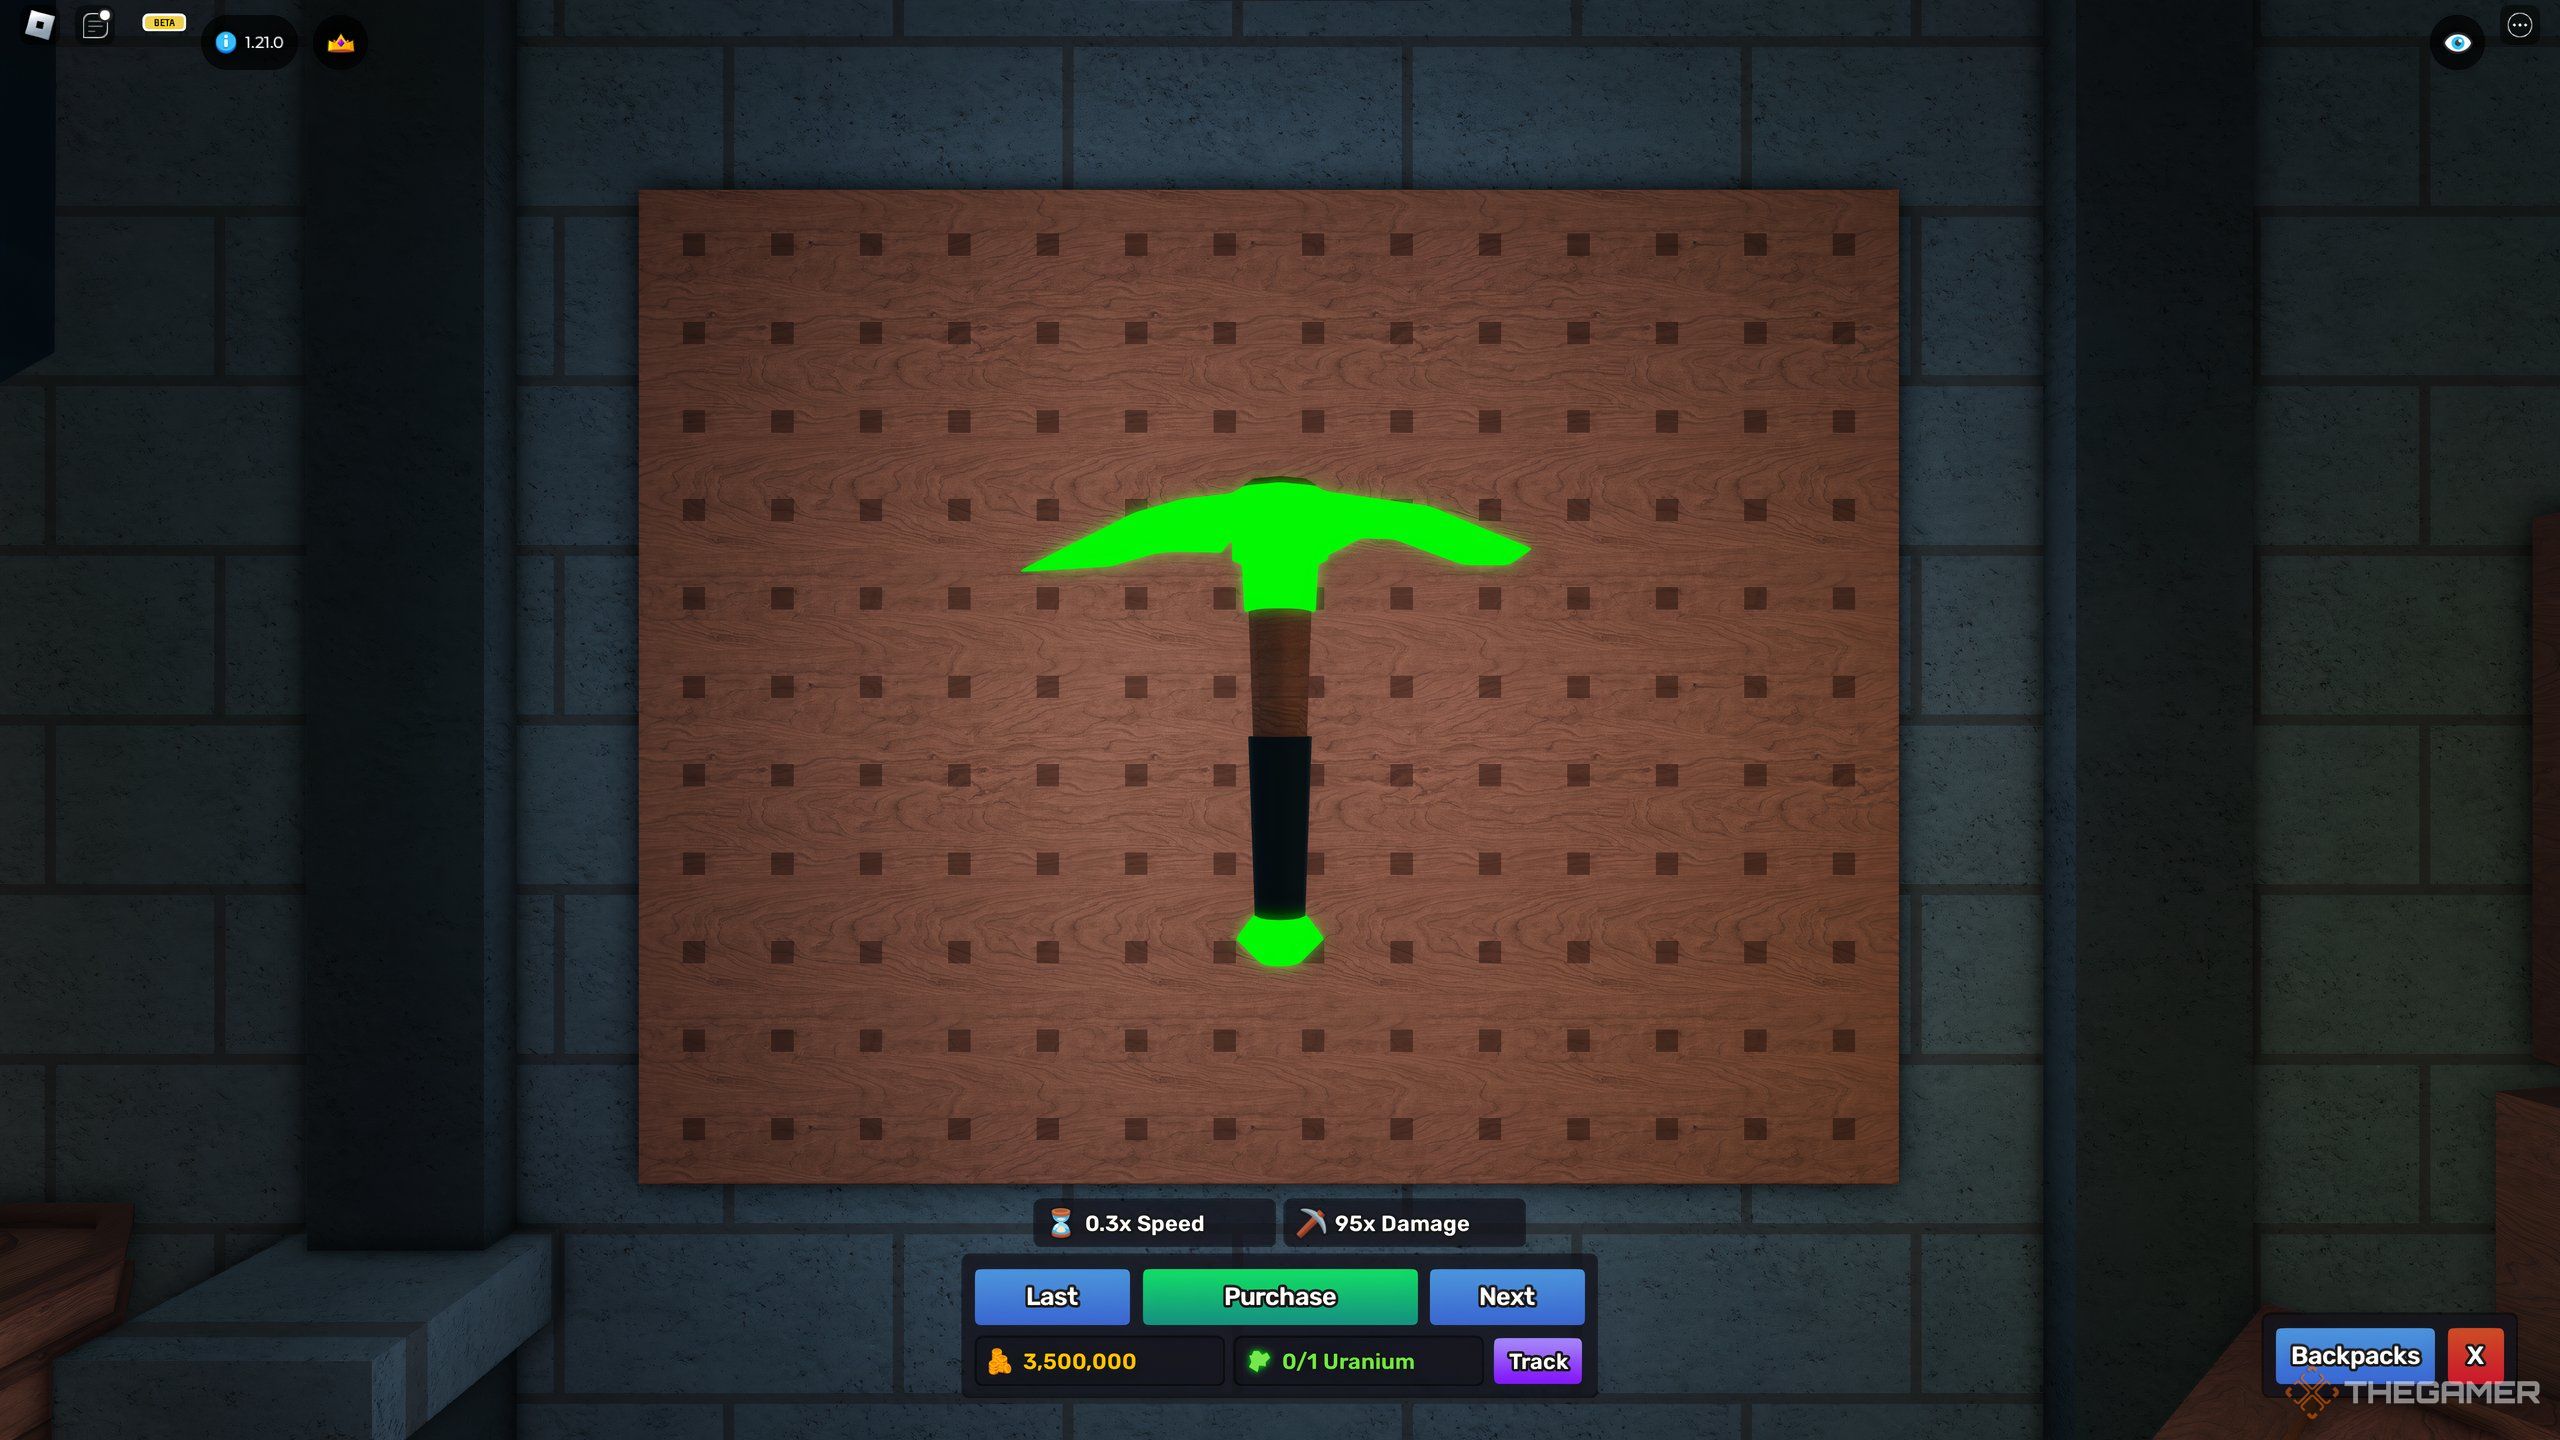
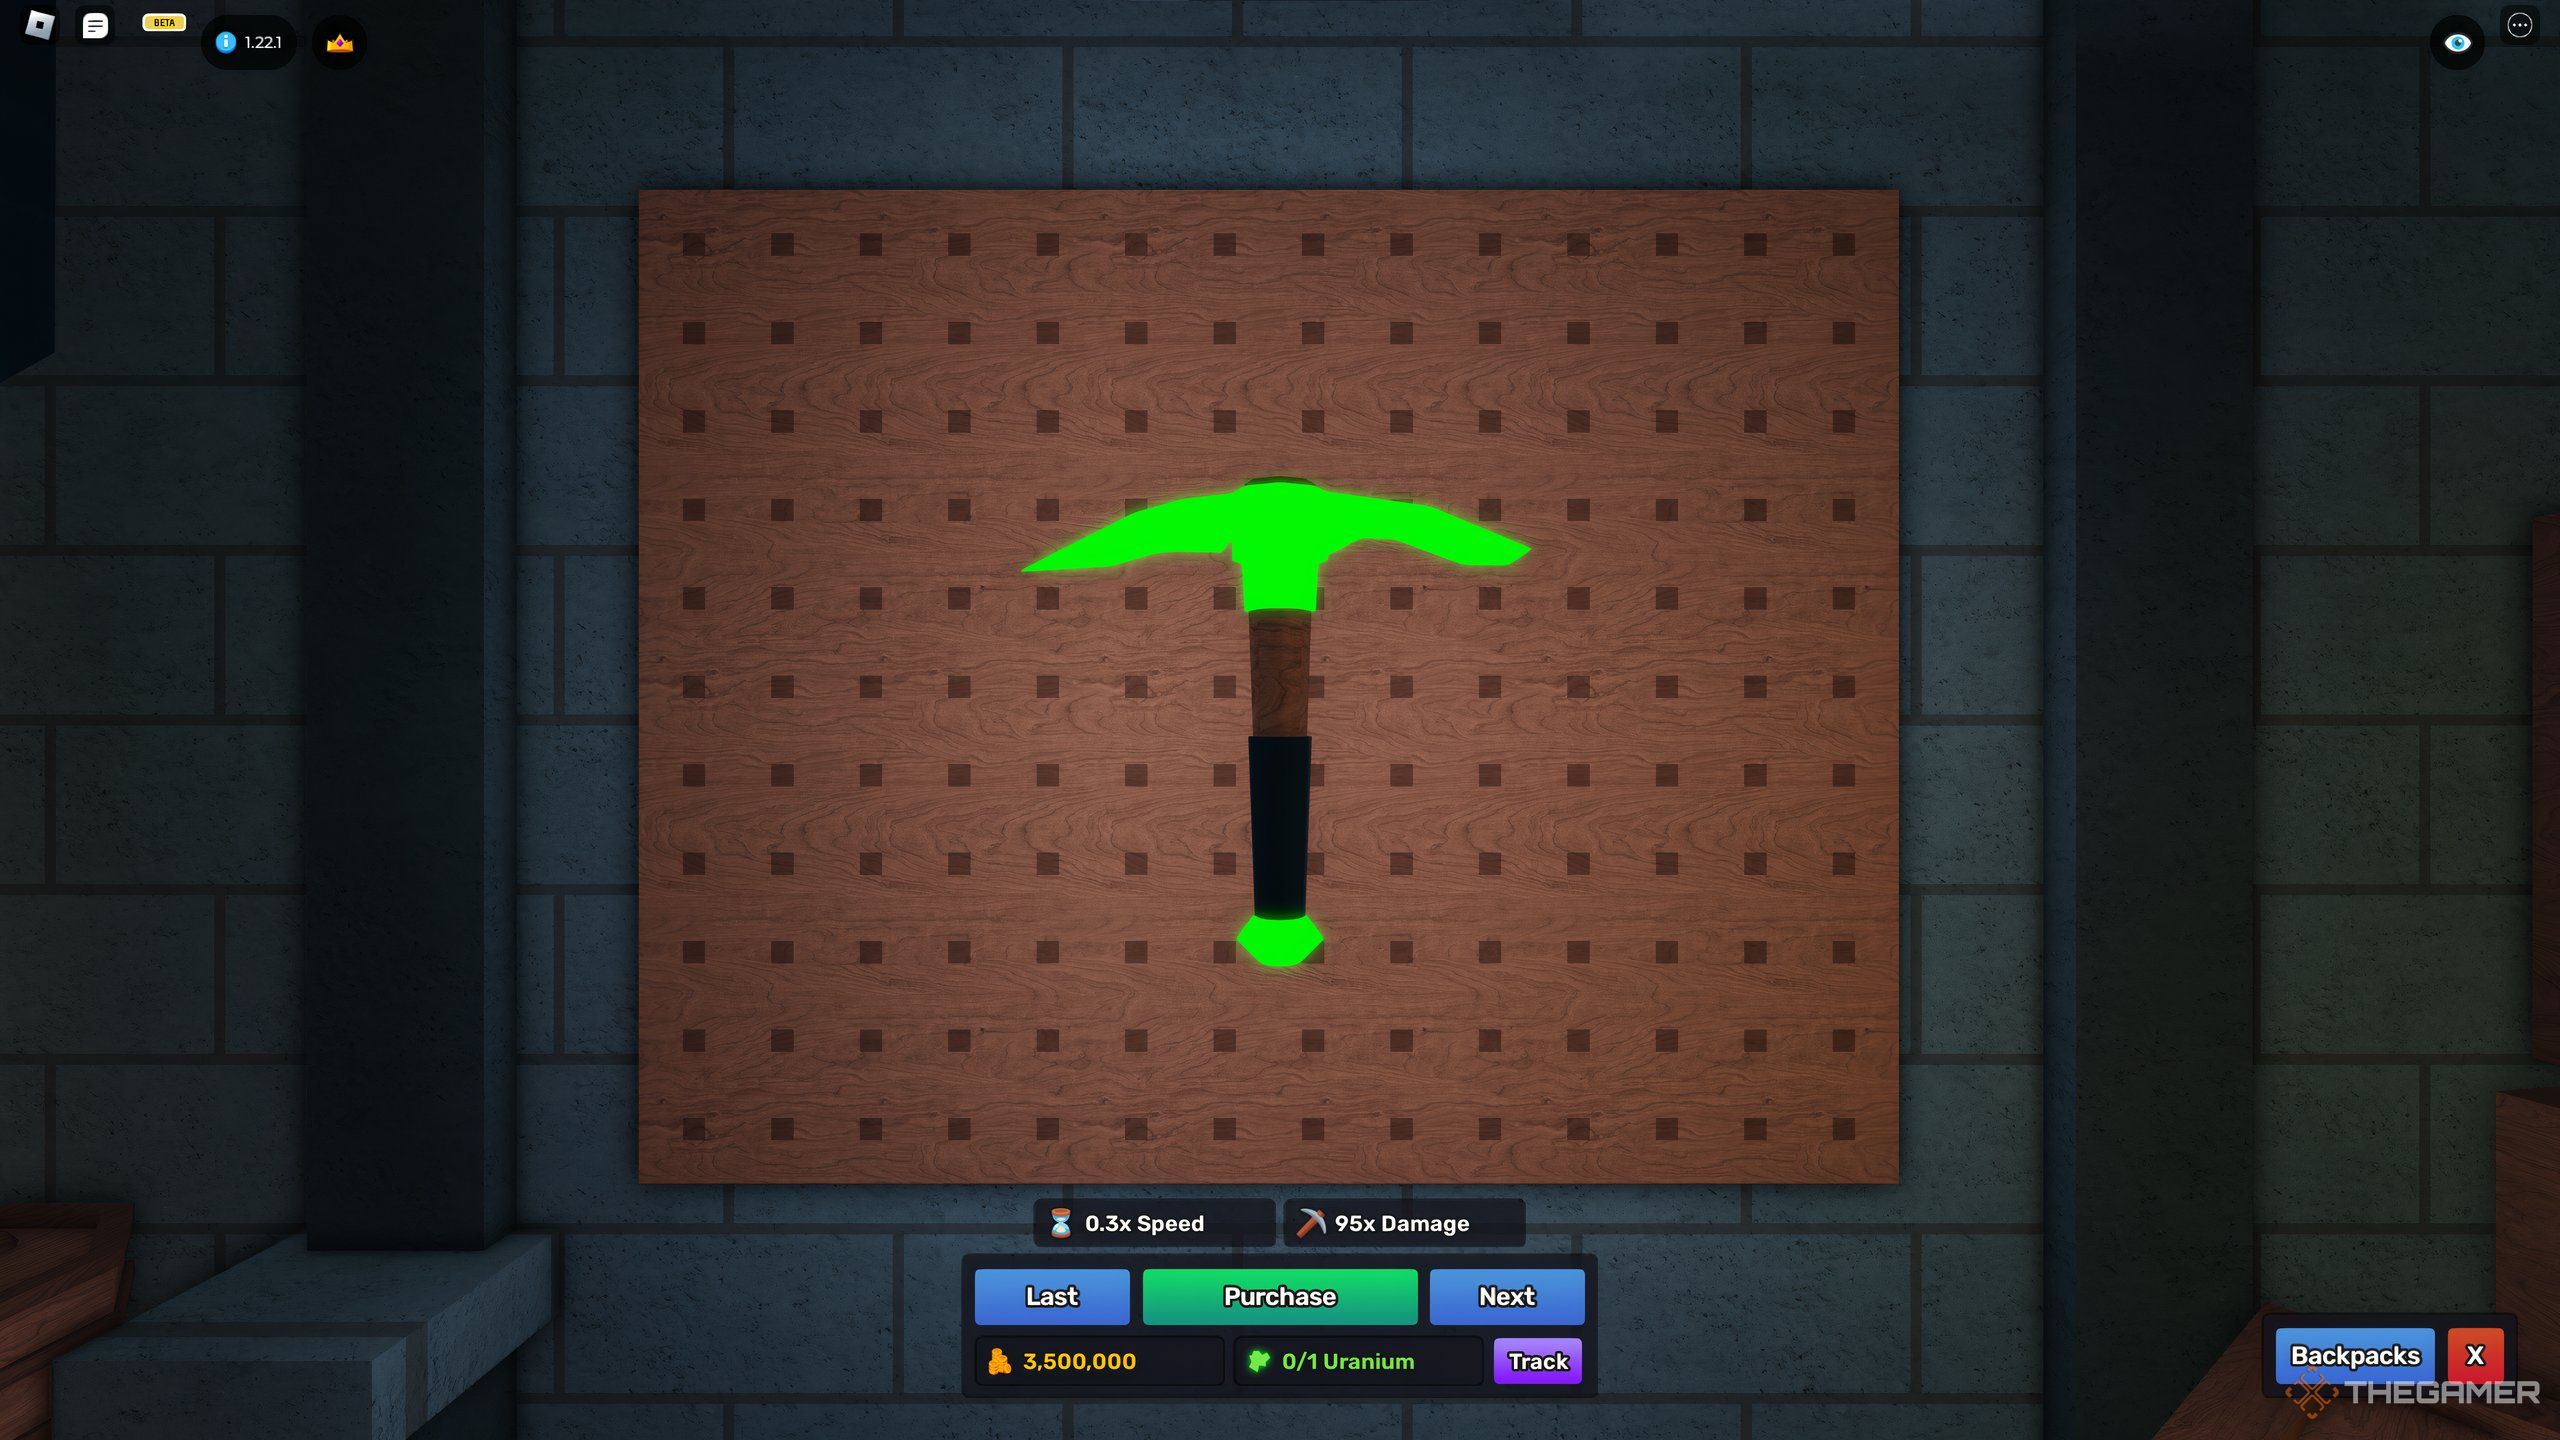
Uranium Pickaxe The best pickaxe in the game, hands down. It requires one of the rarest ores in the game, though, Uranium (1/200,000 chance of spawning). |
Backpacks
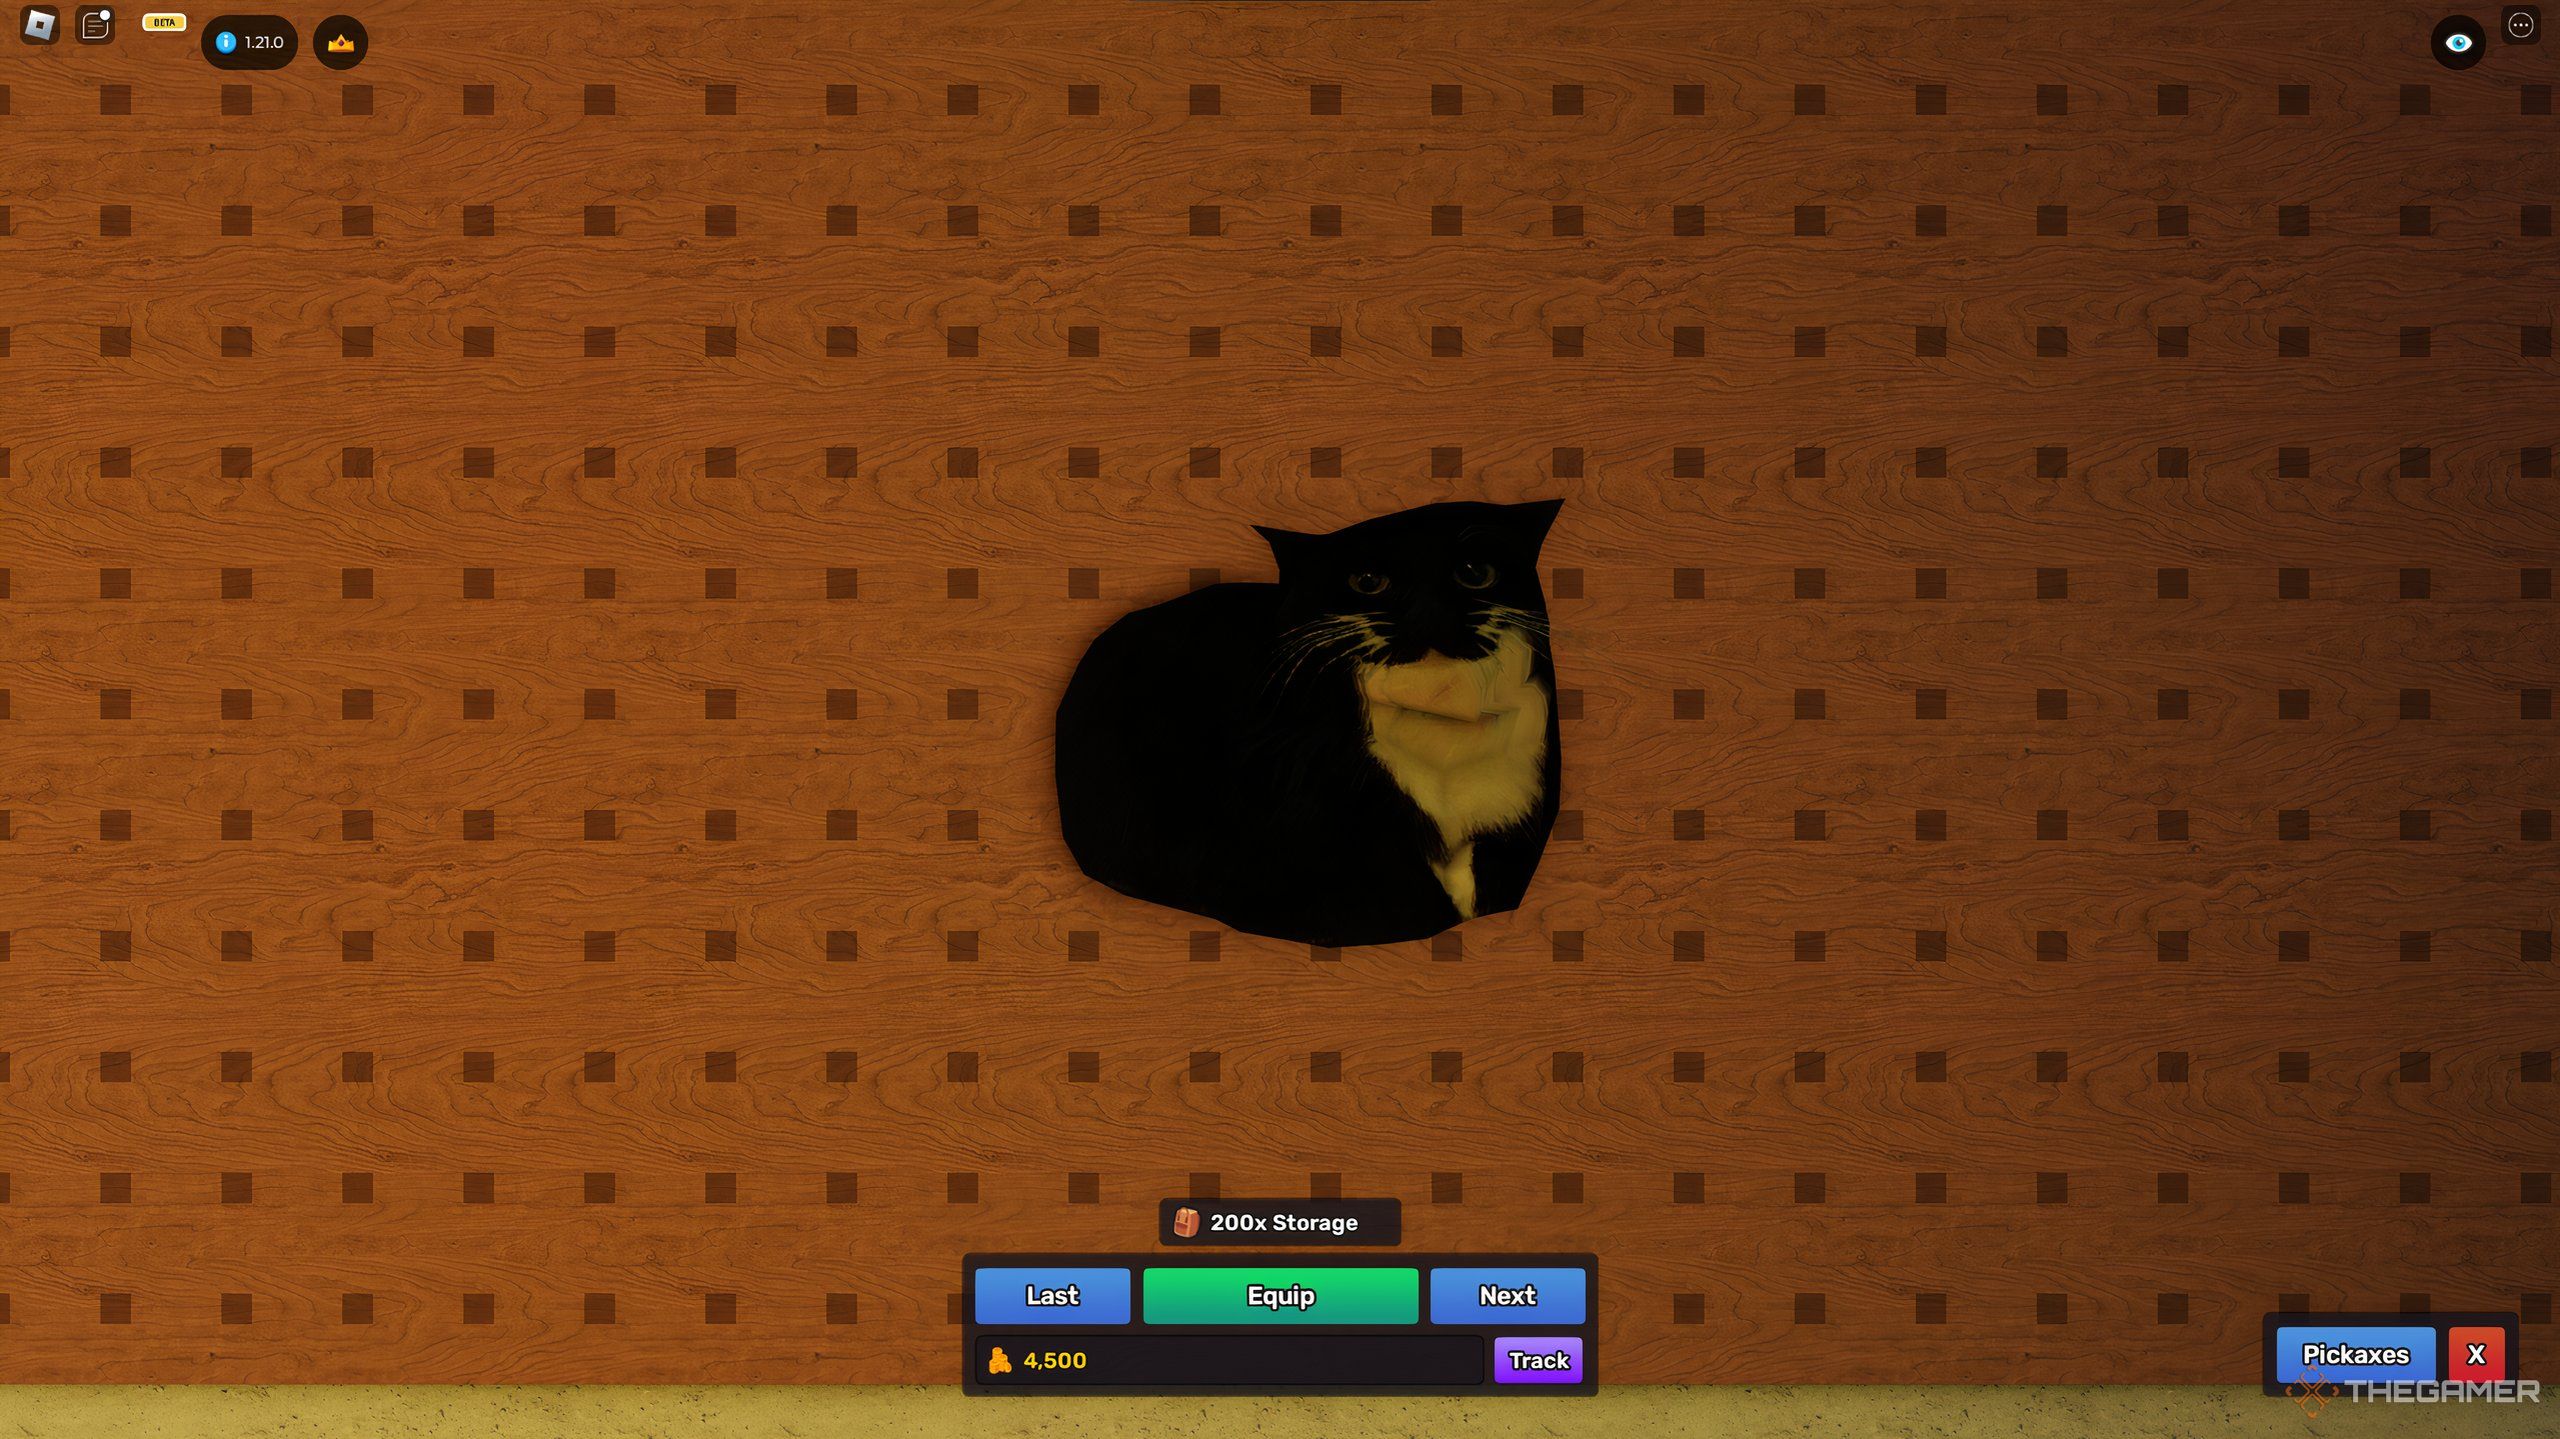
Backpacks can be upgraded with a simple rule of thumb: If the upgrade gives you double the space you had up until now, then it’s worth it. If the upgrade provides only fifty percent more storage, then the price of it can hardly be justified since so many different upgrades require large sums of money.
On the other hand, backpacks can also be earned rather than bought. This can be done by doing quests, daily missions, and events. The backpacks you earn are almost always better than the ones you can buy, so if a quest rewards you with a backpack – focus on that, rather than saving up to buy one.

