Wakemaker is a tool used to swim faster. Subnautica 2 Players will want to upgrade as soon as possible to make exploration smoother overall with quality of life upgrades.
Fortunately, finding and scanning all three blueprints needed to unlock Wakemaker is very easy, and crafting them is even simpler. Here's the breakdown.

Ranking the 9 Most Anticipated Survival Games Officially Coming in 2026
Those who enjoy survival games have a lot to look forward to this year. This title is expected to be released around 2026.
All Wakemaker Blueprint Piece Locations in Subnautica 2
Wakemaker Blueprint #1
- Distance from Lifepod: 95m
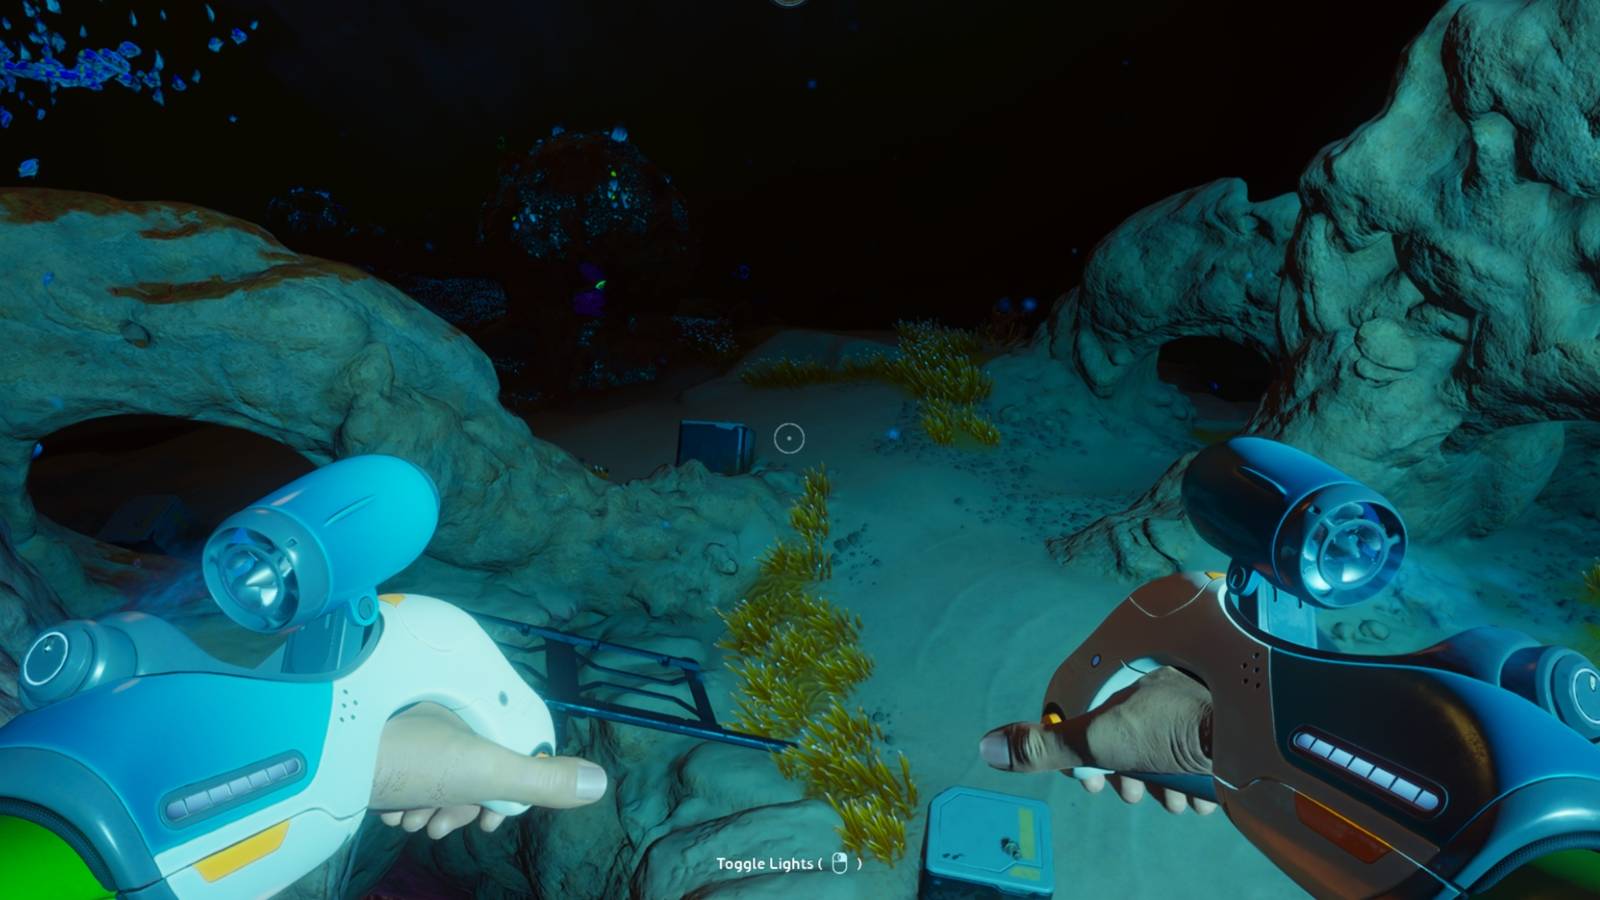
- Directions from Lifepod: N-NW (between markers 330 and 345)
- depth: 18 minutes
The first Wakemaker blueprint fragment is found inside a broken metal container next to an orange coral formation in a shallow water biome exactly 95 meters from the Lifepod. To get here, go to: life pod And turn the compass N-NWdirectly Between markers 330 and 345 As shown in the screenshot above.
Swim 95 meters and look straight down. You'll find a few loose and broken metal containers and metal salvage scattered among the coral. Look inside every metal container until you find one that has: Wakemaker Piece.
Wakemaker Blueprint #2
- Distance from Lifepod: 125m
- Directions from Lifepod: N (between 330 and 345 markers)
- depth: 27 minutes
From the location of Wakemaker Blueprint #1, turn the camera north to the 60 marker on the HUD and you will see this: A small cave littered with Altera debris. back and forth. Approach this cave and take a look inside. You can find the second Wakemaker Piece inside another open metal box hidden inside.
Wakemaker Blueprint #3
- Distance from Lifepod: 122m
- Directions from Lifepod: N-NW (300 markers)
- depth: 53m
After getting Blueprint #2, return to the location of Blueprint #1. Then turn the camera to the 240 marker on the HUD, right next to the south sign, and swim in a straight line for about 20 meters. If you look down crevice in the seafloor You can swim in. Enter the gap and swim down to find the third and final Wakemaker Piece inside another metal crate.
How to Create a Wakemaker in Subnautica 2

After unlocking the Wakemaker, you can craft it at any Fabricator using the following crafting materials:
|
equipment |
crafting station |
ingredient |
|---|---|---|
|
wake maker |
producer |
|
silver
Silver is found in a cave 200 meters north of the Lifepot. These caves are brightly lit with luminous and colorful fauna, and the easiest way to spot them is to look for Pent, small orange fauna growing near the cave entrance.
wiring kit
|
neck |
ingredient |
|---|---|
|
wiring kit |
The locations of silver are detailed in the section above, and copper wire can be crafted from copper ore, which is found in abundance near caves, titanium, and other beginner resources in the starting area.
primary battery
Both copper and acid ion pockets are found in caves in the starting area. Acid Ion Pouches are brain-like purple fauna that grow on cave floors and can be harvested using the Survival Multitool.
maintain
Lucifer Rotsac is a bright bulb-shaped fauna that grows on a plant called Cradle Shootroot. This fauna begins to appear about 70 meters east of Lifepod. They glow in the dark, making them easy to spot at night.
How to Charge Wakemaker in Subnautica 2

Wakemaker operates on a main battery charge. Each time you use it, it consumes a little bit of power. Charged to reload primary battery In inventory reload Shortcut key (R on PC) and load Use the screen prompts to charge the charged battery.
The Wakemaker is responsible for the primary batteries, and depleted primary batteries are placed in your inventory. The main battery can be charged in one go. battery terminalThis is the basic module type that can be unlocked by scanning fragments.


- released
-
May 14, 2026
- ESRB
-
Anyone over 10 years old / language, fantasy violence
