crimson desert It's a game full of tons of hidden equipment, bosses, and puzzles for you to solve. From floating islands in the sky to weapons and armor hidden behind waterfalls, you'll become much stronger if you take the time to explore.
One of these hidden puzzles is located in Timberdale and provides both a fast travel point and an Abyss Artifact for your troubles. Here's how to solve this tricky puzzle in the ancient ruins of Timberdale Forest.
Timberdale Puzzle Solutions
To find the Timberdale Ancient Ruins, you'll need to head to the Delethia region in the southeastern corner of the world. In particular, you'll want to head towards the western part of the area and go just south of where the D for Dewhaven is on the map (pictured above).
When you arrive, you'll see circuit buttons on three walls that can be manipulated using the Axiom Force. But half of them are underwater and inaccessible. To fix this, look to the northern end of these ruins and you will see a small archway filled with stones. Approach the archway and perform a turning slash (right bumper + right trigger) to break the rock.
This will release the water after a few seconds and drain the main puzzle area. Now jump down to the ruins and use the blinding flash (left bumper + right bumper) to see the circuit path for all the wheels. You can see that they are all connected, but not active right now. To trigger it, you'll need to use Axiom Force's Force Current ability to push it, which will force some buttons on the wall to be pressed.
To complete the puzzle, you must ensure that the energized button is activated and pressed. It doesn't matter if you press some of the other buttons without current. The Timberdale puzzle can be completed as long as all of the actual paths the energy follows are active.
If you mess up the button order, there doesn't seem to be any way to reset which button was pressed. For this reason, I recommend grabbing the Abyss Gate just south of the ruins across the river. This will allow you to quickly get to the gate if you make a mistake and need to reset. Doing so will reset the entire puzzle, allowing you to solve the problem instead of just randomly hitting buttons to fix your mistakes.

I recommend starting with the middle set and pressing the first and last switches in button order (marked with a red X in the photo above). Doing so will activate all four buttons, sending current through the button wall on the right.

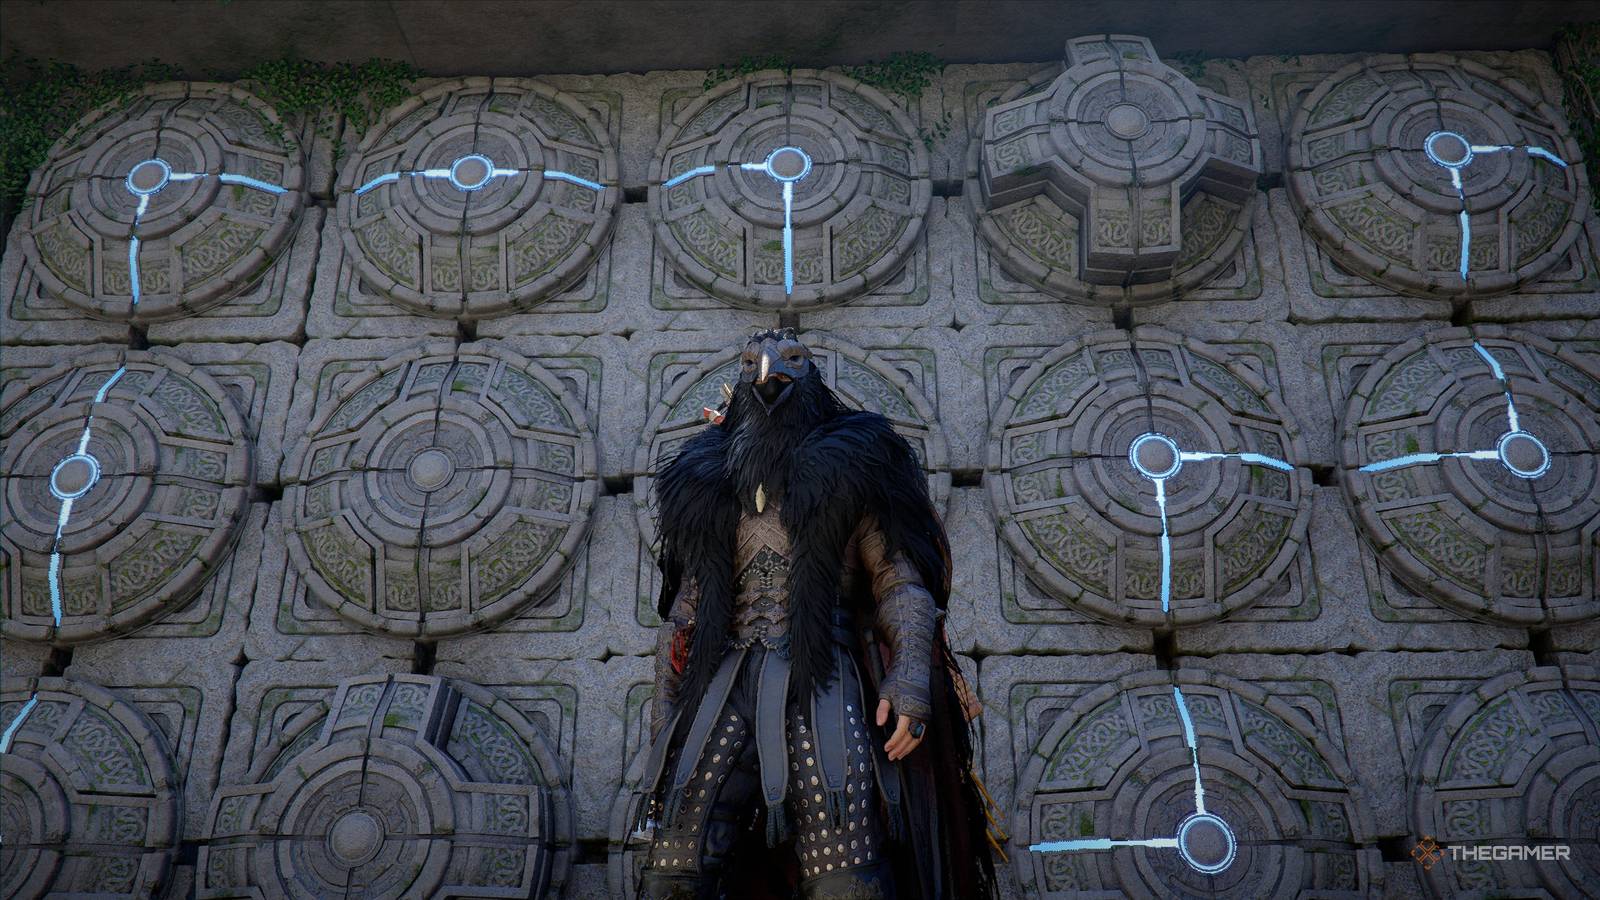
Now go back to the wall of buttons on the right and press the middle button in the first row and the top button in the third row. This will press all the buttons on the live part and shut down this side. Remember that the glowing blue orb in the lower left corner of each button wall lets you know which wall to work on next.

Finally, you need to look at the left wall and activate the four buttons. These are the middle button in the first column, the top button in the third column, the bottom button in the fourth column, and the top button in the fifth column. Doing so will activate all the correct buttons and complete the puzzle.
This will open a small stone door where you will find a small podium with an Abyss Artifact inside. Collecting these will give you free skill points and fast travel points you can use.

Crimson Desert: Flame Element Unlocking Guide
Here's how to unlock the Flame element and complete all of its Abyss puzzles in Crimson Desert.
