We’ve got all the Shadows of Evil easter egg steps for Black Ops 3 right here, with an updated step-by-step guide that will ensure you defeat the Shadowman and the Apothicons in Morg City. This Shadows of Evil easter egg guide is up-to-date with the best methods of completion for solo and squads.
If you’re looking to free Morg City of the curse, then you’re in the right place. These Shadows of Evil easter egg steps will be easy to follow, so long as you have the bravery to fight against the threats that await you in the journey to acquiring the Summoning Key.

Black Ops 3: Moon Main Easter Egg Guide (2026)
Richtofen’s Grand Scheme awaits on Moon, a Black Ops and Black Ops 3 Zombies map that features an easter egg which we’ve got the steps for right here.
The final step of the Shadows of Evil easter egg can only be completed with four players. However, you can use the Solo Easter Eggs mod by Korlesa on the Steam Workshop to bypass this.
Shadows of Evil Easter Egg Step-by-Step Overview
- Step #1: Acquire the Summoning Key.
- Step #2: Acquire the Lawyer’s Pen and Complete the Magician Ritual.
- Step #3: Acquire the Championship Belt and Complete the Boxer Ritual.
- Step #4: Acquire the Detective Badge and complete the Detective Ritual.
- Step #5: Acquire the Hair Piece and complete the Femme Fatale Ritual.
- Step #6: Enter the Rift through THIS AREA and access the Sacred Place.
- Step #7: Place the Gateworms in the Sacred Place to activate Pack-a-Punch.
- Step #8: Ride the Tram to get three unique symbols to get the Apothicon Egg.
- Step #9: Charge the Apothicon Egg by killing zombies at 4 Apothicon Statues.
- Step #10: Obtain the Apothicon Sword.
- Step #11: Upgrade the Apothicon Sword
- Step #12: Open the book on the floor in the Magician Ritual room.
- Step #13: Carry and protect the Flag in the Subway to different ritual sites a total of four times.
- Step #14: Interact with the Keepers in the Sacred Place to capture the Shadowman.
- Step #15: Use Beast Mode to charge the electrical boxes at the Tram Stations to avert the apocalypse.
Step #1: Grab the Summoning Key
In the spawn area, you will find a ritual station containing a blue flame. If you interact with it, you will enter Beast Mode. In Beast Mode, you will want to melee the crate on the back of the truck in the spawn area.
Once you return to your human form, you can pick up the Summoning Key from the truck, which will be your first essential item for the easter egg.
Step #2: Complete the Magician Ritual
Through spawn, enter through the Junction, which is a much wider area. You’ll want to activate Beast Mode and zap the electrical box, which will make the crane drop a box. While in Beast Mode, grapple above to Nero’s Landing, and run around the back to zap another electrical box.
Once you return to human form, grab the Lawyer’s Pen from the crate that smashed, and then return to the spawn area to find a gate now opened that lets you access Nero’s Landing. There’s an altar here that you can interact with, and starting it requires you to survive for 30+ seconds, then you can grab the Gateworm.
Step #3: Complete the Detective Ritual
Head to the Canal District and activate Beast Mode. You’ll want to enter the canals and melee strike the box behind a gated wall to reveal the Badge. Proceed through the canals and zap the electrical panel behind a wall. Lastly, you can grapple into the Ruby Rabbit and head downstairs to zap the electrical panel.
In human form, return to the canals and grab the Detective Badge, then head into the Ruby Rabbit’s upstairs area to start another ritual. Once you grab the Gateworm, a Margwa will spawn, which is killed by destroying its three open mouths.
Step #4: Complete the Boxing Ritual
Enter the Waterfront District and enter Beast Mode. You’ll want to look up from the center of the area and use a grapple so you can get behind a crate and smash it. Jump off the balcony to find the Boxing Gym, and you can smash the door with a Beast Mode melee.
In human form, grab the Championship Belt and start the ritual inside the Boxing Gym. After running around for 30 seconds, you can grab the Gateworm and proceed to the last ritual site.
Step #5: Complete the Femme Fatale Ritual
Inside the Footlight District, you’ll want to activate Beast Mode. Look up and grapple, where you can find a ramp you can use to jump over to a platform and melee a crate. Jump back over to find the Black Lace Bluresque, and you can grapple over to zap an electrical box behind the neon sign.
Return to human form to grab the Hair Piece from the floor, and then enter through the Footlight District to start the last ritual inside the Black Lace Burlesque. After picking up the Gateworm, you’ll spawn another Margwa.
Step #6: Activate Pack-a-Punch
With all four rituals complete and the Gateworms acquired, you can now head through the Rift (located behind the doors you can melee in each district through Beast Mode), which takes you to the Subway Station. Inside, you can walk towards the wall with the yellow symbols to reveal the Sacred Place.
Place a Gateworm on either side of the Sacred Place, then wall-run to place the final two Gateworms. You can now interact with the altar at the entrance of the room to place the Summoning Key, where you just need to survive for a few seconds, and Pack-a-Punch will now be available.
Step #7: Acquire Your Unique Symbols for the Apothicon Egg
Head back to the surface and run to the Footlight District, where you can call and use the Tram. Take the Tram from the Footlight District to the Canals, and look out the left window to find a unique symbol, and then look out the right window to find a second symbol.
You can now take the Canals Tram to the Waterfront District, and look out the left window to find your last remaining symbol. Once you’ve noted down your symbols (they are unique per game), head back to the Subway Station and use Beast Mode, where you can now zap your symbols that are on the wall.
Step #8: Feed the Apothicon Egg Souls From Statues
With the secret wall now revealed, you can return to human form and pick up the Apothicon Egg. You will now need to use Beast Mode to break open 4 unique boxes around the map, which you can then interact with to place your Apothicon Egg. Once you get 10+ kills around the Egg, it should light up, and you can pick it up and head to the next location:
- Statue #1: Opposite the Apothicon Swords in the Subway Station.
- Statue #2: By the Ruby Rabbit in the Canals District.
- Statue #3: Underneath the Perk Machine in the Footlight District.
- Statue #4: In the upstairs building opposite the Tram Station in the Waterfront District.
Step #9: Exchange the Apothicon Egg for the Apothicon Sword

With all four statues used, the Apothicon Egg should be fully charged. You can now return to the Subway Station, where you picked up the egg, to return it to its pedestal in exchange for the Apothicon Sword.
Step #10: Acquire the Arch-Ovum Egg and Upgrade the Apothicon Sword
With the Apothicon Sword now acquired, it’s time to upgrade it. You will need to grab the Arch-Ovum egg from a Keeper located at your character’s specific ritual site:
- Nero (Magician) can find his egg at the Magician Ritual above spawn.
- Jackie (Detective) can find his egg at the Ruby Rabbit in the Canal District.
- Floyd (Boxer) can find his egg at the Boxing Gym in the Waterfront District.
- Jessica (Femme Fatale) can find her egg at the Black Lace in the Footlight District.
With your egg acquired, you can now place the Arch-Ovum at specific ritual circles around the map, which will spawn two Margwas for you to kill. Each player can complete one ritual per round, so this will take a total of four rounds. Each ritual circle can be found in the ritual areas, but we’ve also tagged them in the image above to show you.
Once you’ve completed all four rituals, take the Arch-Ovum egg back to your Keeper, and you can exchange it for the upgraded Apothicon Sword.
Step #11: Interact with the Book in Nero’s Room
When all players have the upgraded Apothicon Sword, you can head to the Magician Ritual room to find an open book on the floor in front of the bookcases. You can interact with the book to see it float up into the air, indicating that you’ve completed this step.
The Apothicon Servent, Lil’ Arnies, and Civil Protector are extremely useful for this next step, as you’ll have to defend a flag from getting damaged by enemies.
Step #12: Capture the Flag
Inside the center of the Subway Station, you can find a flag. You will need to pick up the flag and run upstairs to the surface, where you will then find a pink rift on the floor that you can interact with to place the flag. You must now defend the flag from meatballs, parasites, and the Shadowman.
Once the flag has been defended, you can pick it up and get a Max Ammo, where you can then find another pink rift to place the flag to defend it again. After, pick up the flag and take it to a ritual site where you can place it at a Keeper.
This needs to be repeated once per round at all 4 ritual sites, so that’s a total of 8 defense sections. Each district has two flag defend areas:
- 2 in Junction that lead to Nero’s Landing.
- 2 in the Footlight District that lead to the Burlesque.
- 2 in the Waterfront District that lead to the Boxing Gym.
- 2 in the Canal District that lead to the Ruby Rabbit.
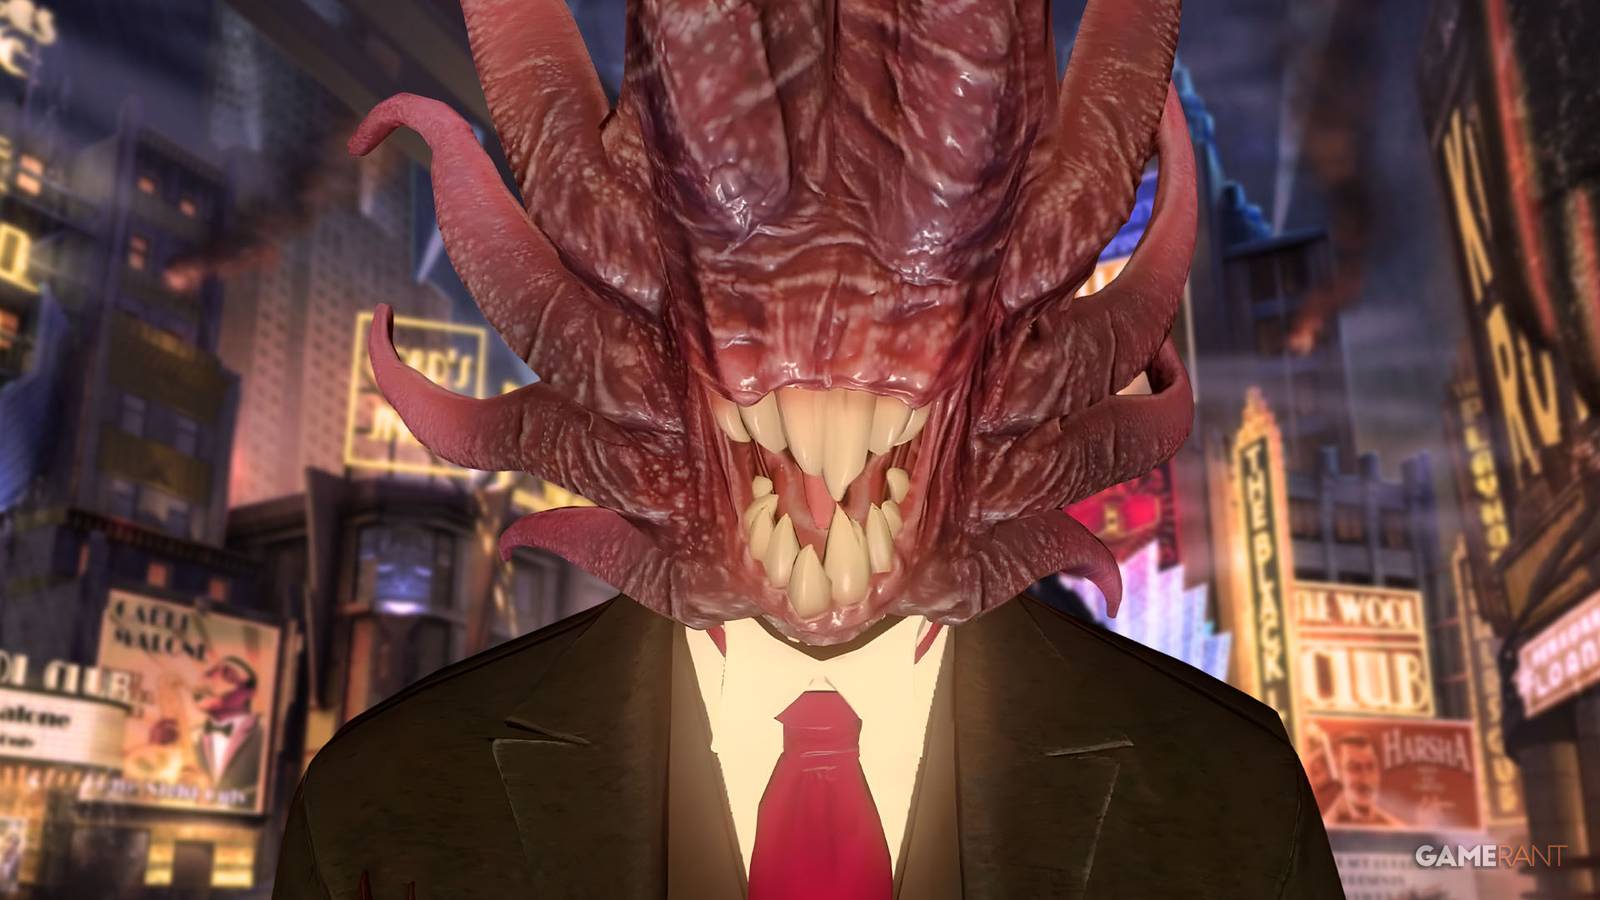
Step #13: Defeat and Capture the Shadowman
Back at the Sacred Place in the Subway Station, you can find the four Keepers in each corner where you placed the Gateworms. You will need each player to interact with the Keepers, which will see them shoot the Shadowman.
Once the Shadowman’s force field is down, you need to shoot him so he teleports. above the Summoning Key ritual table, and then you can quickly interact with the Summoning Key to trap him.
If the Shadowman is not trapped quickly enough, you will need to defeat the Margwas that spawn and activate the Keepers again so that you can keep attempting to trap him.
Step #14: Use Beast Mode to Avert the Apocalypse
- Only Margwas will spawn in this final step, and you will need to kill one to access Beast Mode.
- Every 30 seconds, your screen will begin to pulse with an infection, and you can cure it by walking through white orbs that spawn around the map. Failing to do so will result in your death.
- Three players will need to use Beast Mode and head to each Tram Station (Canals, Footlight, and Waterfront).
- In Beast Mode, three players must repeatedly zap the electrical box in the corner of each Tram Station.
- The remaining player (not in Beast Mode) needs to call the Tram and immediately run to the center (Junction).
- This remaining player needs to activate Beast Mode and jump into the bottom of the map and shock the three Keepers while the other players shock the electrical box to turn the tram blue.
- Zap the Keepers once the tram squishes the giant gateworm to complete the easter egg and earn the final cutscene.
If any player dies during this step, then don’t worry, you just need to call the Tram in order to respawn them.
We’ve covered all Black Ops 3 Zombies easter eggs for you to follow right here: The Giant, Der Eisendrache, Zetsubou No Shima, Gorod Krovi, and Revelations.

- Released
-
November 6, 2015
- ESRB
-
M for Mature: Blood and Gore, Drug Reference, Intense Violence, Strong Language
