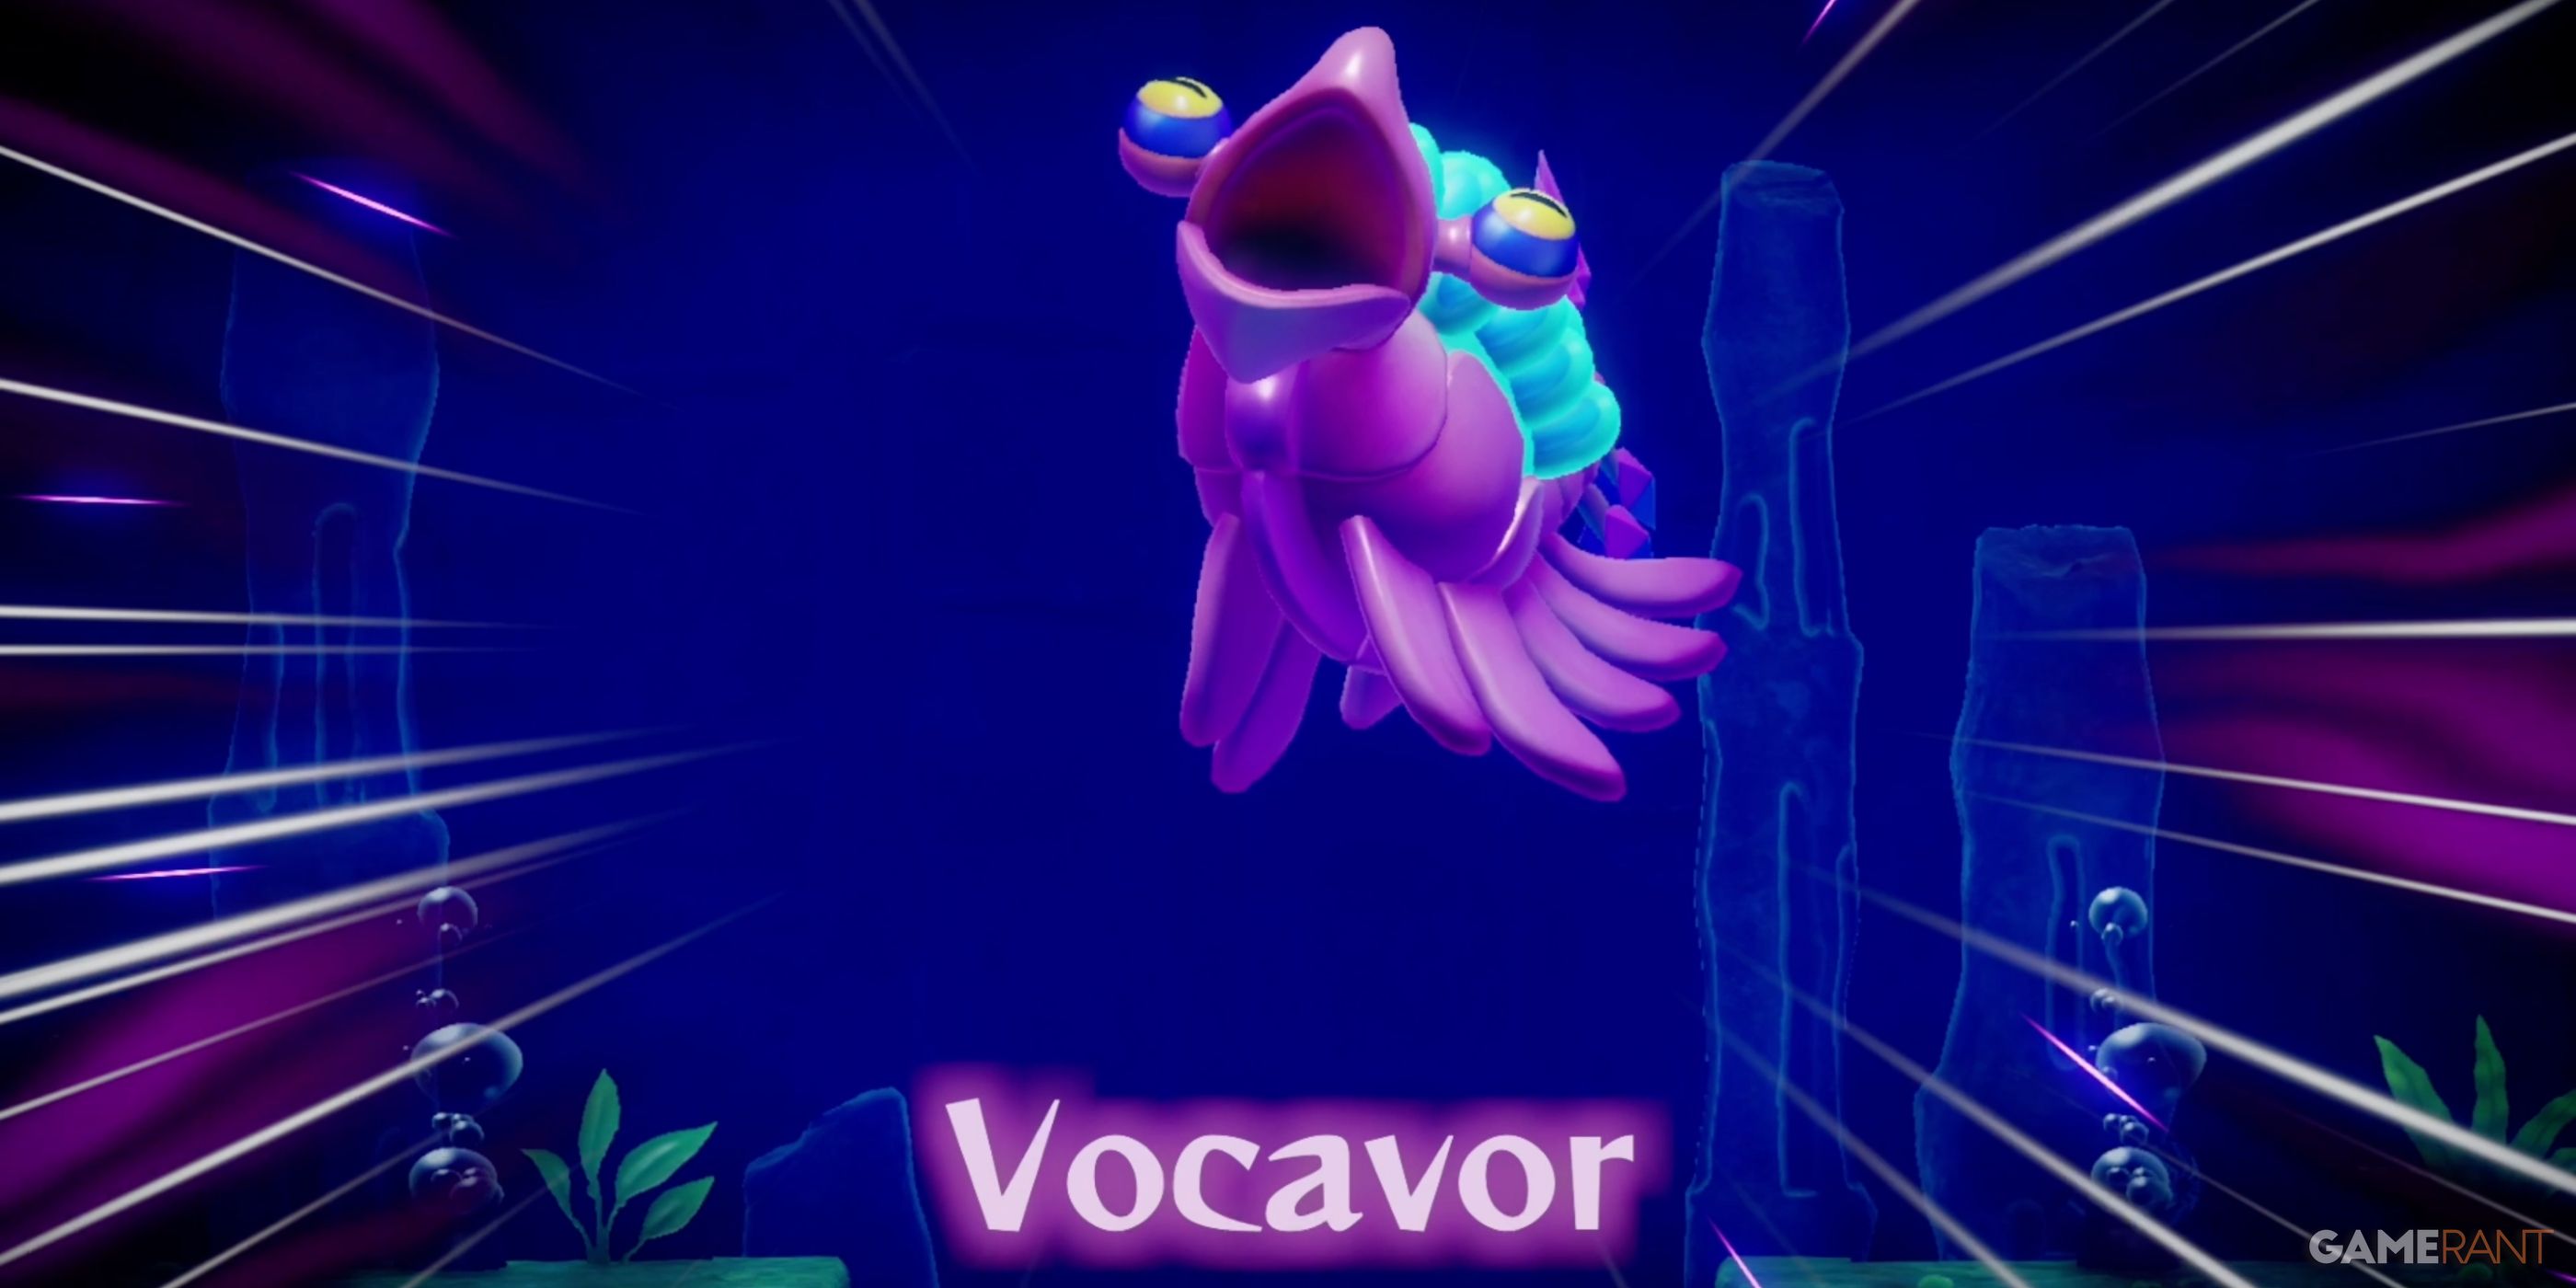
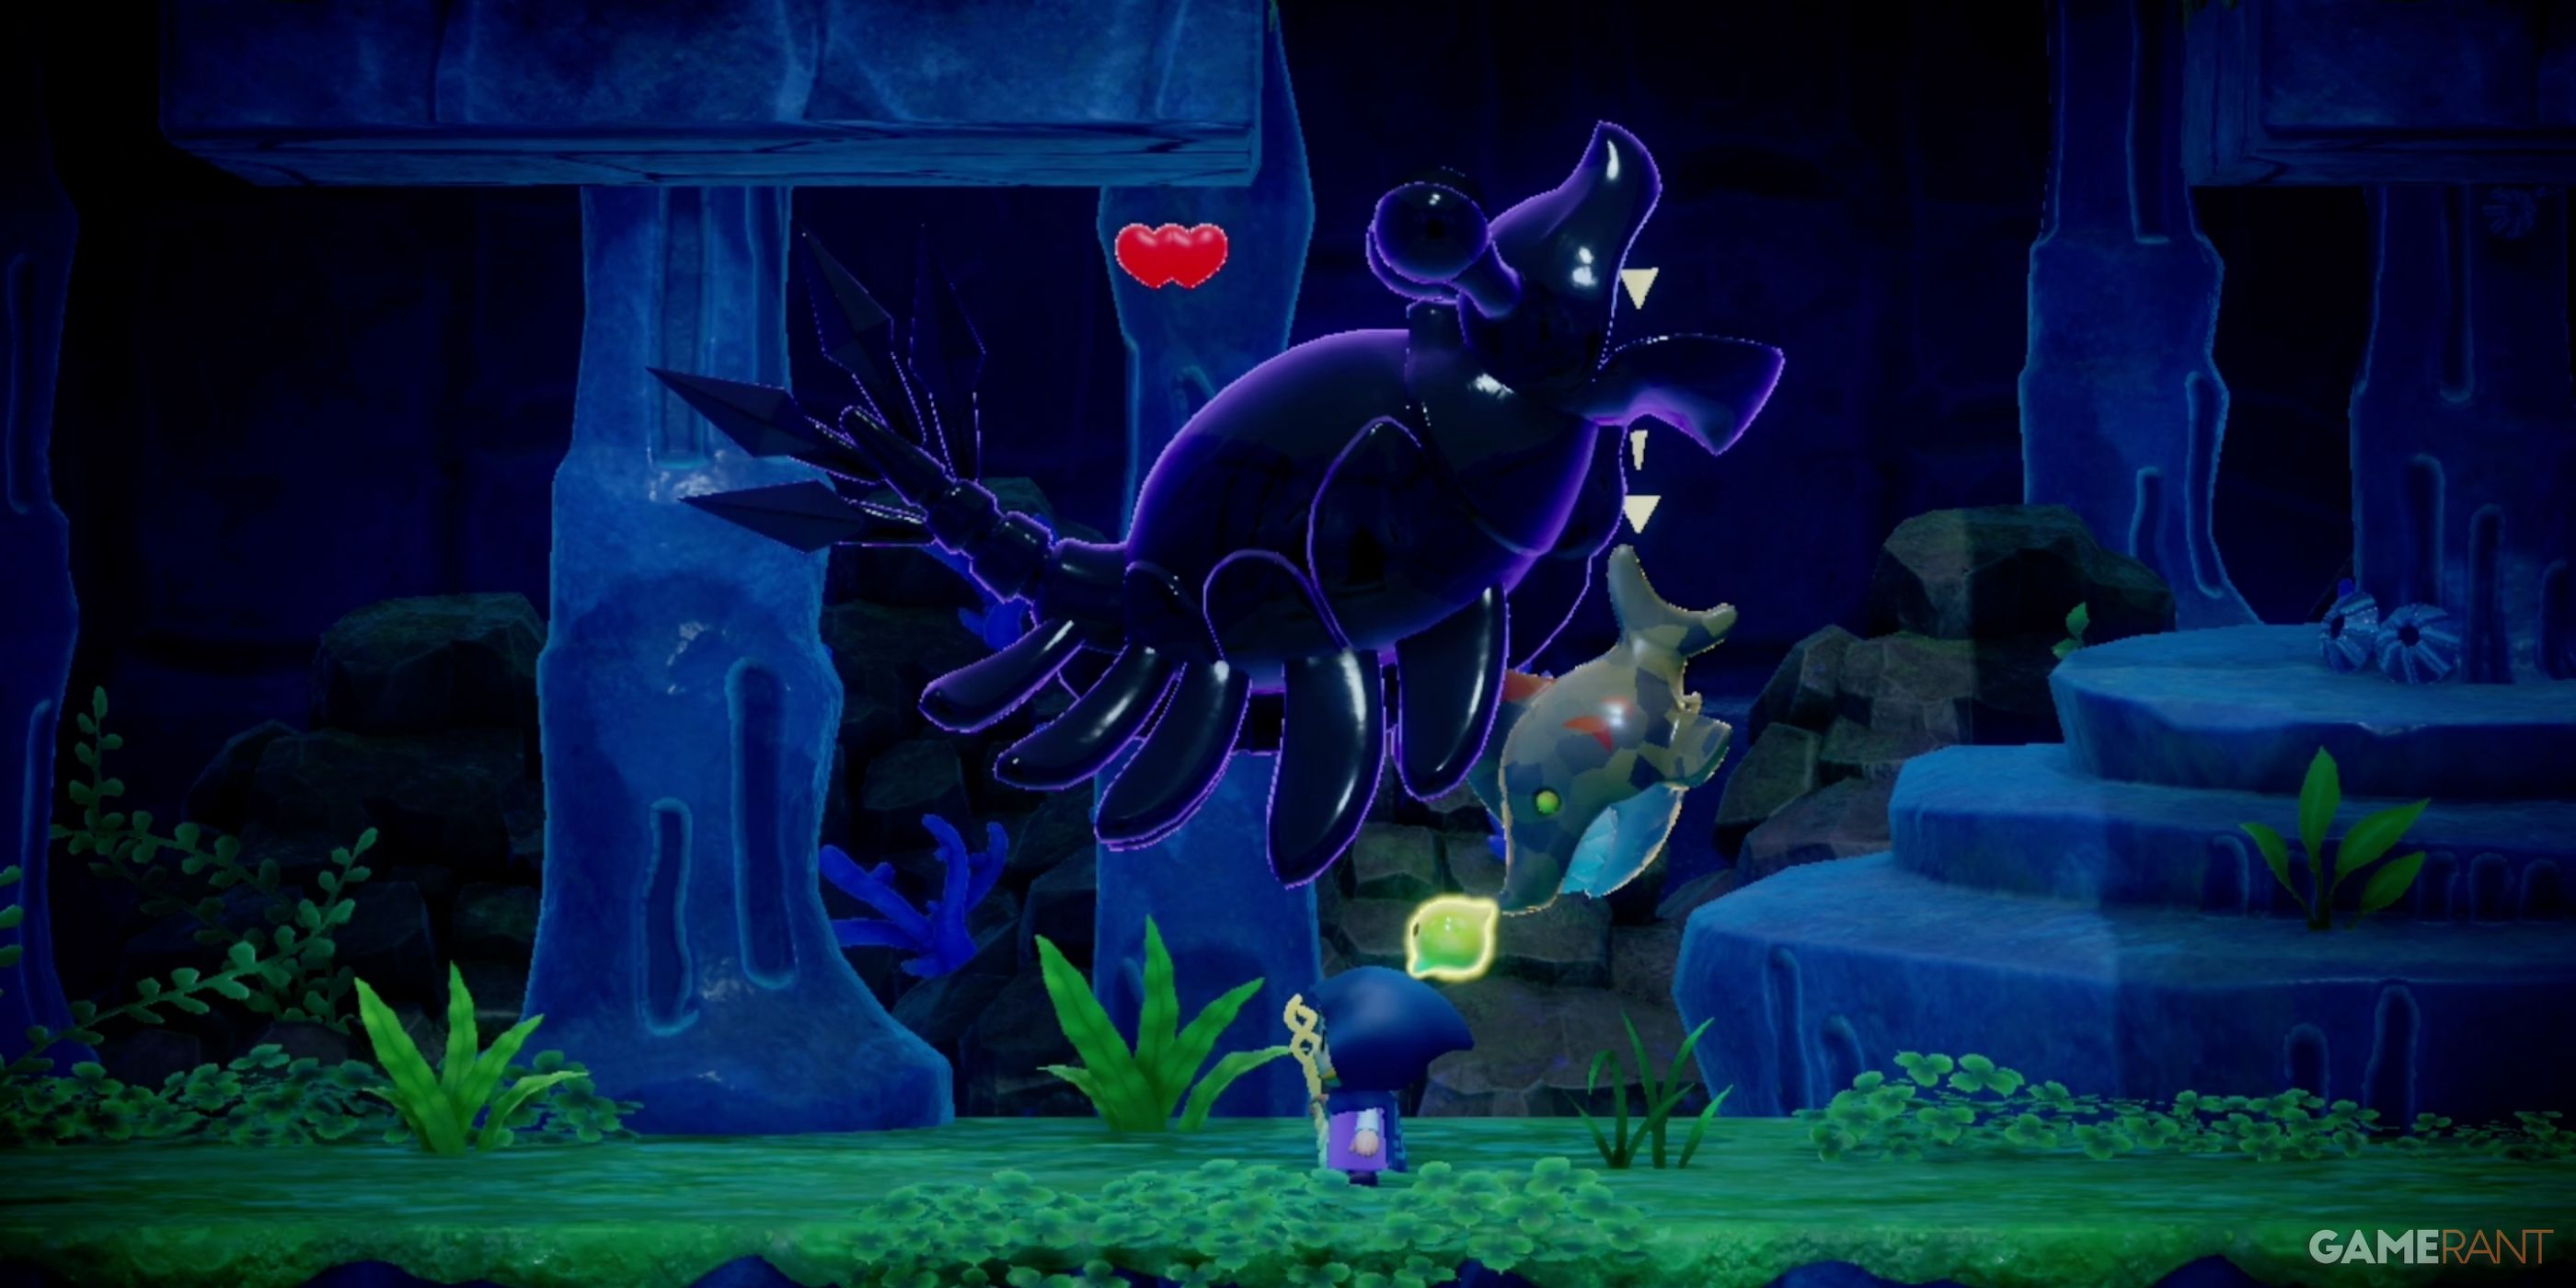
After completing the Suthorn Ruins dungeon in The Legend of Zelda: Echoes of Wisdom, Zelda has to make a choice about where to go next. The two options are placed before her: head west and take on the Gerudo Desert and the Gerudo Sanctum dungeon, or head east and help the Zora in the “Jabul Waters Rift” main quest. There are benefits to going each way, and regardless of your choice, you’ll eventually have to visit both locations. Whether you go there first or second, this guide will help you make your way through the Jabul Waters’ main dungeon, Jabul Ruins.
Jabul Ruins Walkthrough – B1 Purple Button
Entering Jabul Ruins:
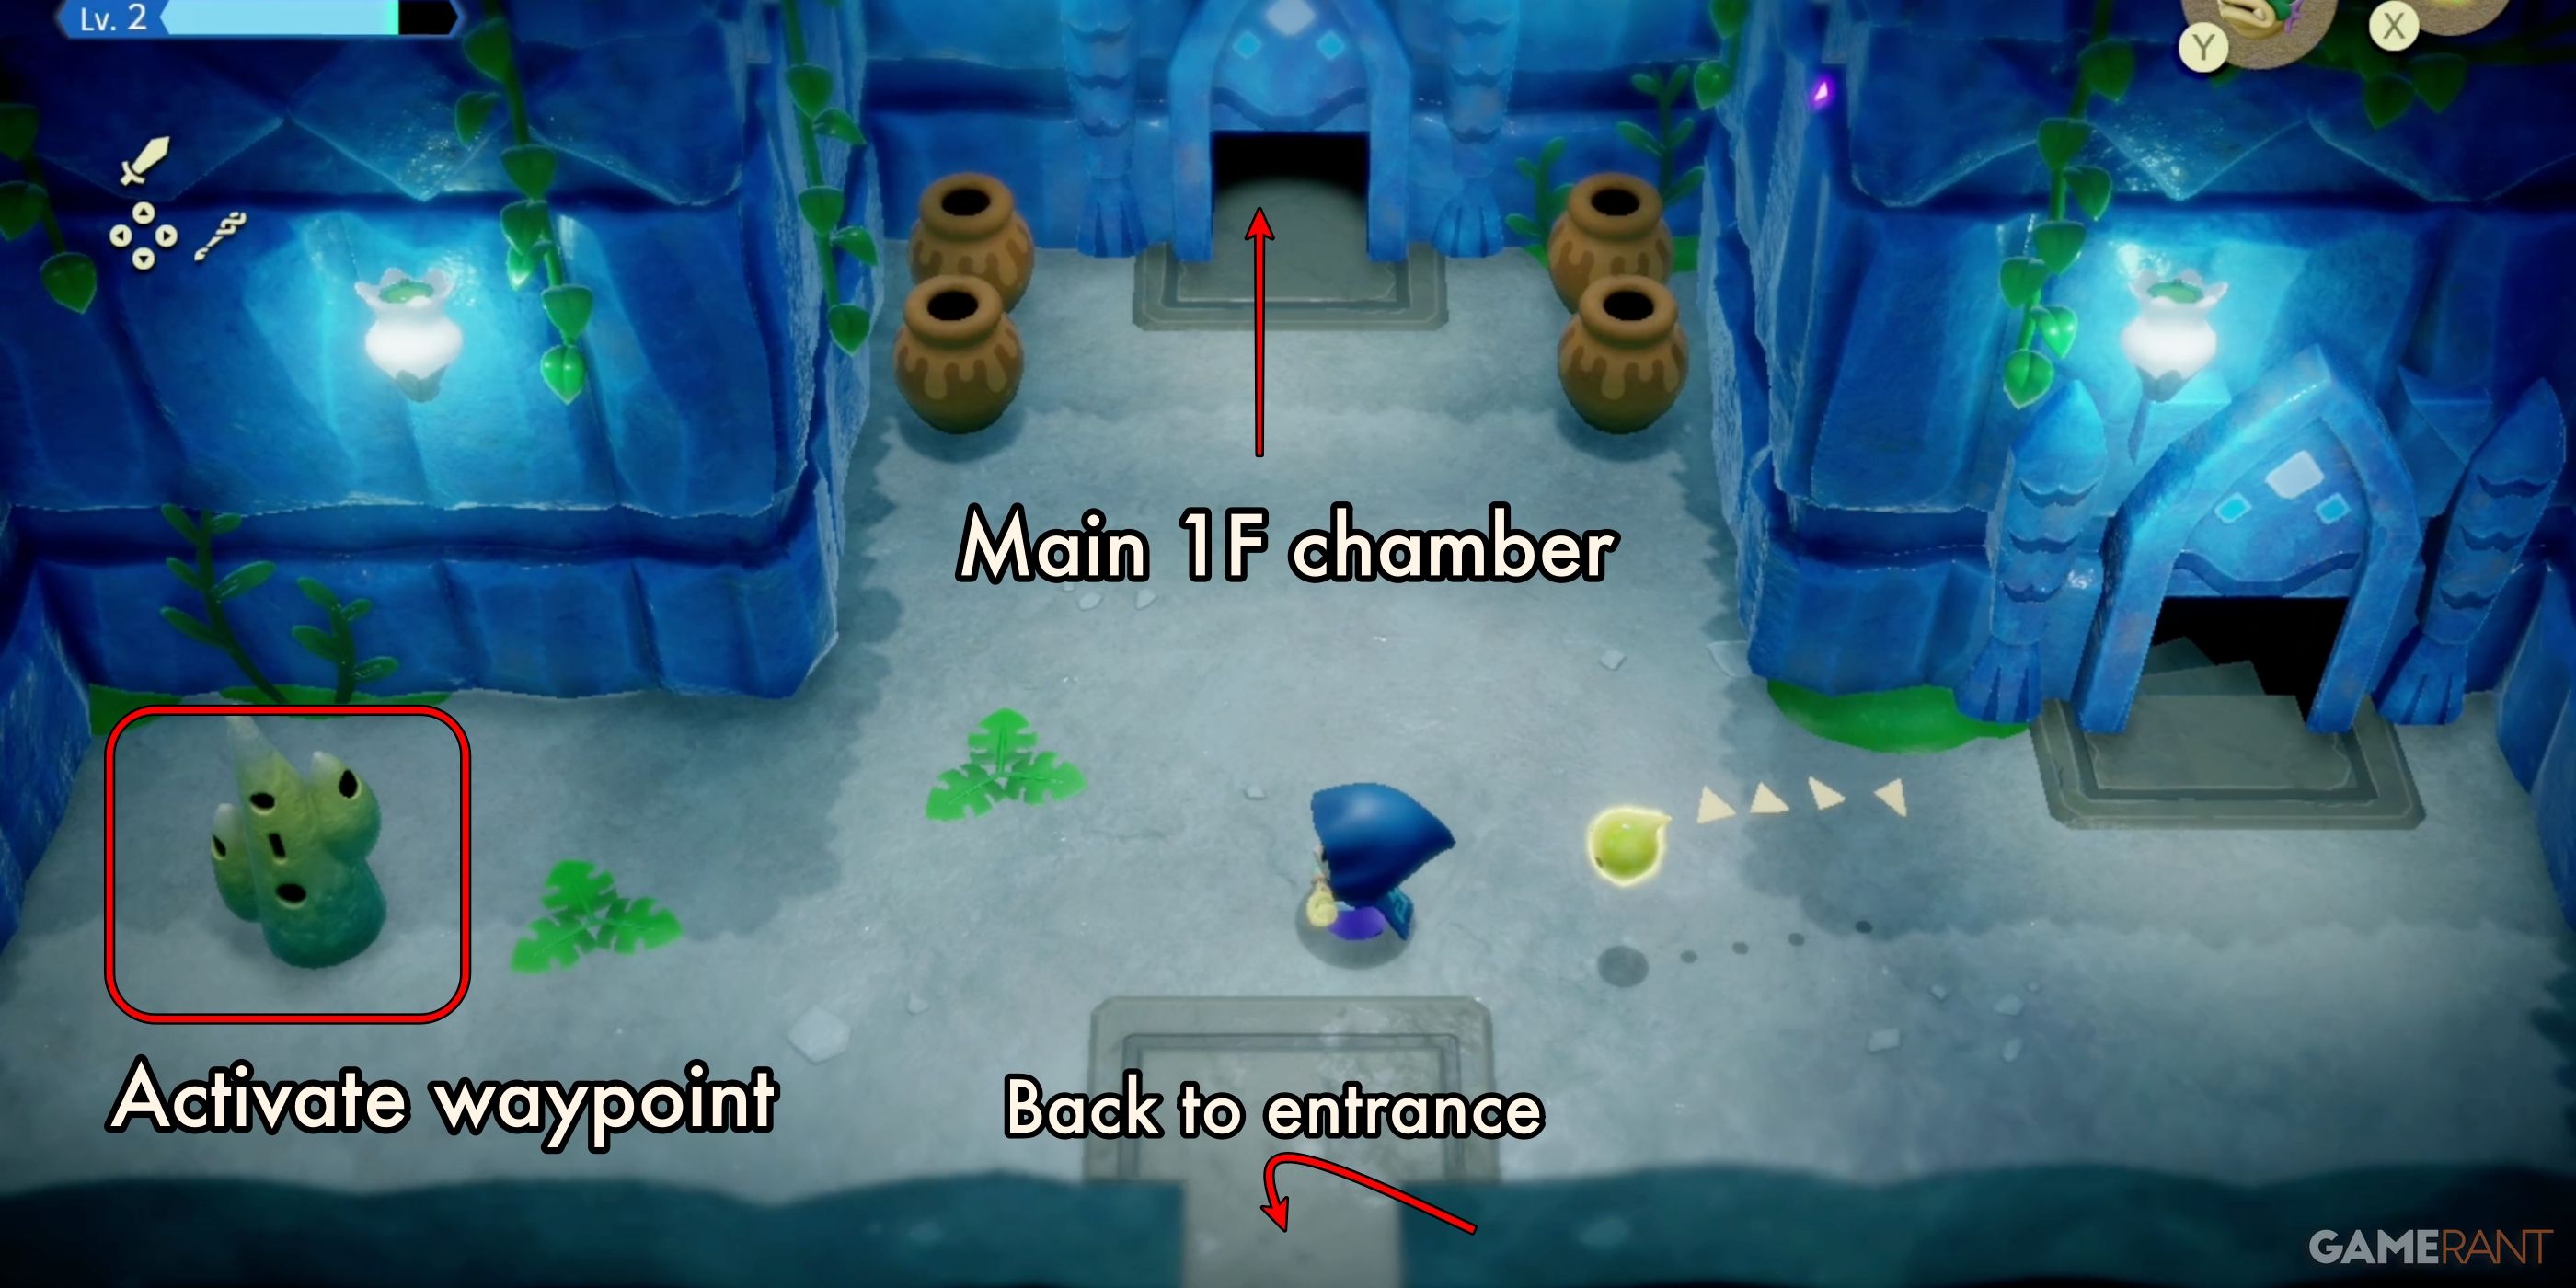
The entire “Jabul Waters Rift” main quest leads up to the Jabul Ruins dungeon, which sits at the end of the Stilled Jabul Waters rift section. Upon entering the front door, you will be in the main entrance corridor, on 1F.
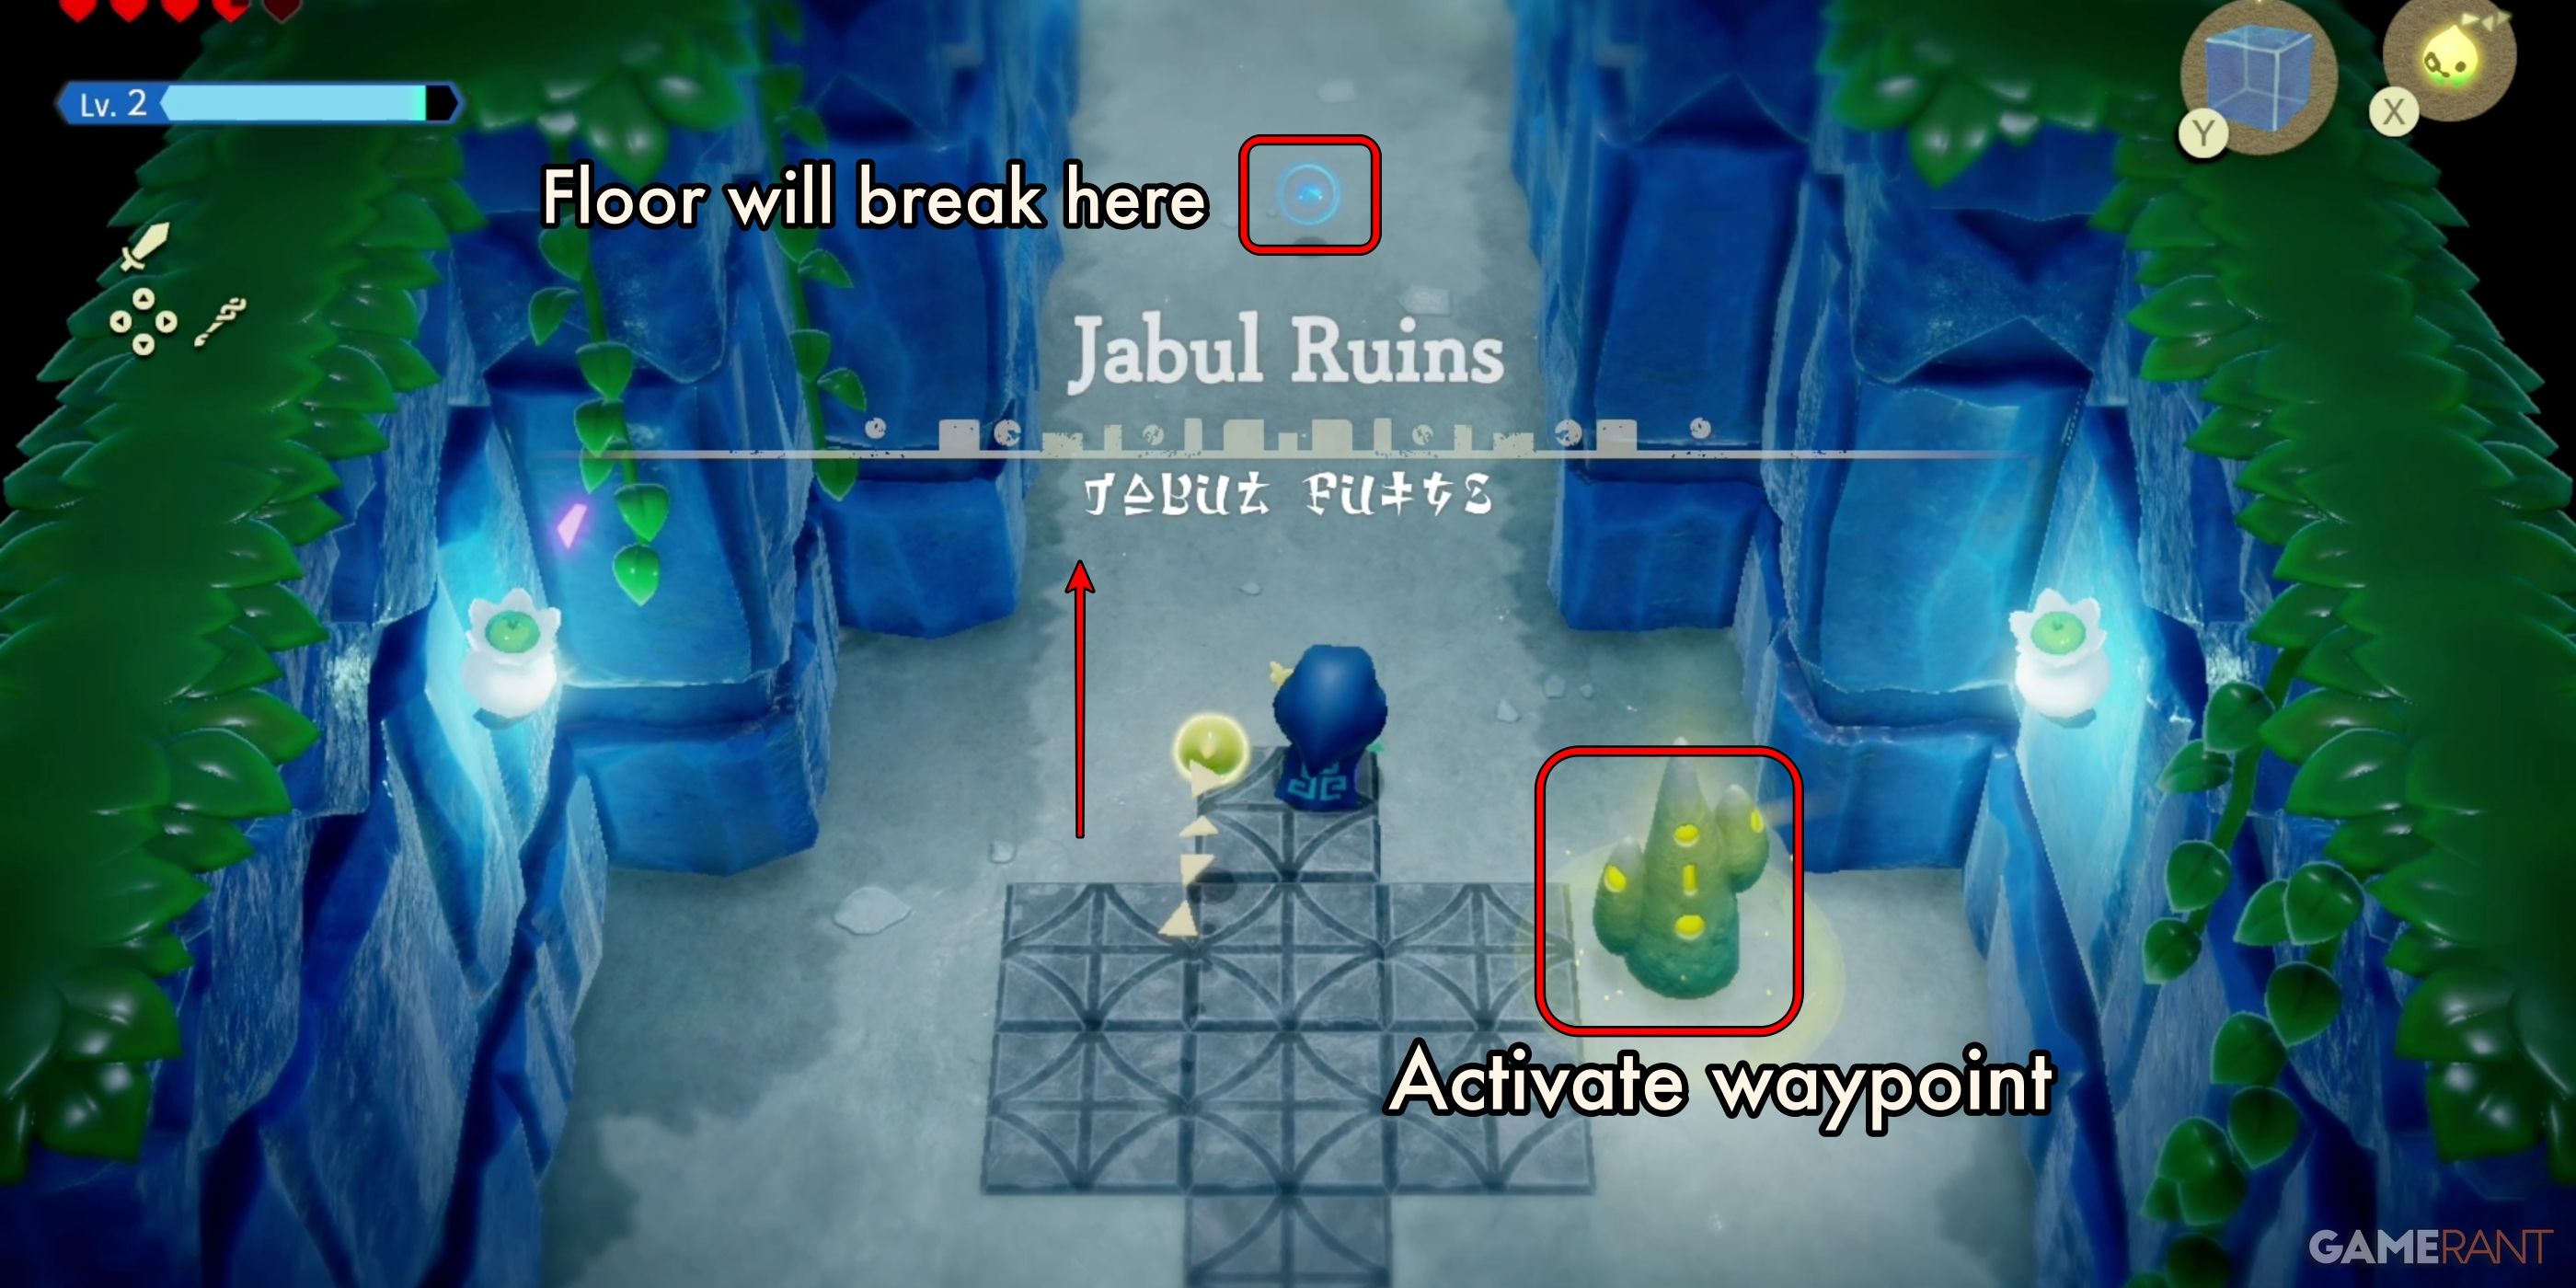
- Important Task: Make sure to activate the Fast-Travel Waypoint on the right side of the entrance corridor.
Falling to B1:
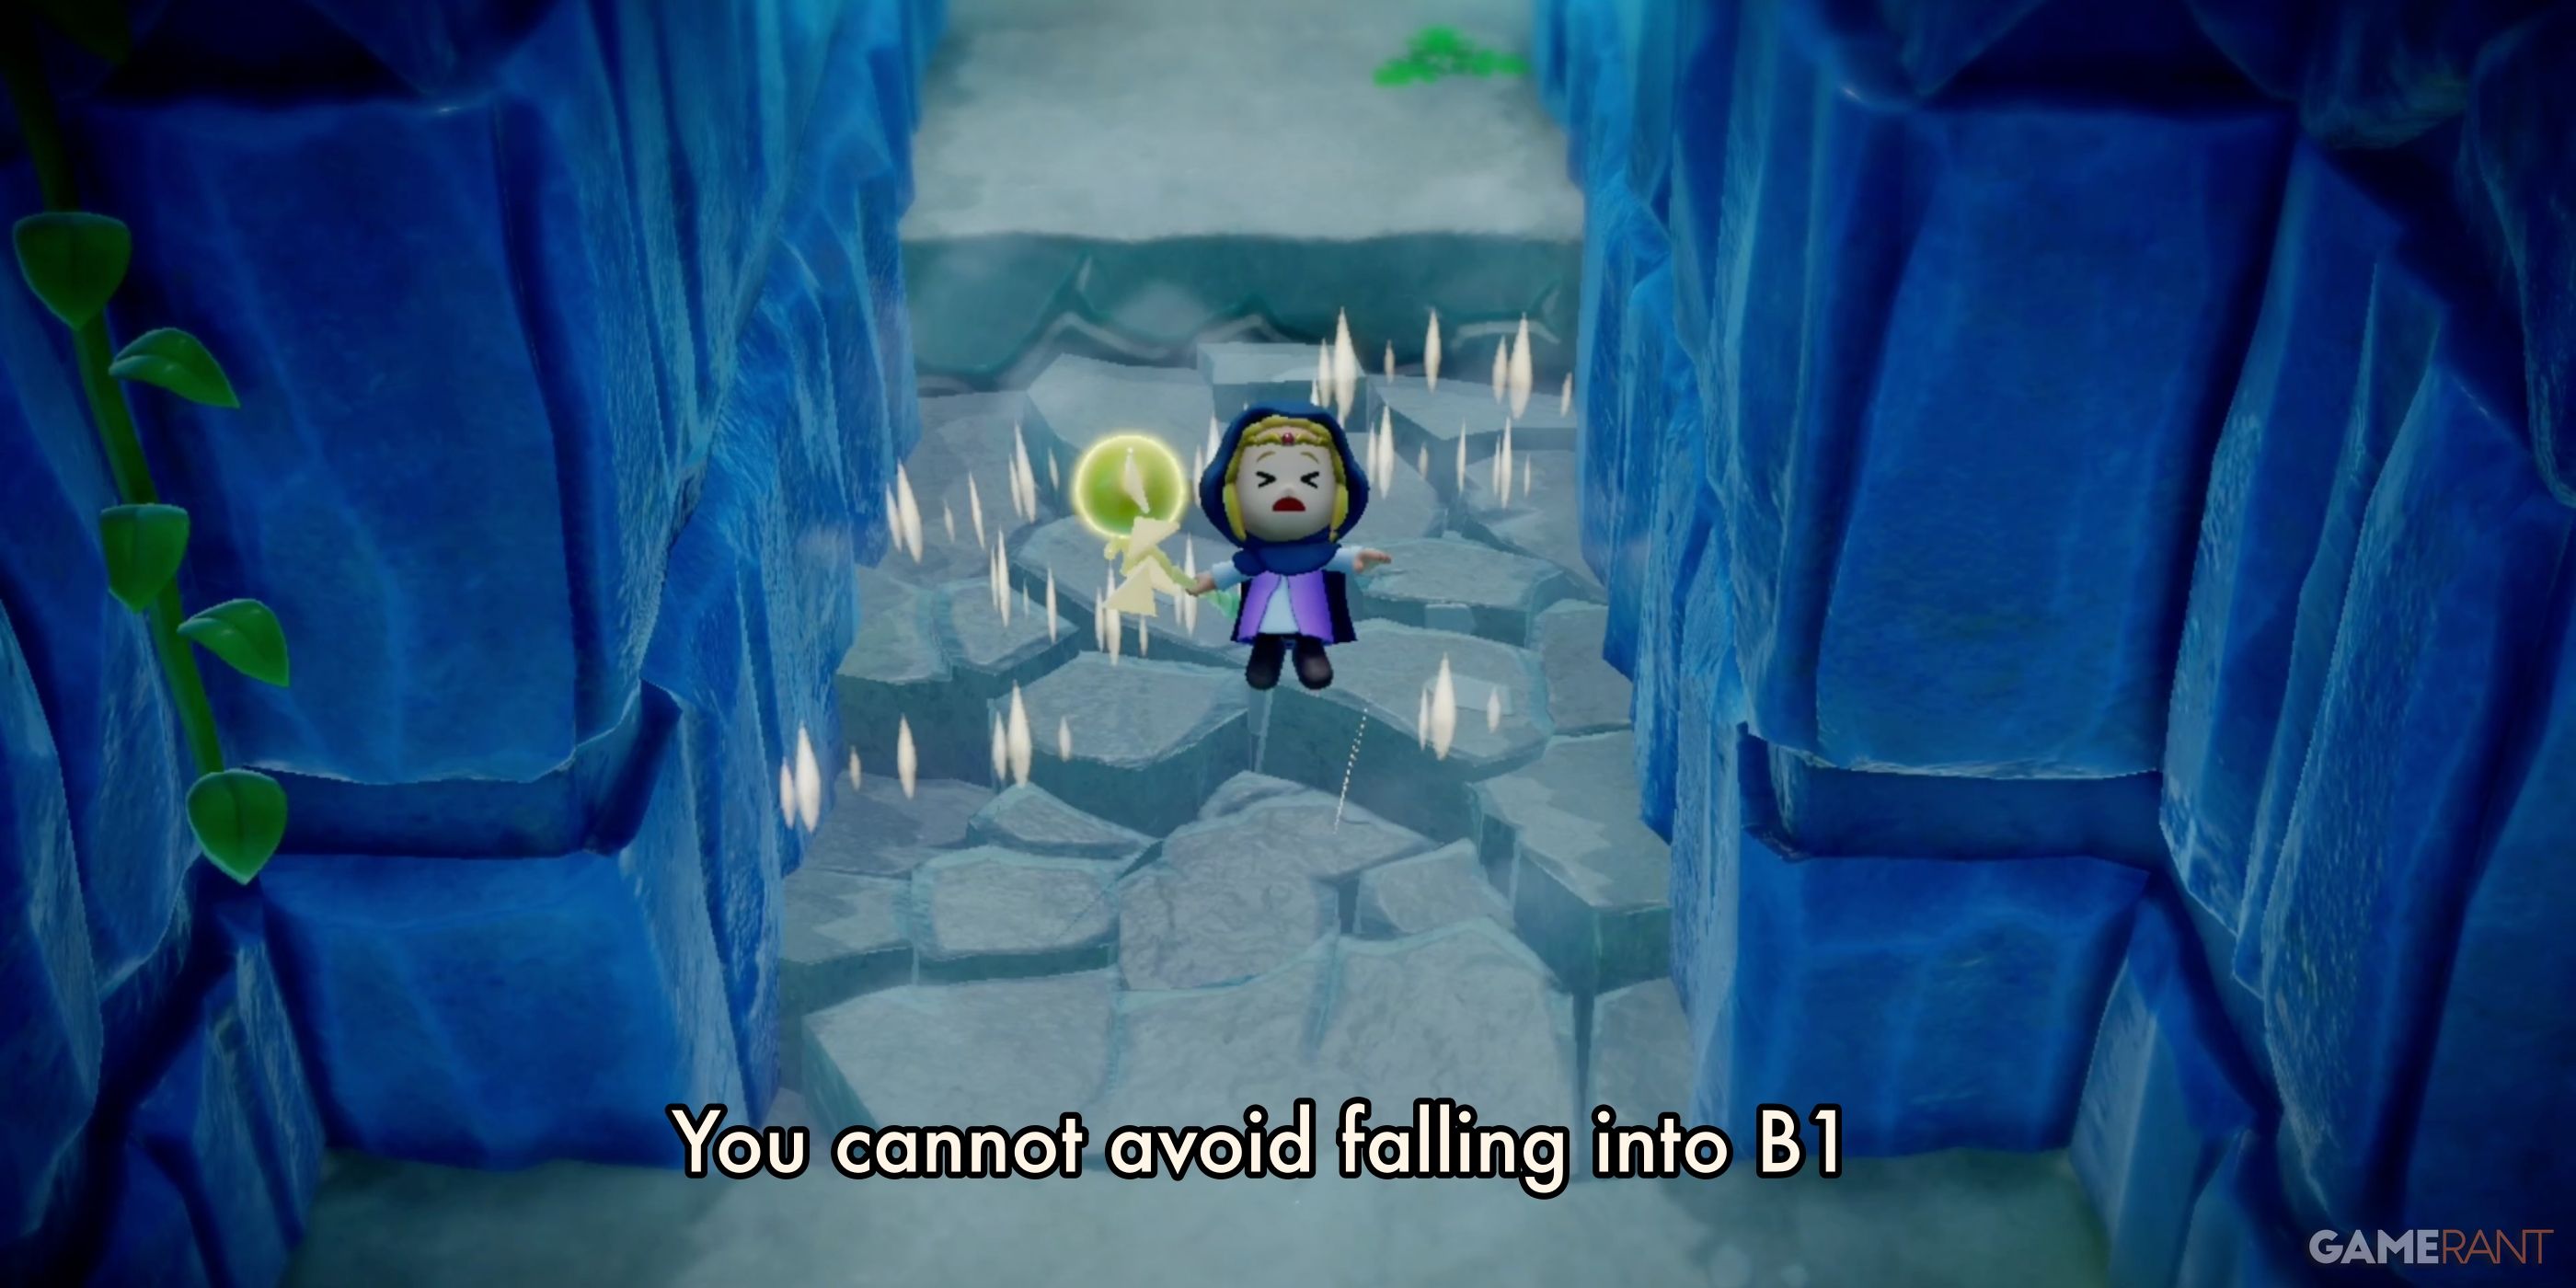
Proceed forward towards the Swordfighter Form energy bubble in the main entrance corridor. As soon as you step into the center corridor, the ground will break beneath you, and you’ll fall into the basement floor below. This will be a side-scrolling sequence.
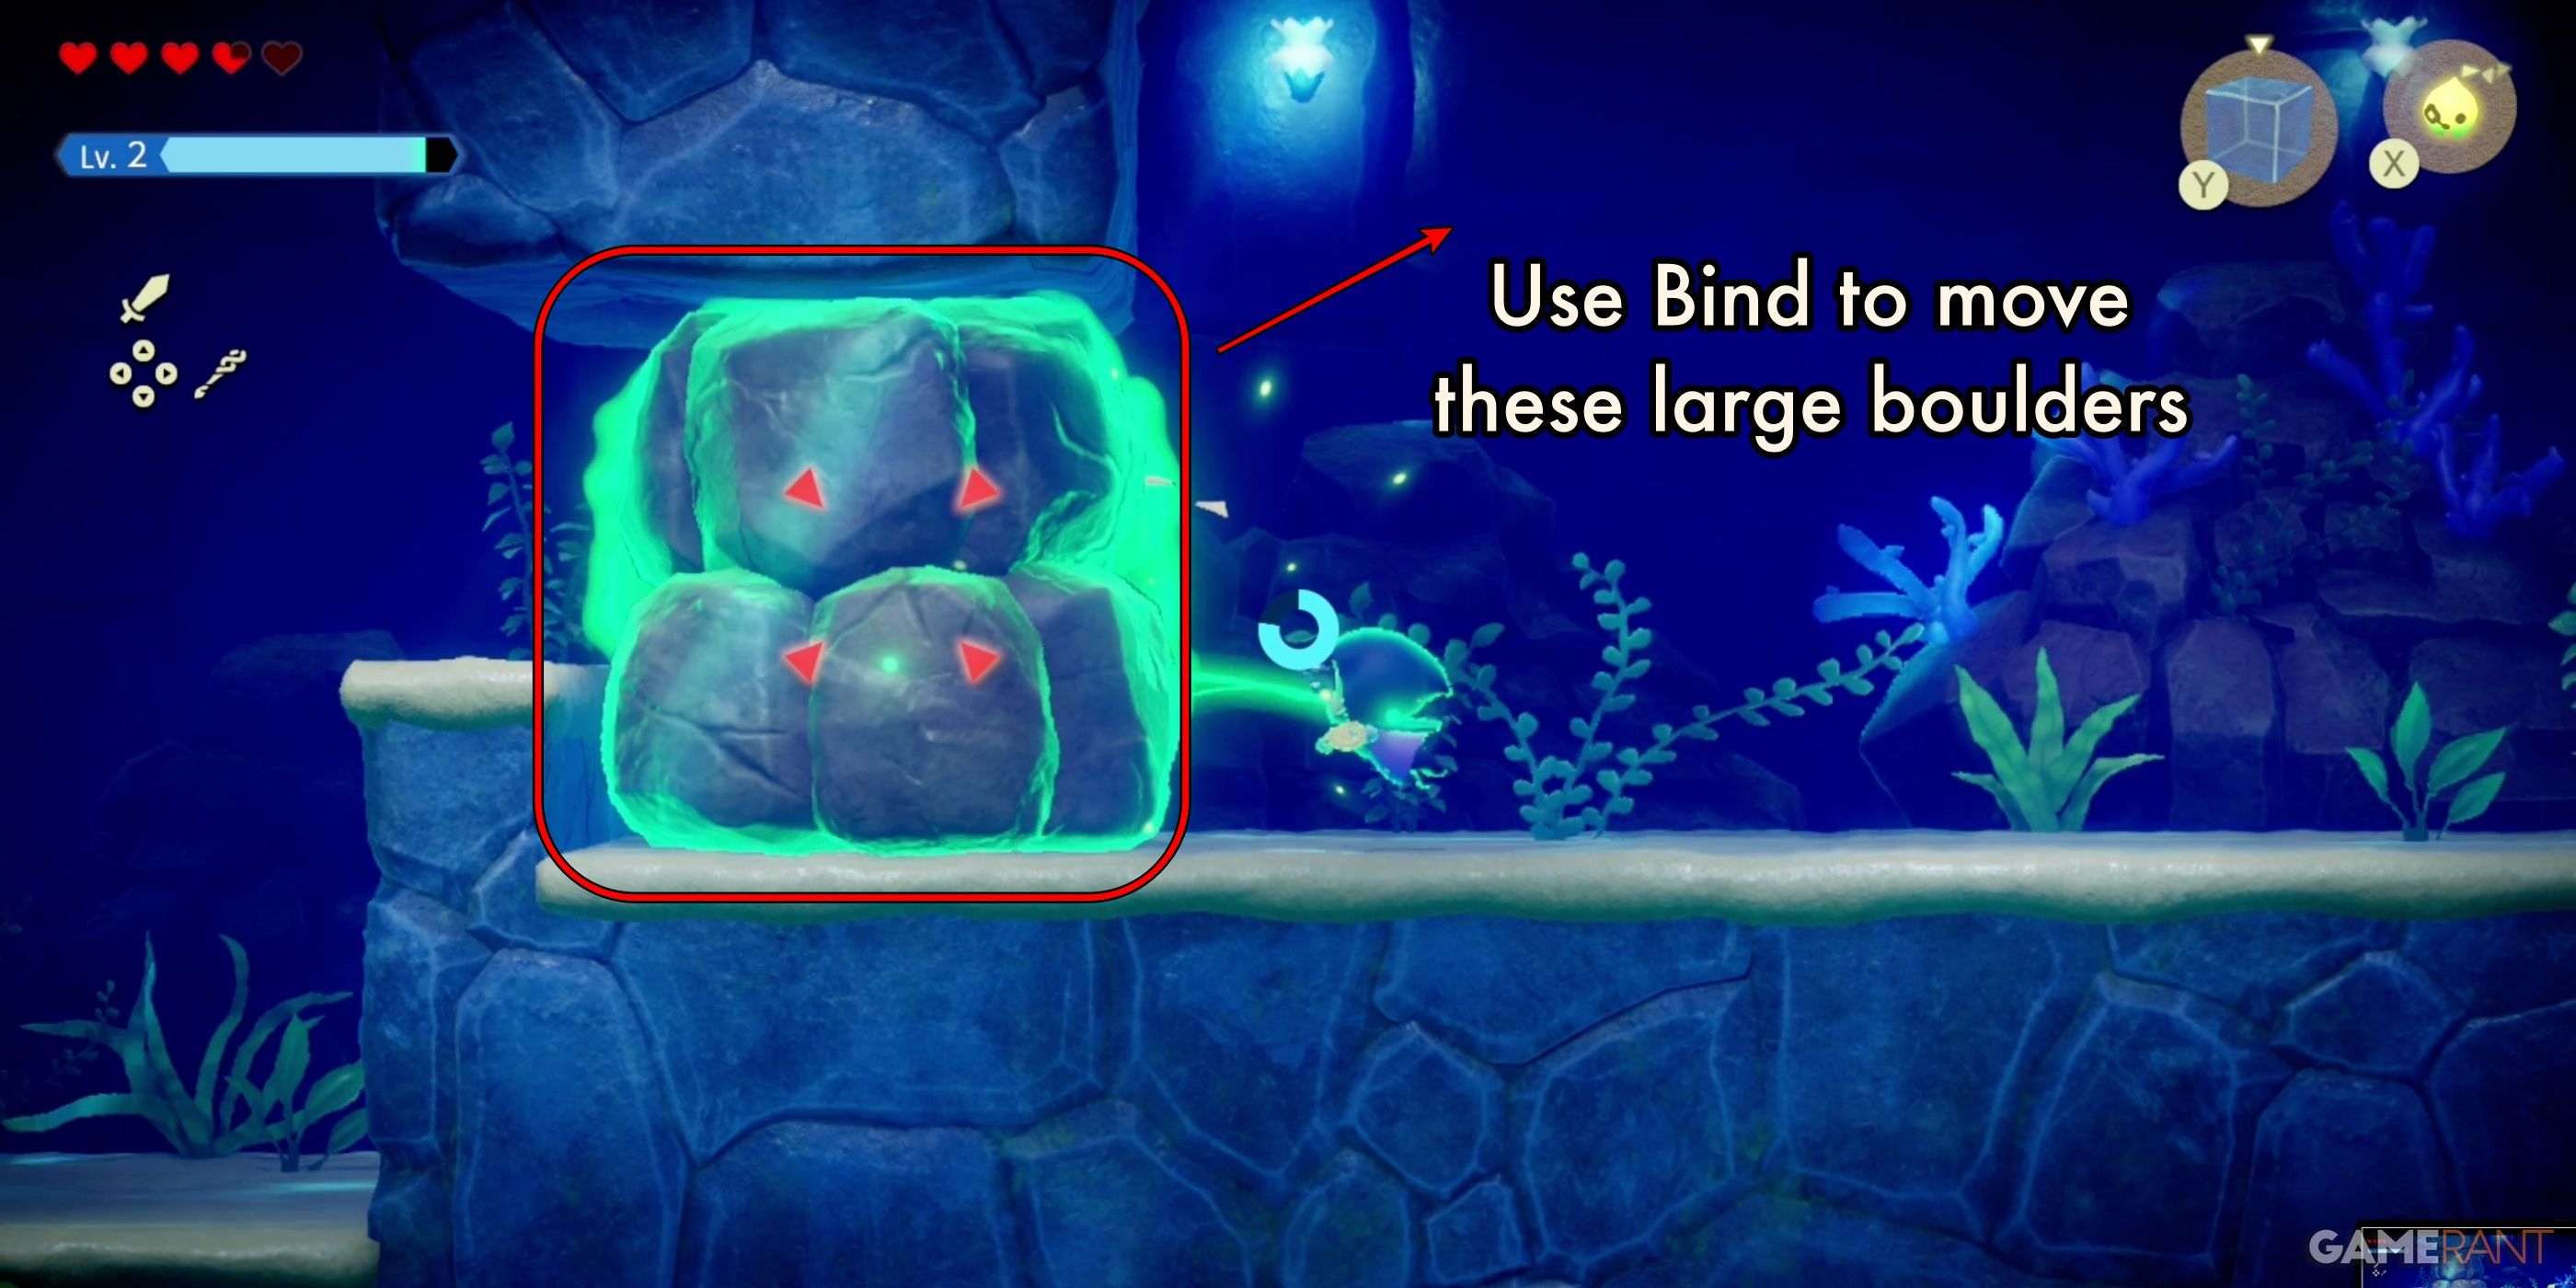
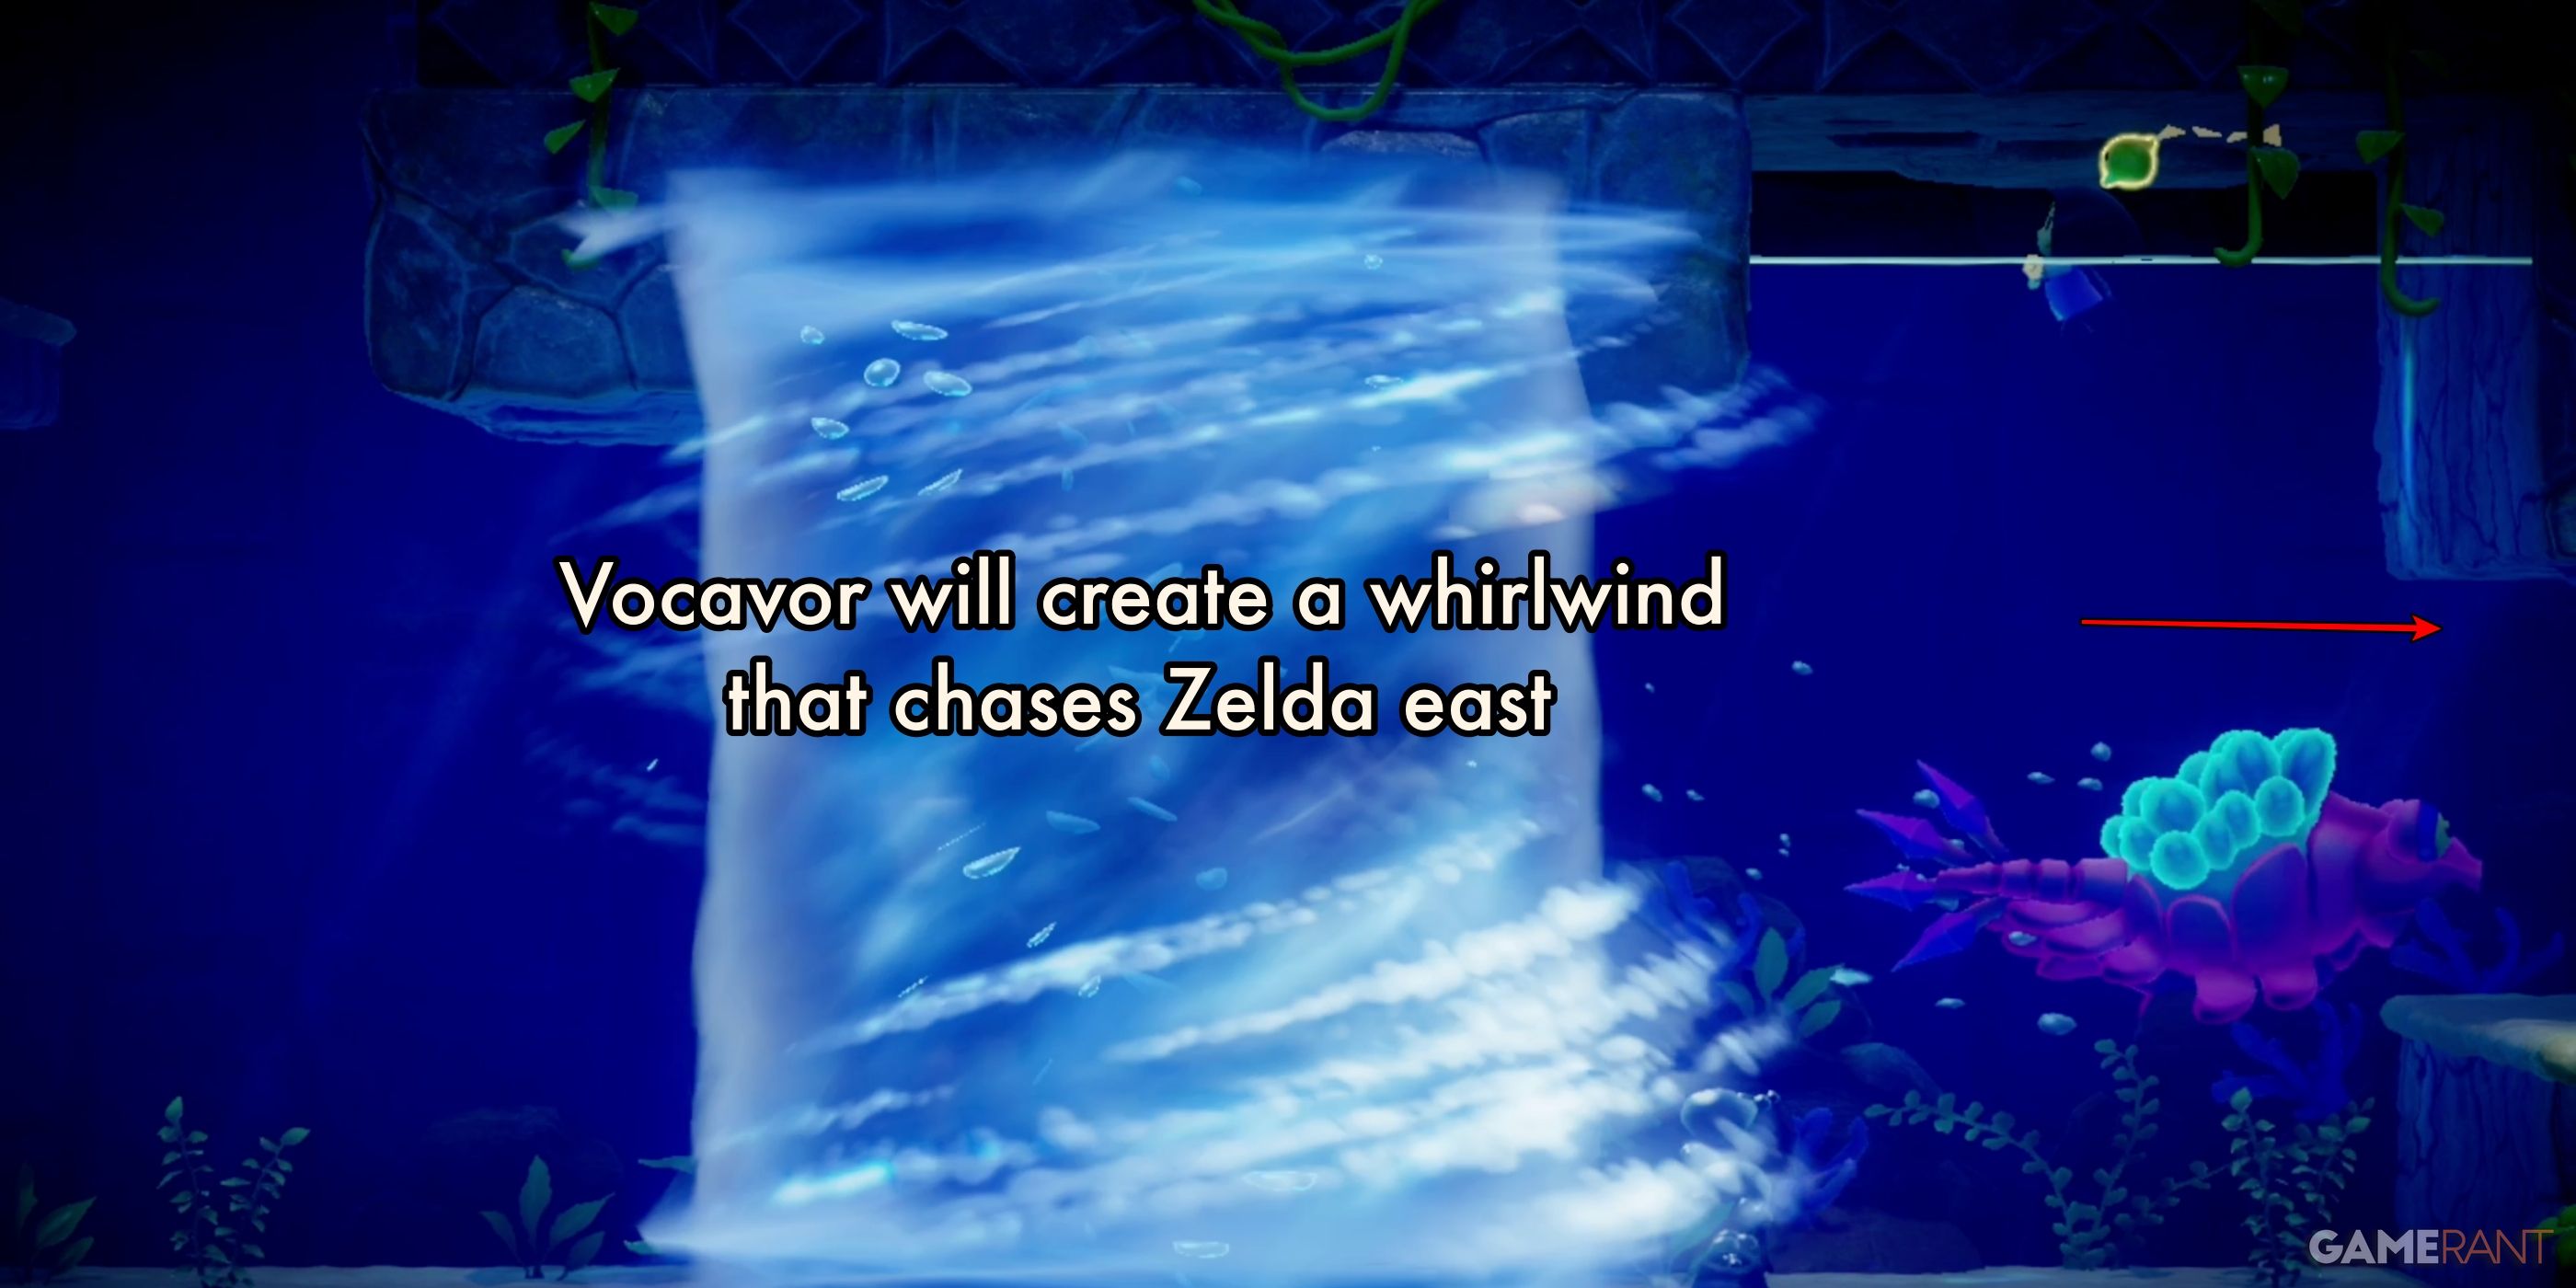
Make your way down underwater and use Bind to clear the large boulders from your path. After you clear the second large boulder, you’ll begin an encounter with Vocavor, the area’s boss. It will stir up a massive underwater whirlwind that Zelda will have to out-swim.
Out-swim the Water Funnel:
As the funnel chases you, you will pass several obstacles that you’ll have to traverse. Follow this path:
- Obstacle 1: Over, avoid enemies on lower level.
- Obstacle 2: Over, it’s easier than quickly breaking the boxes below.
- Obstacle 3: You’ll encounter electric jellyfish that create a shock hazard. Thread between the enemies, leaving enough room for the circular shock hazard.
- Obstacle 4: Use Bind to move the large boulder.
B1 Mid-Level
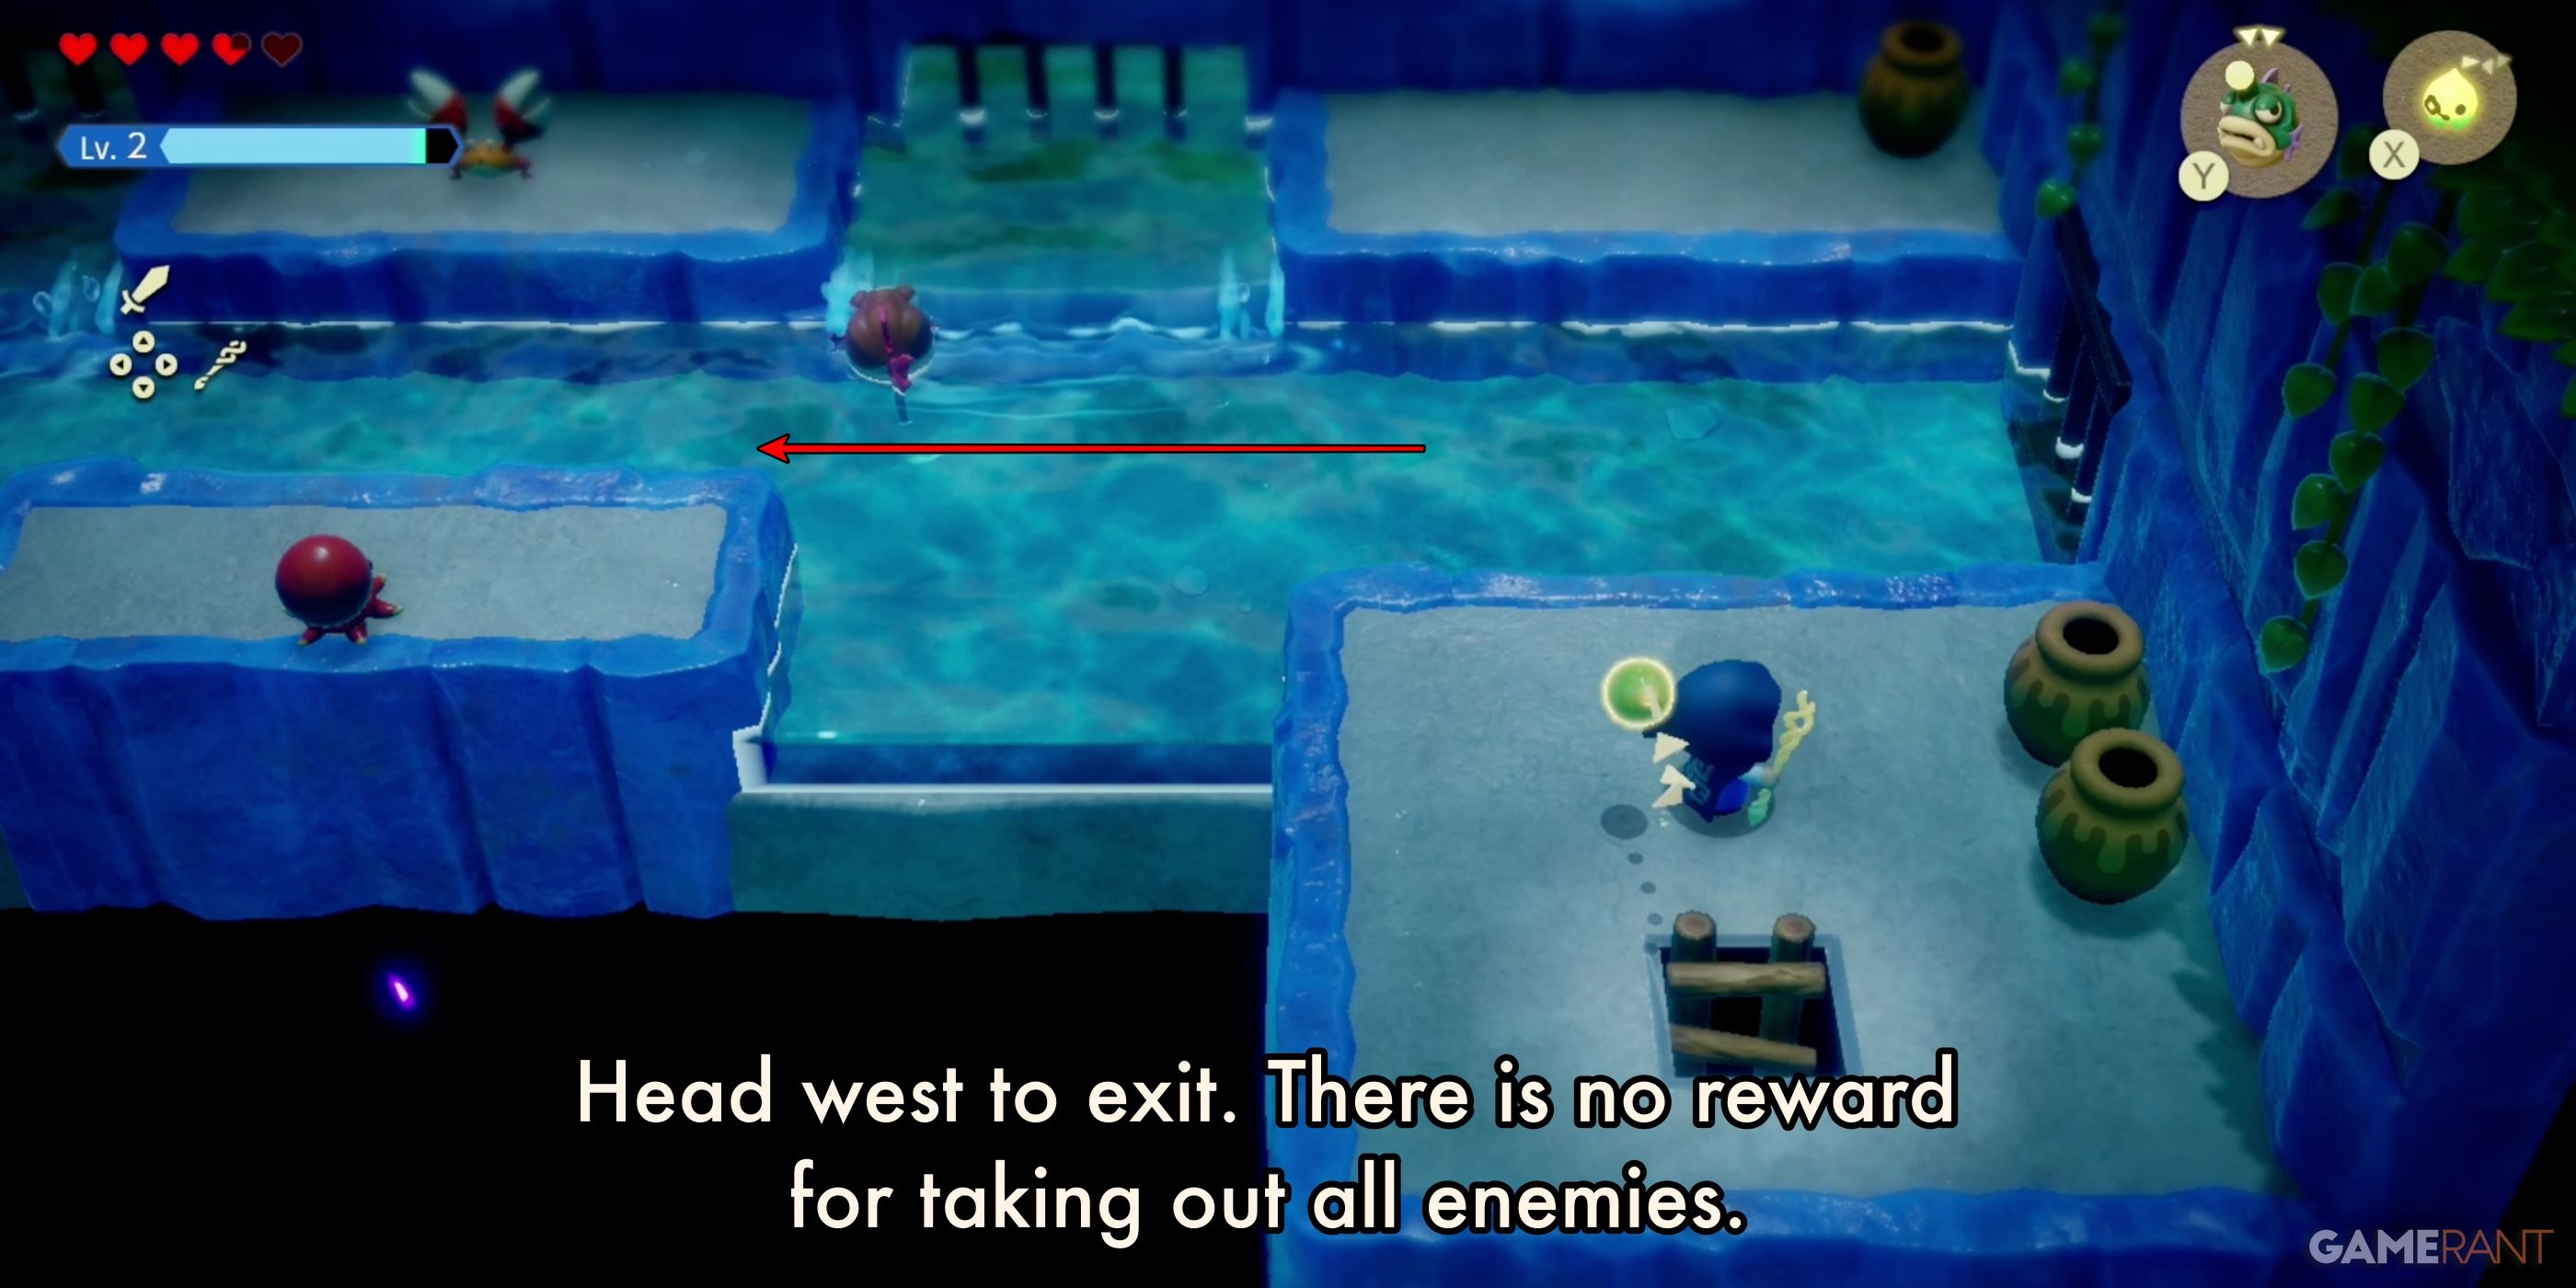
Exiting the side-scrolling sequence will take you to a mid-level that is still technically B1. This will be a long room inhabited by Tanglers, Sand Crabs, and Octoroks. Simple Echoes should be able to handle these enemies. Use Lvl. 2 Tanglers if you have them to take out the fish, and any flying Echo to take out the Octoroks and Sand Crabs.
You don’t have to defeat every enemy to move on, and there is no reward for doing so. The exit is on the western side of the chamber, and it takes you back to 1F.
Return to 1F:
Heading out the exit, you’ll end up back on 1F, at the opposite end of the corridor that broke. Make sure to interact with the waypoint before moving on to the main dungeon.
Jabul Ruins Walkthrough – 1F Red and Blue Buttons
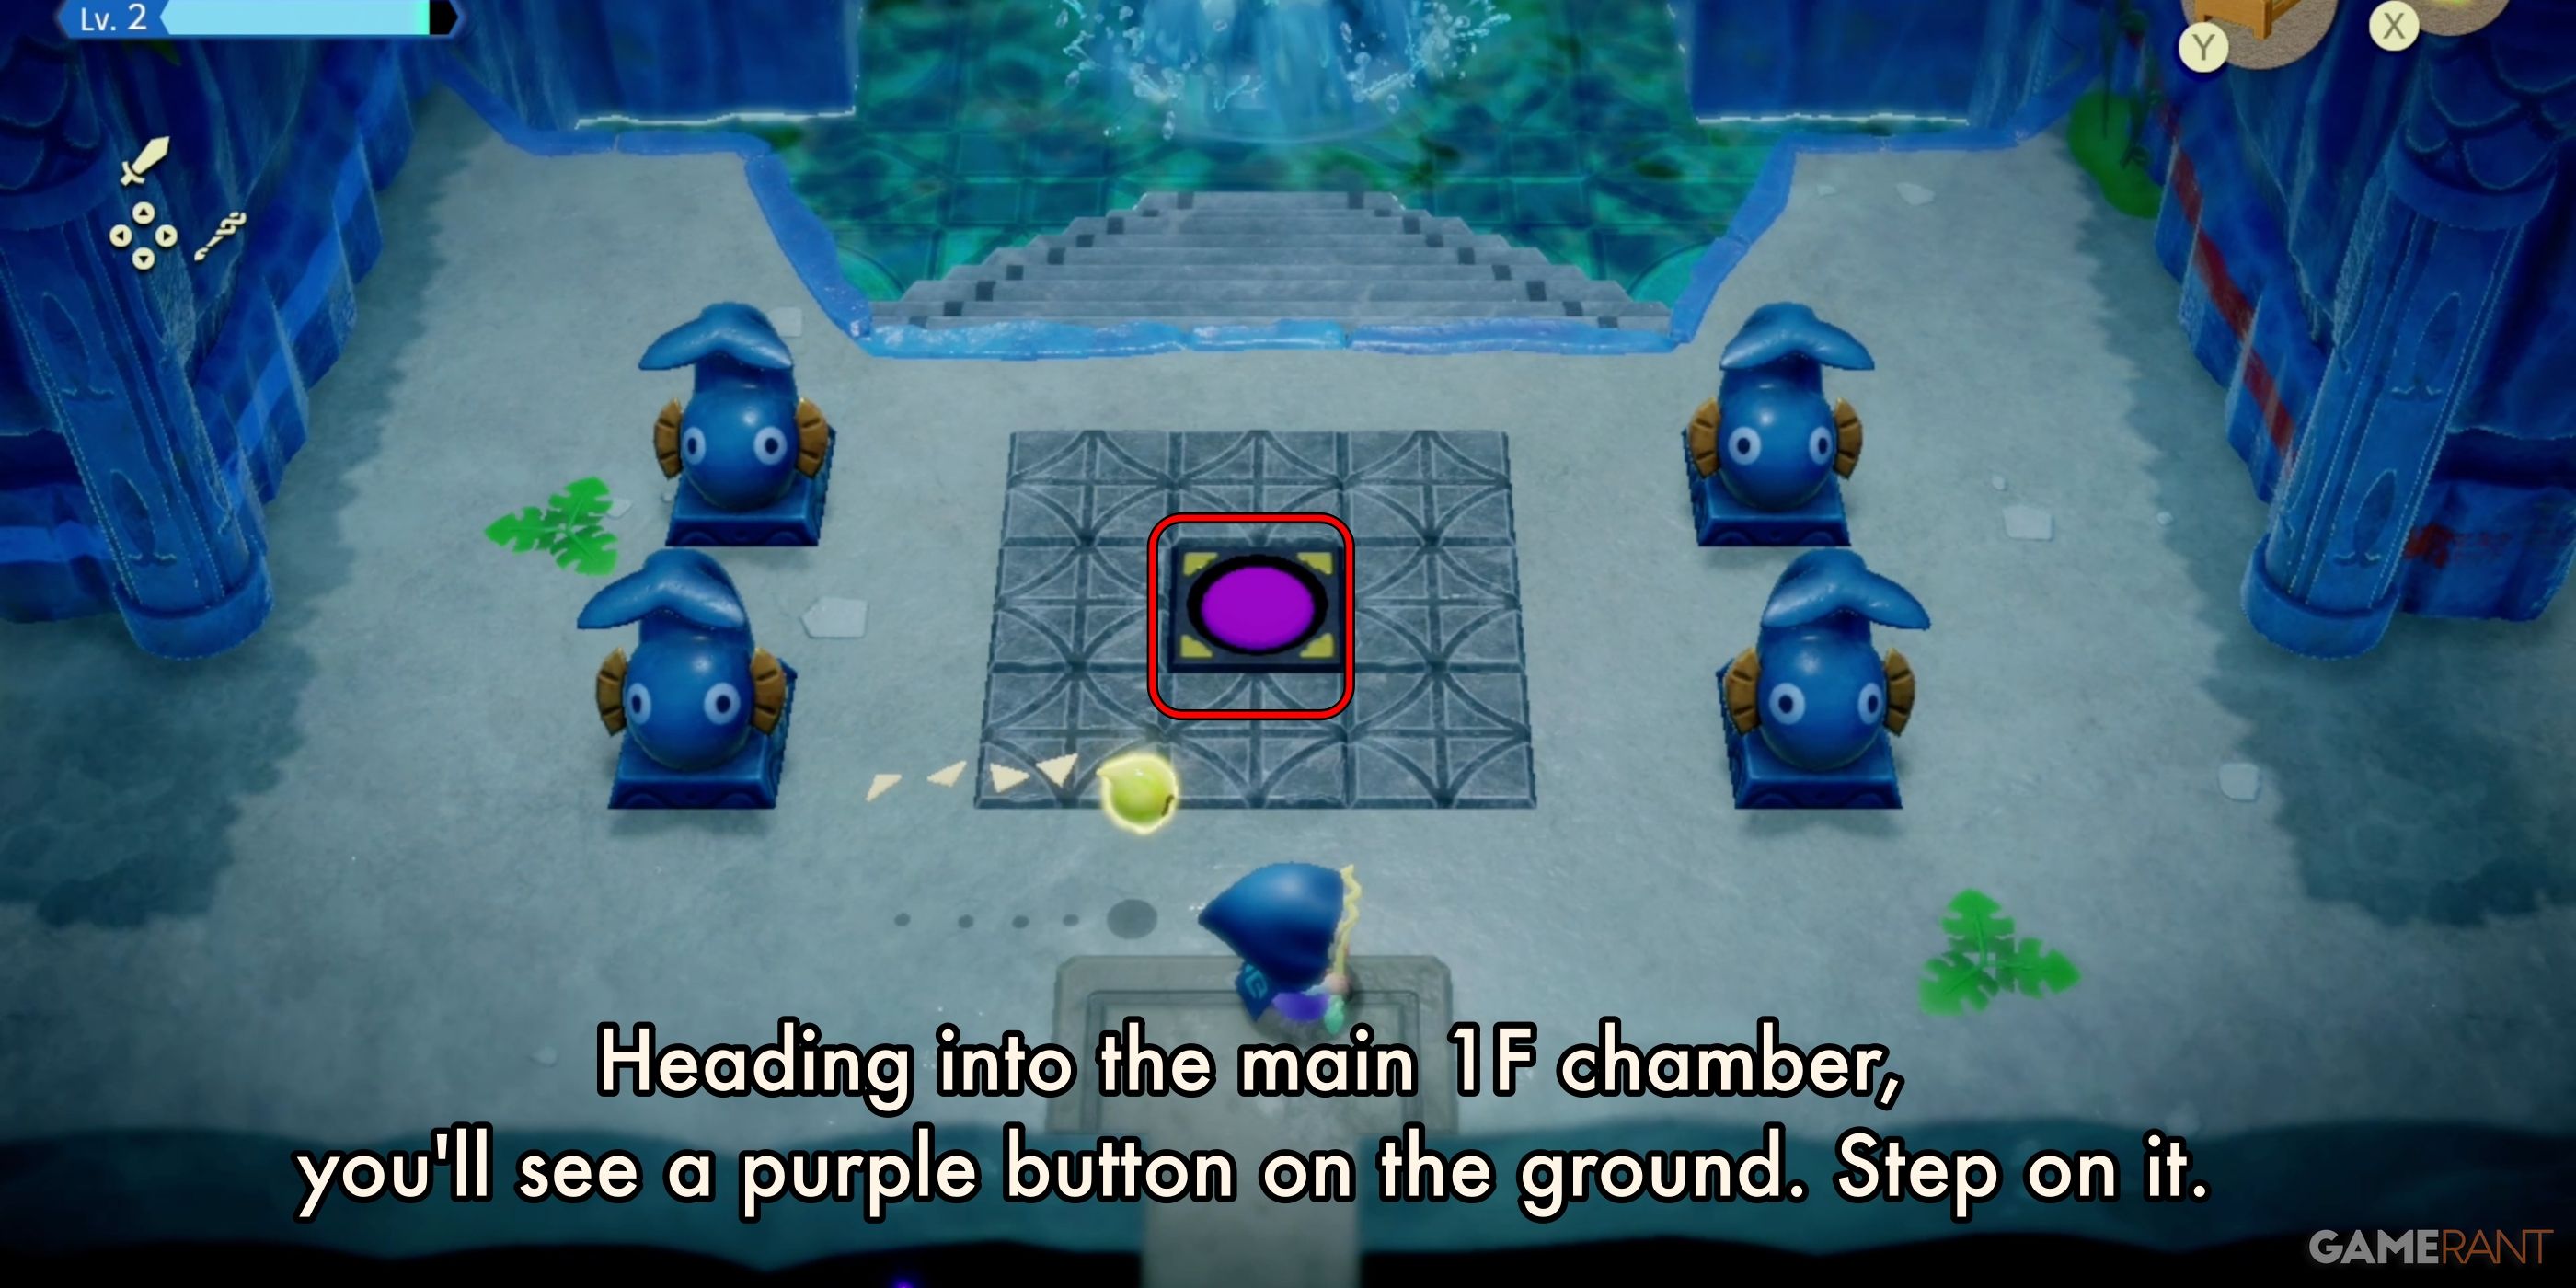
When you walk into the first main chamber on 1F, you’ll encounter a purple button on the floor. Press it to see a brief cutscene explaining what the button does.
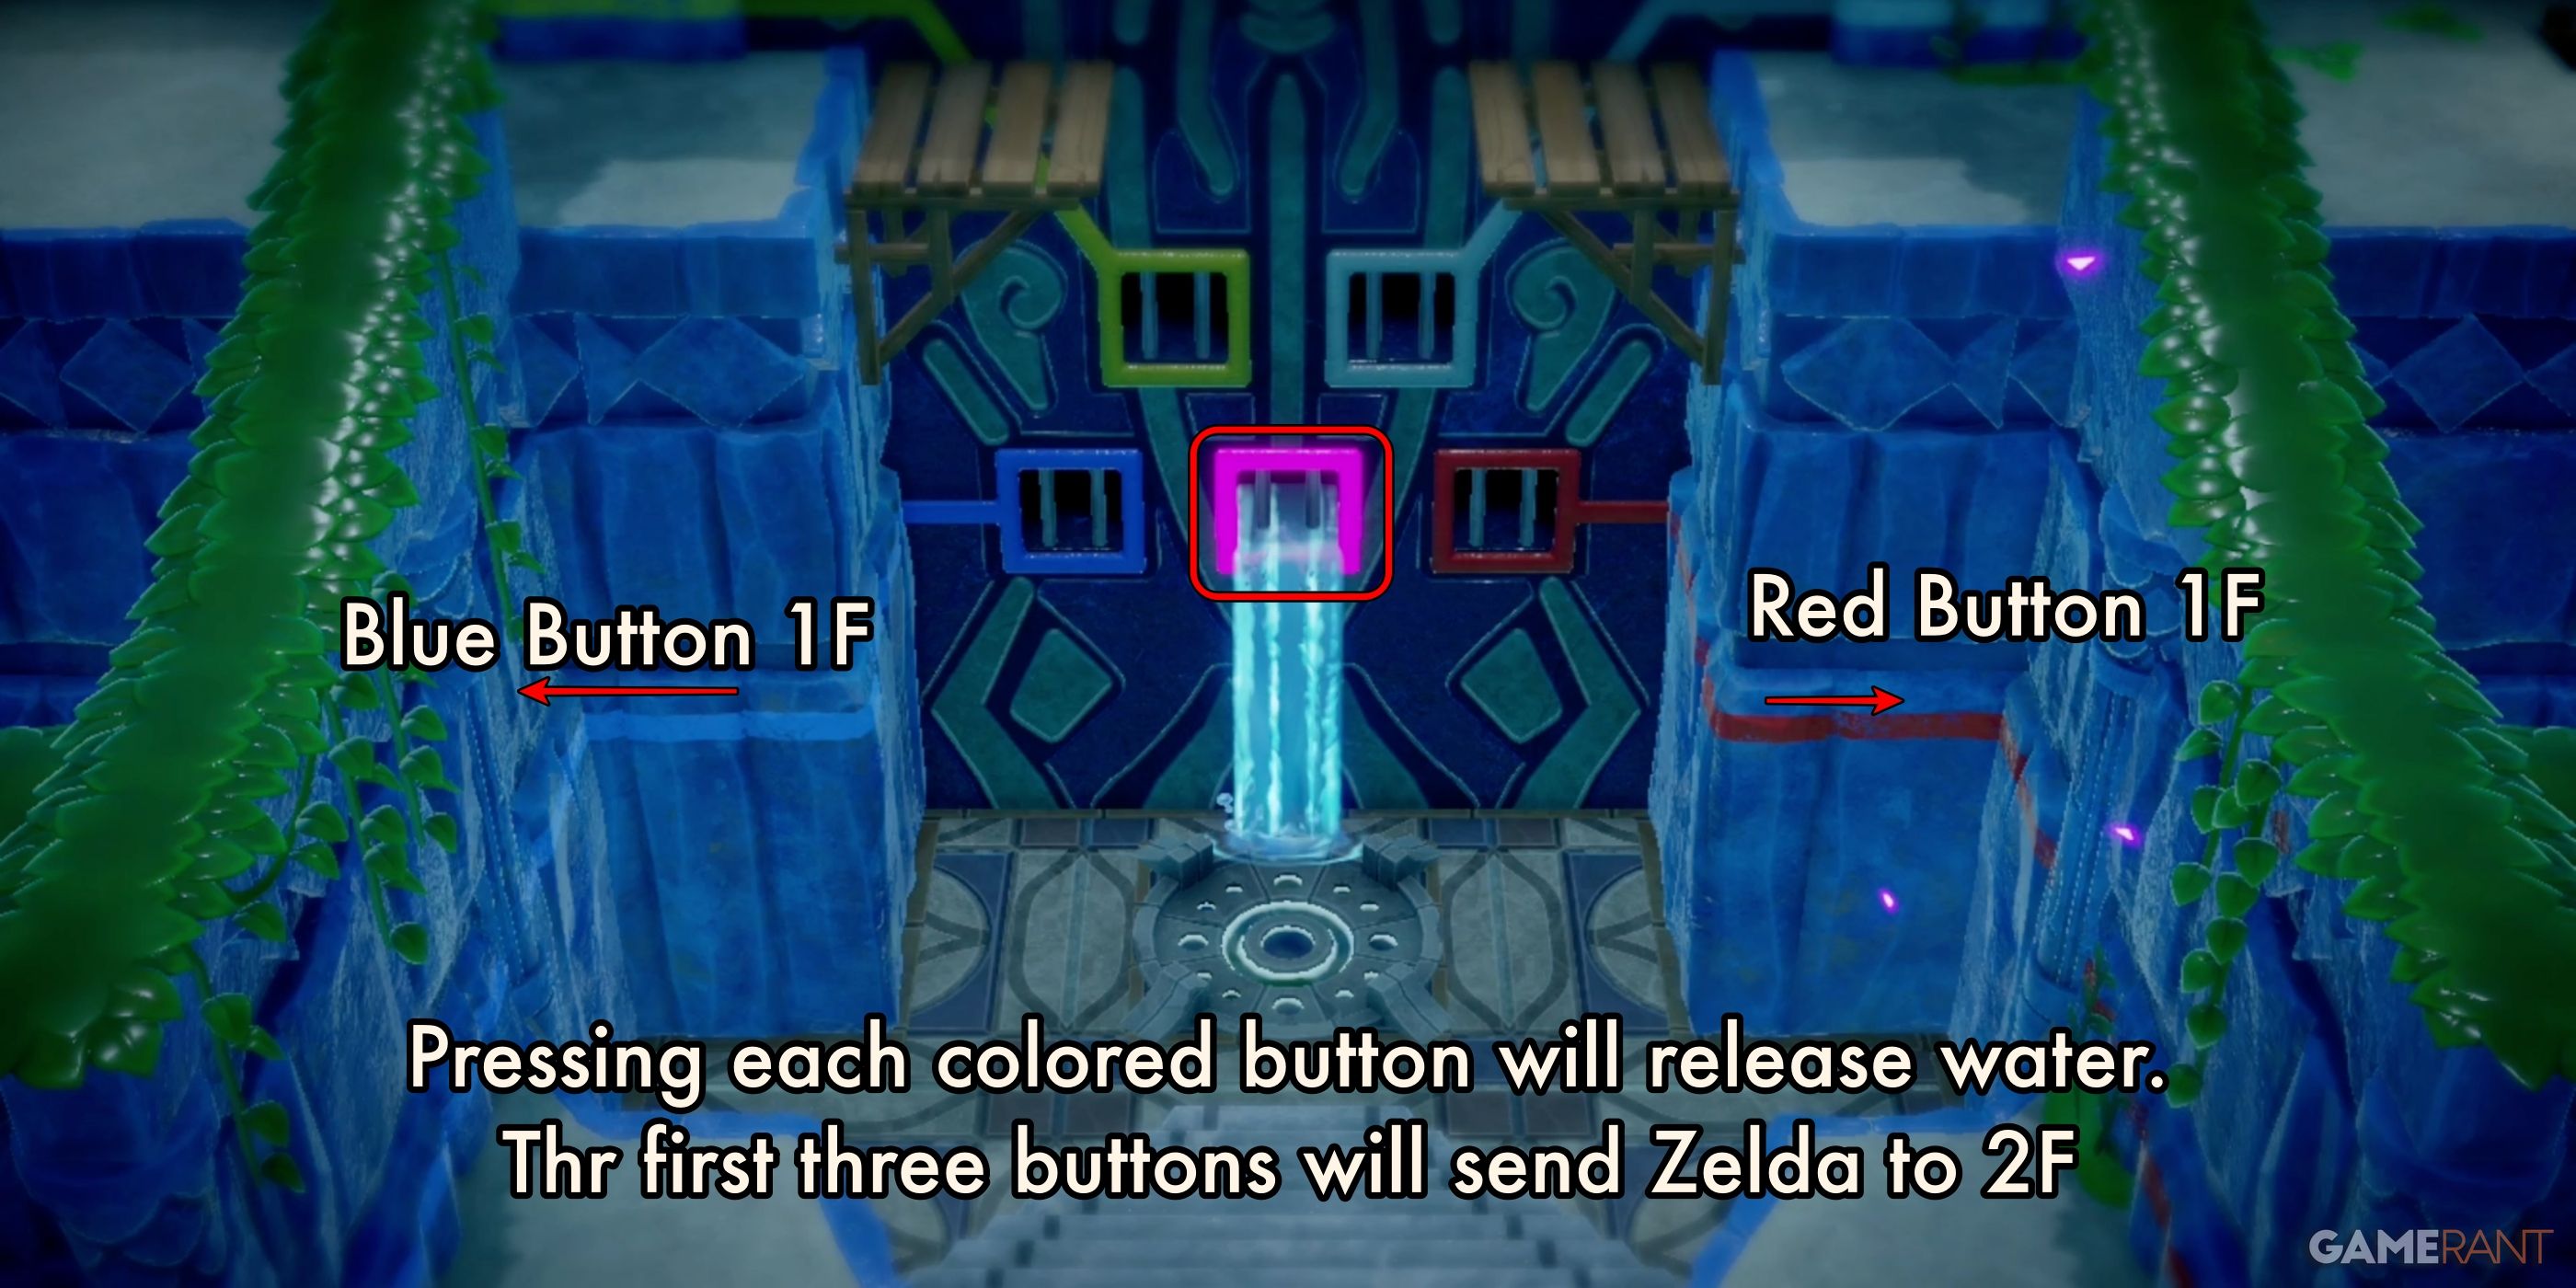
Above the button, you’ll see a wall with five colored squares. Each square corresponds to a button that shares the same color. Pressing the button causes water to be released from the square on the wall. The first three buttons will create a spring that will launch Zelda to 2F. Looking at the wall, you can see which direction each button chamber is found. You can start with the red or blue button.
1F Red Button Path:
While it’s safe to go either direction first, heading to the Red Button path will allow you to get the Map, and an extremely powerful Echo. Head to the right, following the red line on the wall, to begin the Red Button path on 1F.
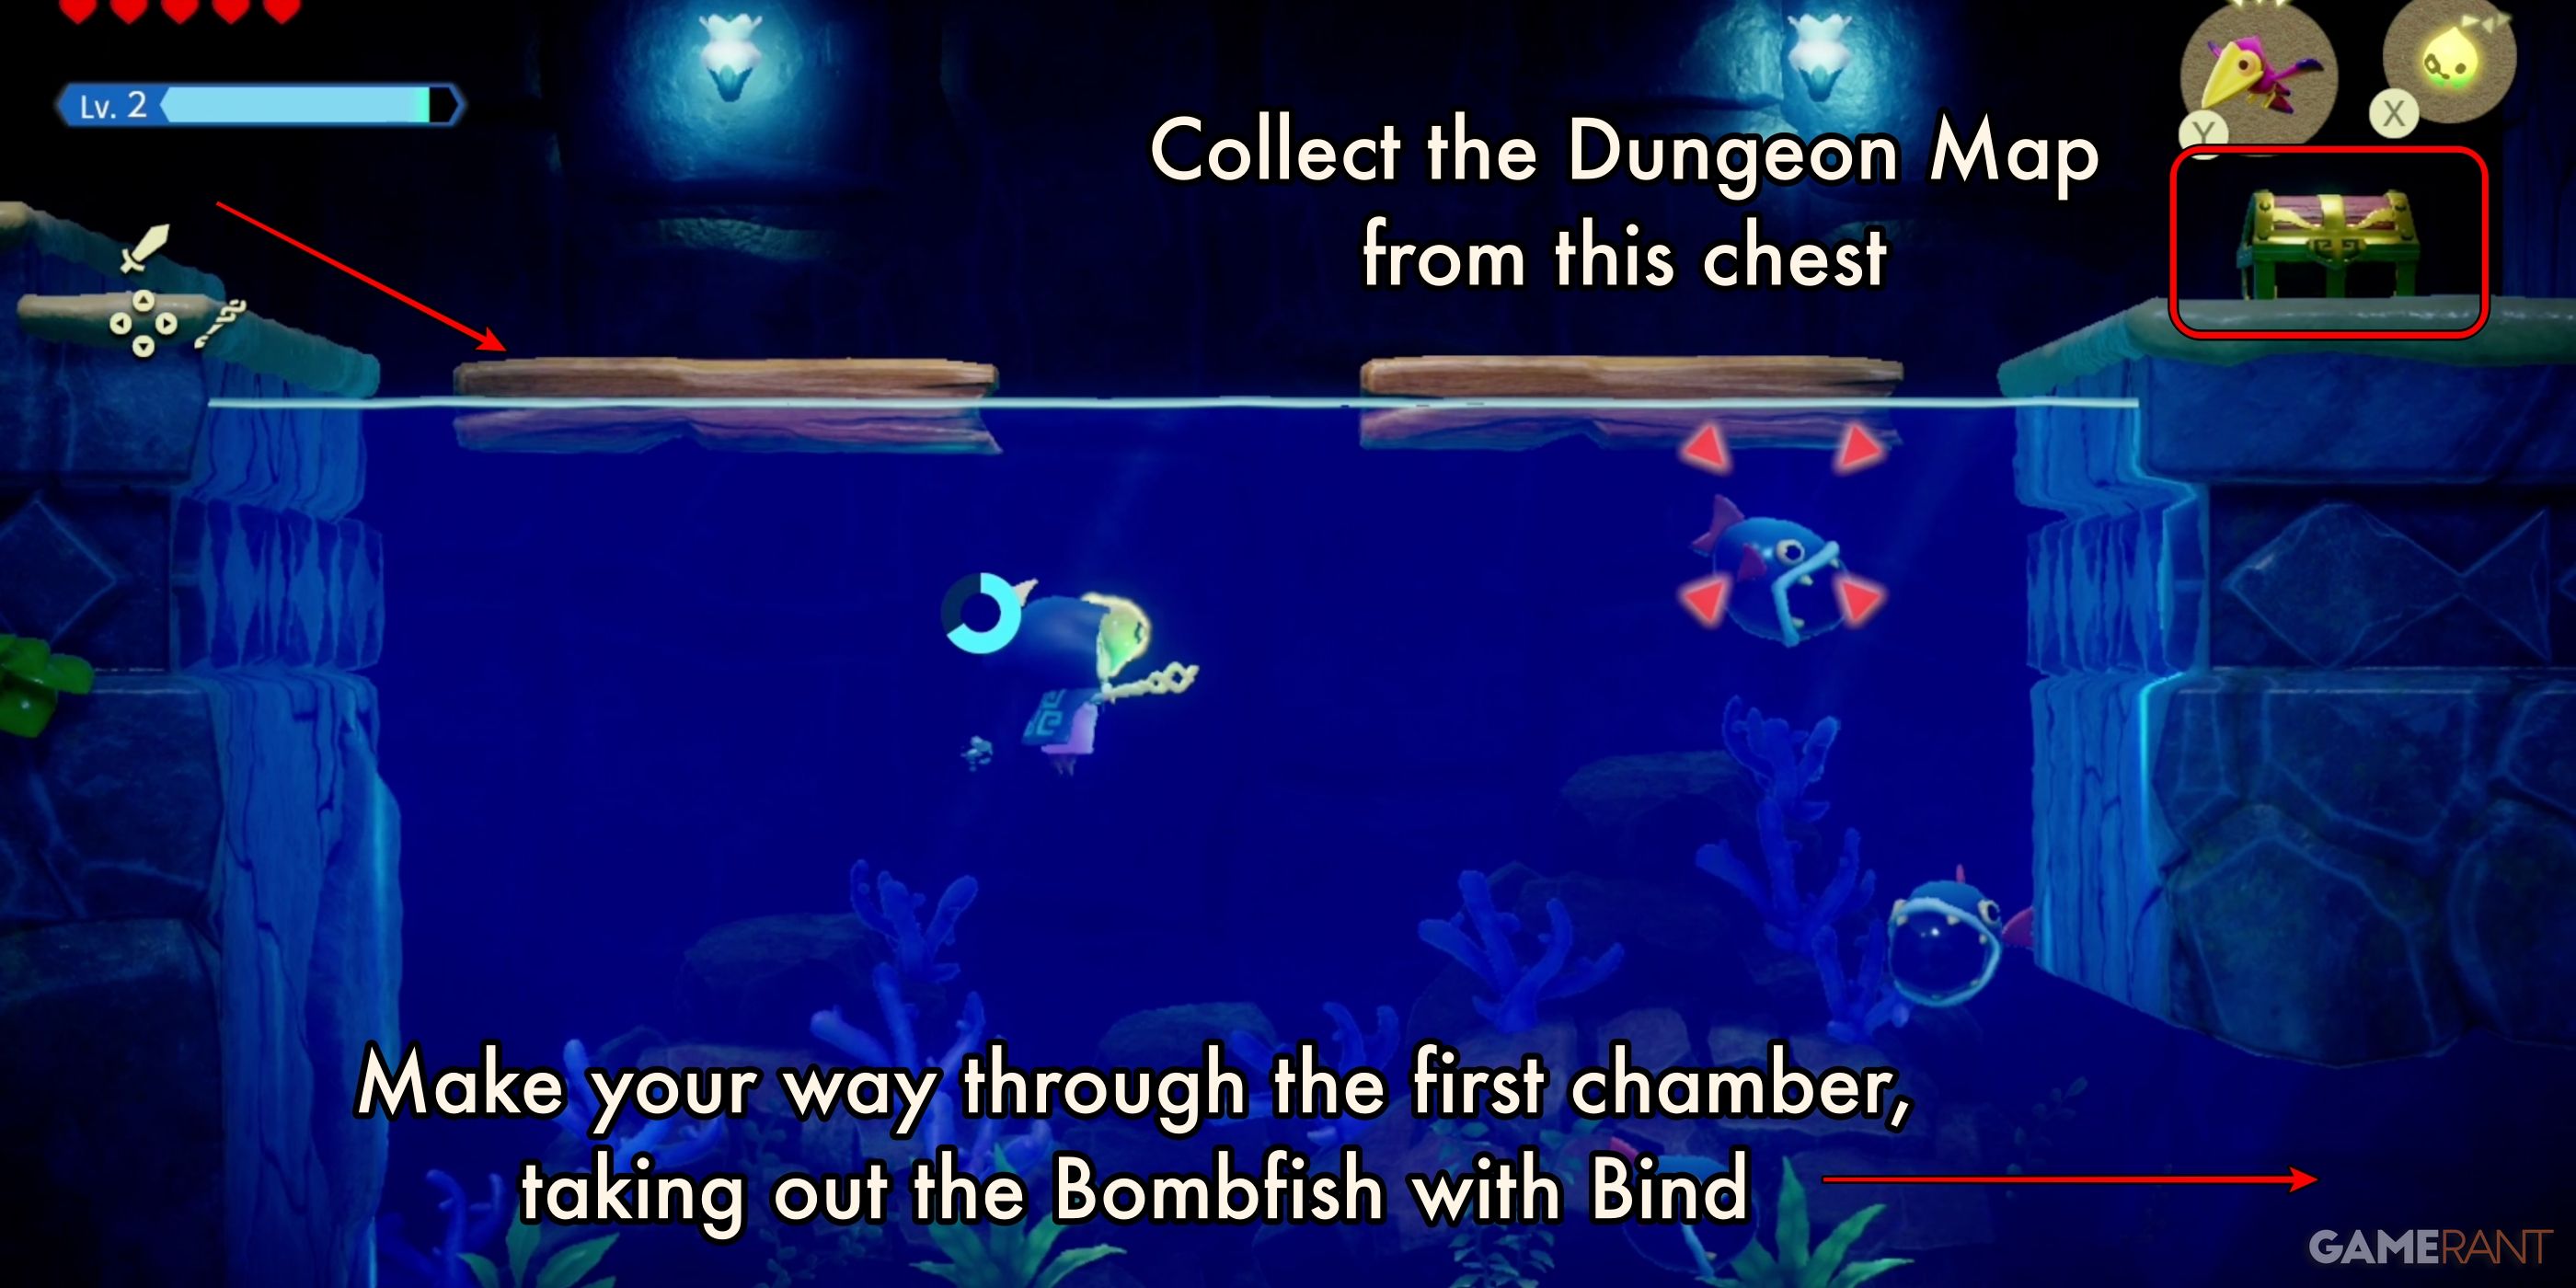
Heading down the ladder will lead to another side-scrolling section. Here, you will face several Bombfish, and a single Needlefly. Use a flying Echo, like a Guay, to take out the Needlefly. Use Bind to pull the Bombfish together and make them explode. At the end of the second pool of water, you’ll find a treasure chest.
- Treasure Chest 1: Dungeon Map
Make your way past the final Bombfish, and out the other side of the chamber.
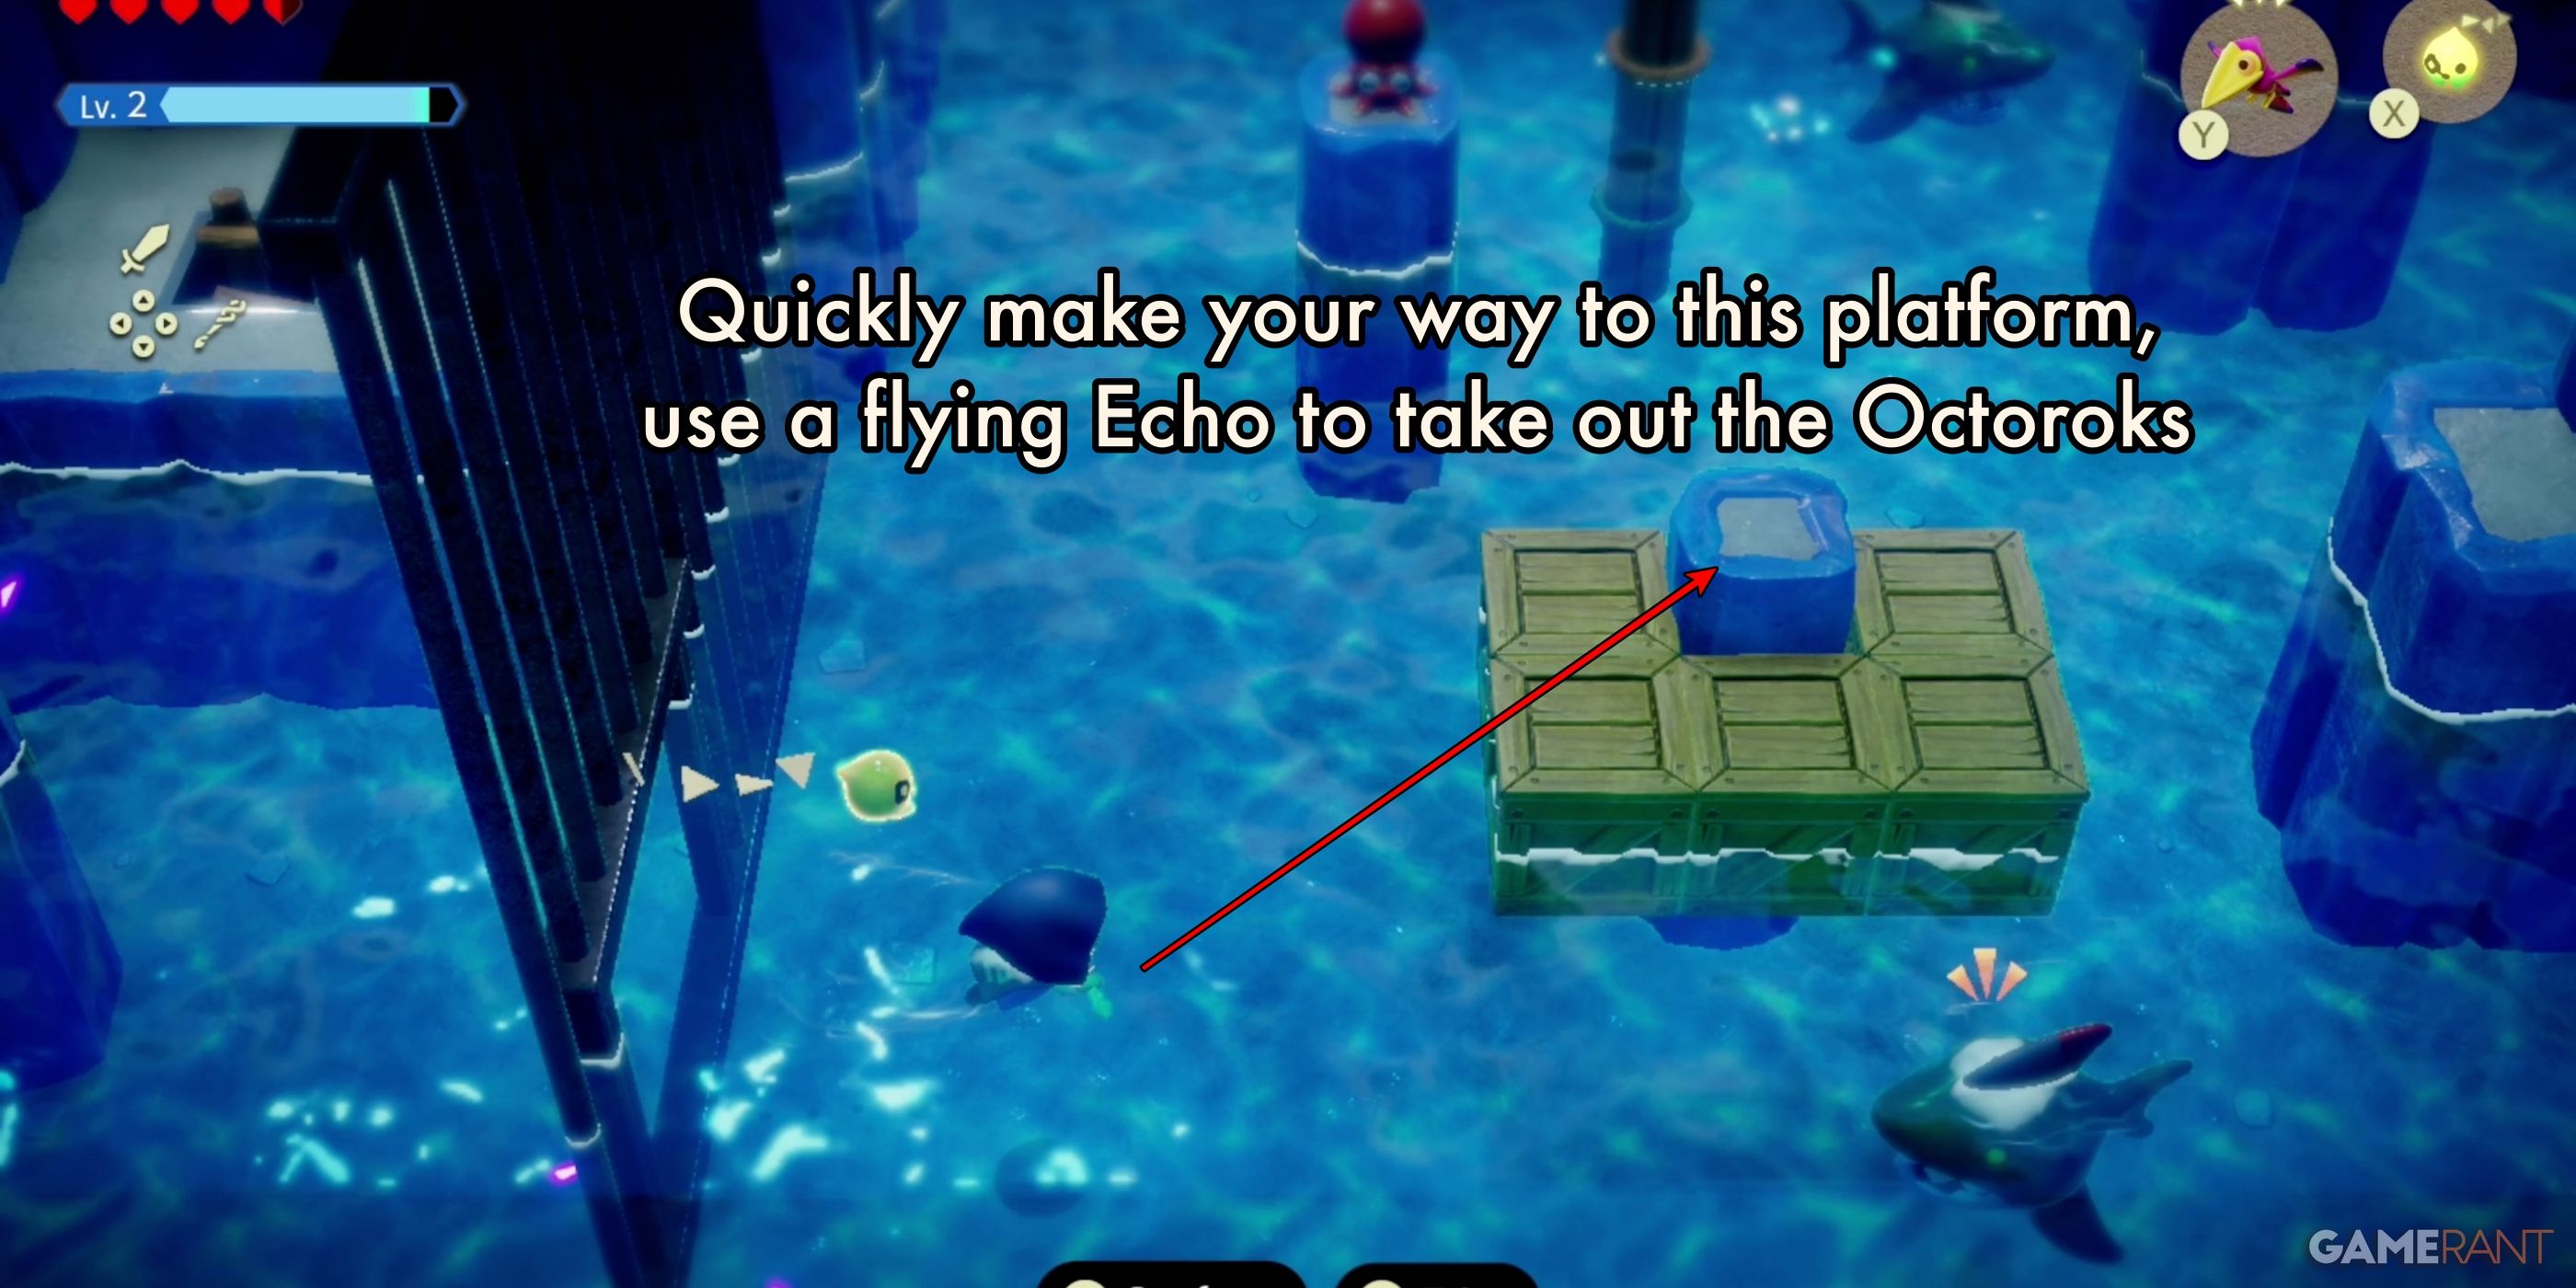
The next chamber features the extremely dangerous Chompfin Echo. As you cross under the bars into the main pool, be ready to exit the water quickly. There is a small rock surrounded by boxes that you can stand on. However, there are multiple Octoroks in the chamber as well. Before you take on the Chompfins, use a flying Echo to take out the Octoroks.
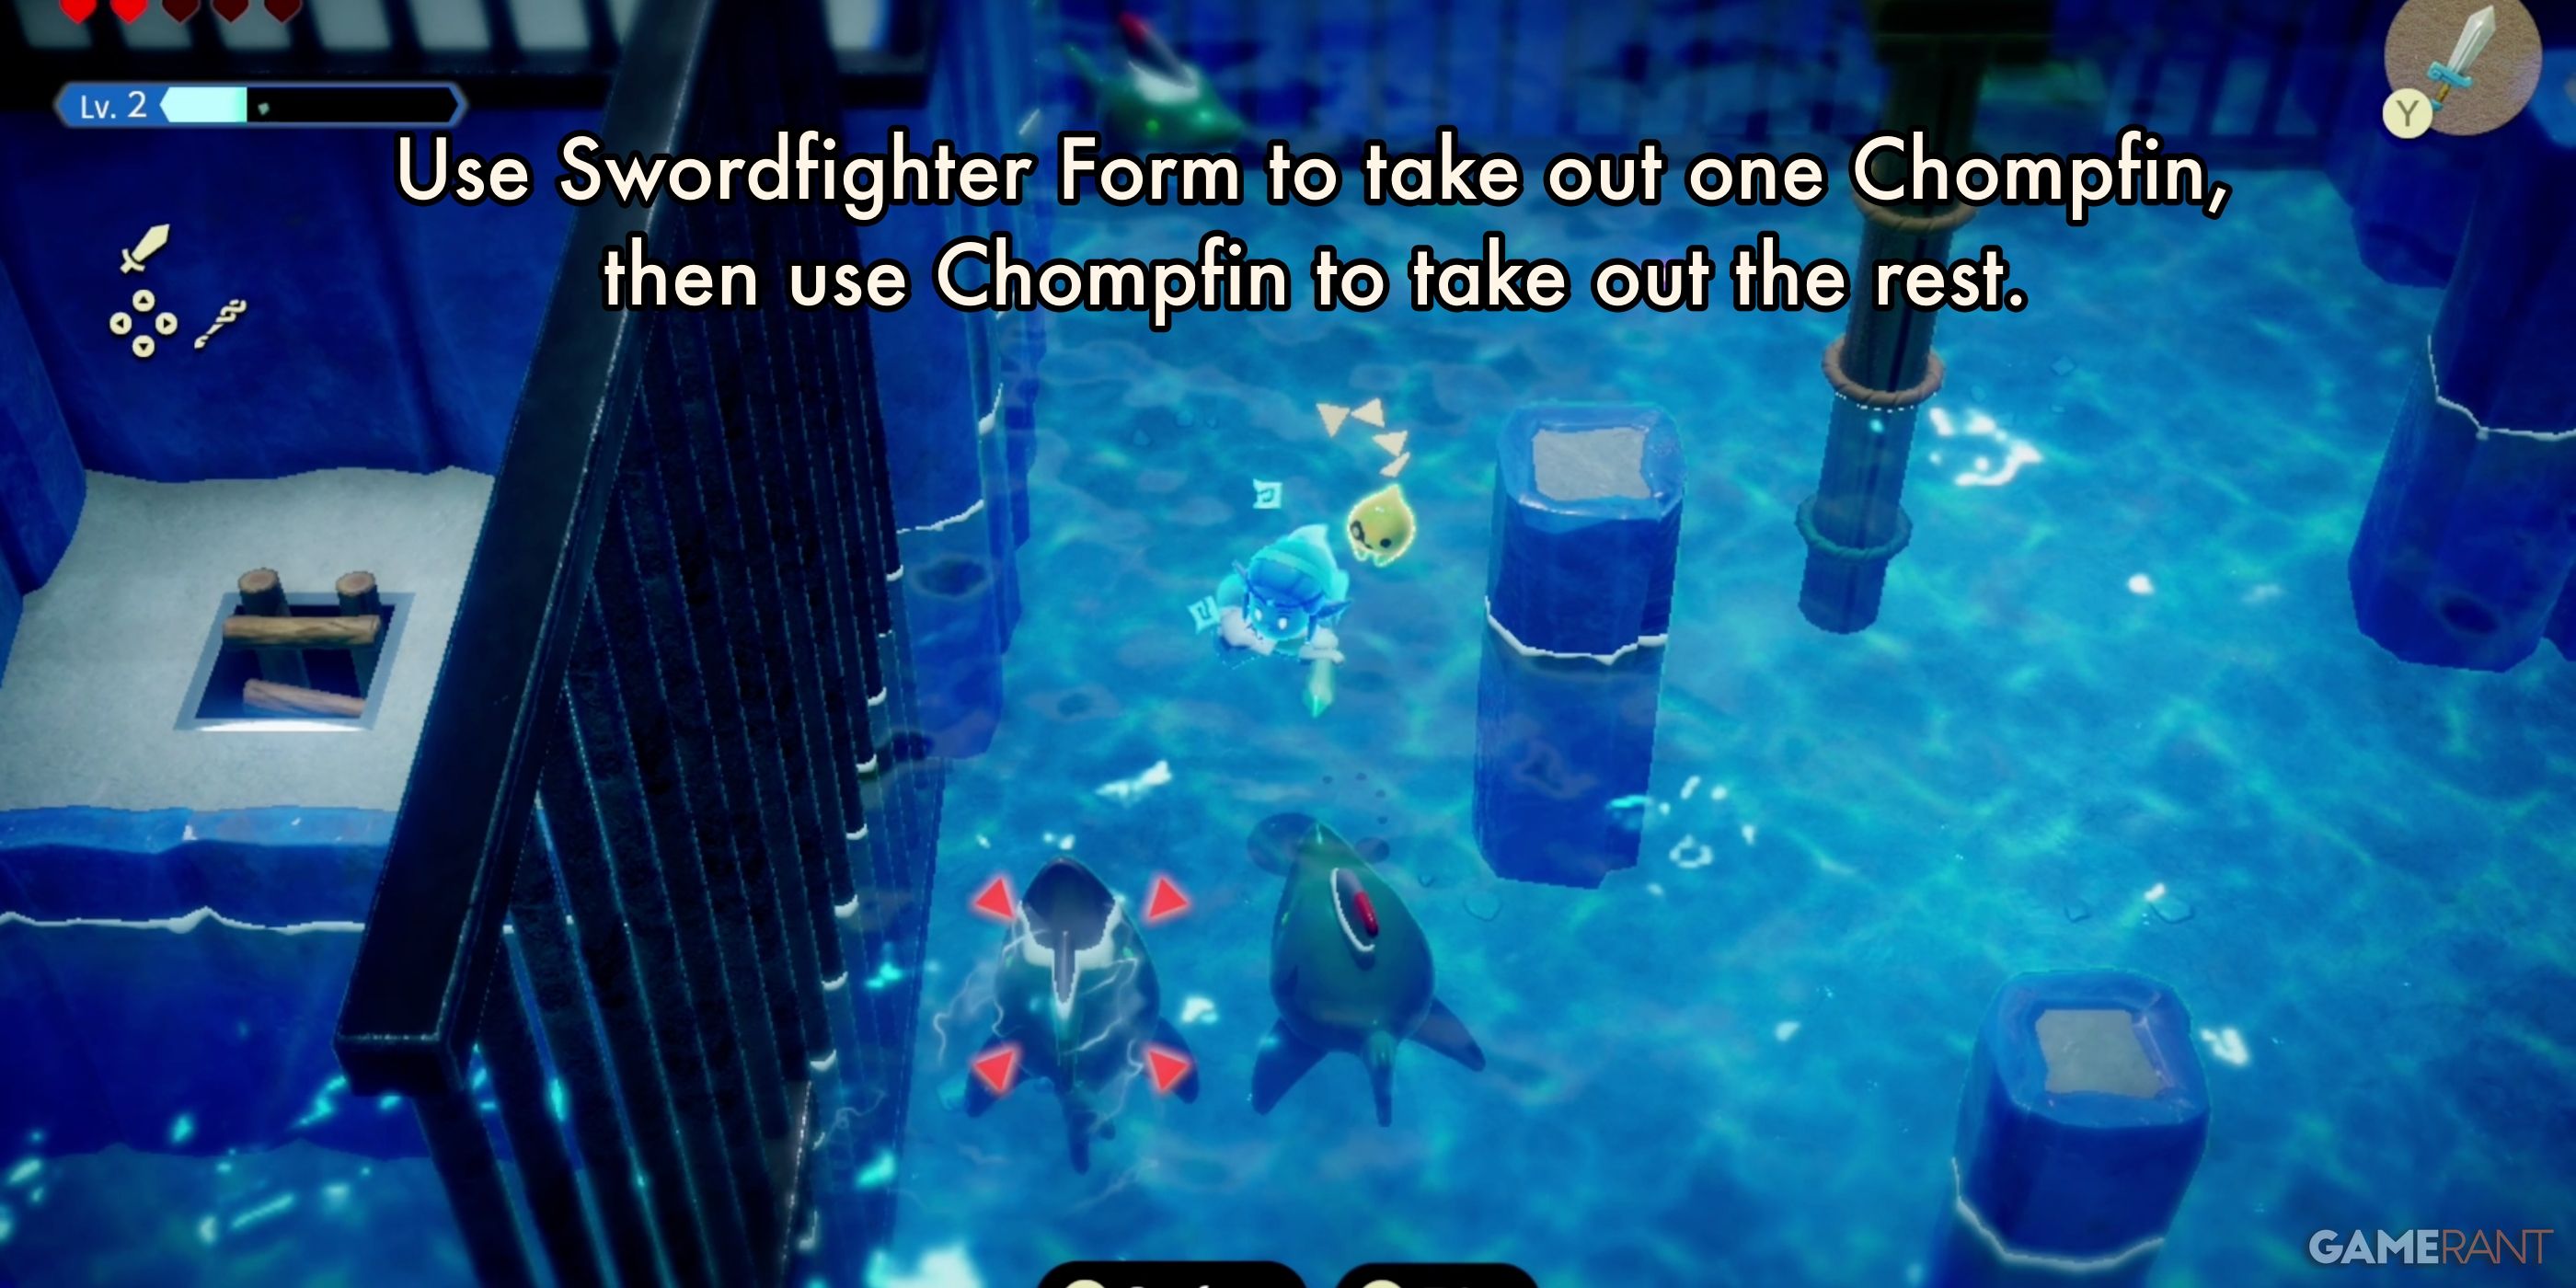
For the Chompfins, your first step should be using the Swordfighter Form. If you can focus on taking out a single shark, and learning the Echo, you can use your own Chompfin to take out the rest. This is the best method of dealing with them. You should not leave the chamber without collecting the Chompfin Echo.
- Important Task: Collect Chompfin Echo
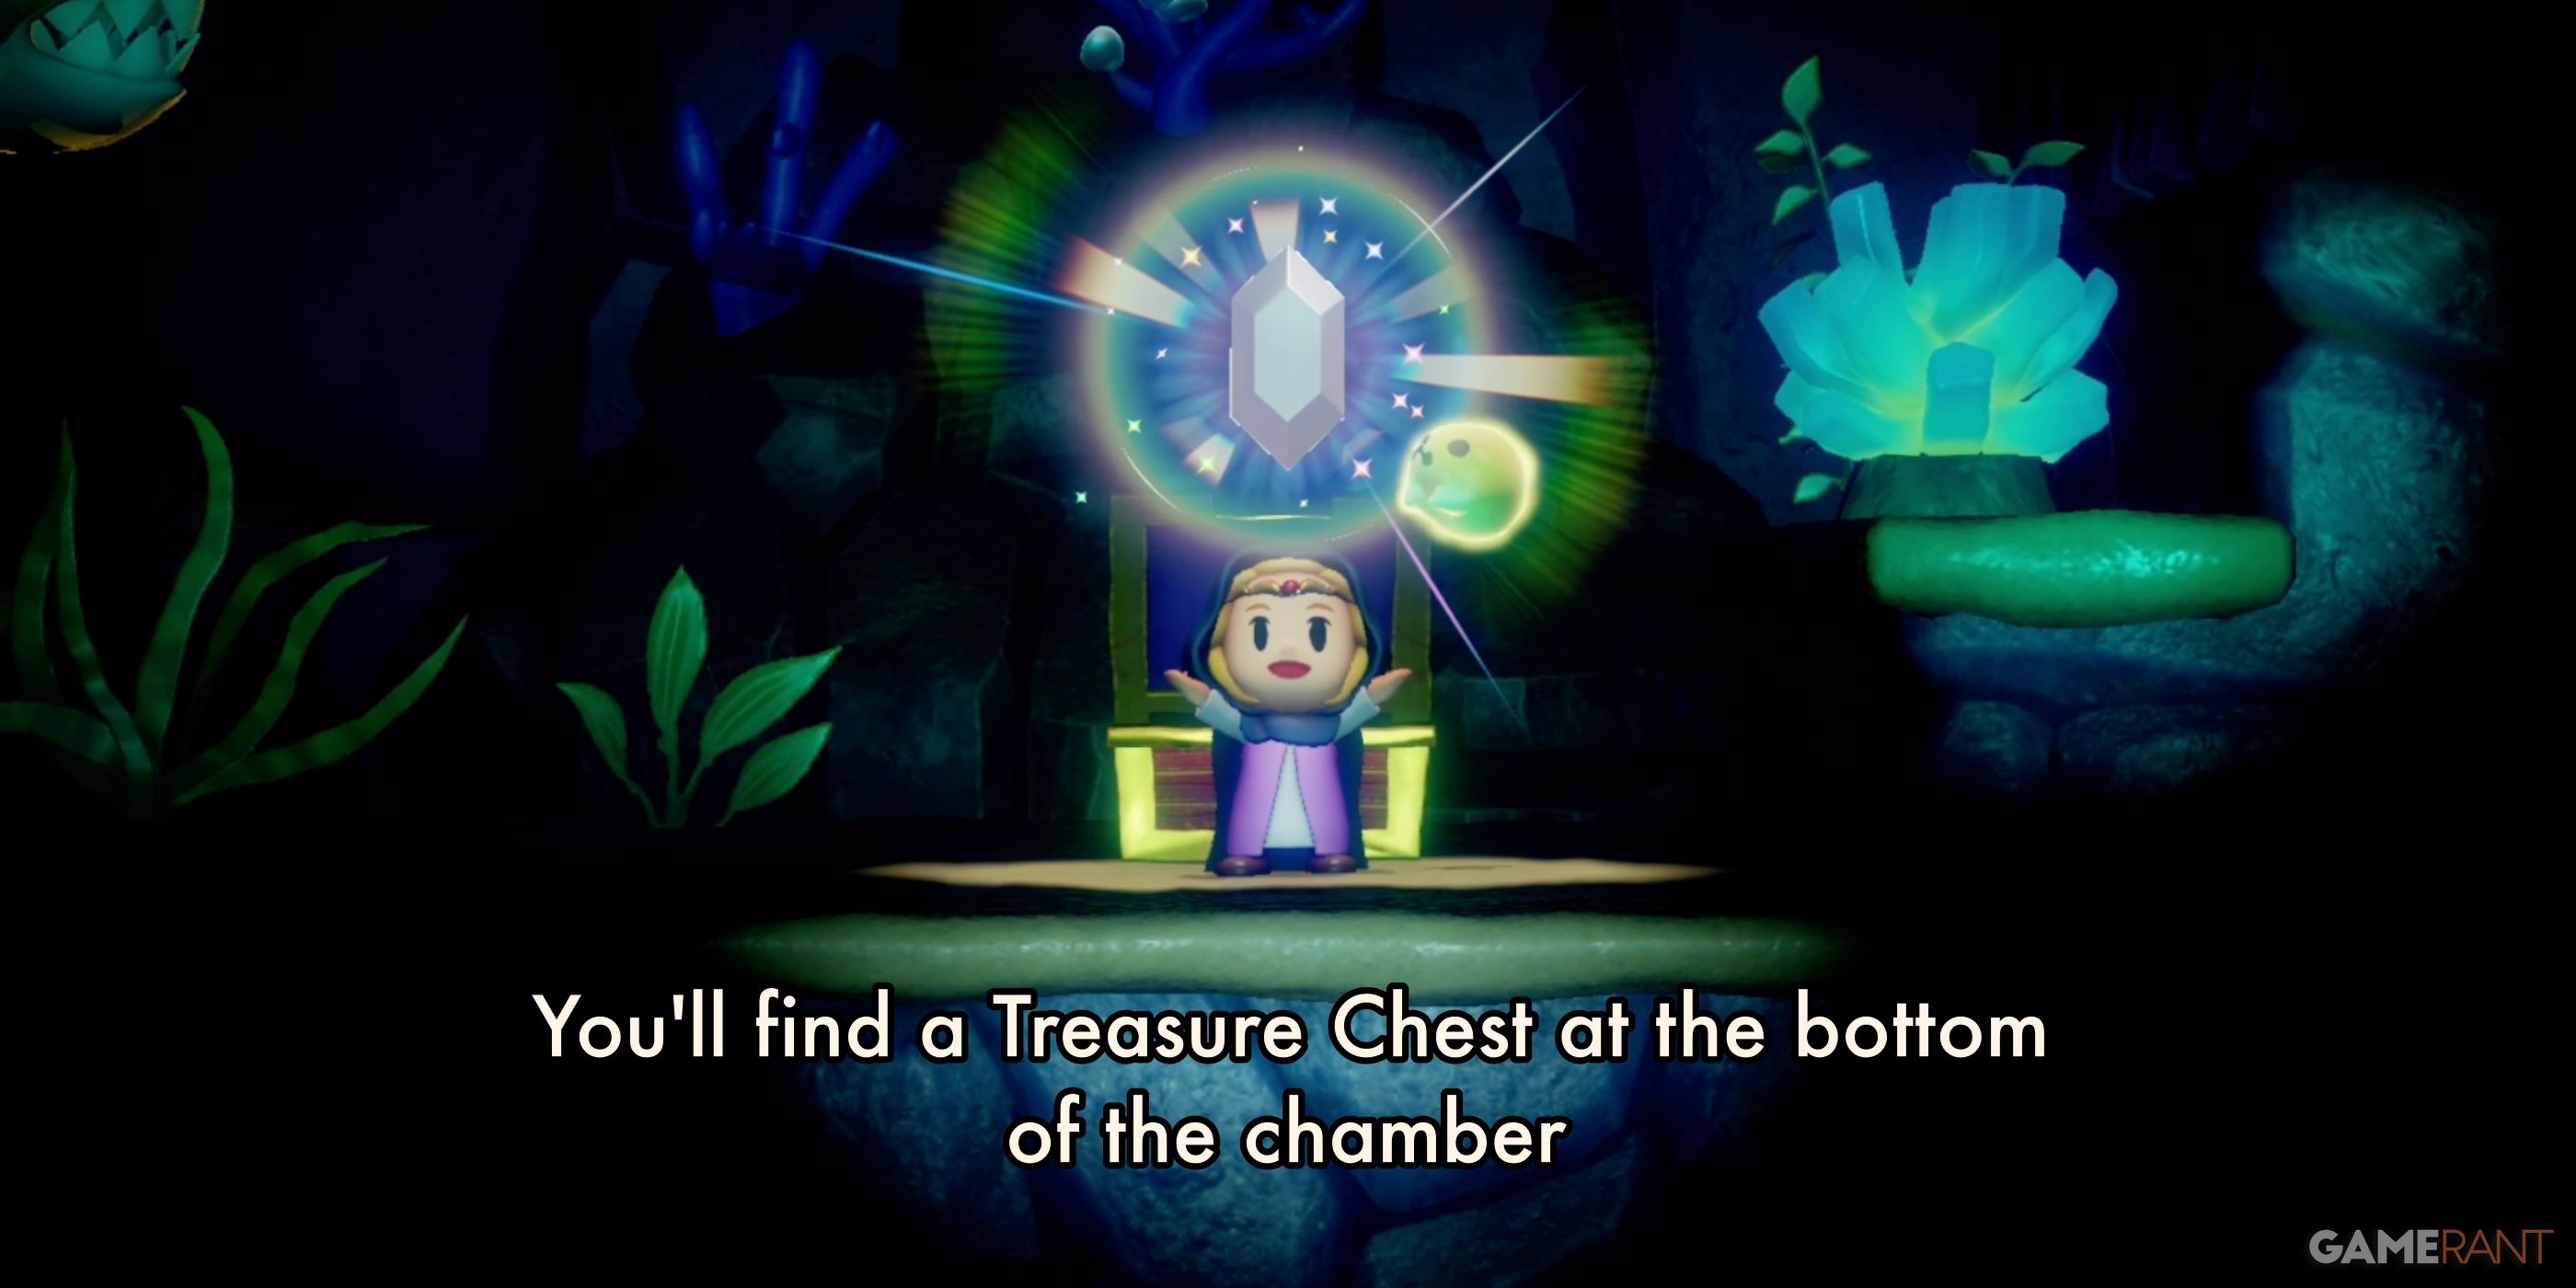
Once all enemies have been defeated, head underwater and look for a box at the bottom of the bars separating the small space at the north end of the chamber. Remove the box and swim through the hole. Use a Water Block to make the climb up the platform and grab the treasure chest in the northwest corner of the chamber.
- Treasure Chest 2: Purple (50) Rupee
Now, use Water Blocks to reach the skinny wooden platform behind the bars, then walk the rope to the exit platform. Leave this chamber and enter the next.
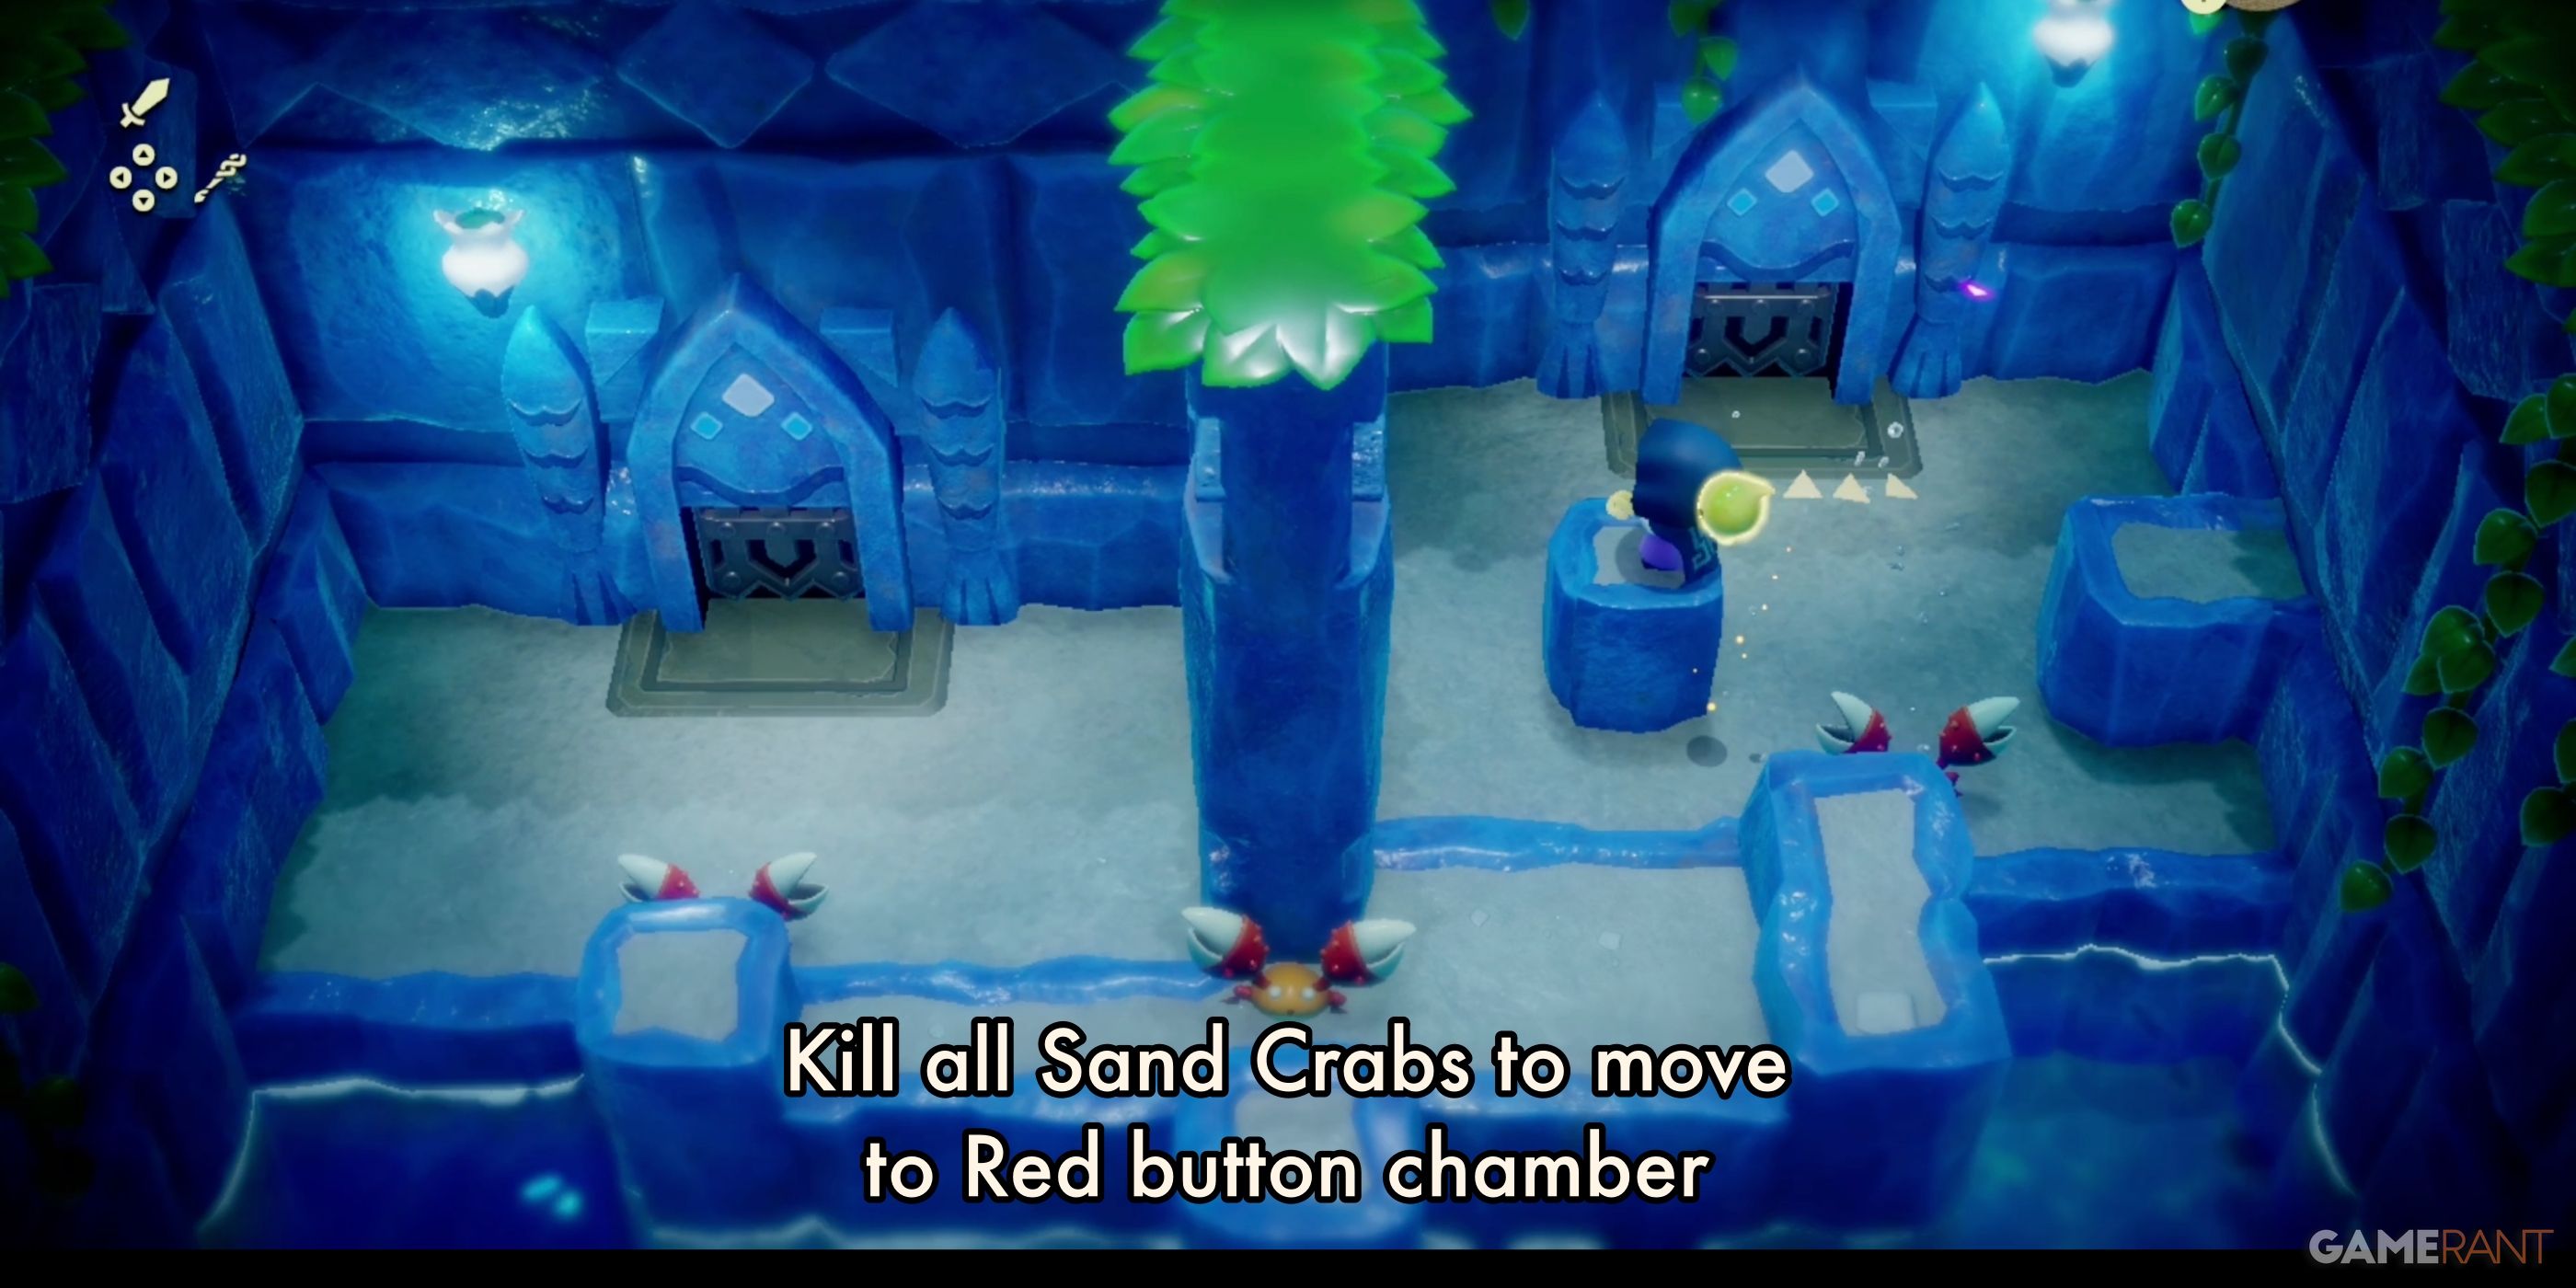
The next chamber features multiple Sand Crabs that Zelda must defeat to access the final chamber. Use a flying Echo to take out the Sand Crabs on land, and use the newly acquired Chompfin to take out the Sand Crabs in the water. This is a quick chamber that shouldn’t be too much trouble.
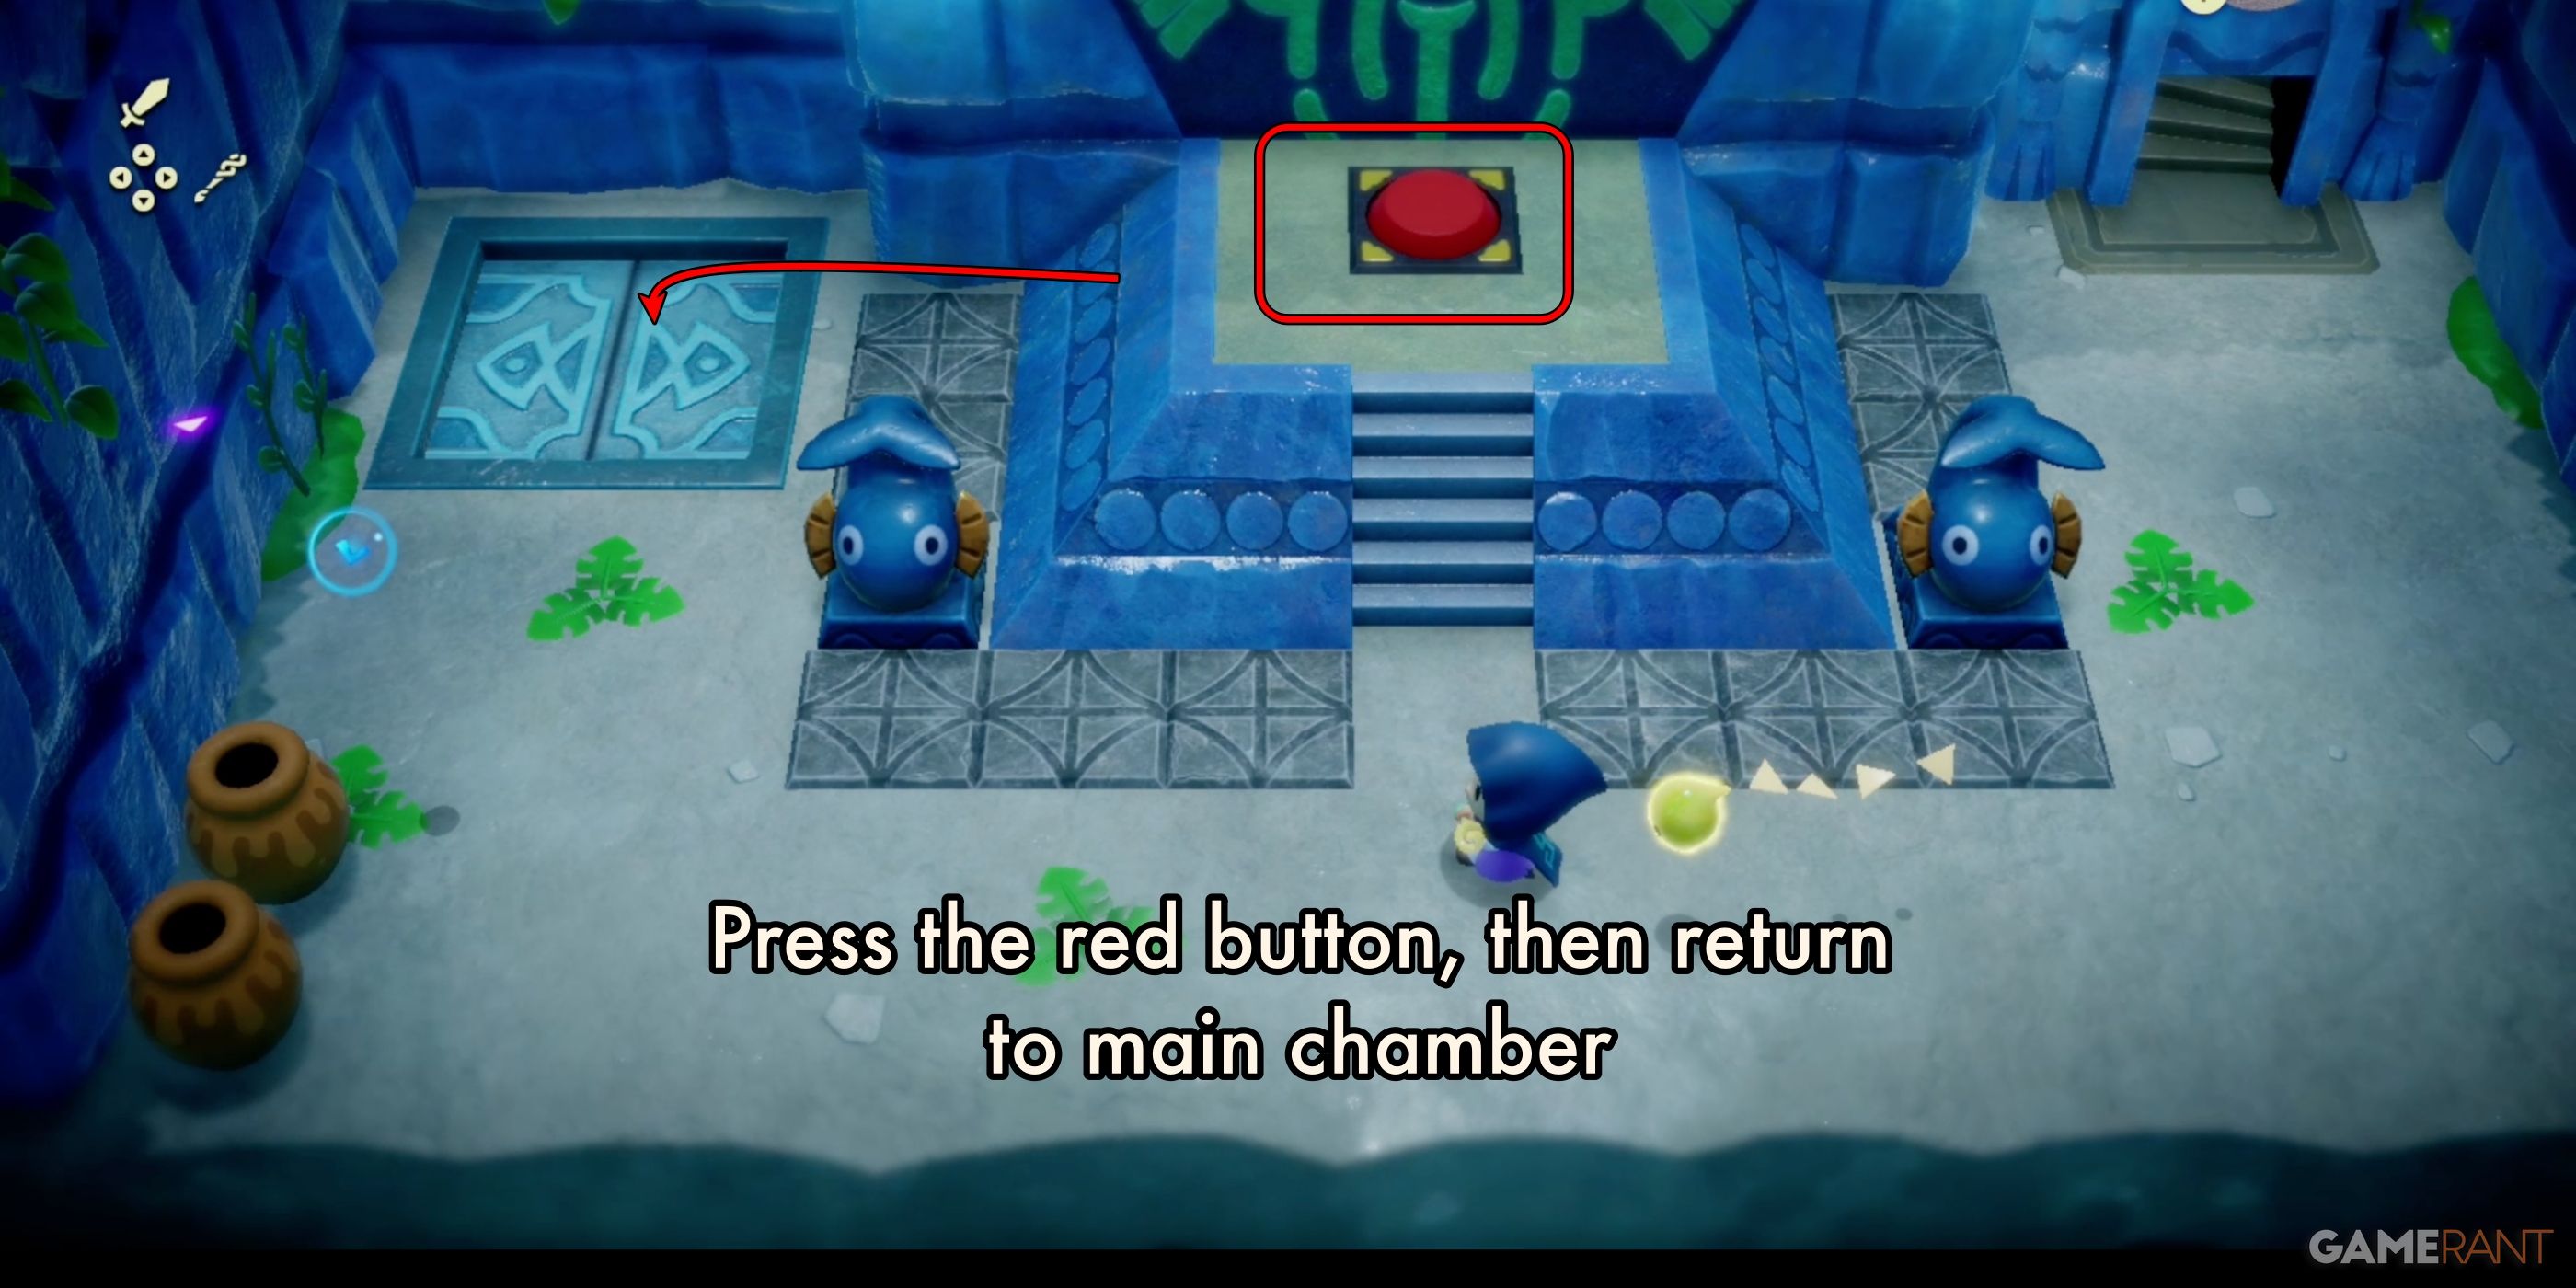
Enter the final chamber and press the red button. You’ll get a brief cutscene, then the exit will open in the floor. Drop into the hole, and you will be back in the first room on the red path. Head up the ladder on the left to return to the main chamber.
1F Blue Button Path:
From the main chamber on 1F, head left to reach the blue button path. Follow the ladder down to enter another side-scrolling sequence.
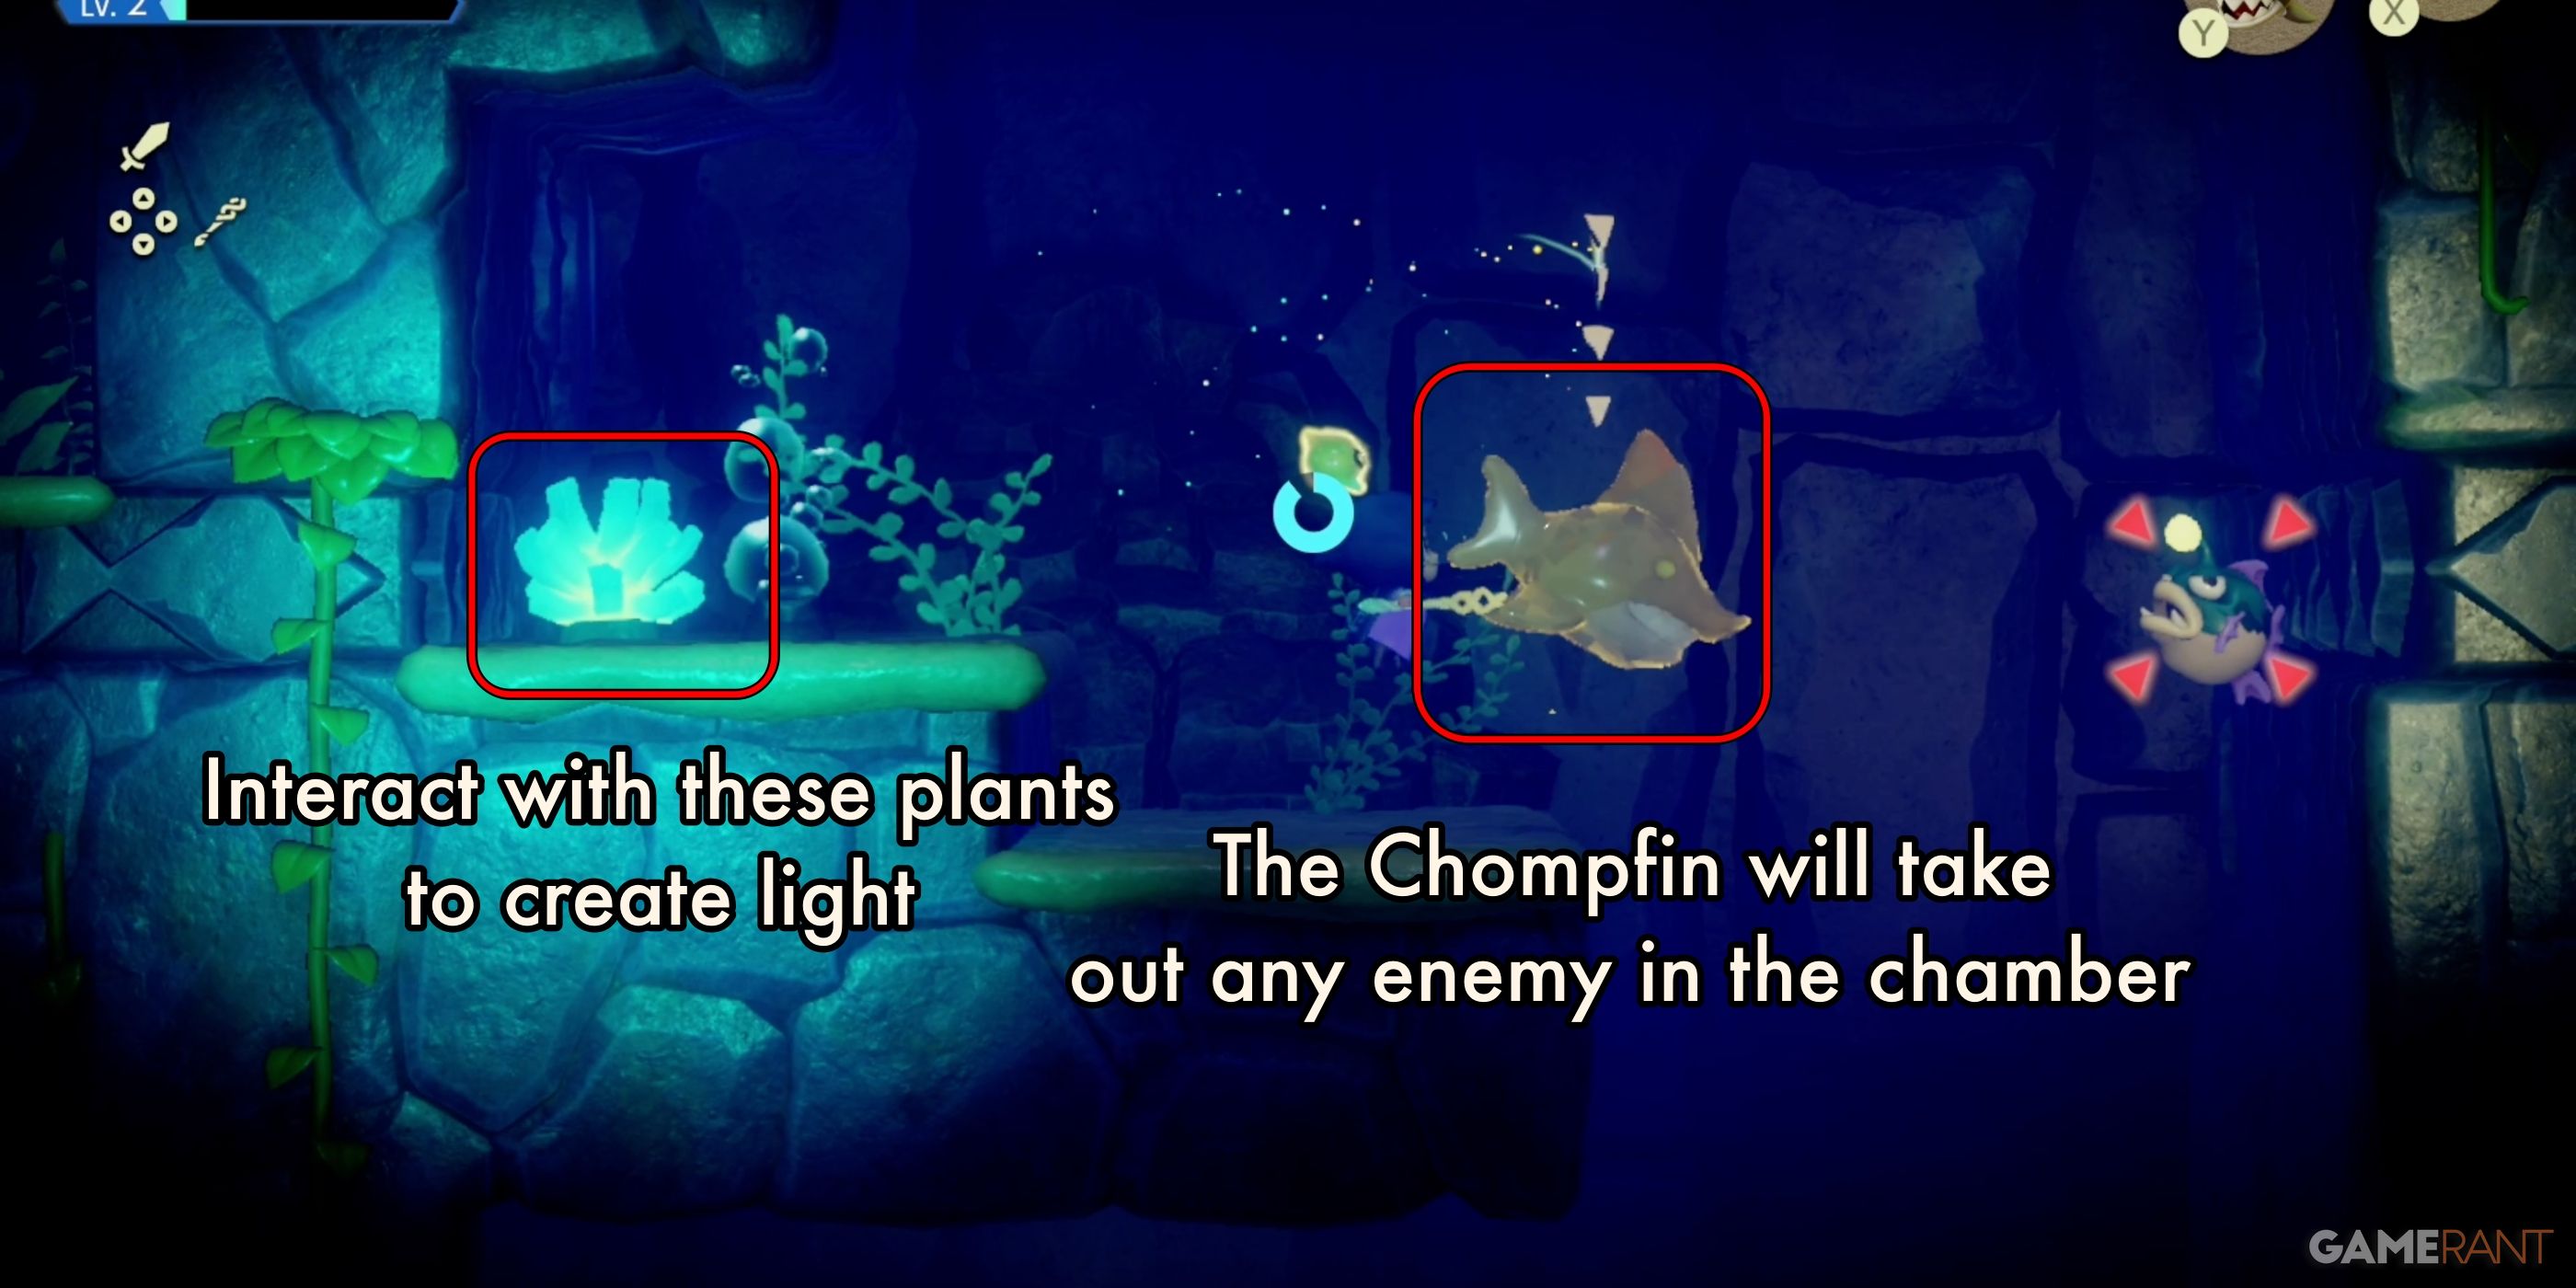
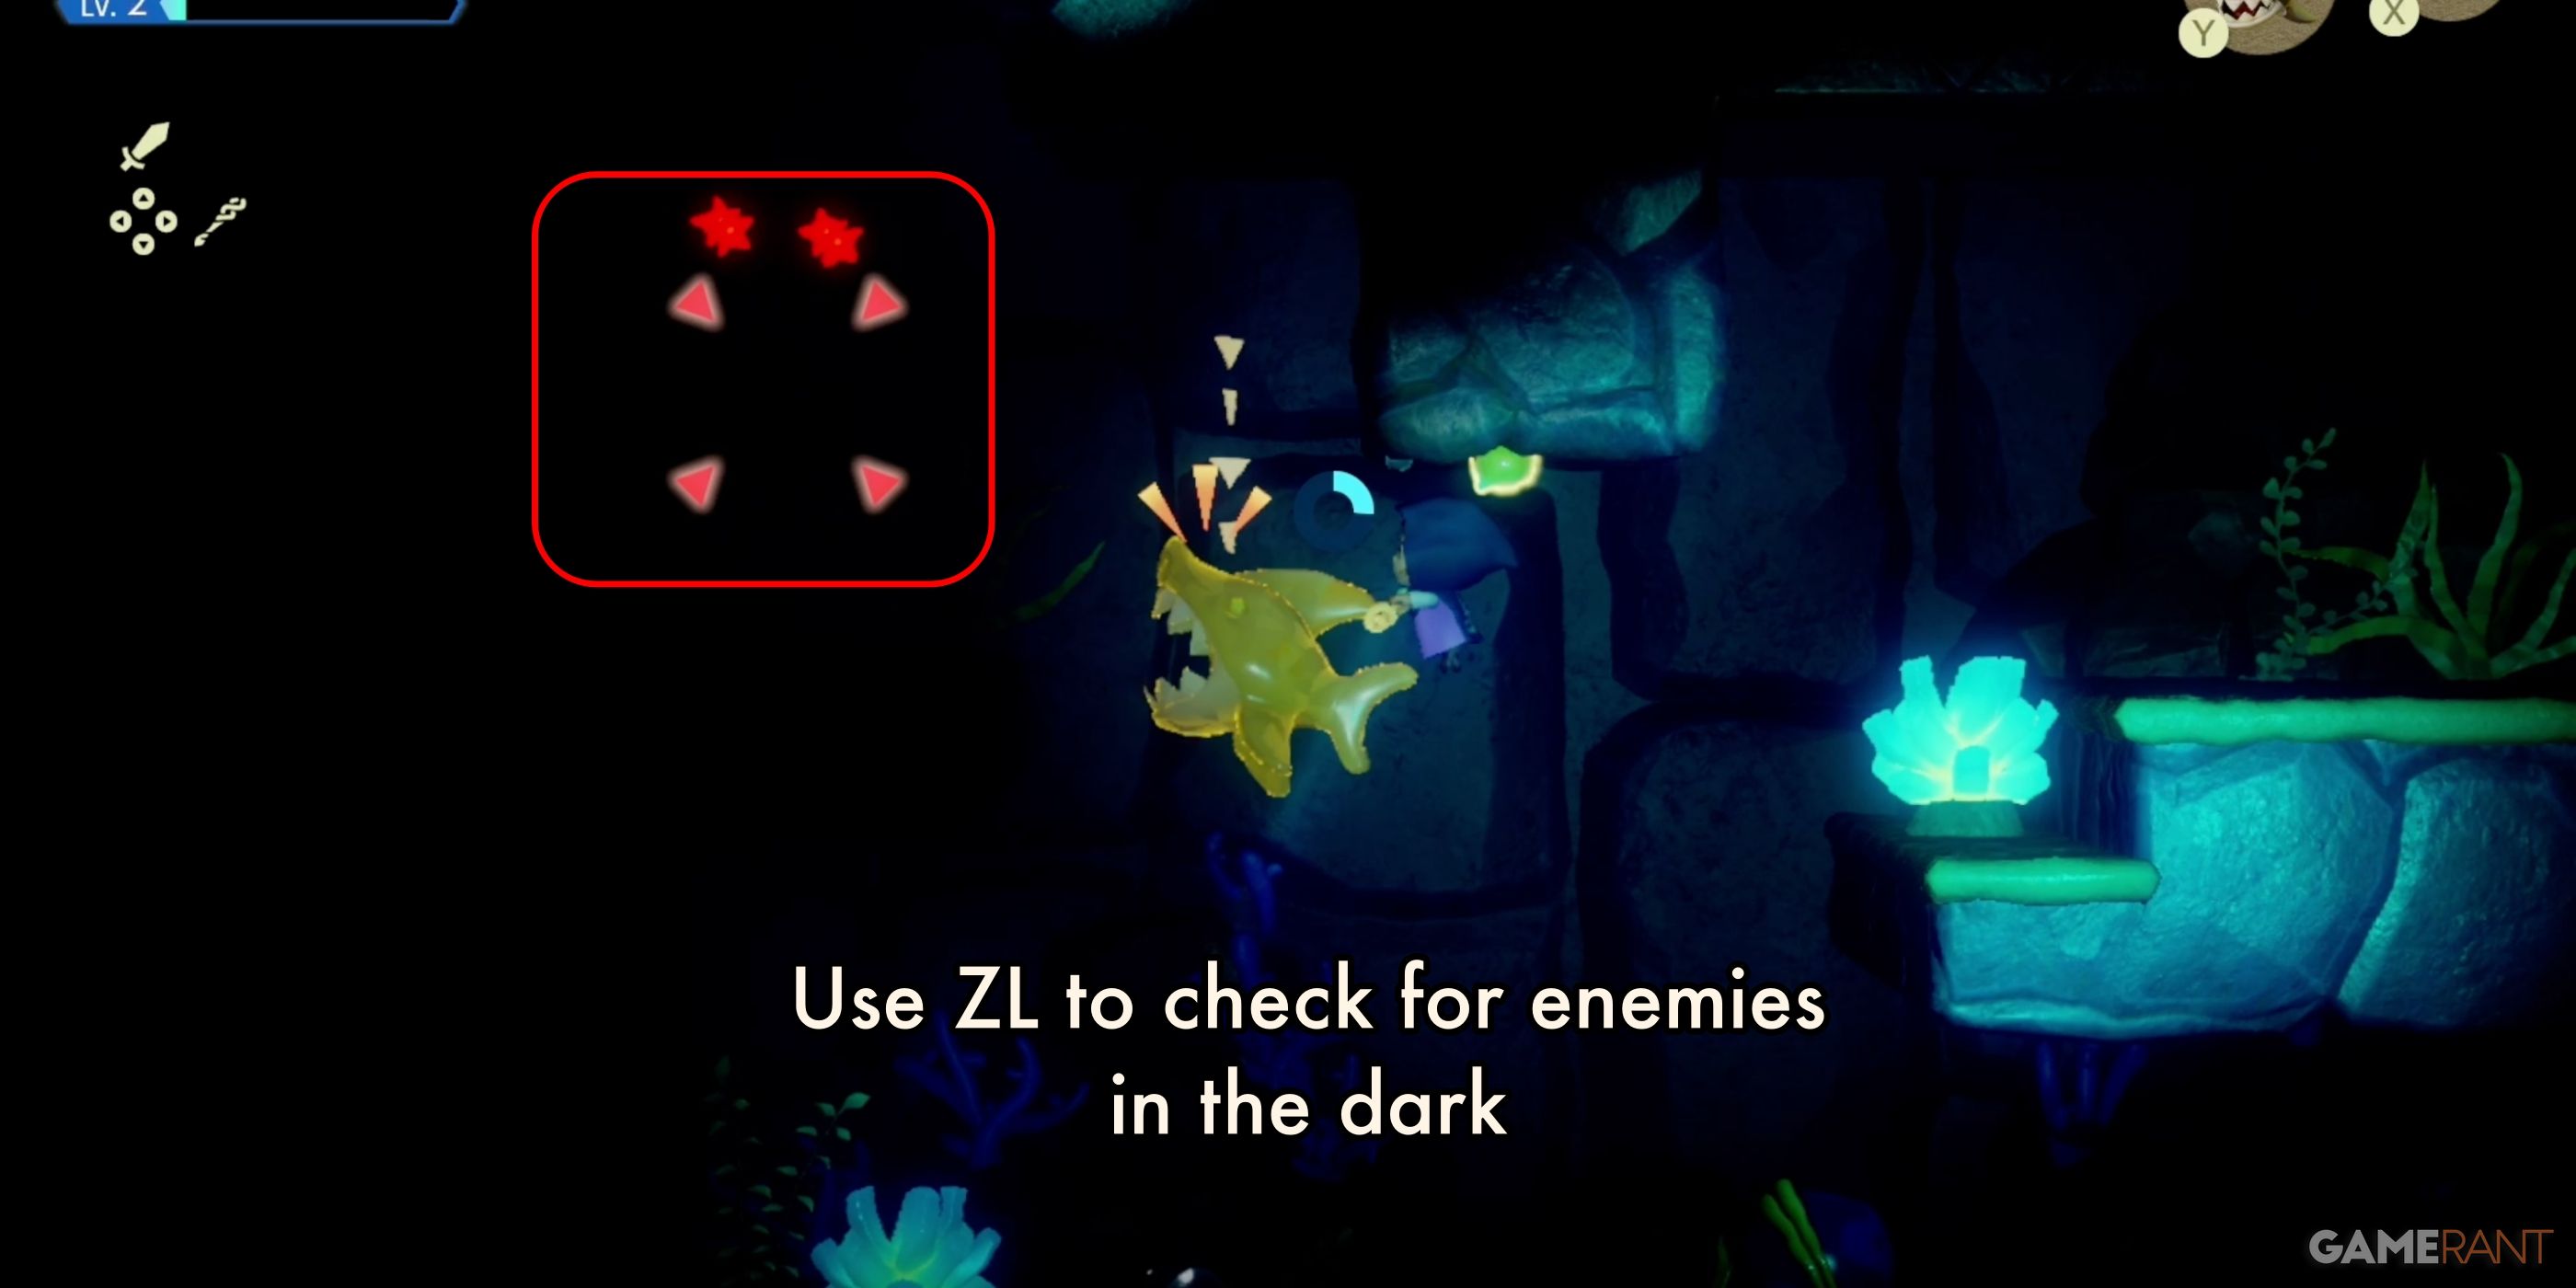
This underwater section features Lvl. 2 Tanglers, Biri, and Bio Deku Baba. Use the Chompfin to easily defeat them all. Setting the Chompfin loose will allow you to make it through this section incredibly fast. The only issue is the darkness. There is a specific plant in the water that will create light if you swim into it. Several of the Bio Deku Baba are hiding in dark areas.
Head all the way to the bottom of the chamber to find a treasure chest in the dark. Head out the western end of the chamber to move on.
- Treasure Chest 3: Silver (100) Rupee
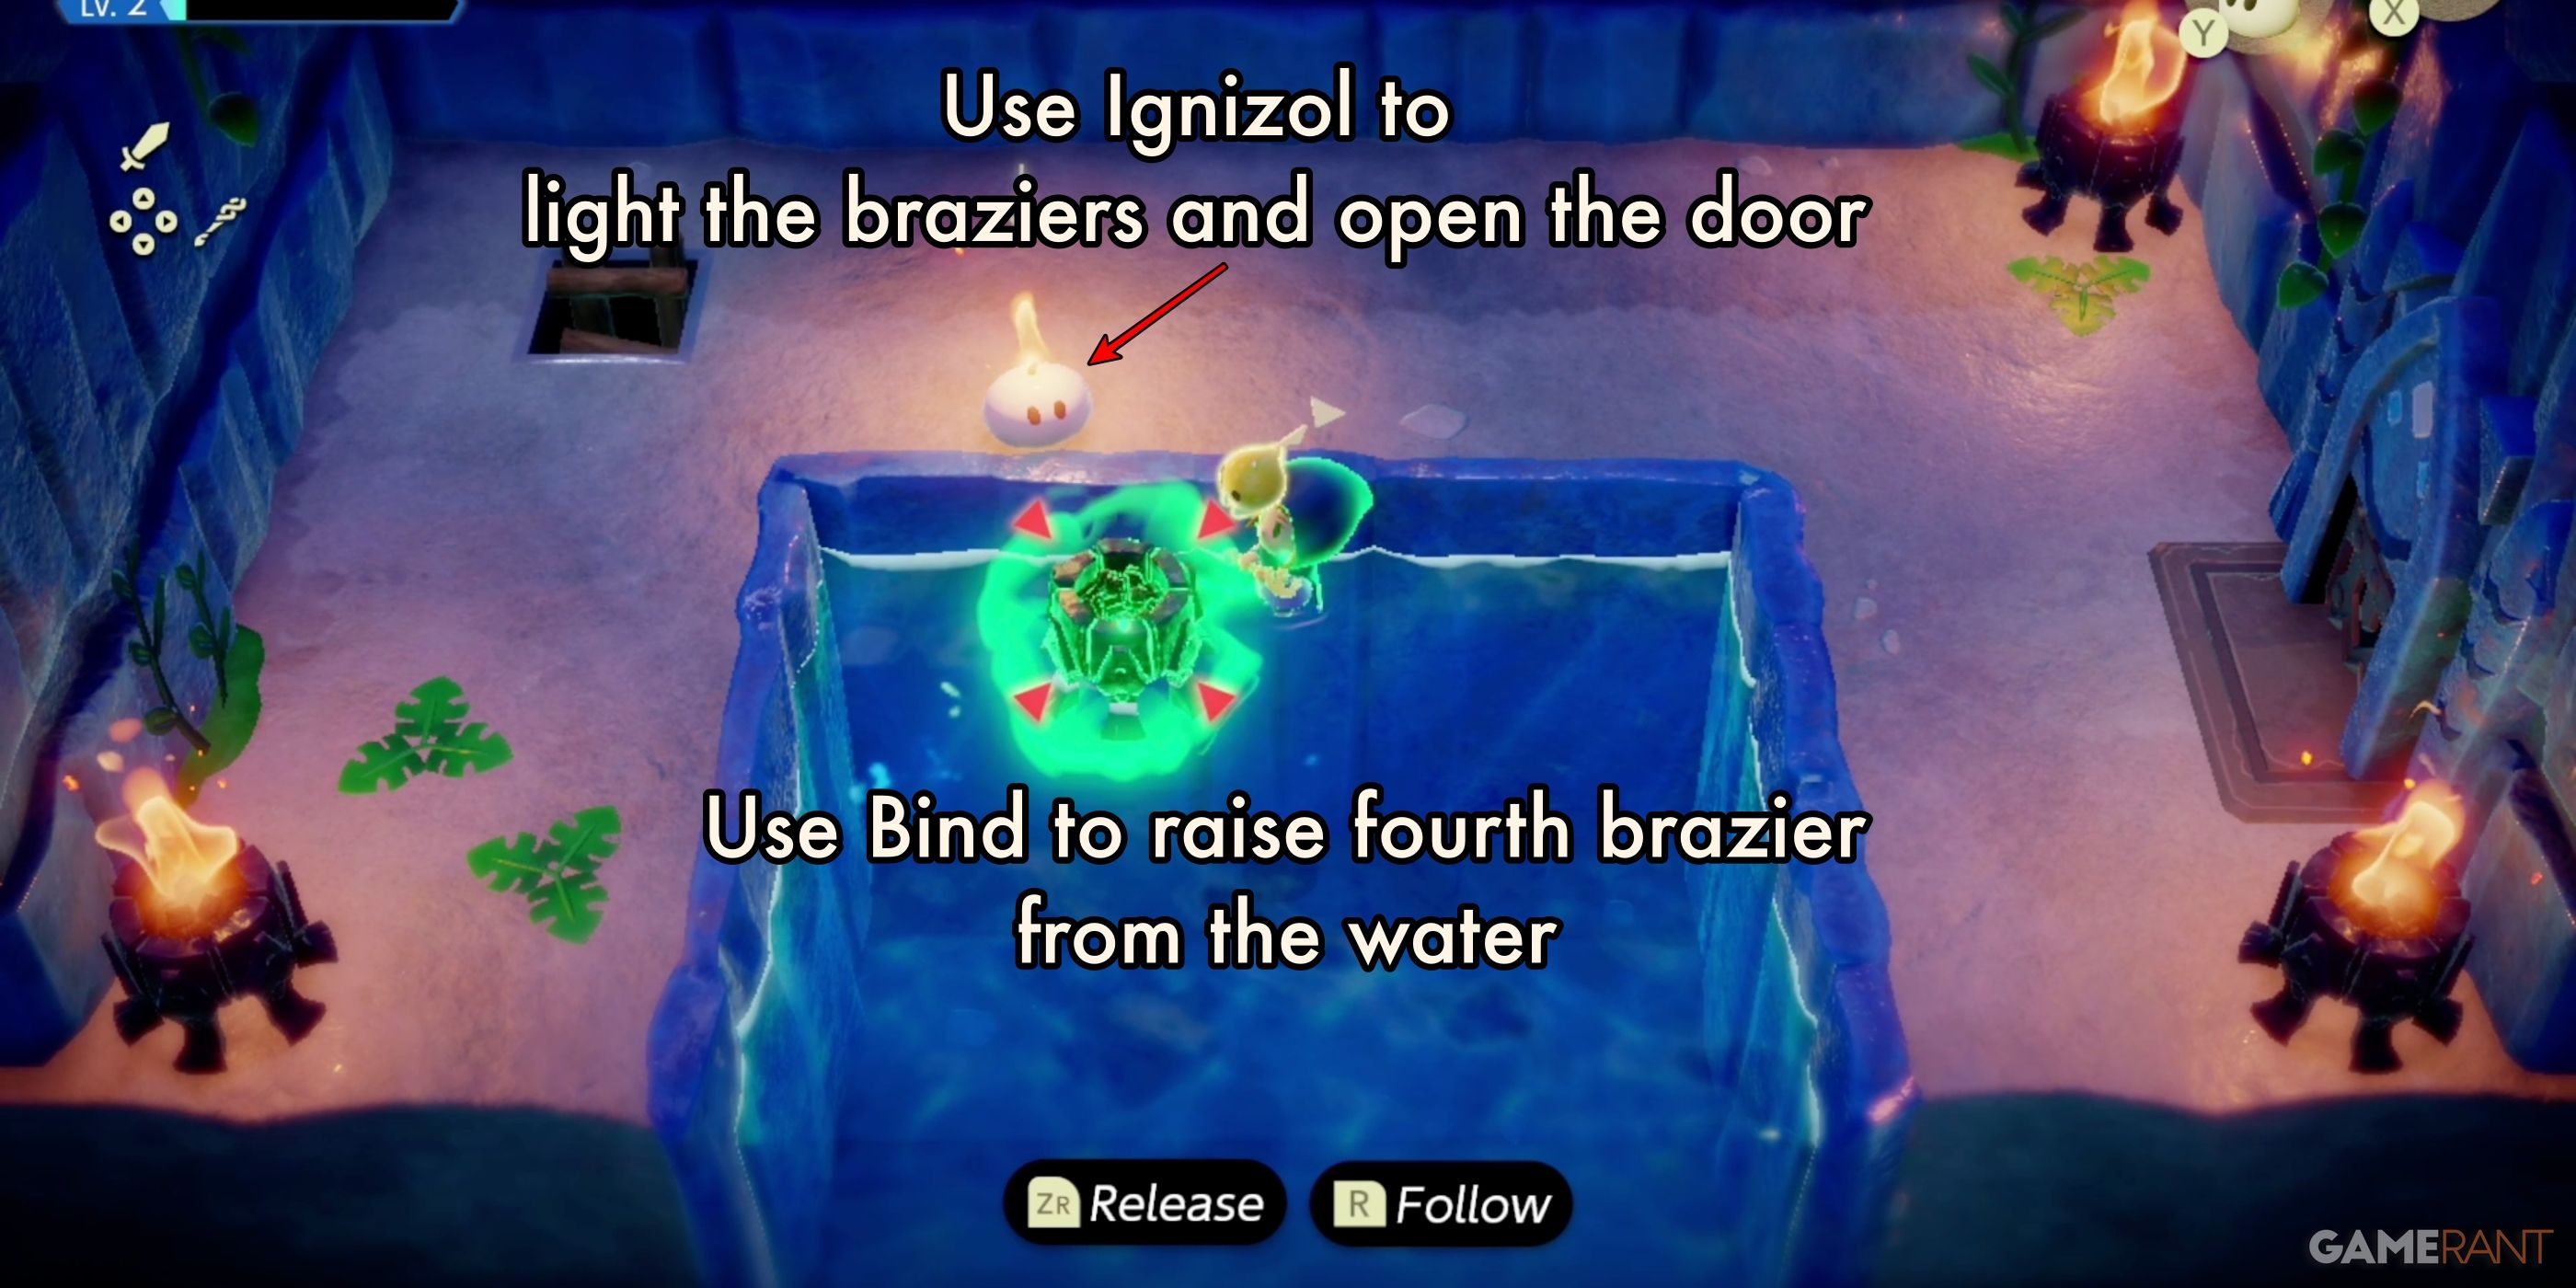
In the next chamber, you’ll find three braziers lining the paths, and one brazier underwater. Use Bind to raise the final brazier out of the pool. Once all four braziers are available, use an Ignizol to light them. This will cause the door to open.
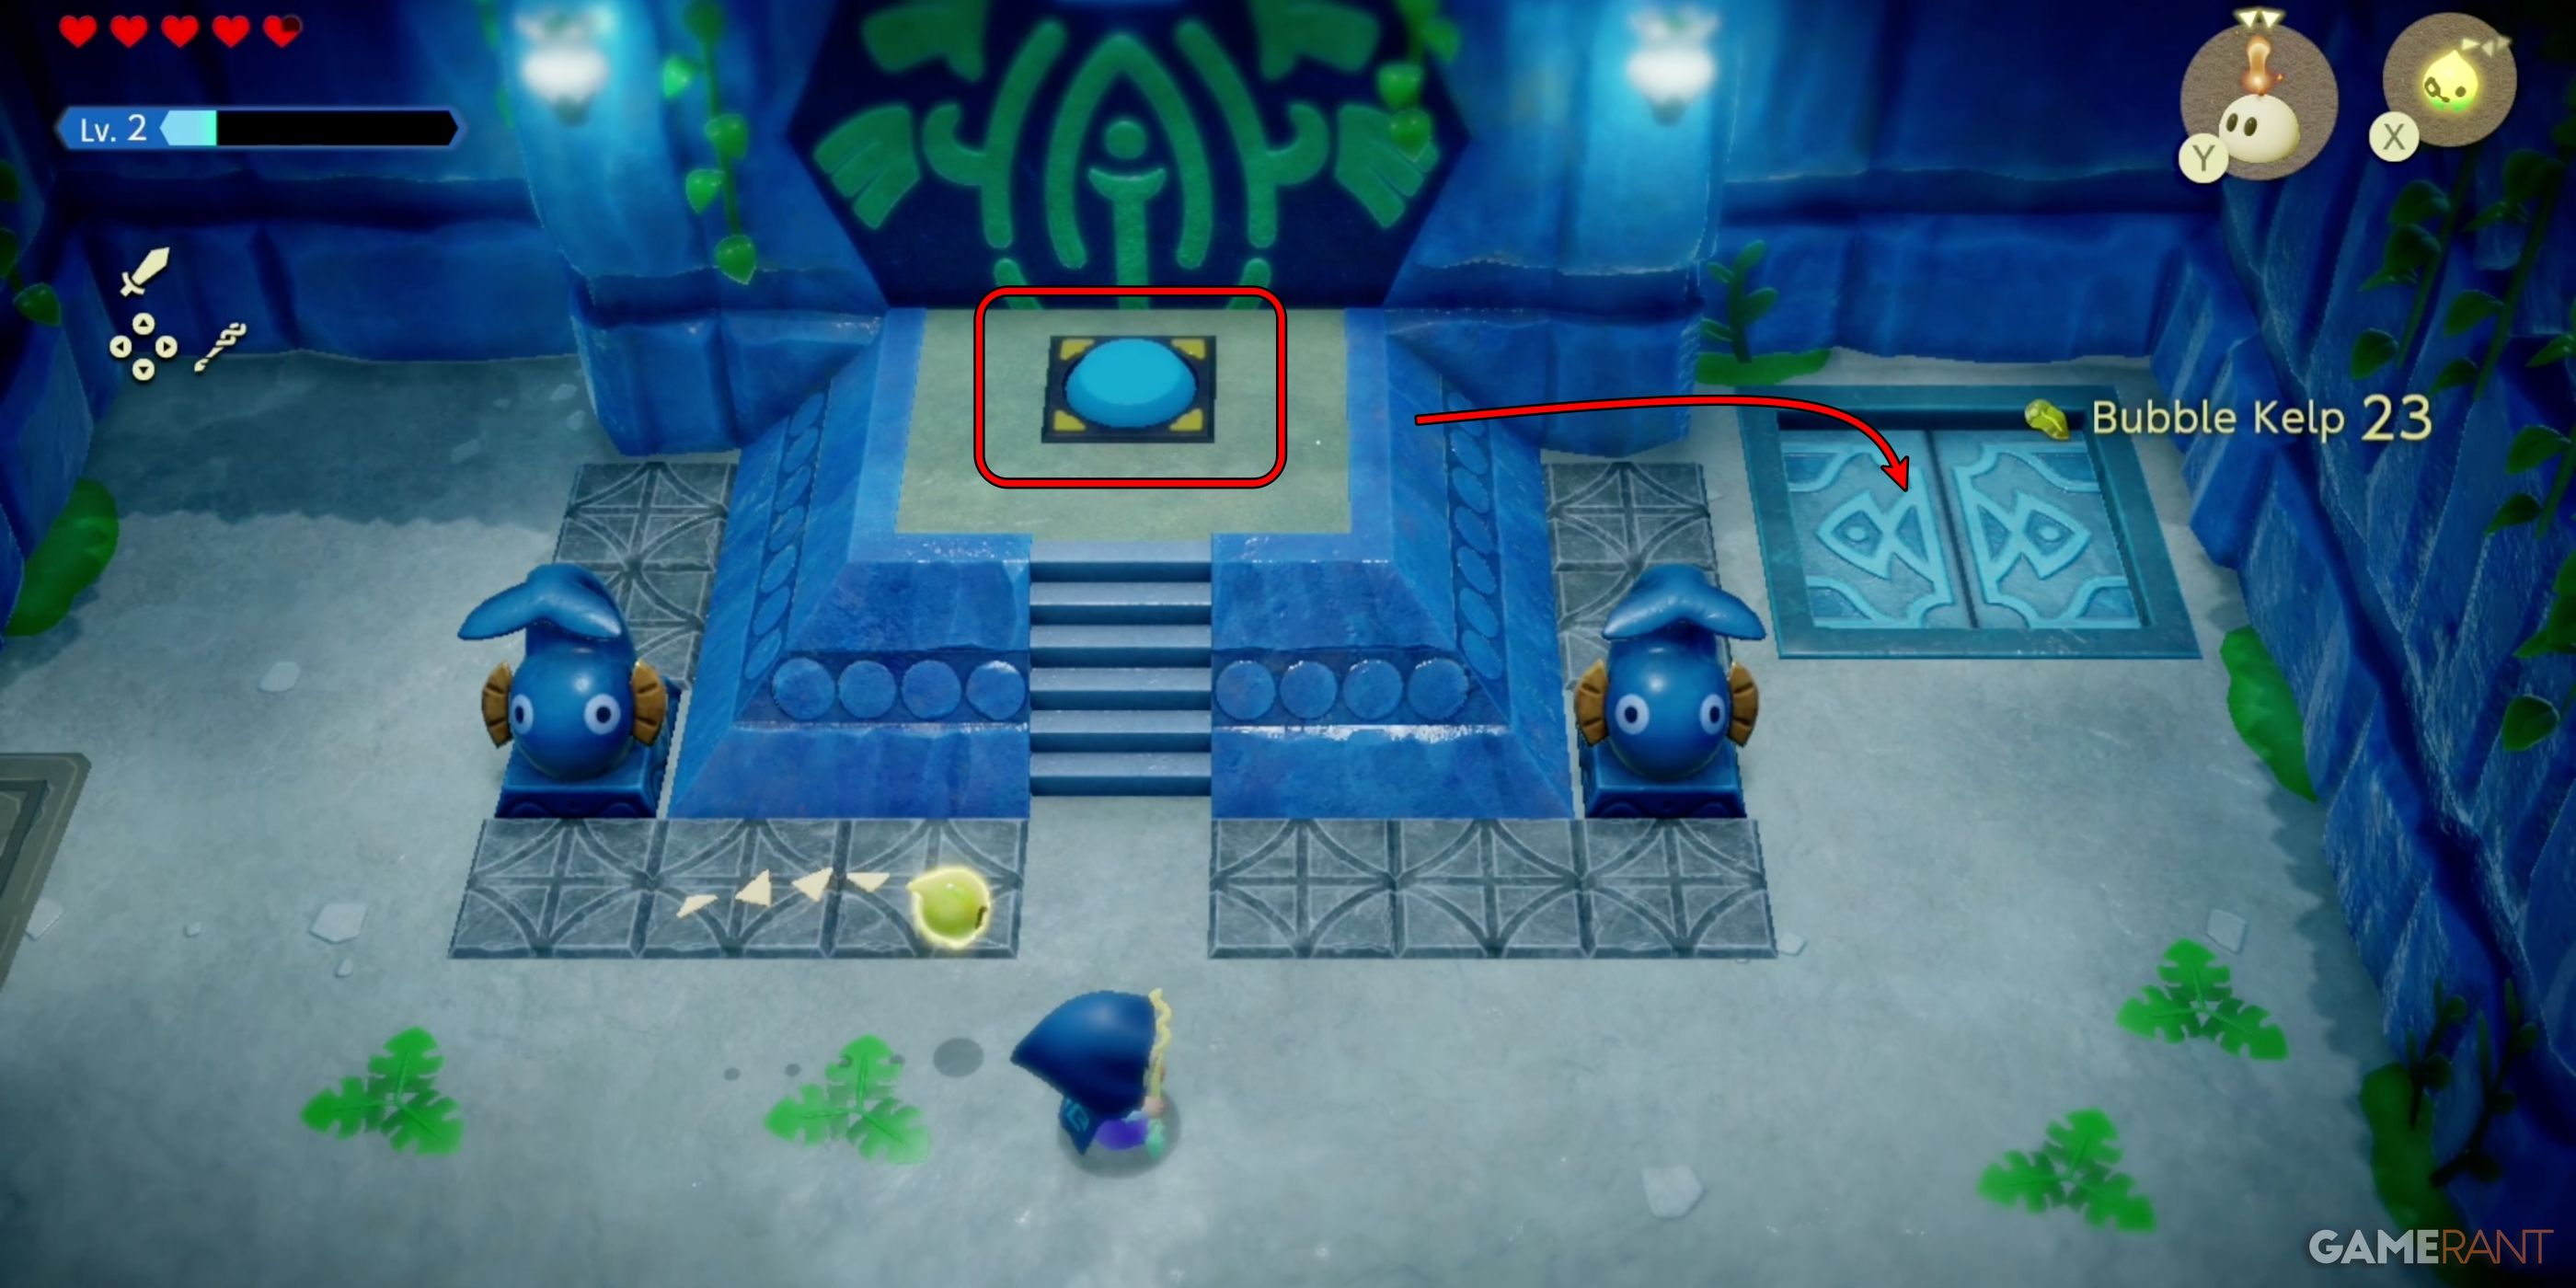
This will lead into the blue button chamber. Press the blue button, then drop into the hole and return to the main chamber.
Jabul Ruins Walkthrough – 2F Yellow and White Buttons
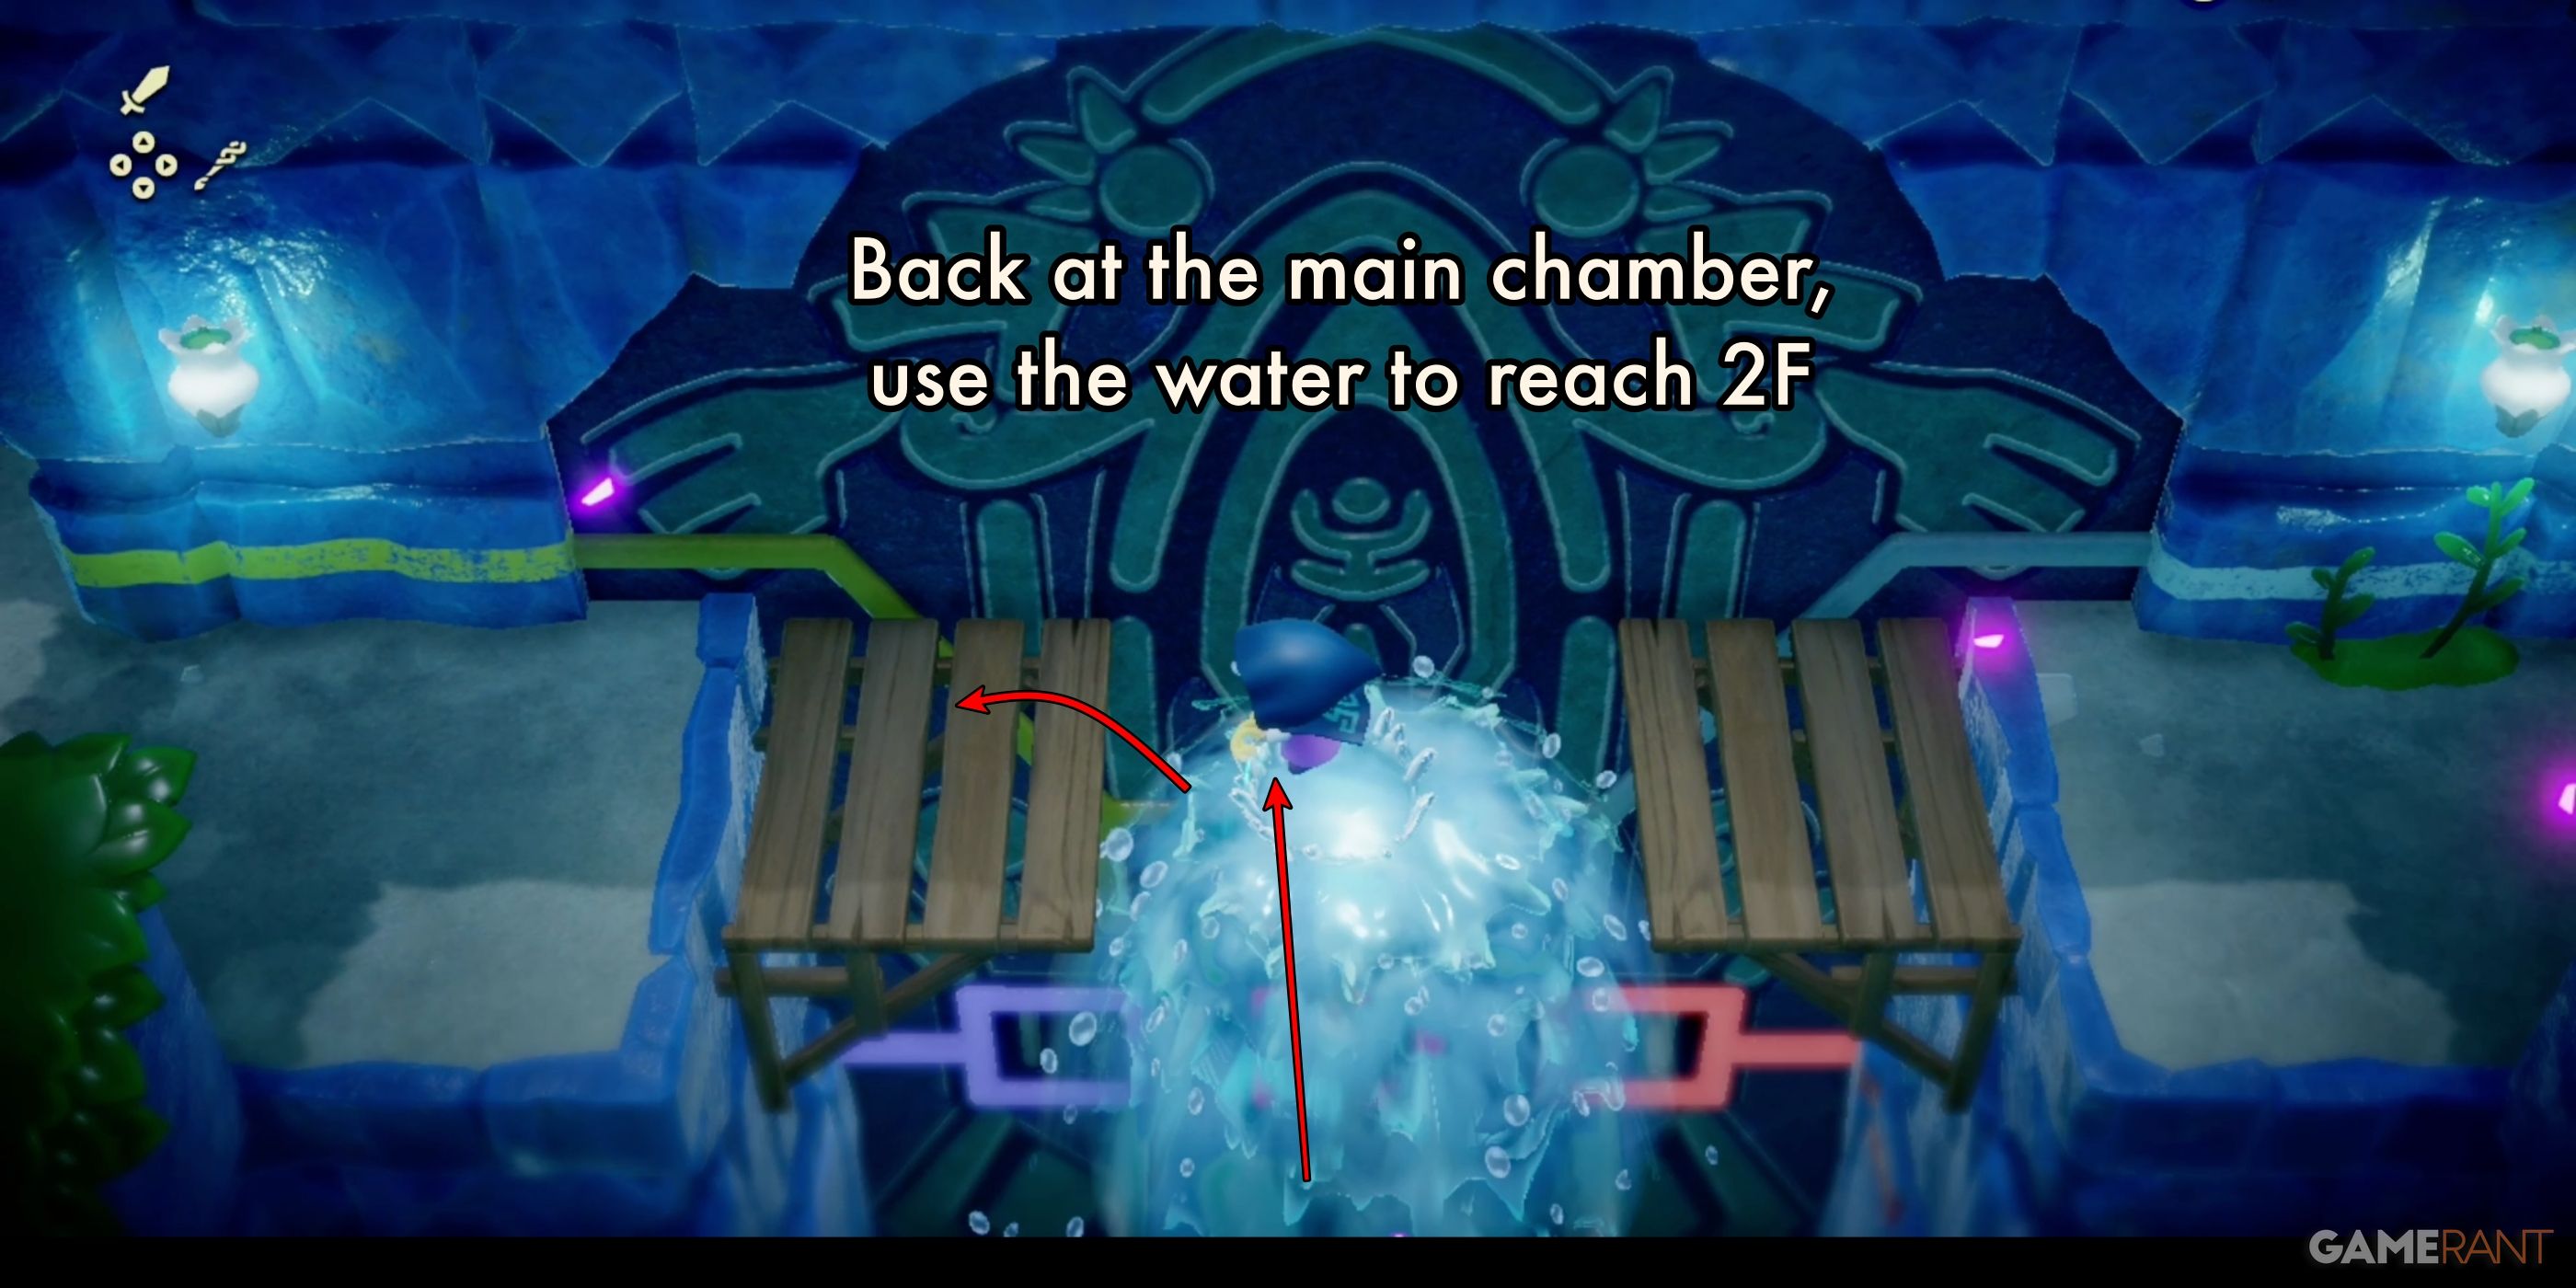
Upon returning to the main chamber, Zelda will now be able to use the water to launch herself to 2F. Here she can pick between the White Button path, or the Yellow Button path.
2F Yellow Button Path:
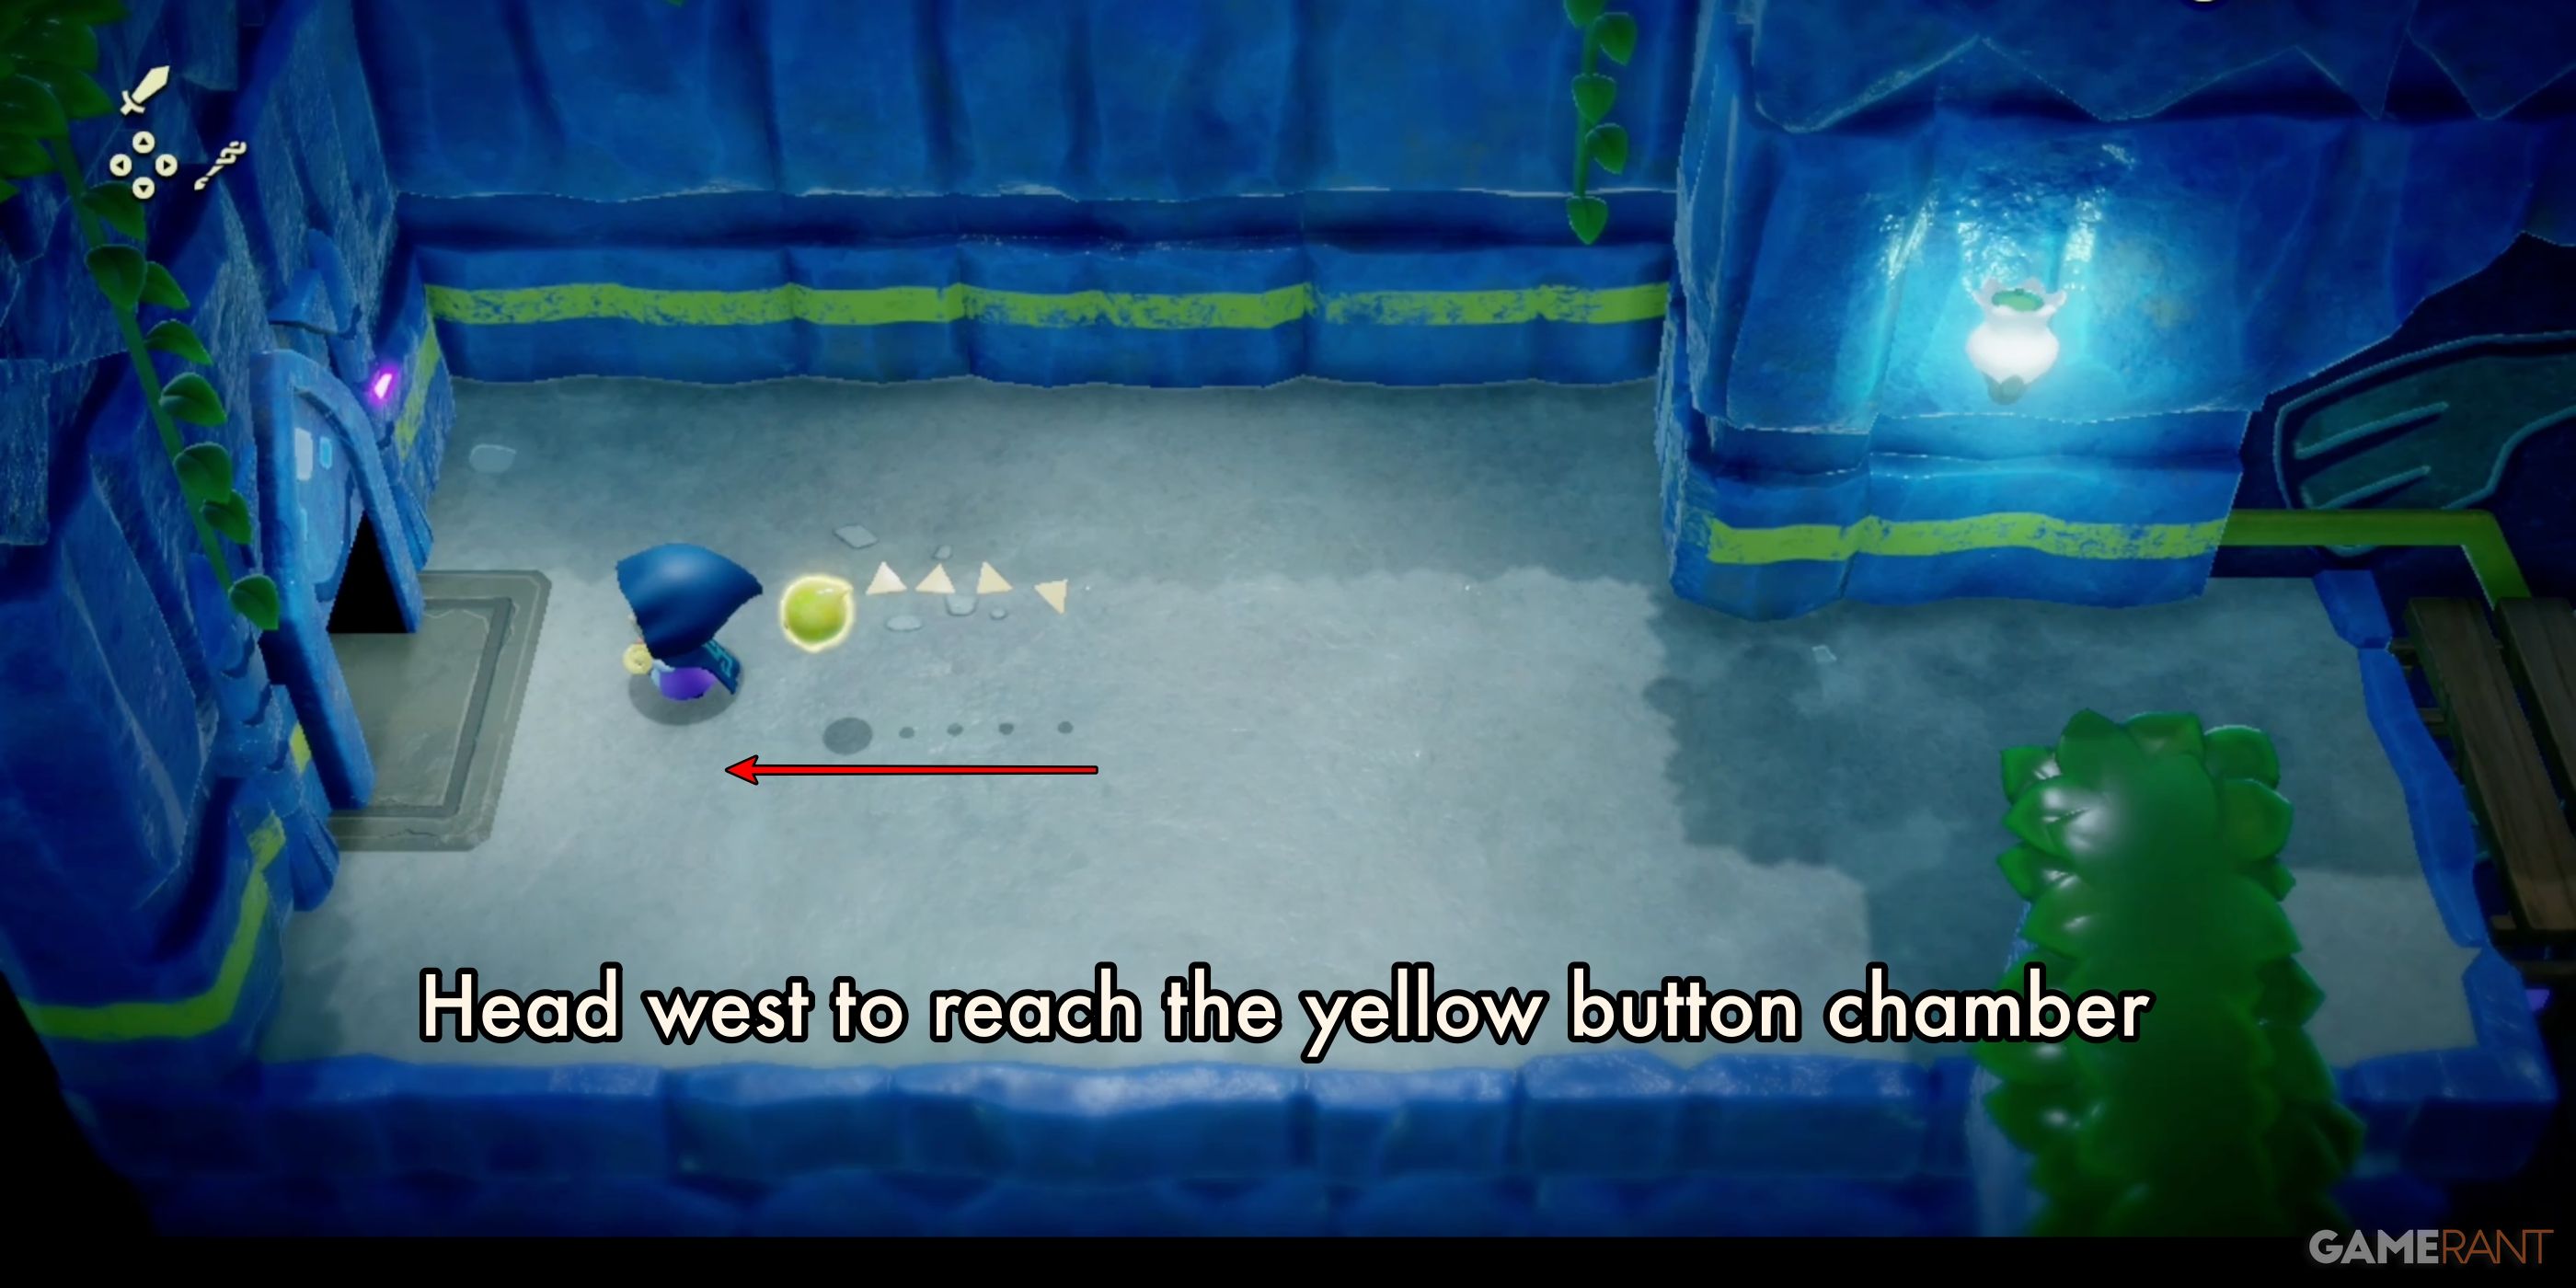
Heading west on 2F will lead to the Yellow Button path.
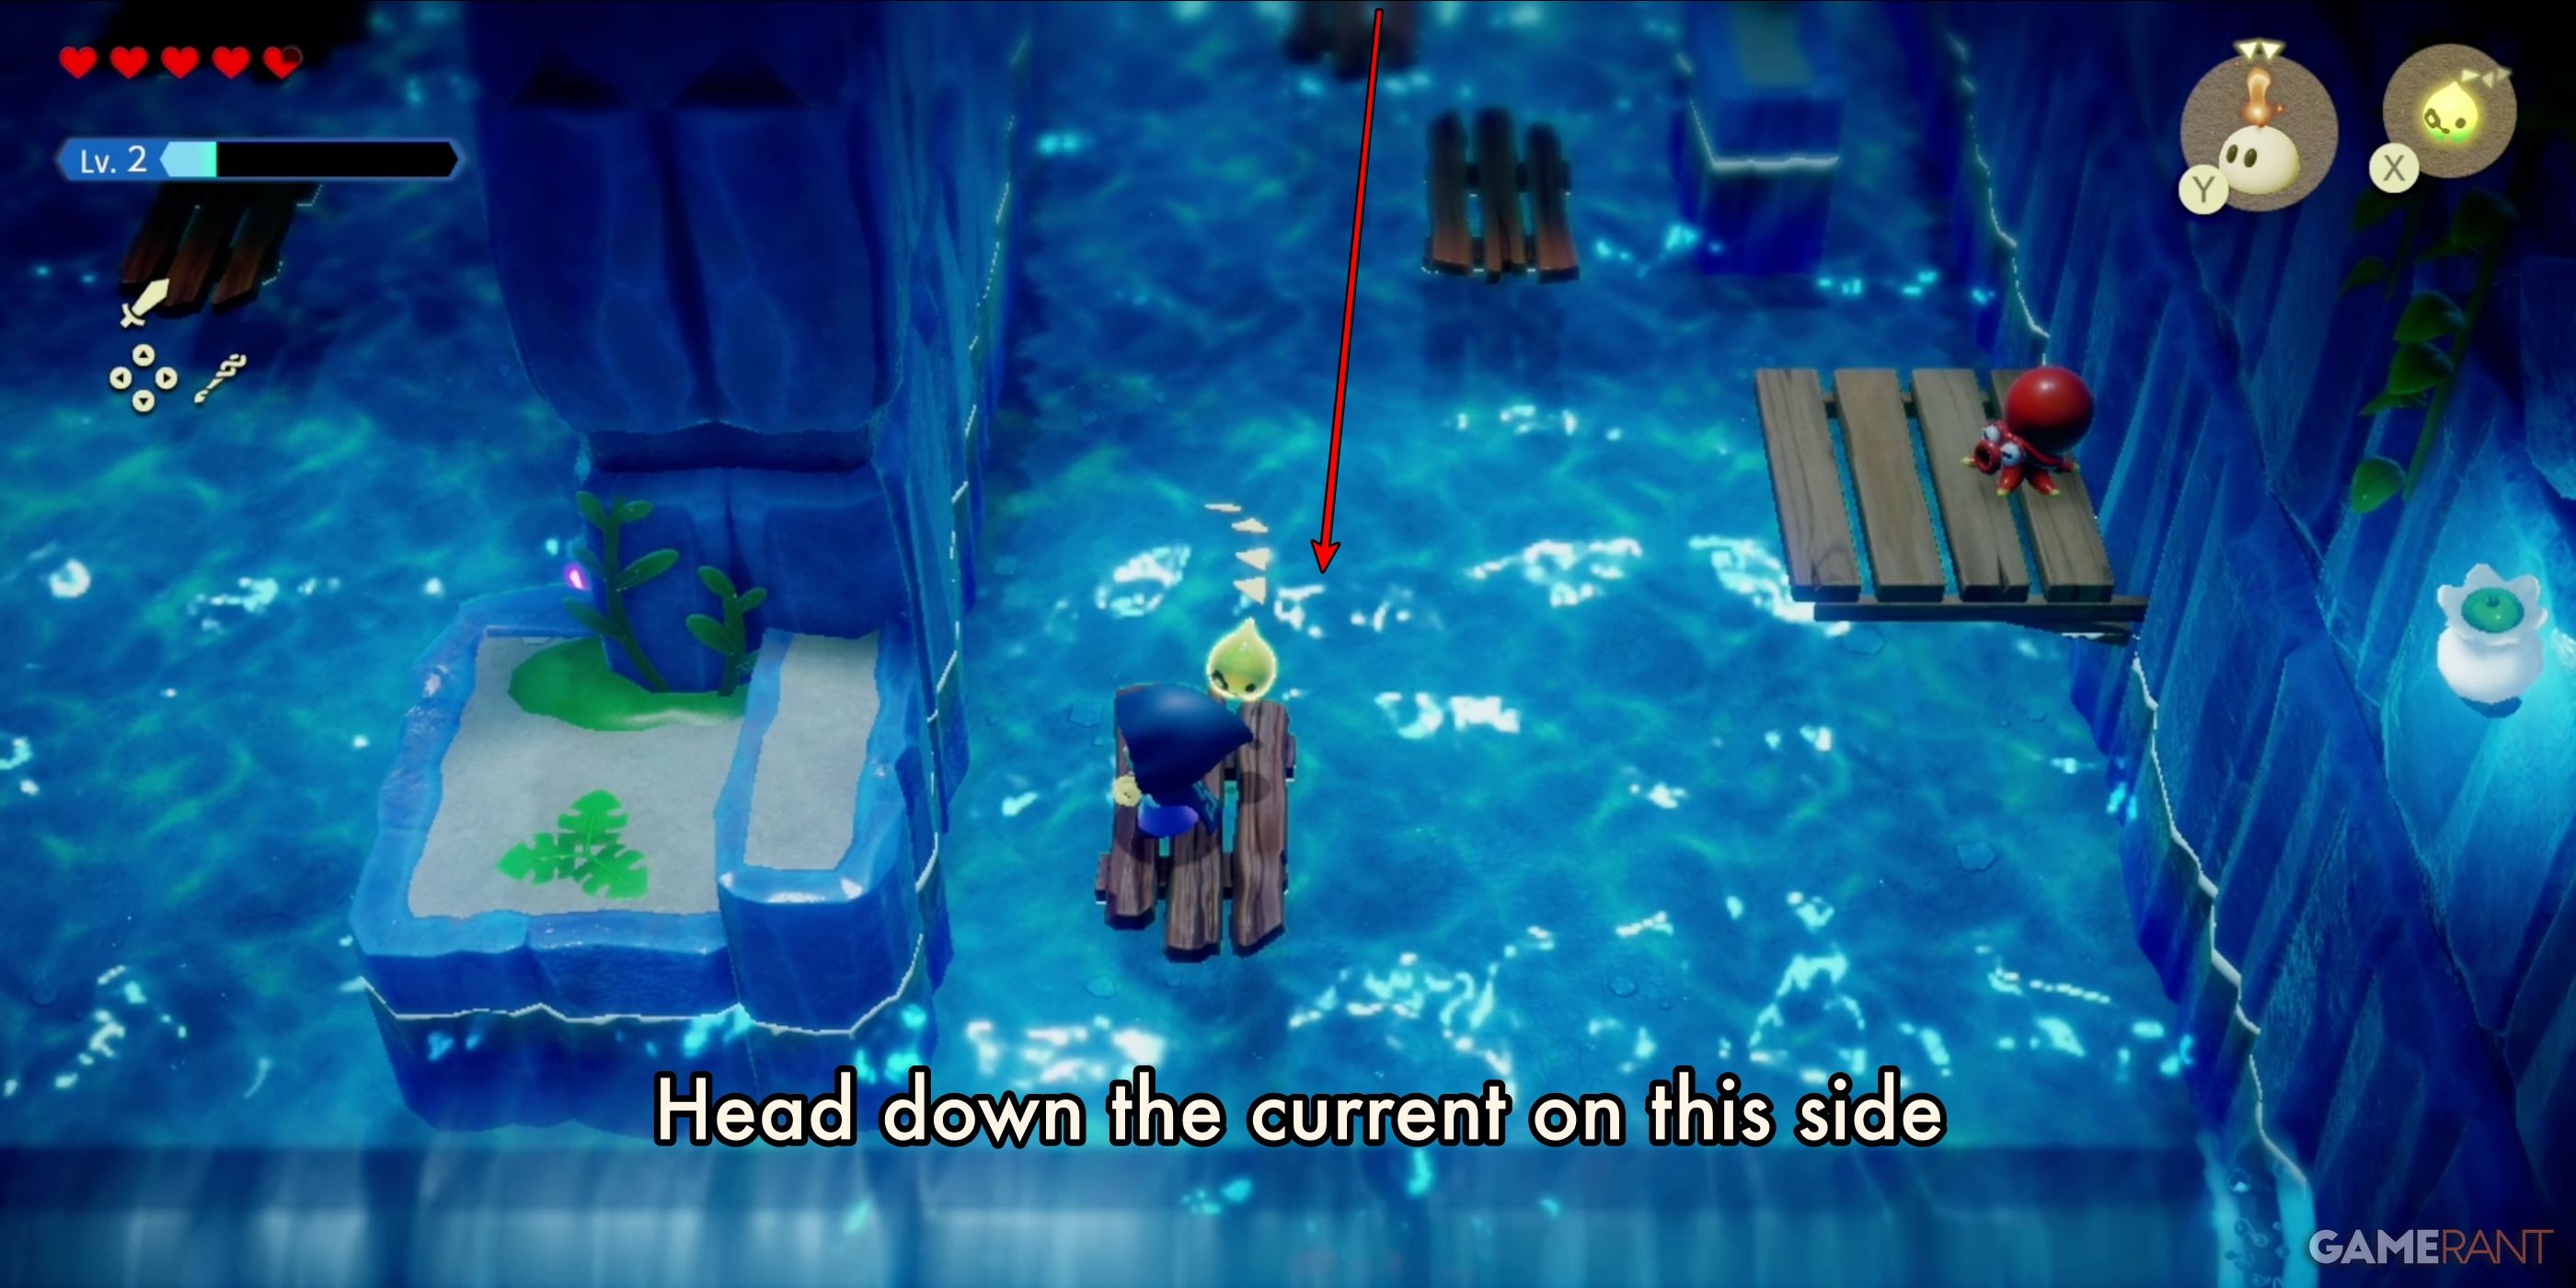
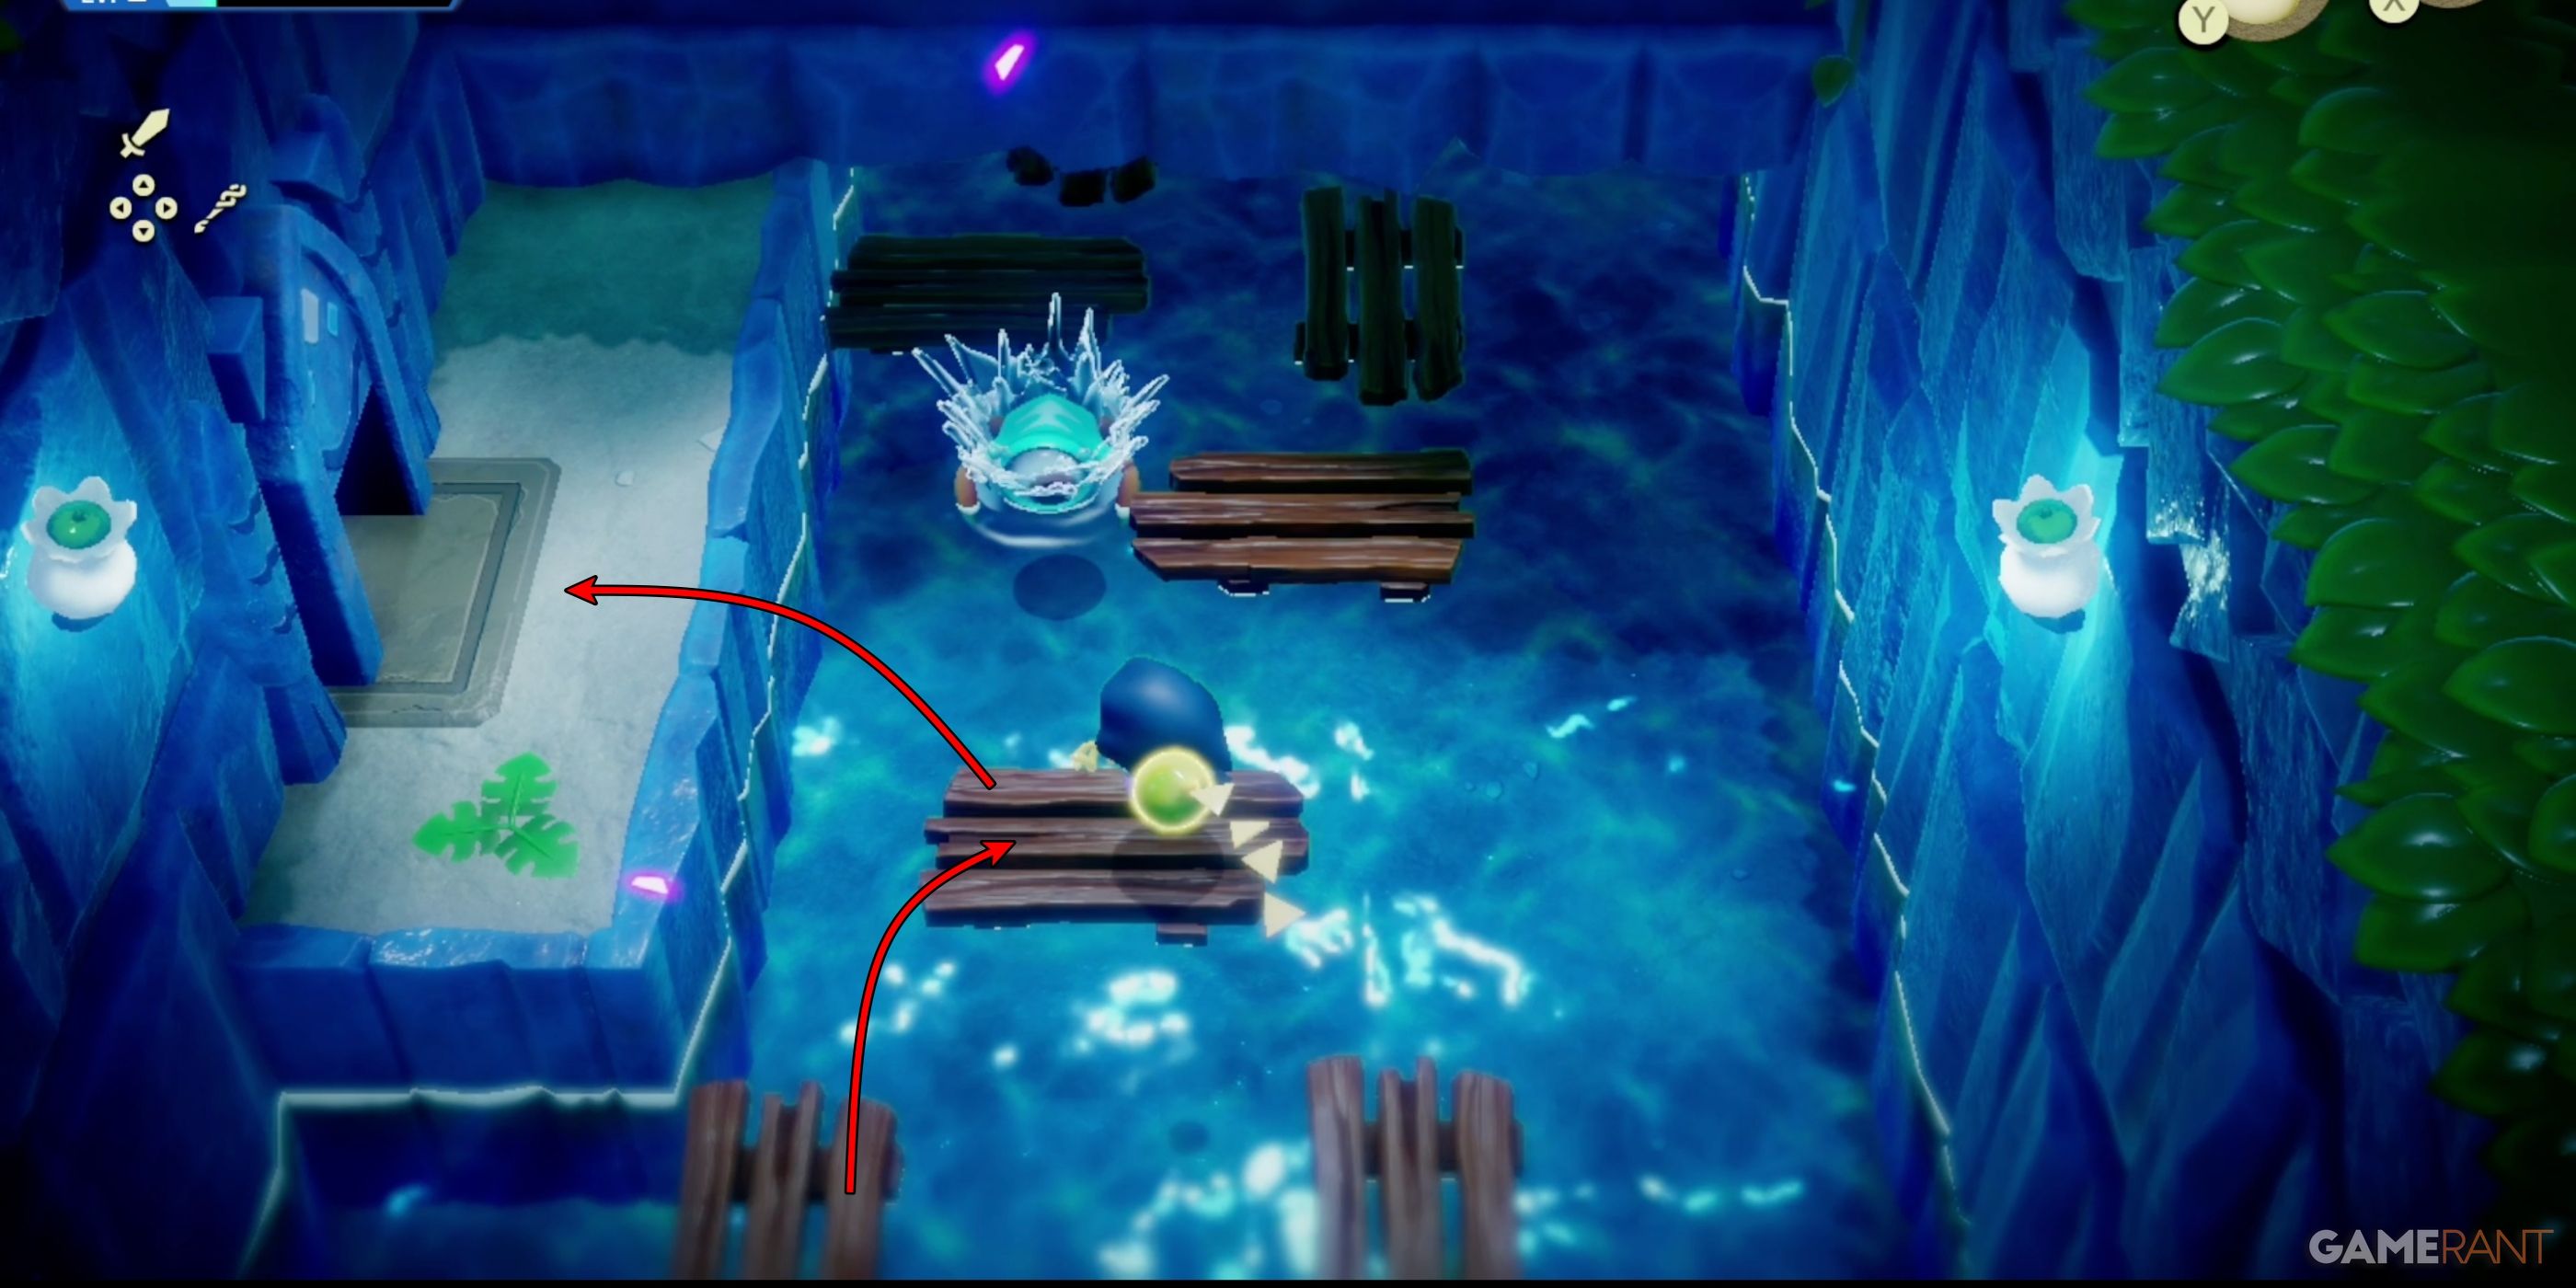
In the first chamber, Zelda will encounter a quickly moving river, with wooden planks heading downstream. She will want to ride one of the planks down to the end, then jump over to the available platform.
Now, Zelda must head up the opposite side, jumping from platform to platform against the current. Make your way up and out of the chamber. There is no reason to take on enemies in the chamber, just do your best to avoid them as you traverse the planks.
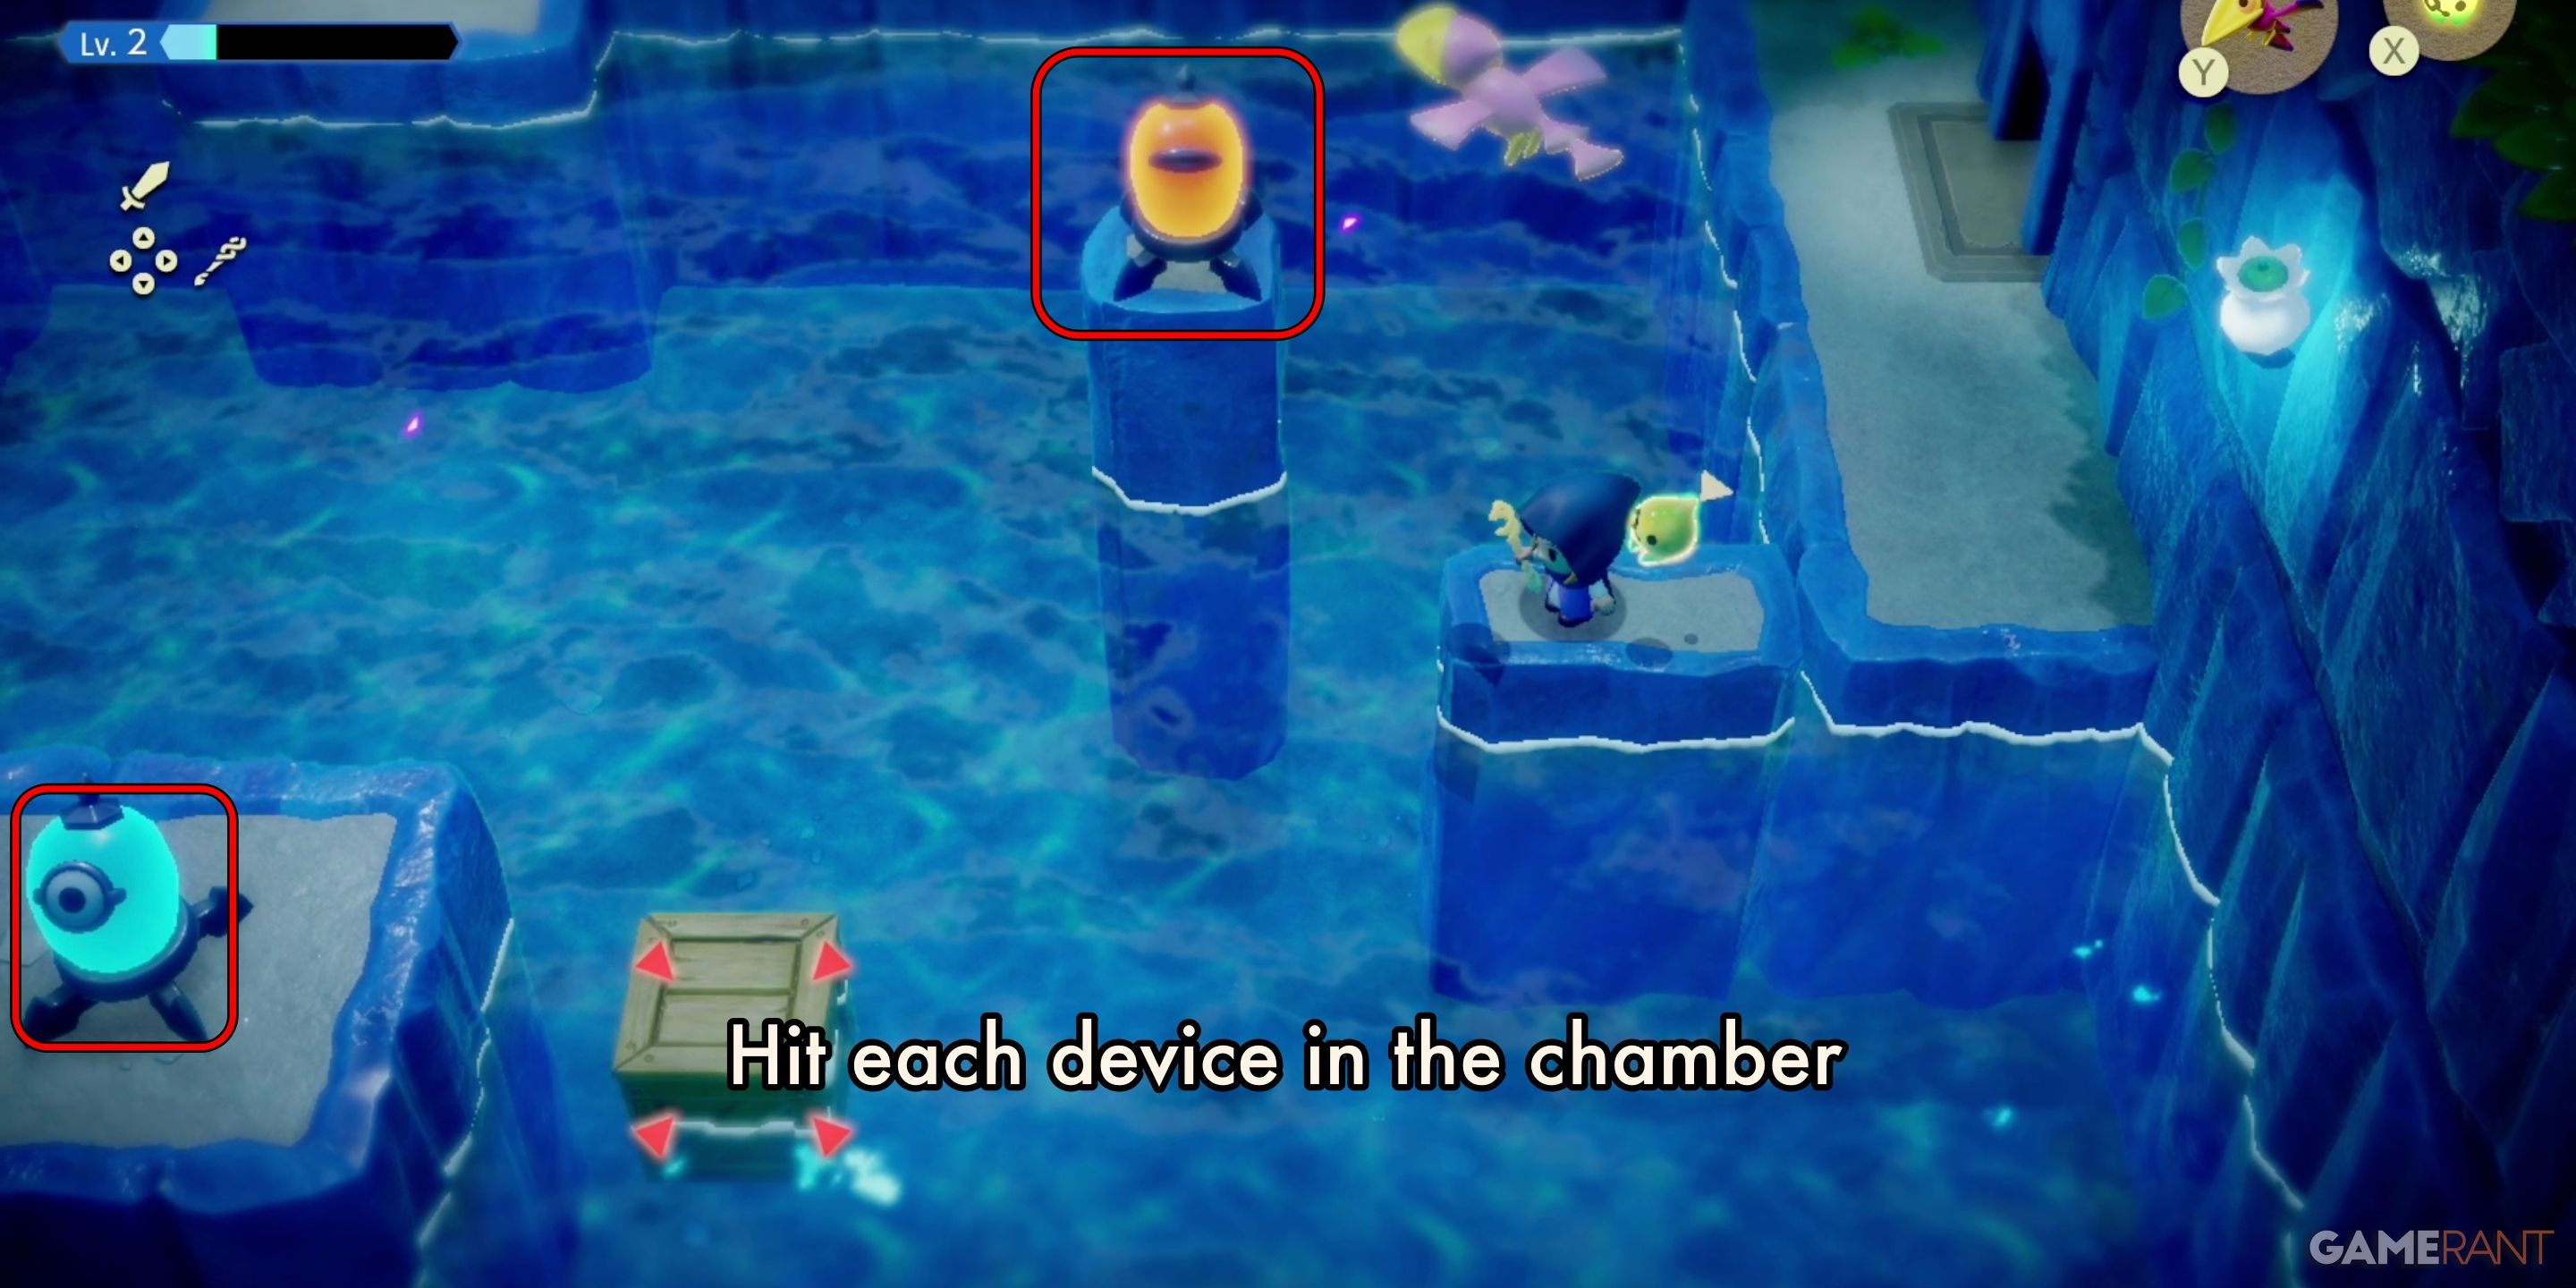
The next chamber features five trigger devices spread all around. Your goal is to hit each device, which results in the door being raised. This can be slightly tricky. There are two triggers visible from the entrance. Both of those can be hit by a flying Echo. Make sure to lock onto the device with ZL after summoning an Echo.
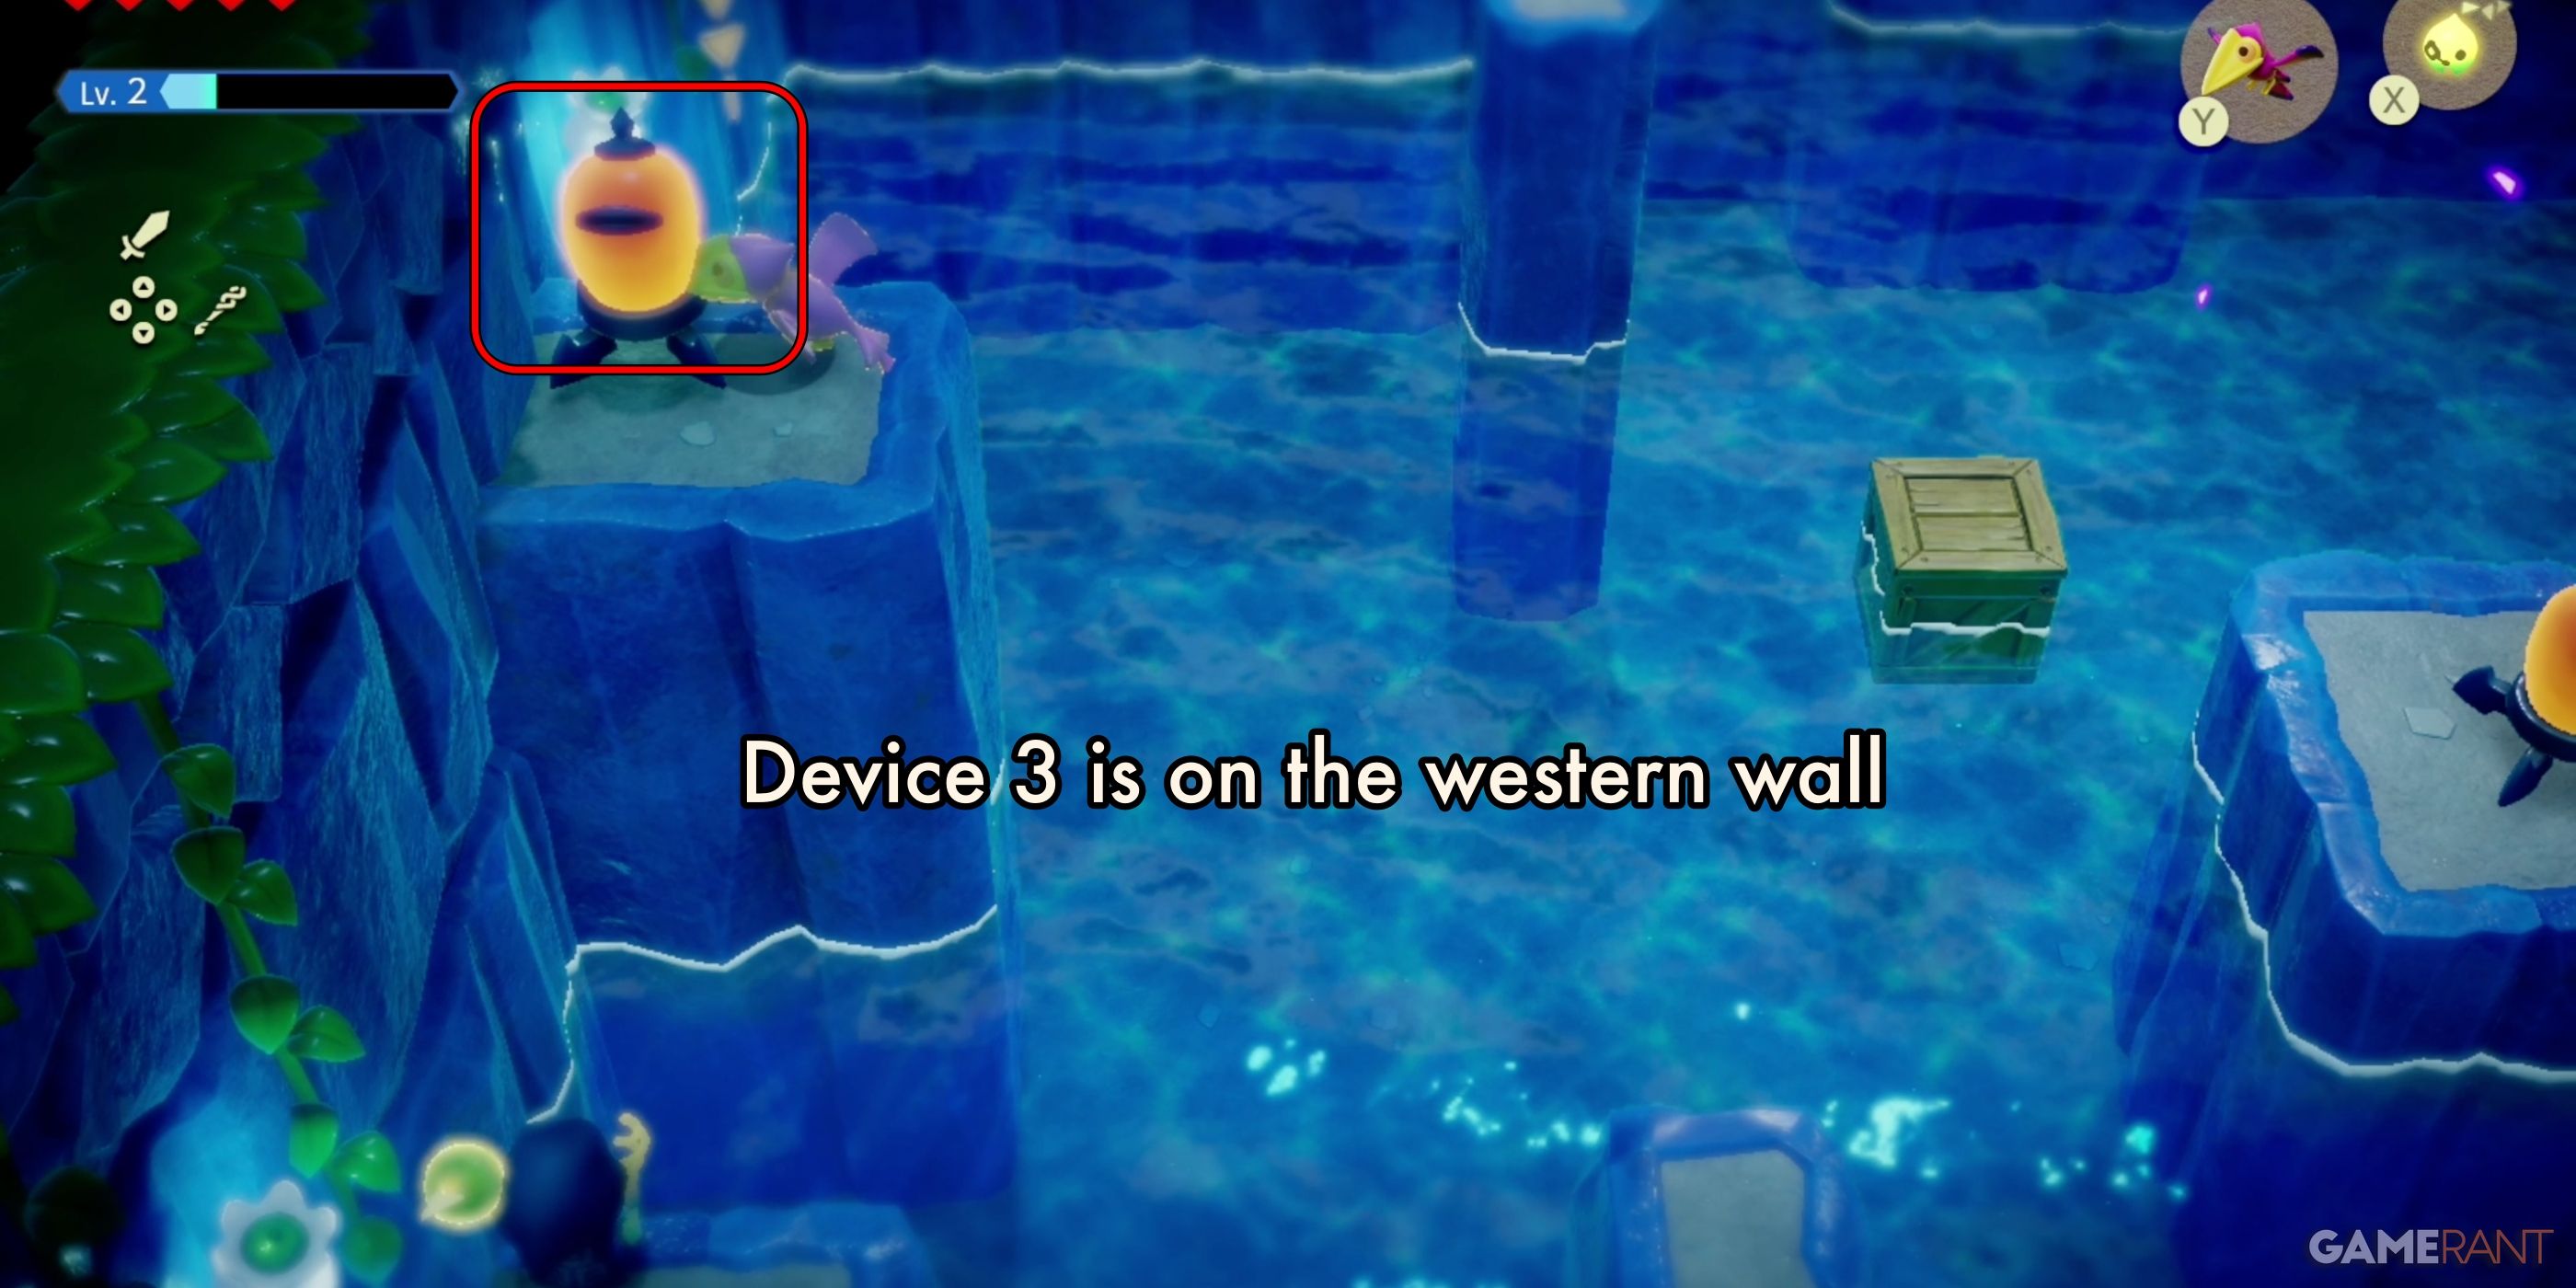
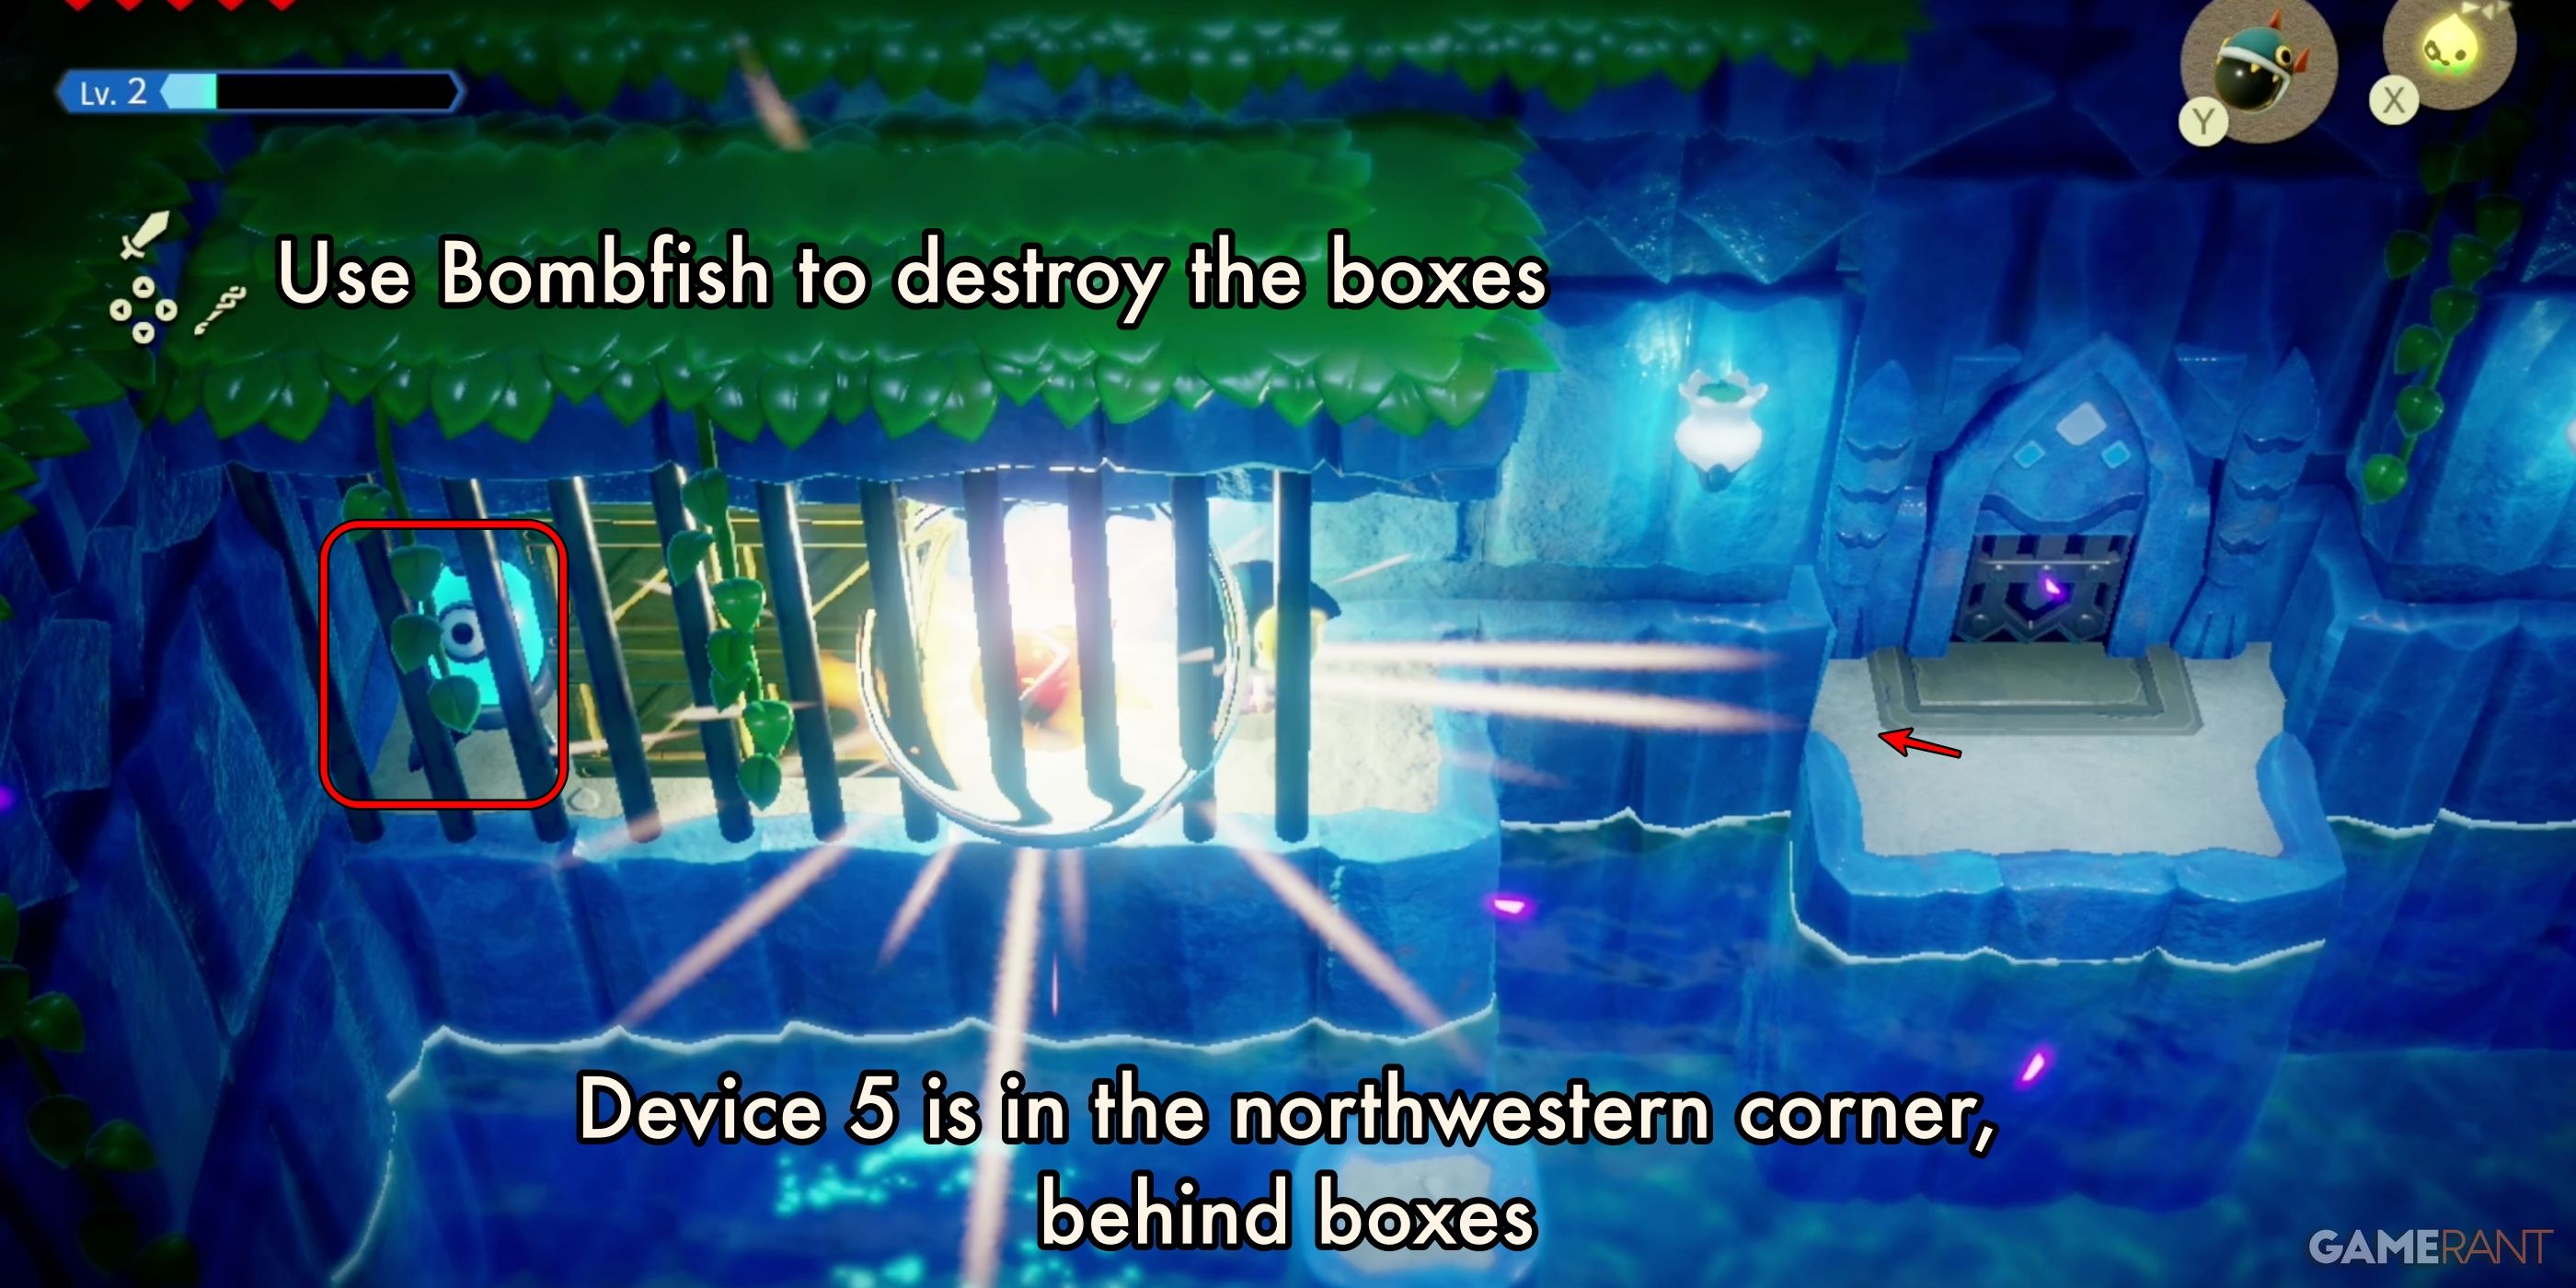
The third device is against the western wall. This can also be hit by a flying Echo. The fourth device is in the northwestern corner, on an isolated platform and blocked by several boxes. Use Water Blocks to reach the platform, and use Bombfish to blow up the boxes and trigger the device.
The final device is underwater in the southern portion of the chamber. Once all devices have been triggered, Zelda can leave the chamber.
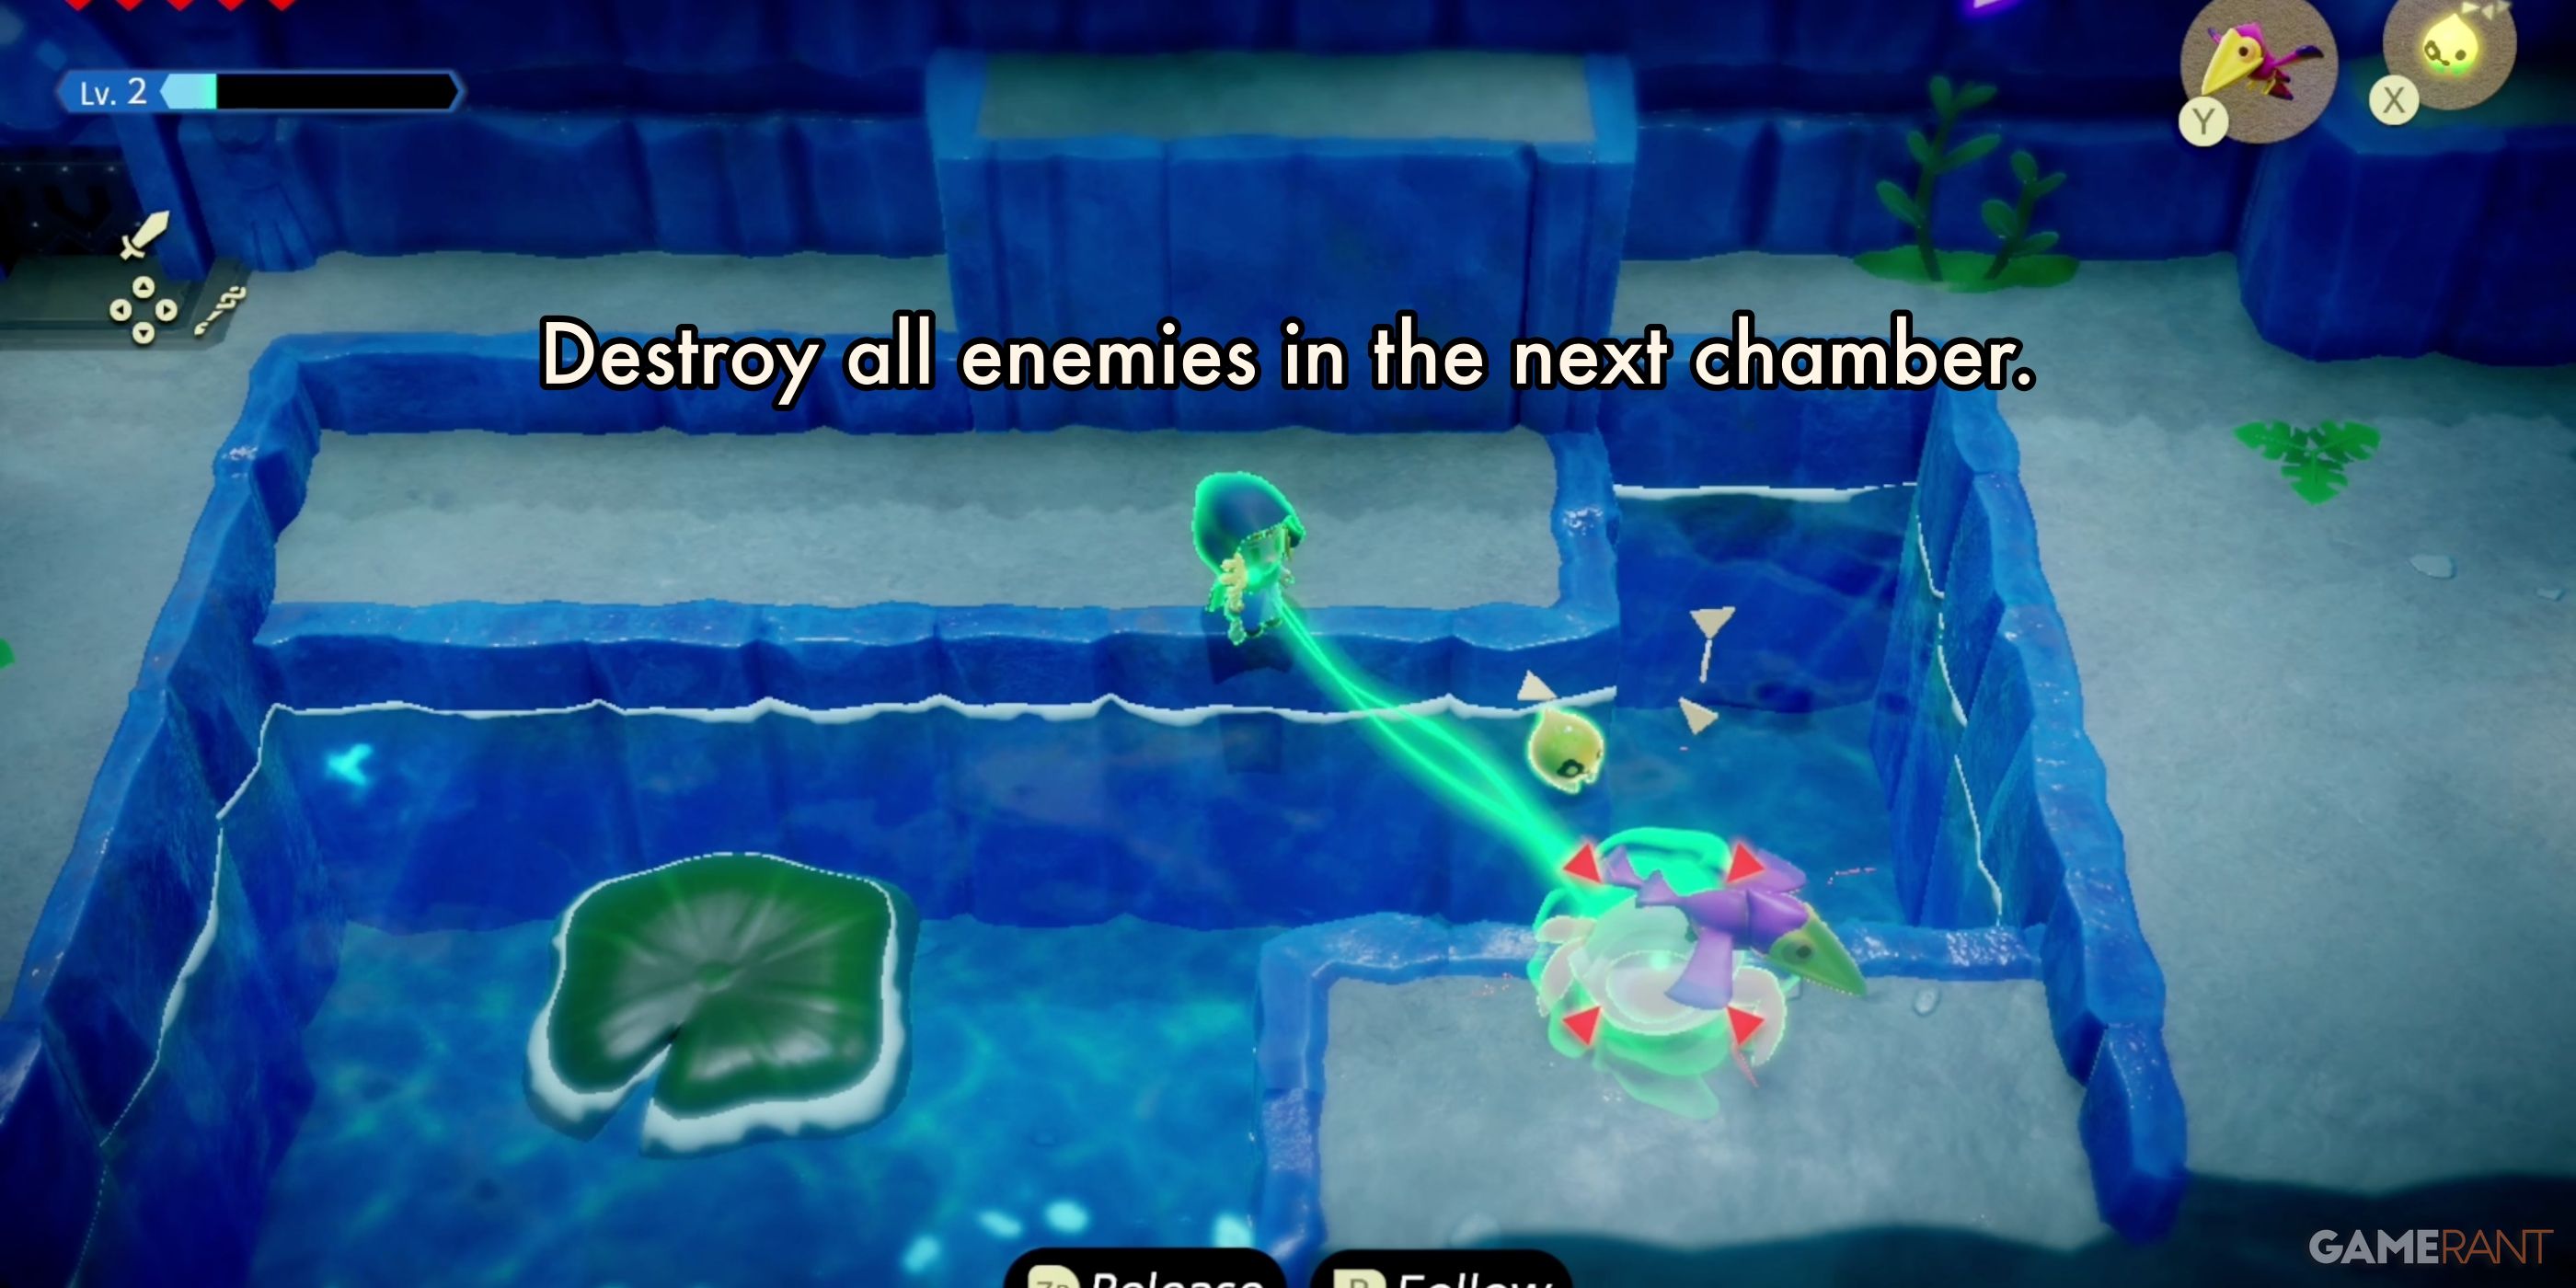
In the next chamber, Zelda must defeat all the enemies in the room to unlock the door. With these jumping enemies, the best way to do this is to summon a flying Echo like the Guay, then hold the enemy in place with Bind and let the Guay attack them.
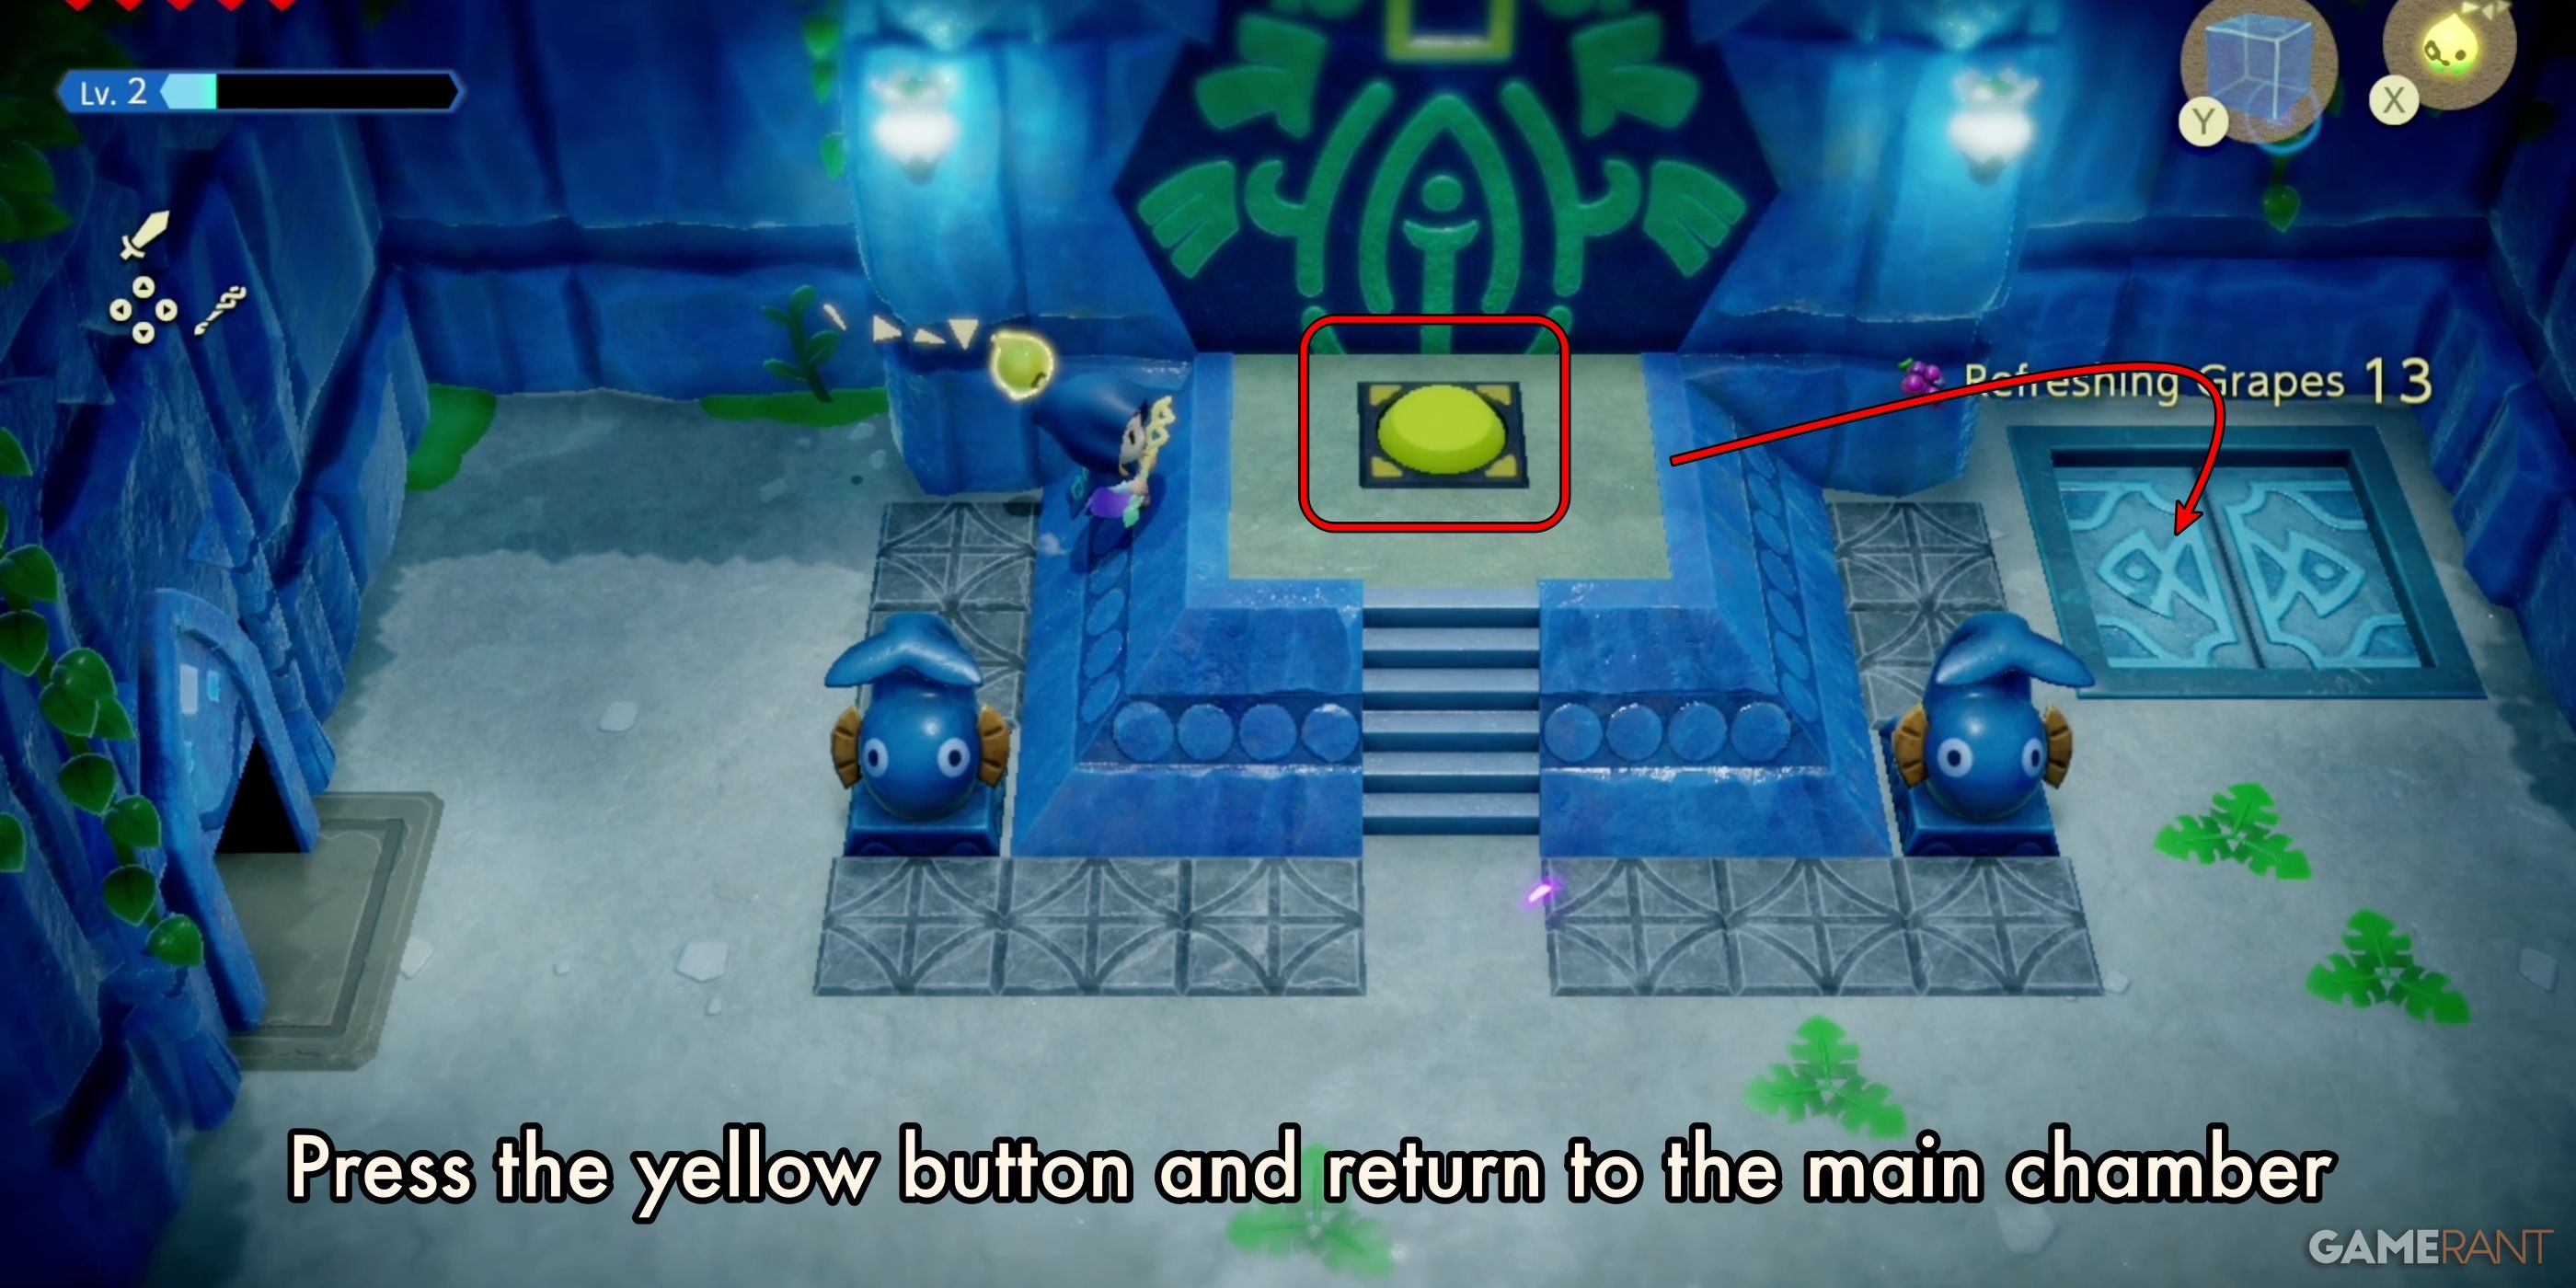
Leaving that chamber leads to the Yellow Button chamber. Press the button and return to the main chamber.
2F White Button Path:
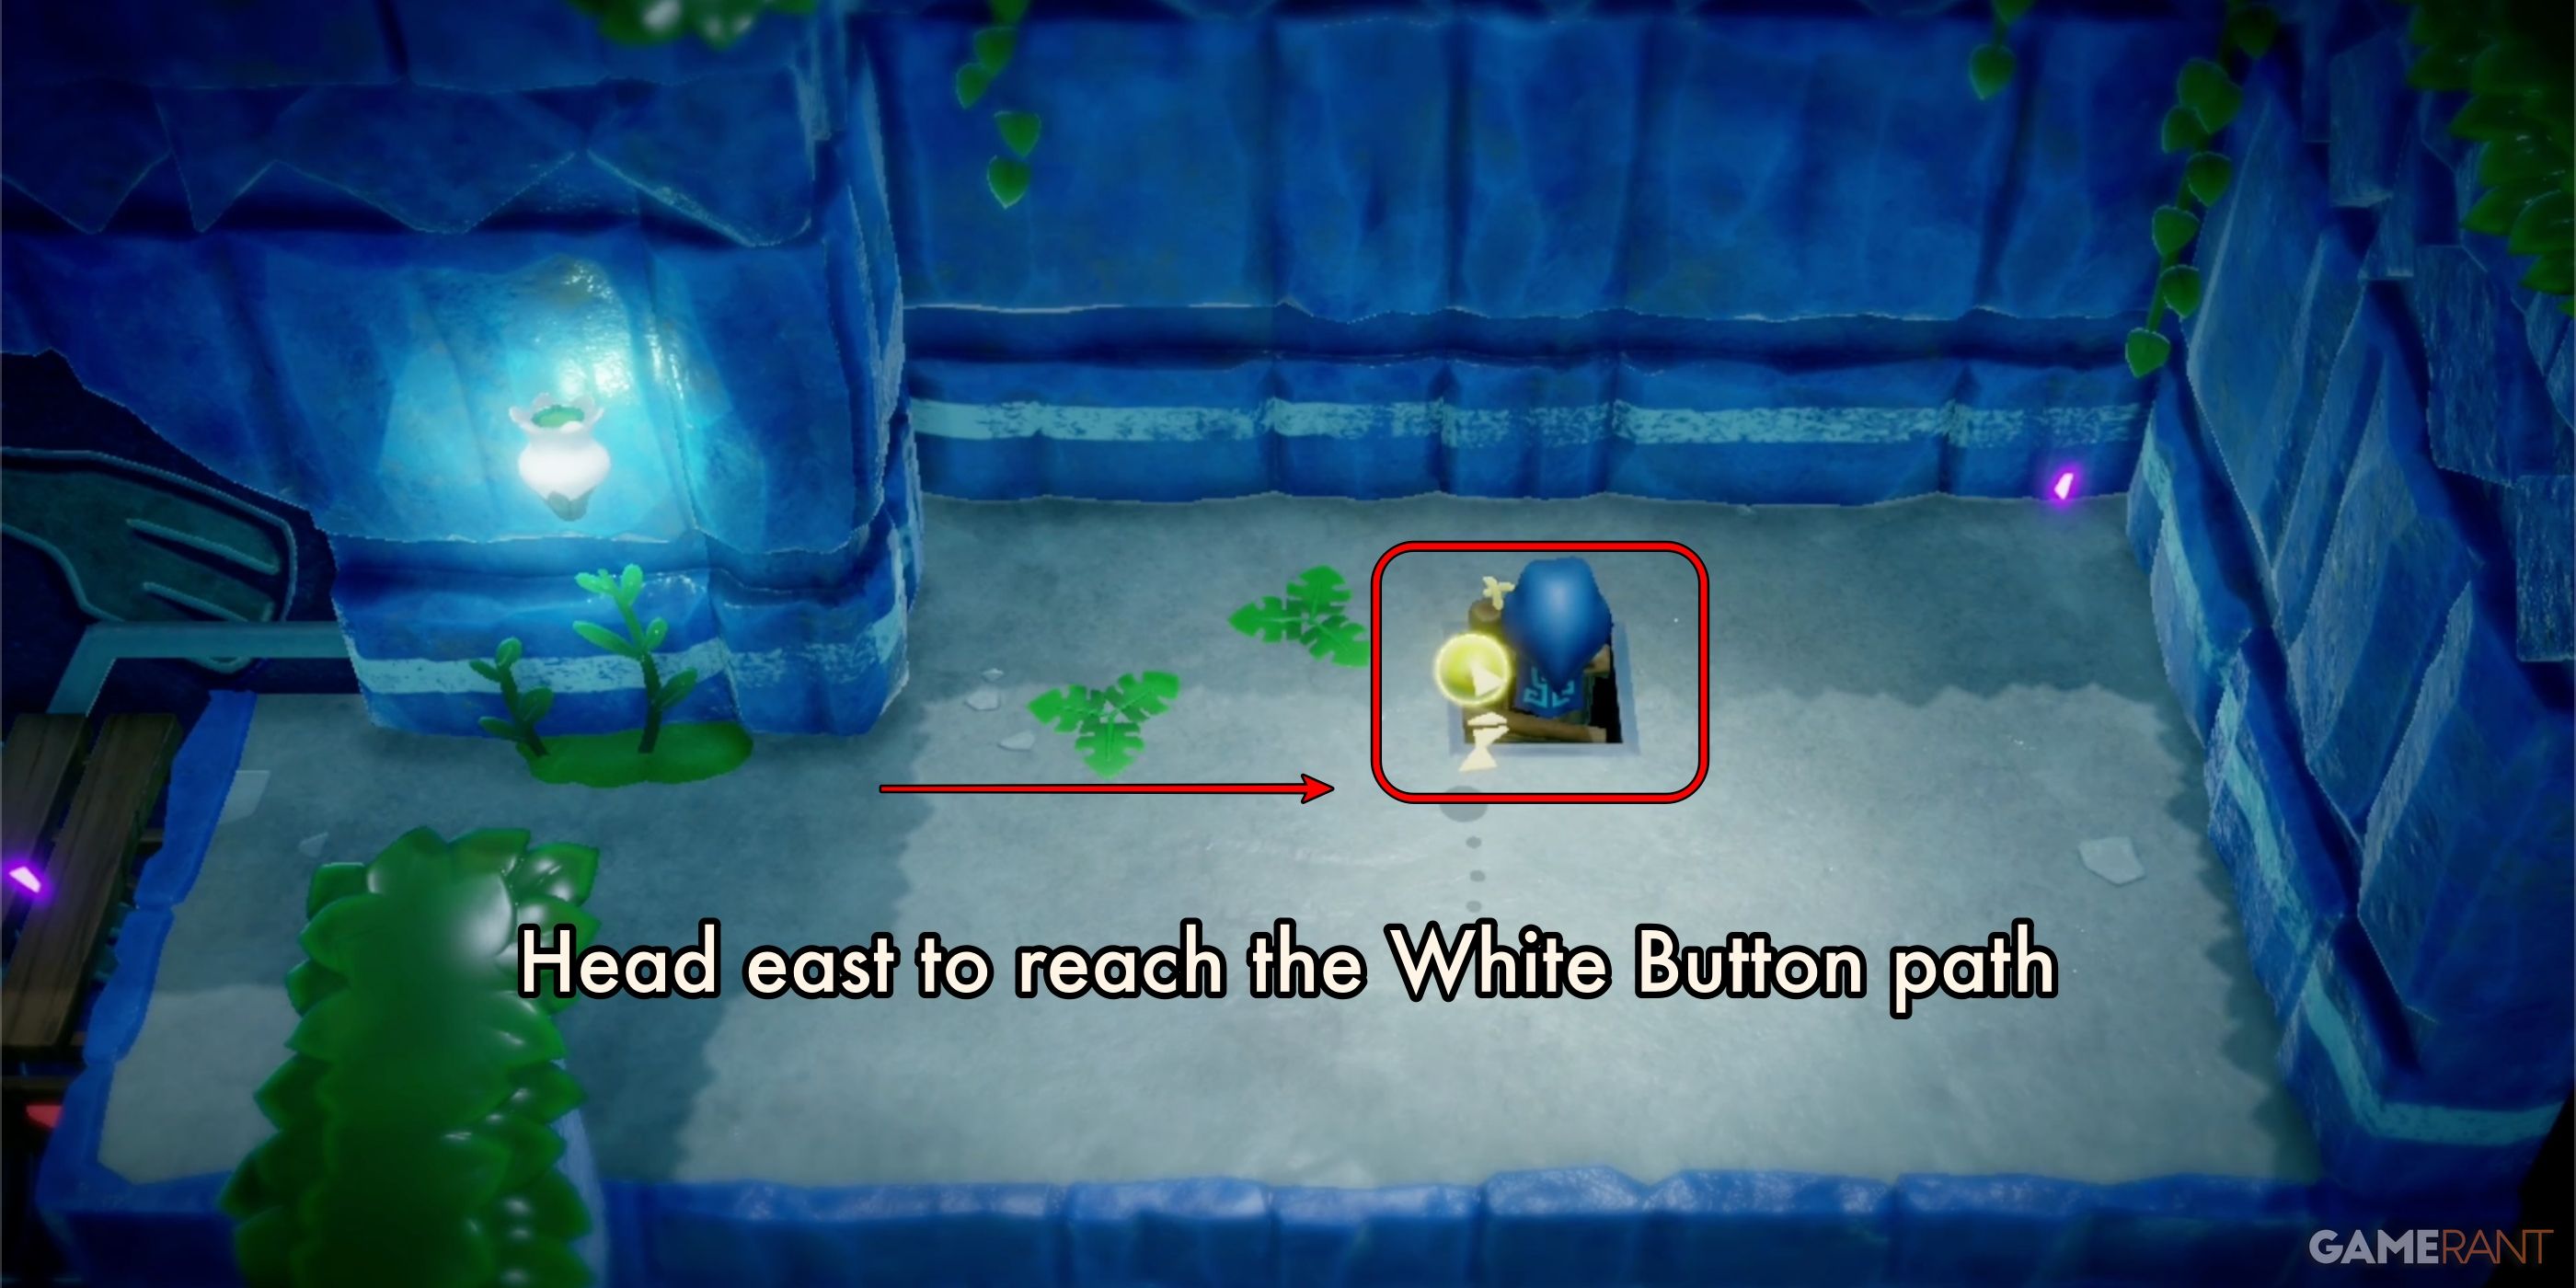
Head east on 2F to reach the entrance to the white button path.
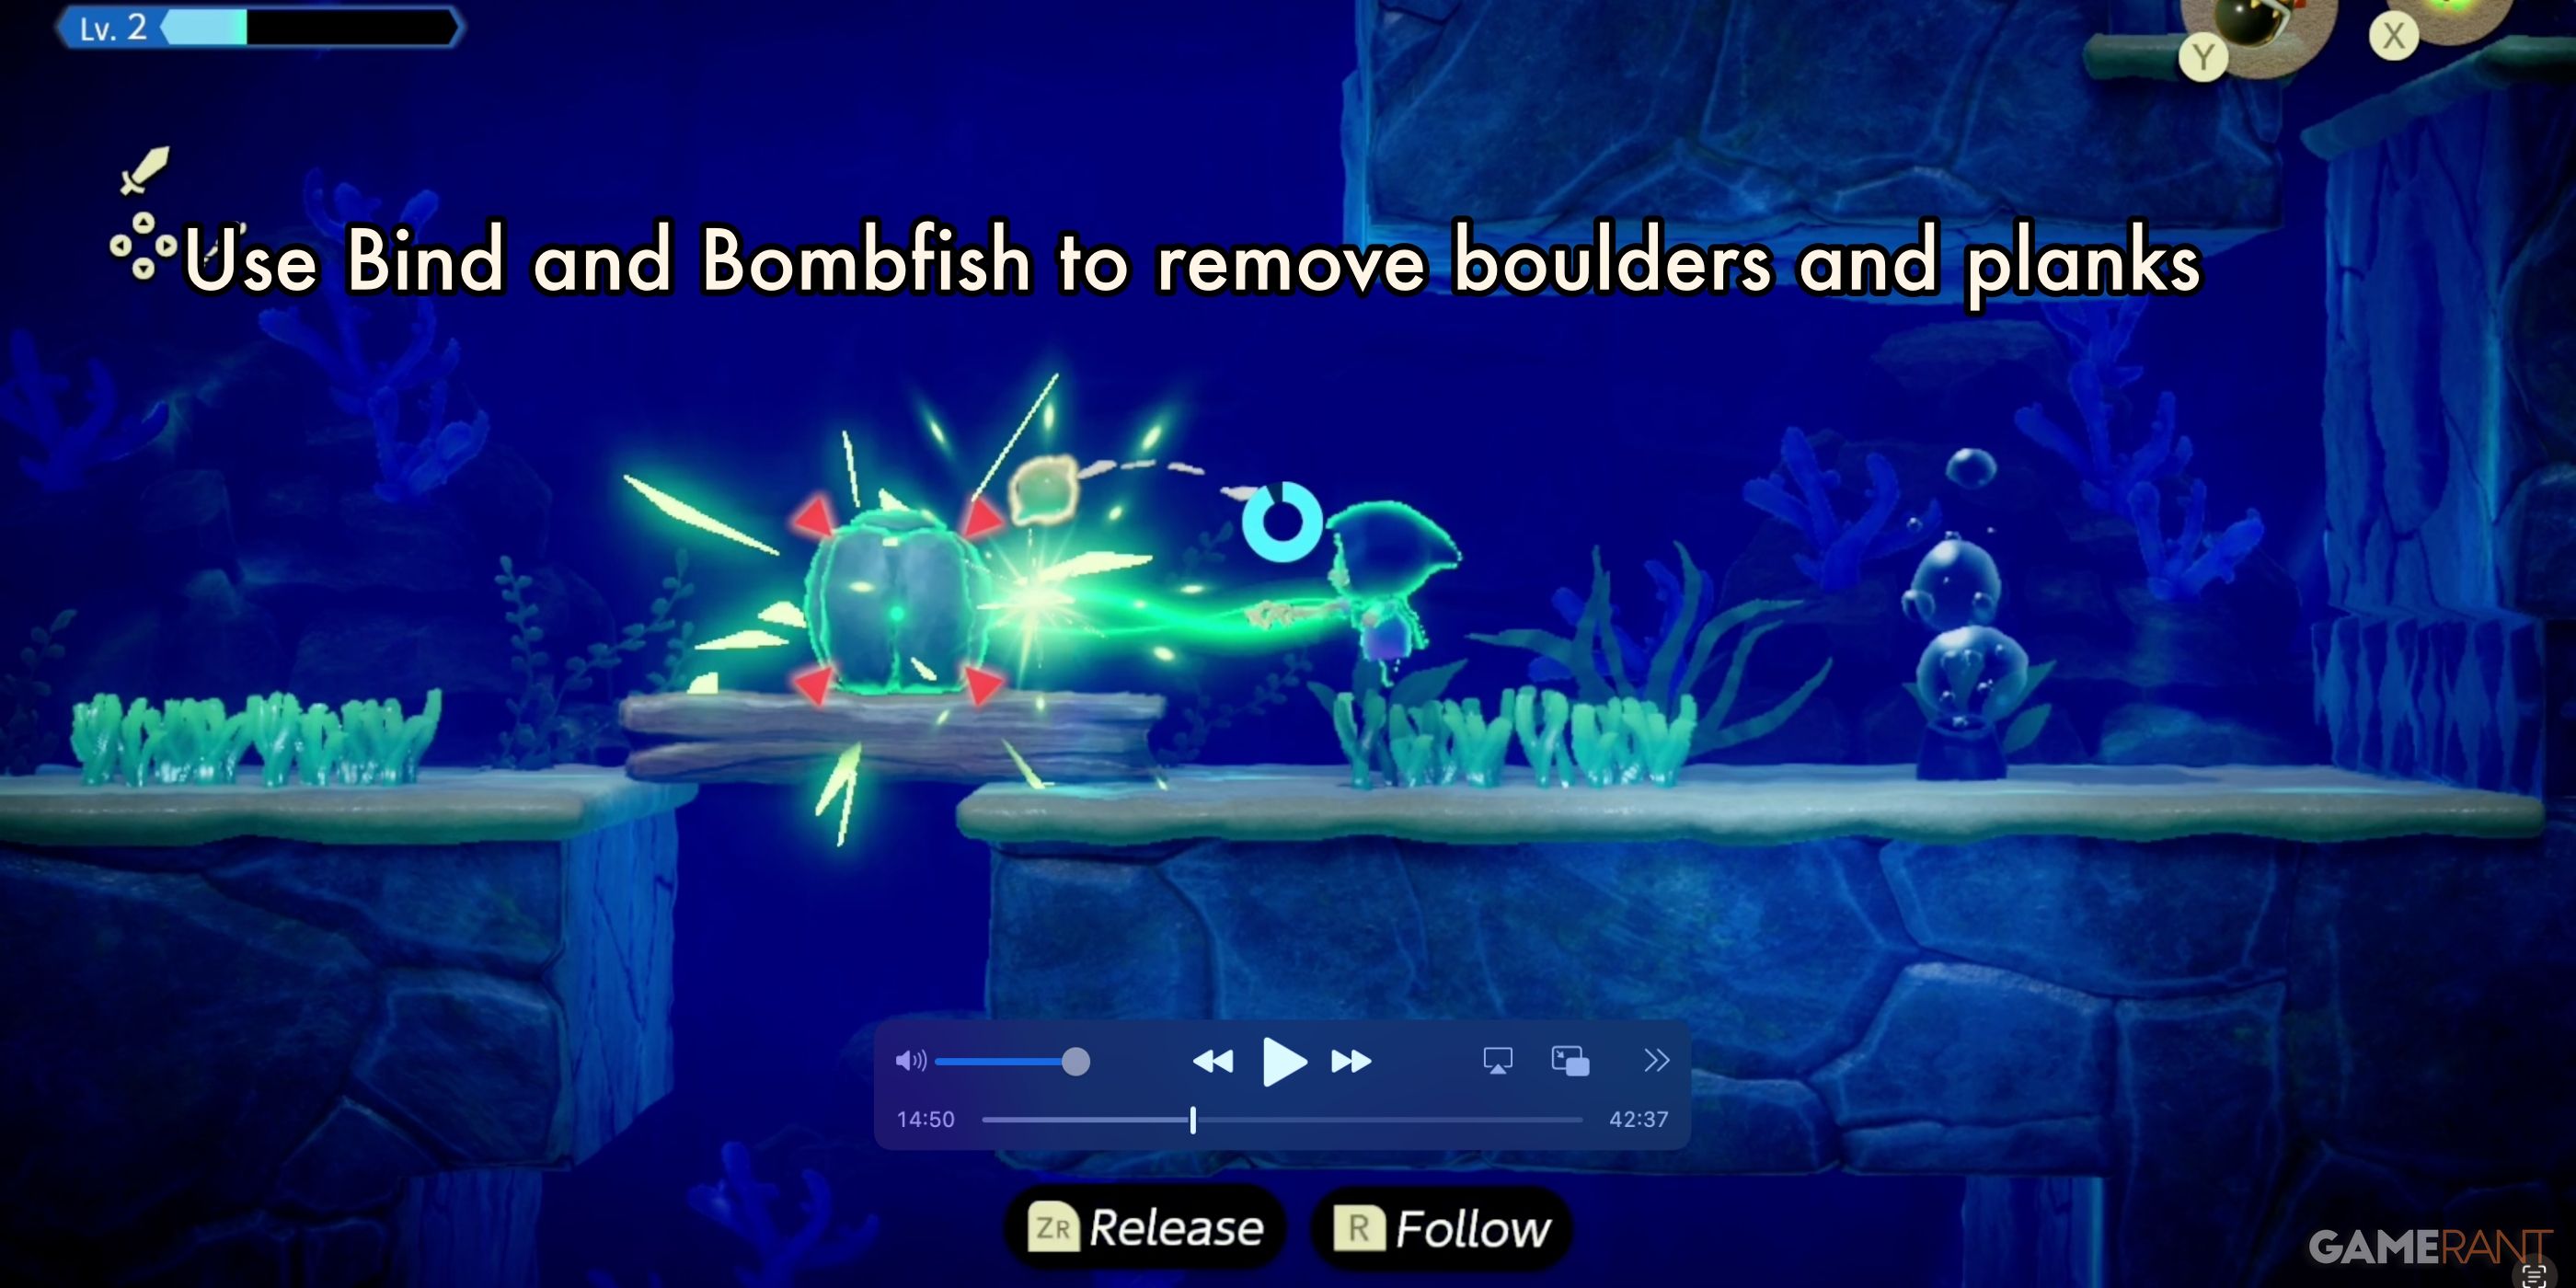
In the first chamber, use Bind to move the wooden planks and, if you find planks that you need to destroy, use Bombfish.
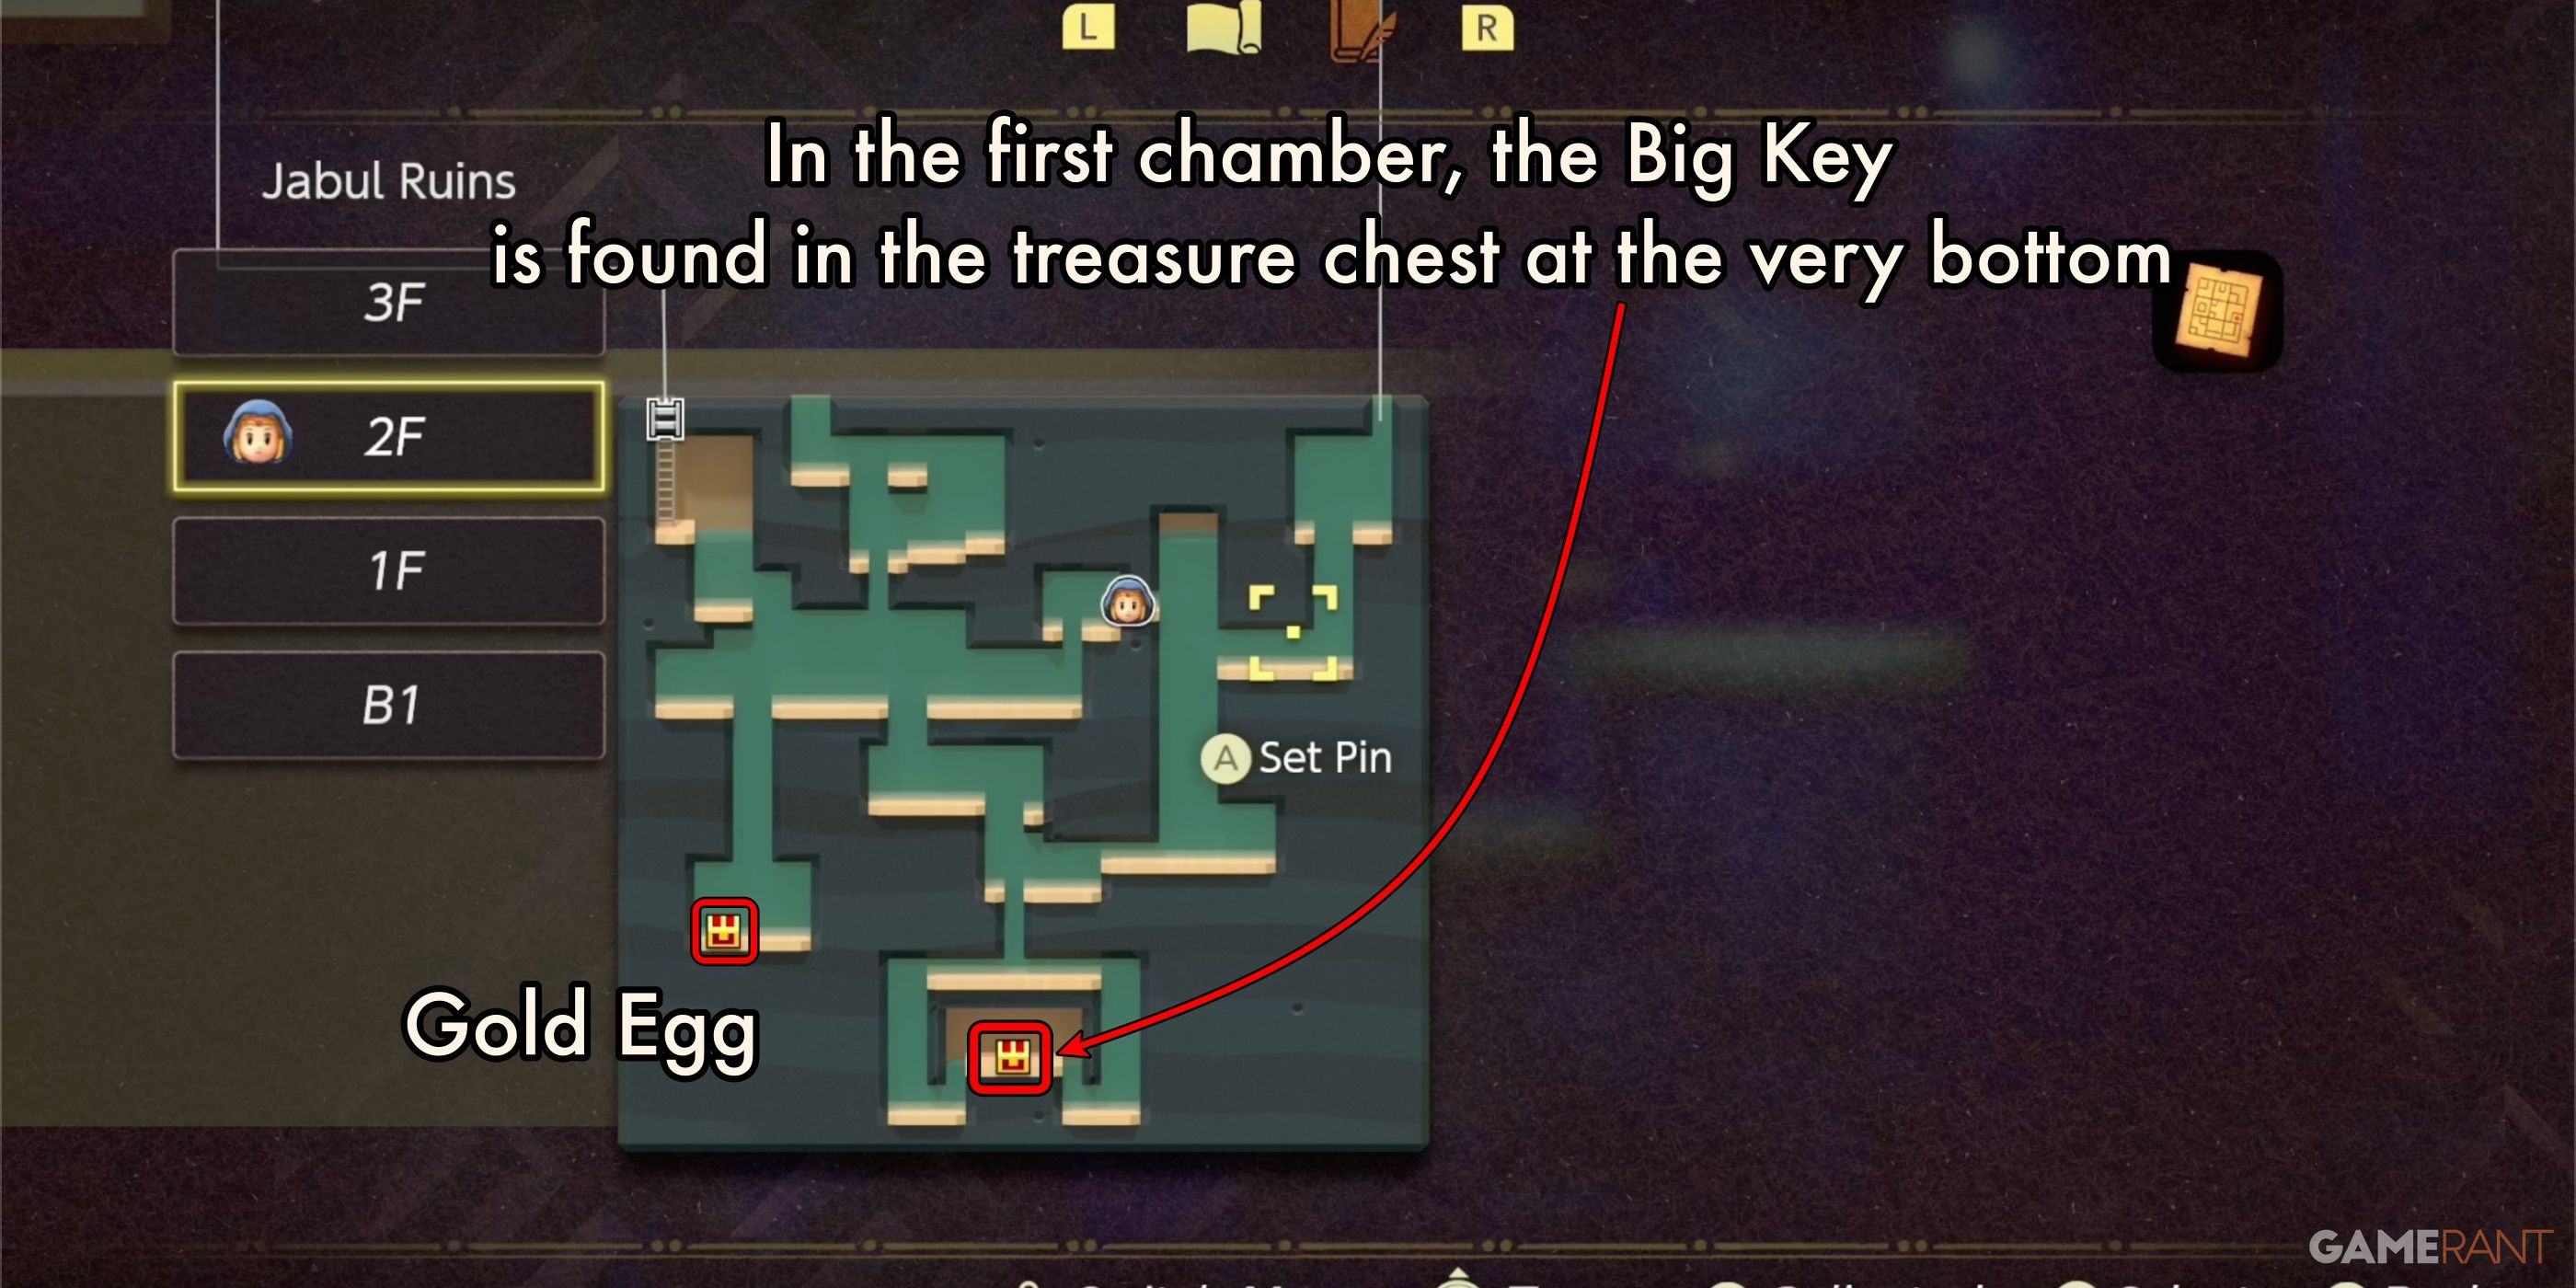
Looking at the map, you’ll see two Treasure Chests in this chamber. On the left, you’ll find a chest containing a Golden Egg. The second chest contains the Big Key, which unlocks the door to the boss chamber. There is not much else in this chamber, head to the eastern end and make your way out.
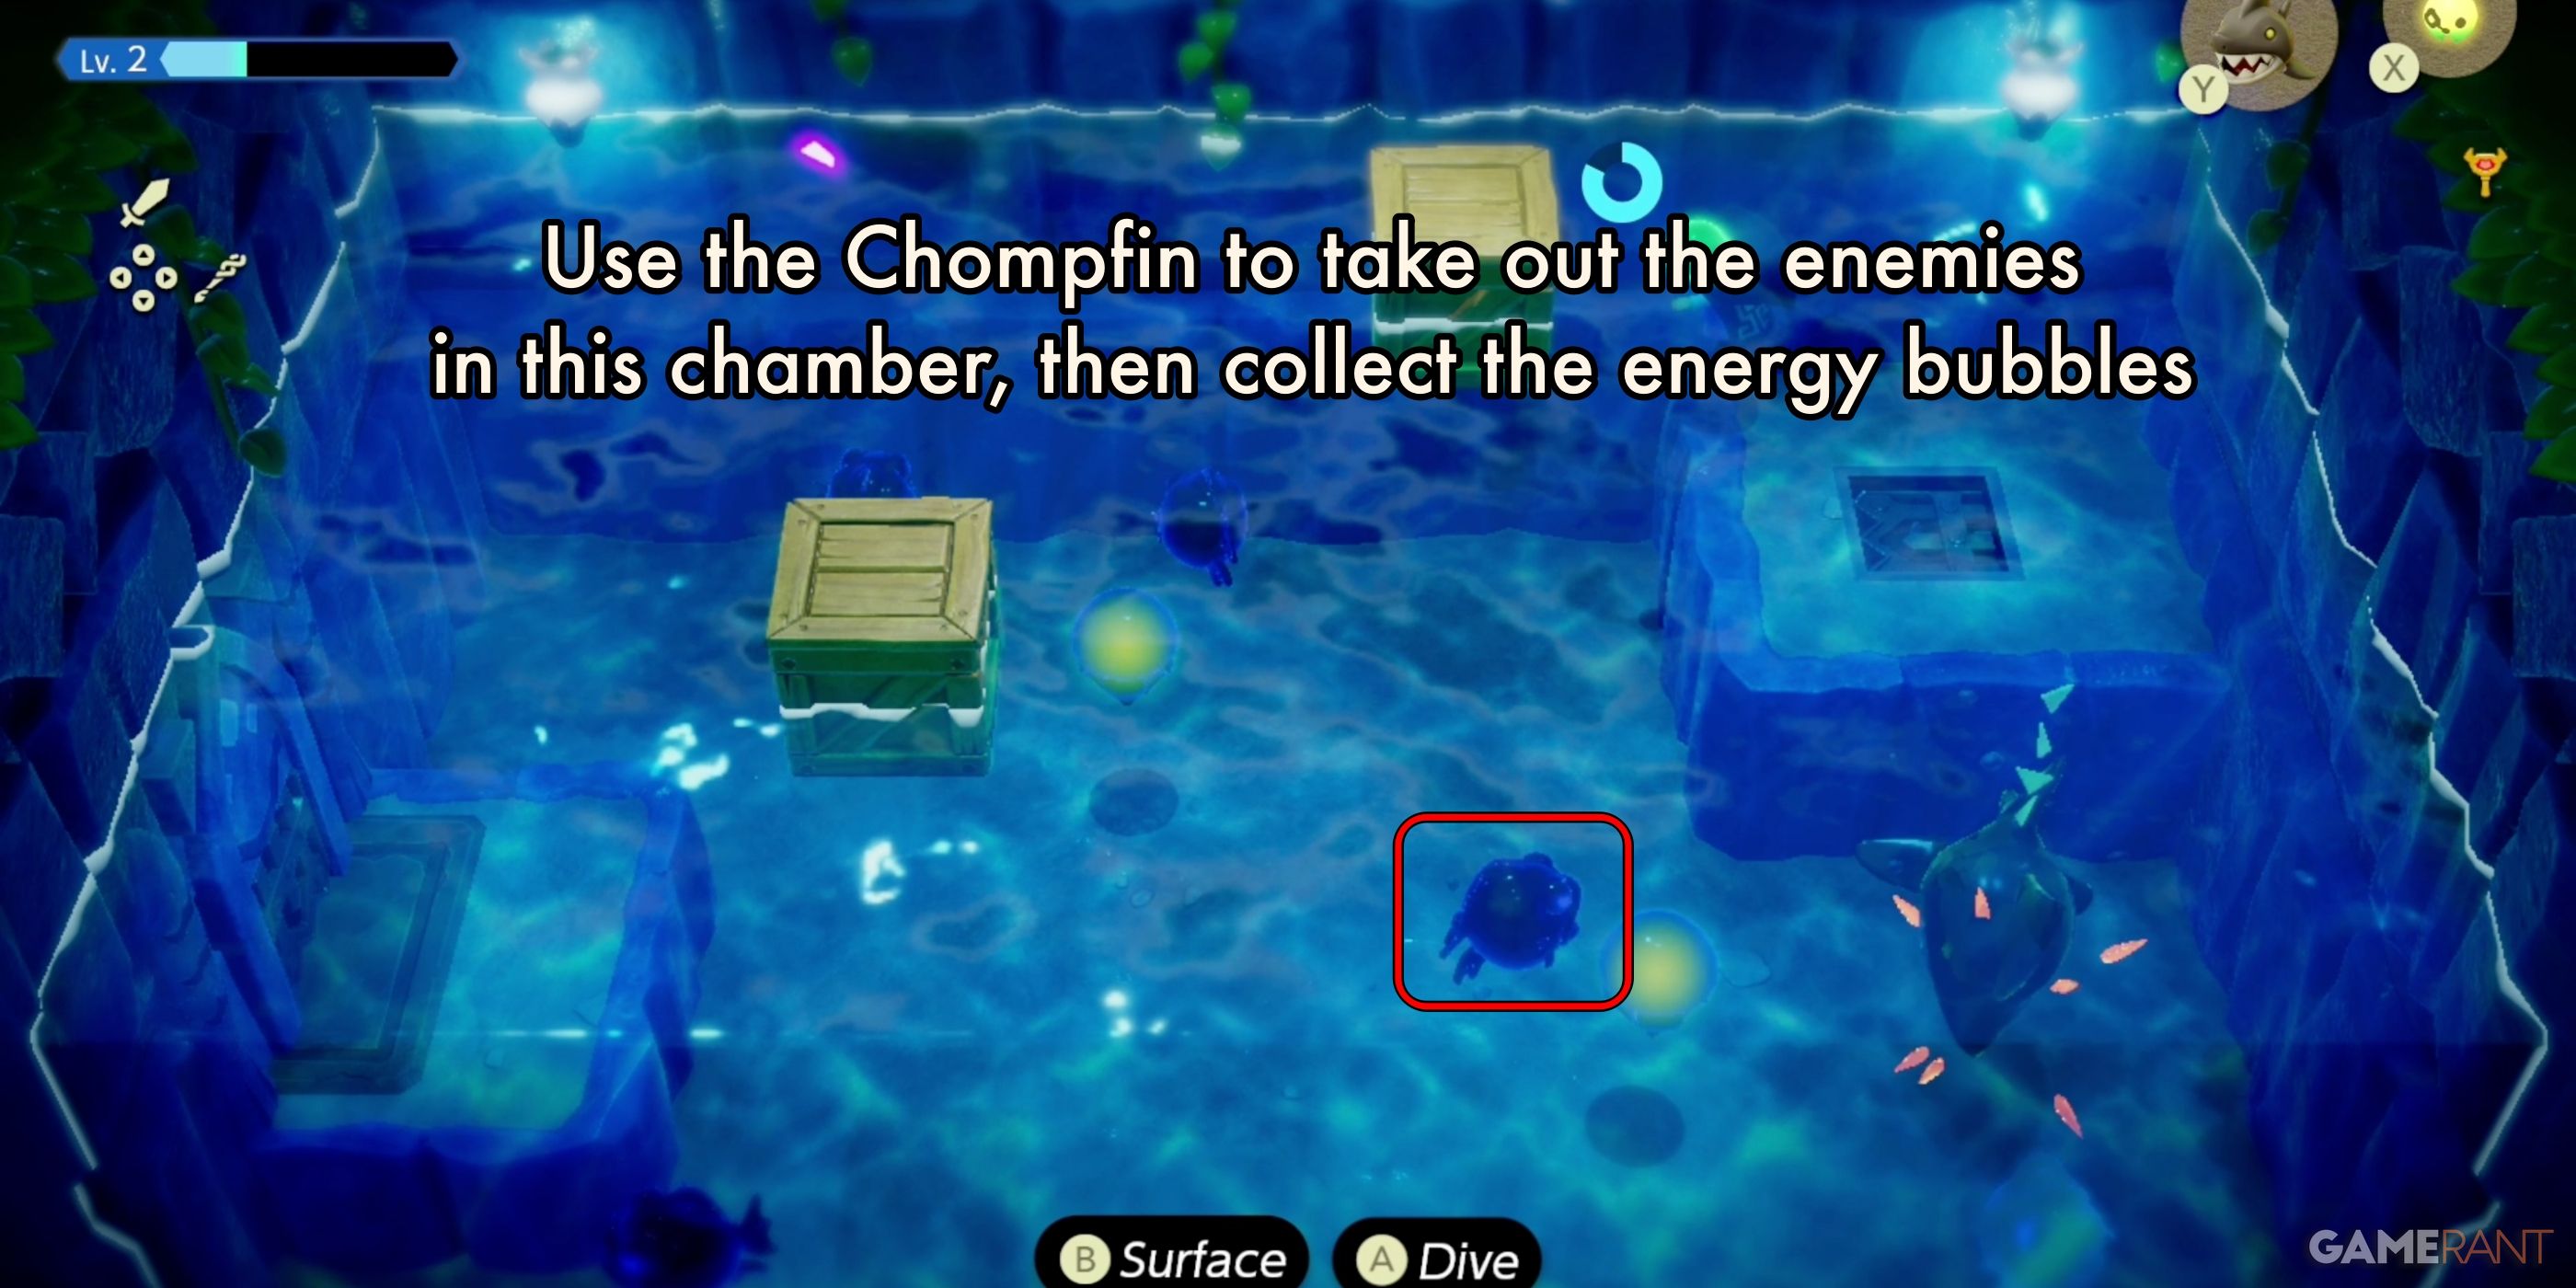
In the next chamber, you’ll have to defeat multiple Shadow enemies to unlock the door. The Chompfin Echo will make short work of them. Make sure to stay clear as the Chompfin does its work. Each enemy you defeat will drop energy bubbles. Make sure to save your energy for the final boss, which is coming soon.
The white button is found in the next chamber, but it is submerged in water. The button is also guarded by two Bio Deku Baba. Use the Chompfin to clear the enemies, then summon a boulder to place on the button. This will open the exit hole. Return to the main chamber to reach 3F.
How to Defeat Vocavor – 3F
Before starting the fight, you can visit a Smoothie shop to create a drink that allows you to
breathe underwater longer
. This can be extremely helpful in a fight that takes place completely underwater.
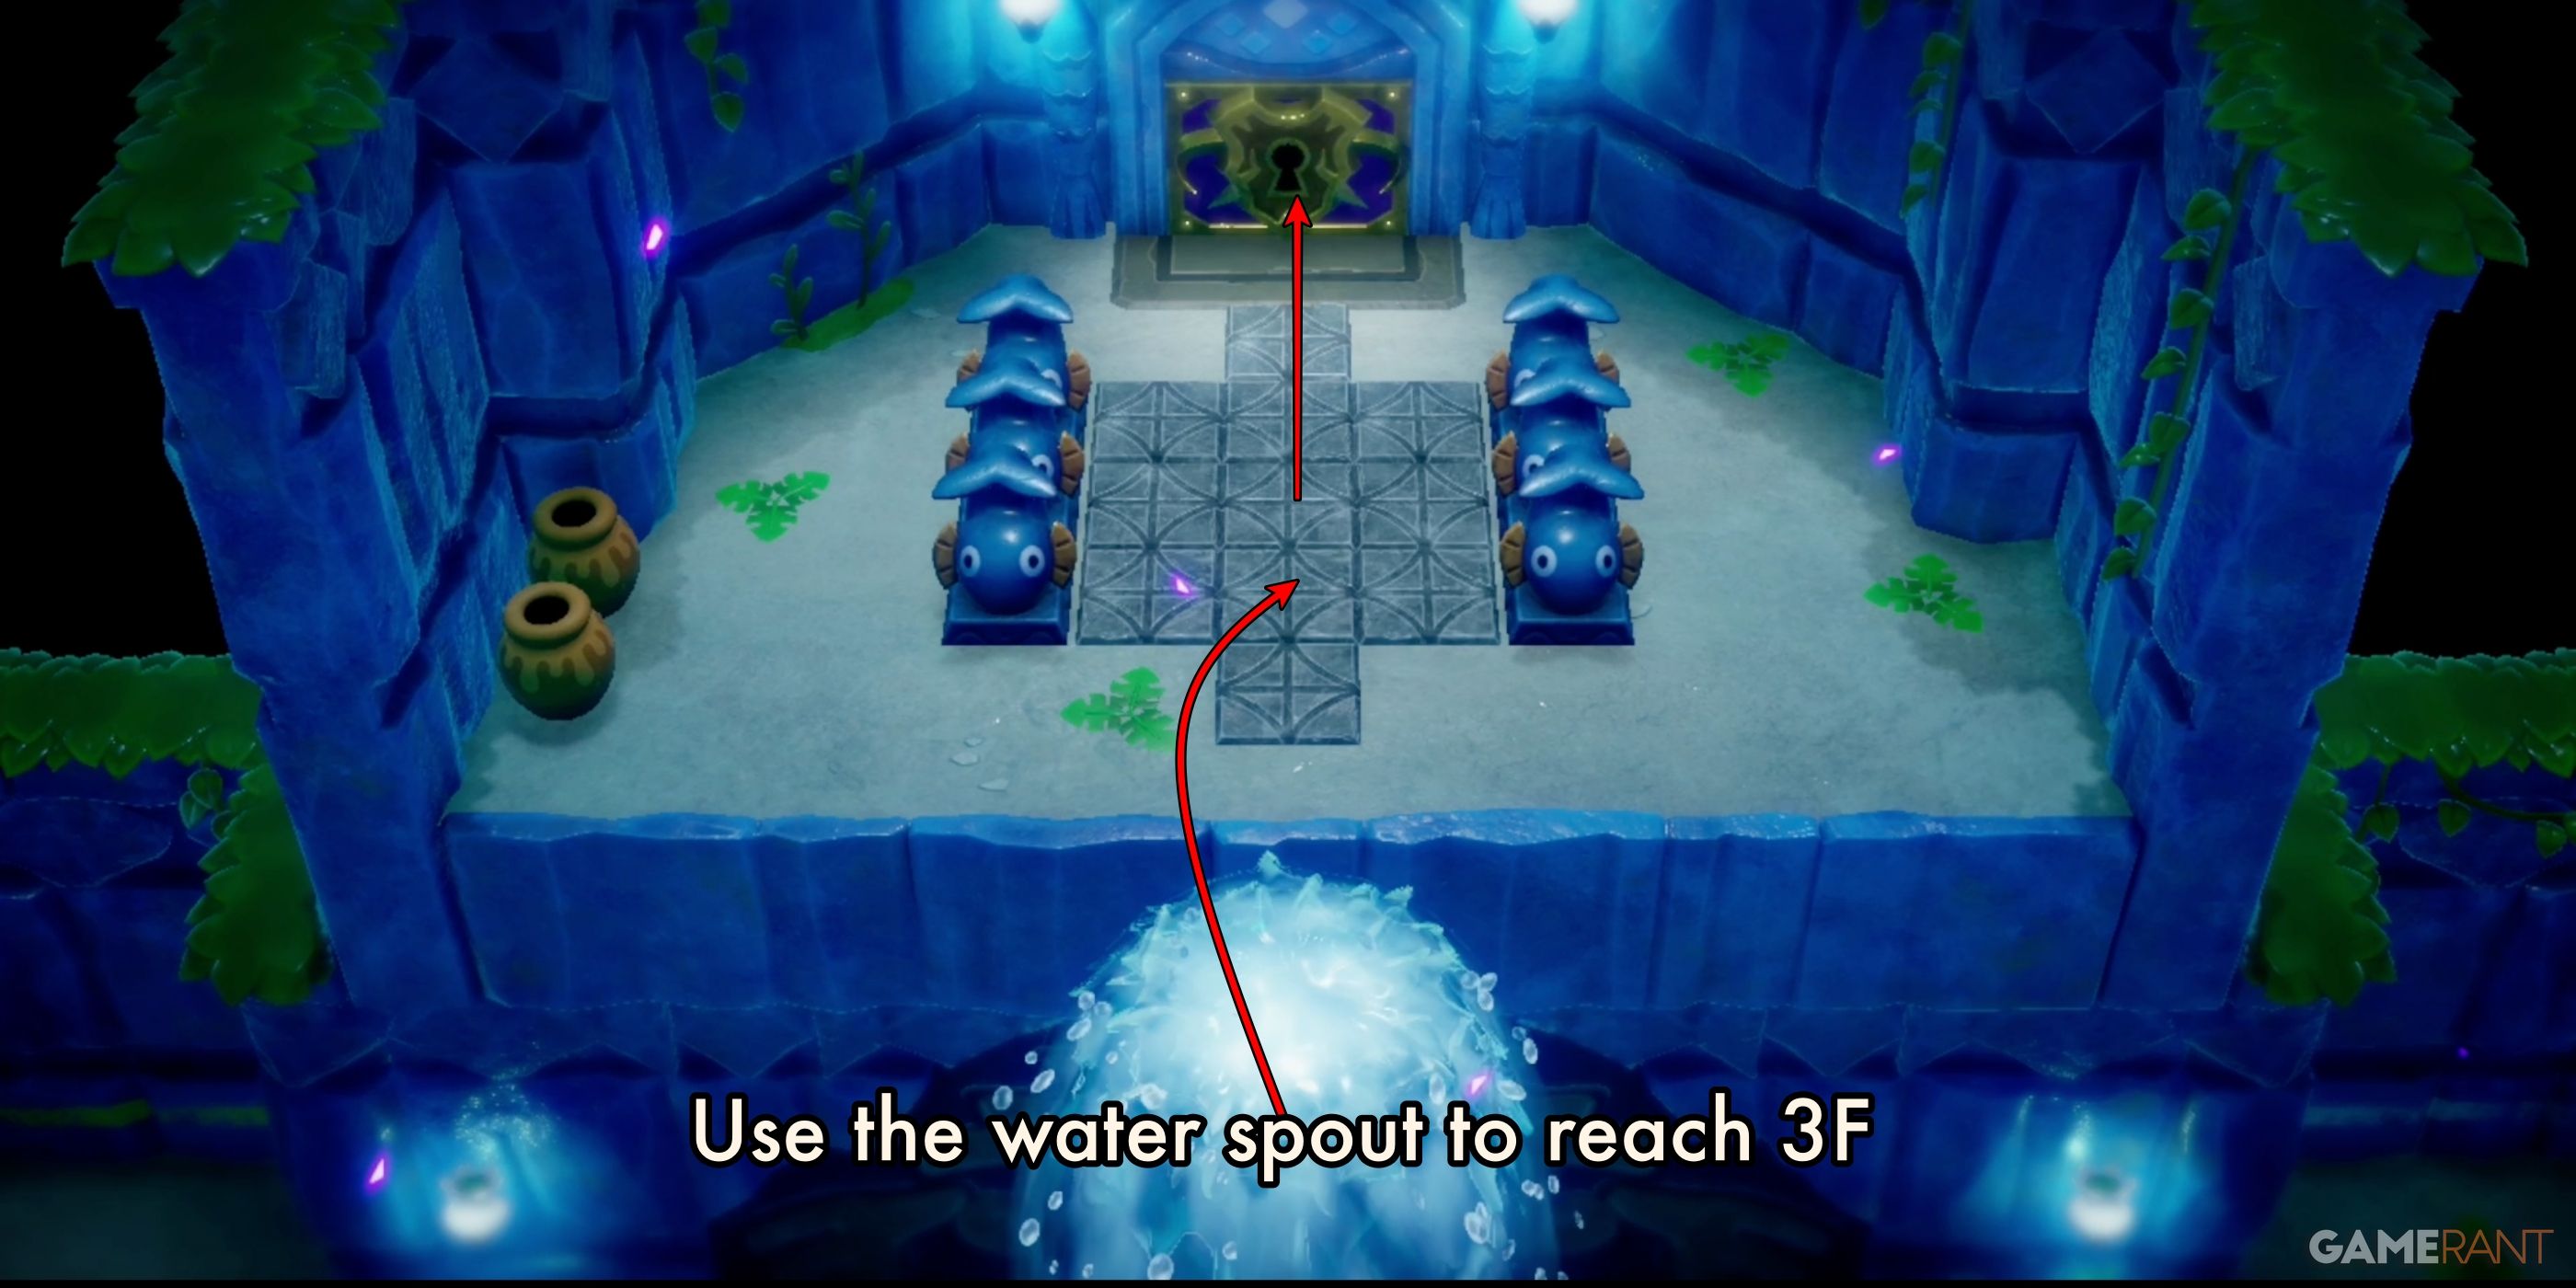
When you return to the main chamber, the water spout will now lift Zelda to the third floor. Use the Big Key to open the locked door and begin the fight with Jabul Ruins’ boss, Vocavor.
The fight takes place underwater, so the first thing to remember is to watch your oxygen level. There are multiple sources of air bubbles, so make sure you use them.
Phase One:
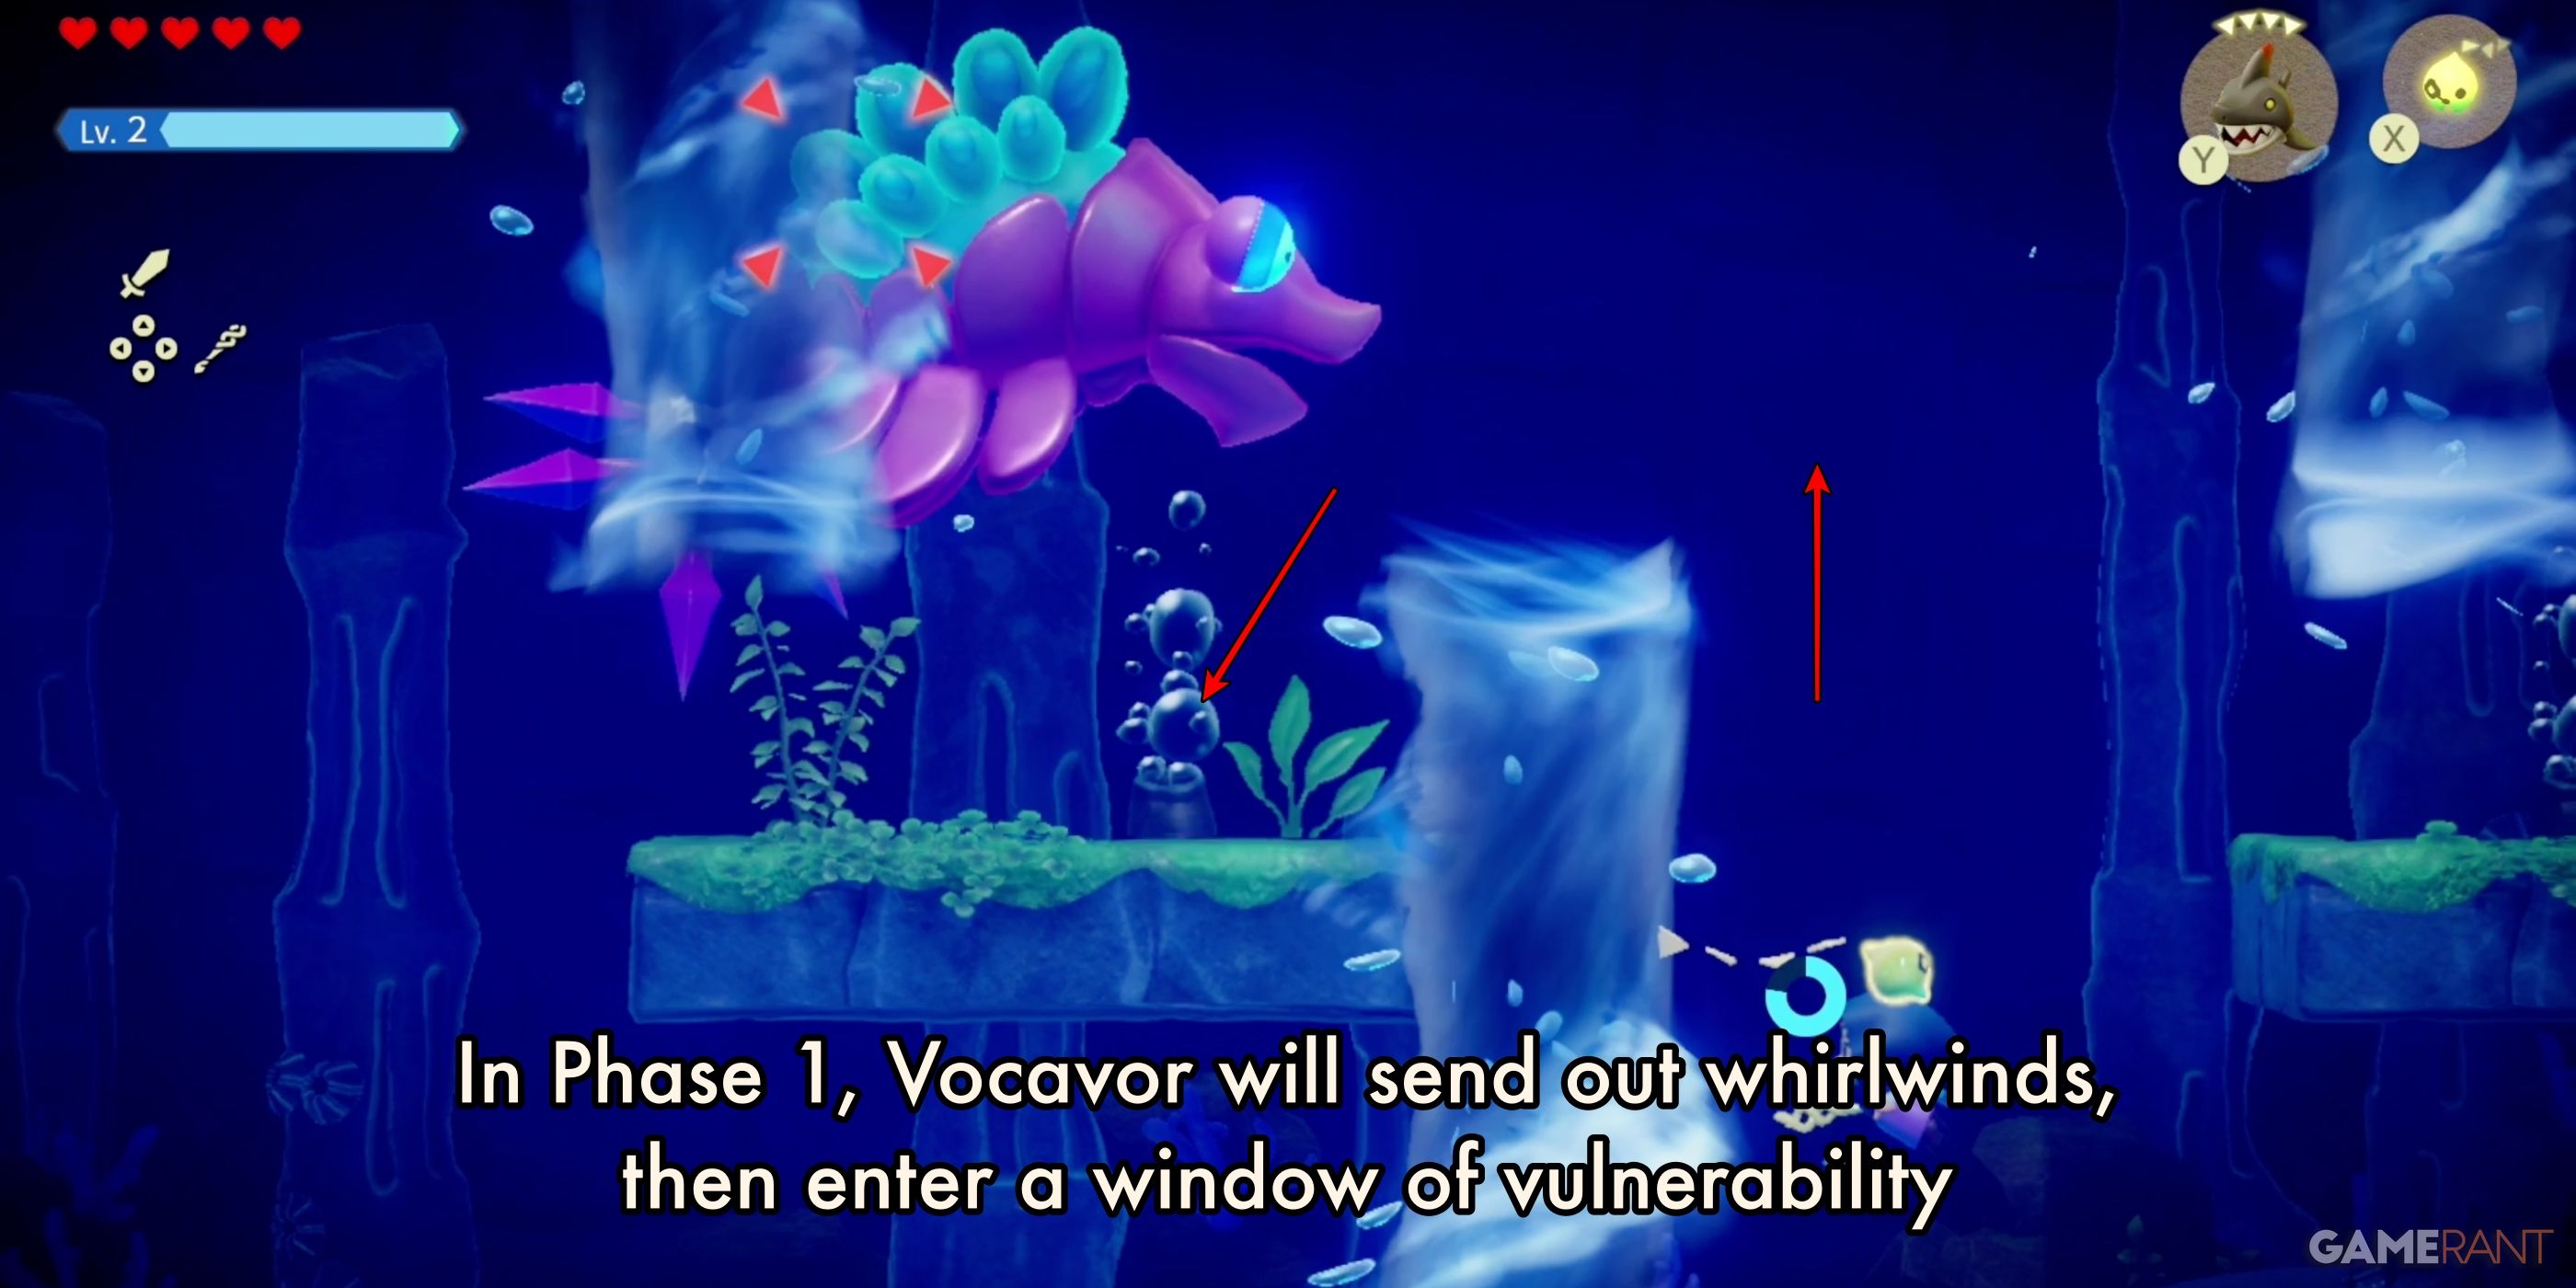
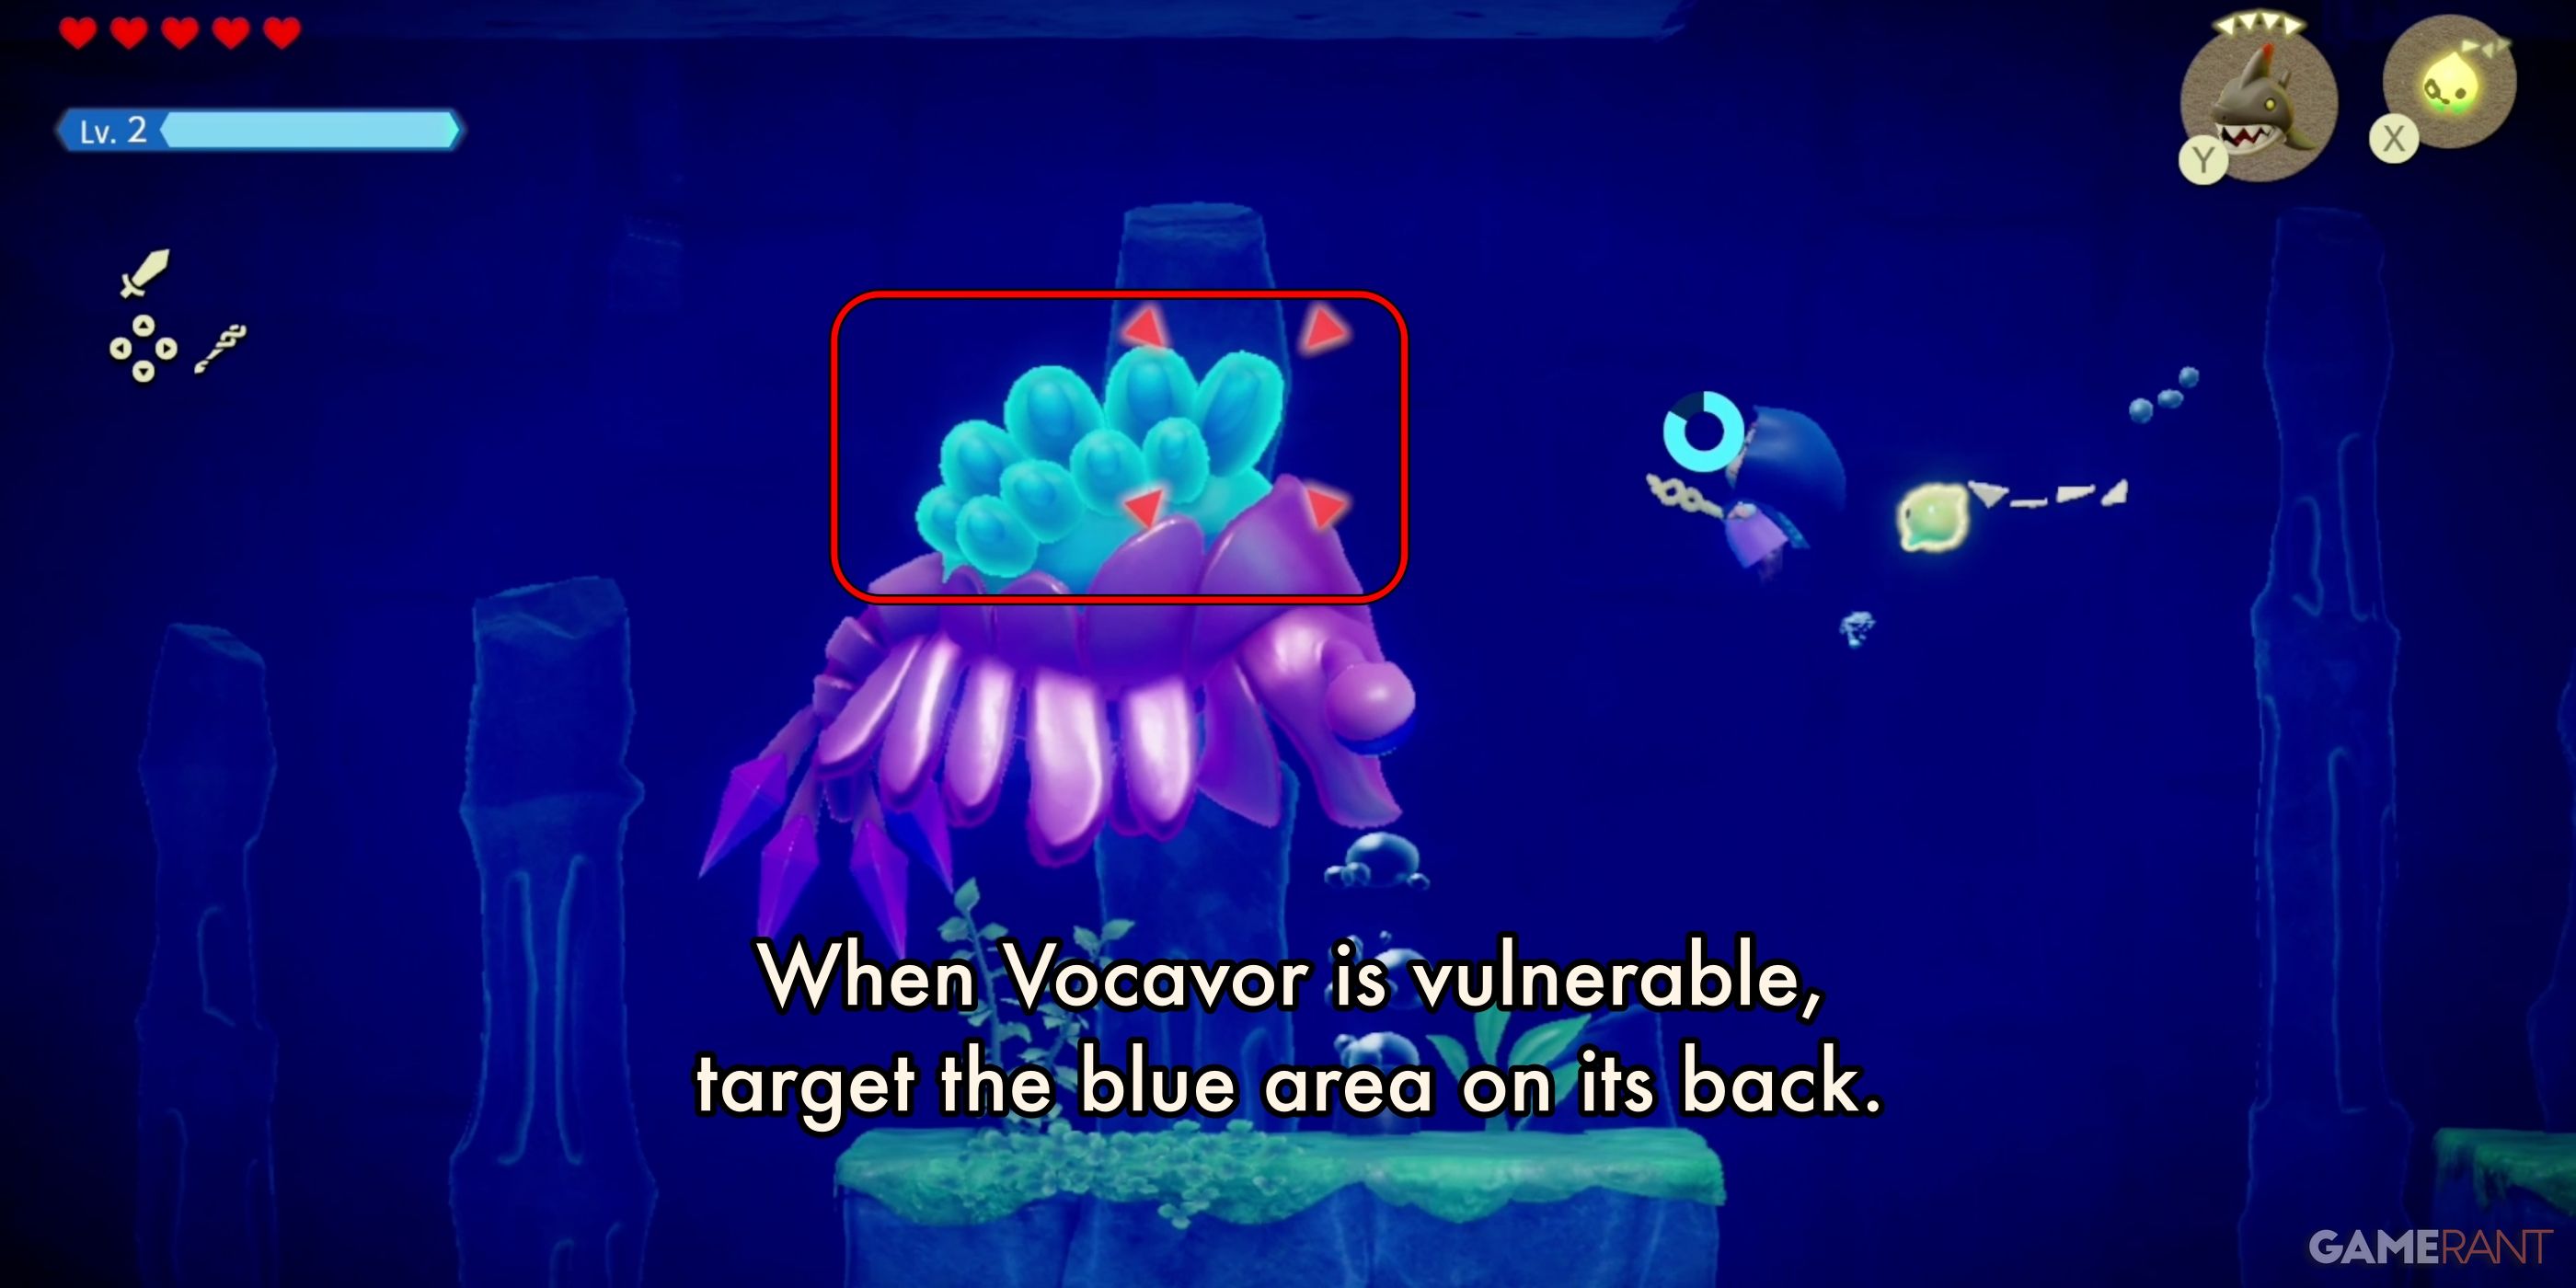
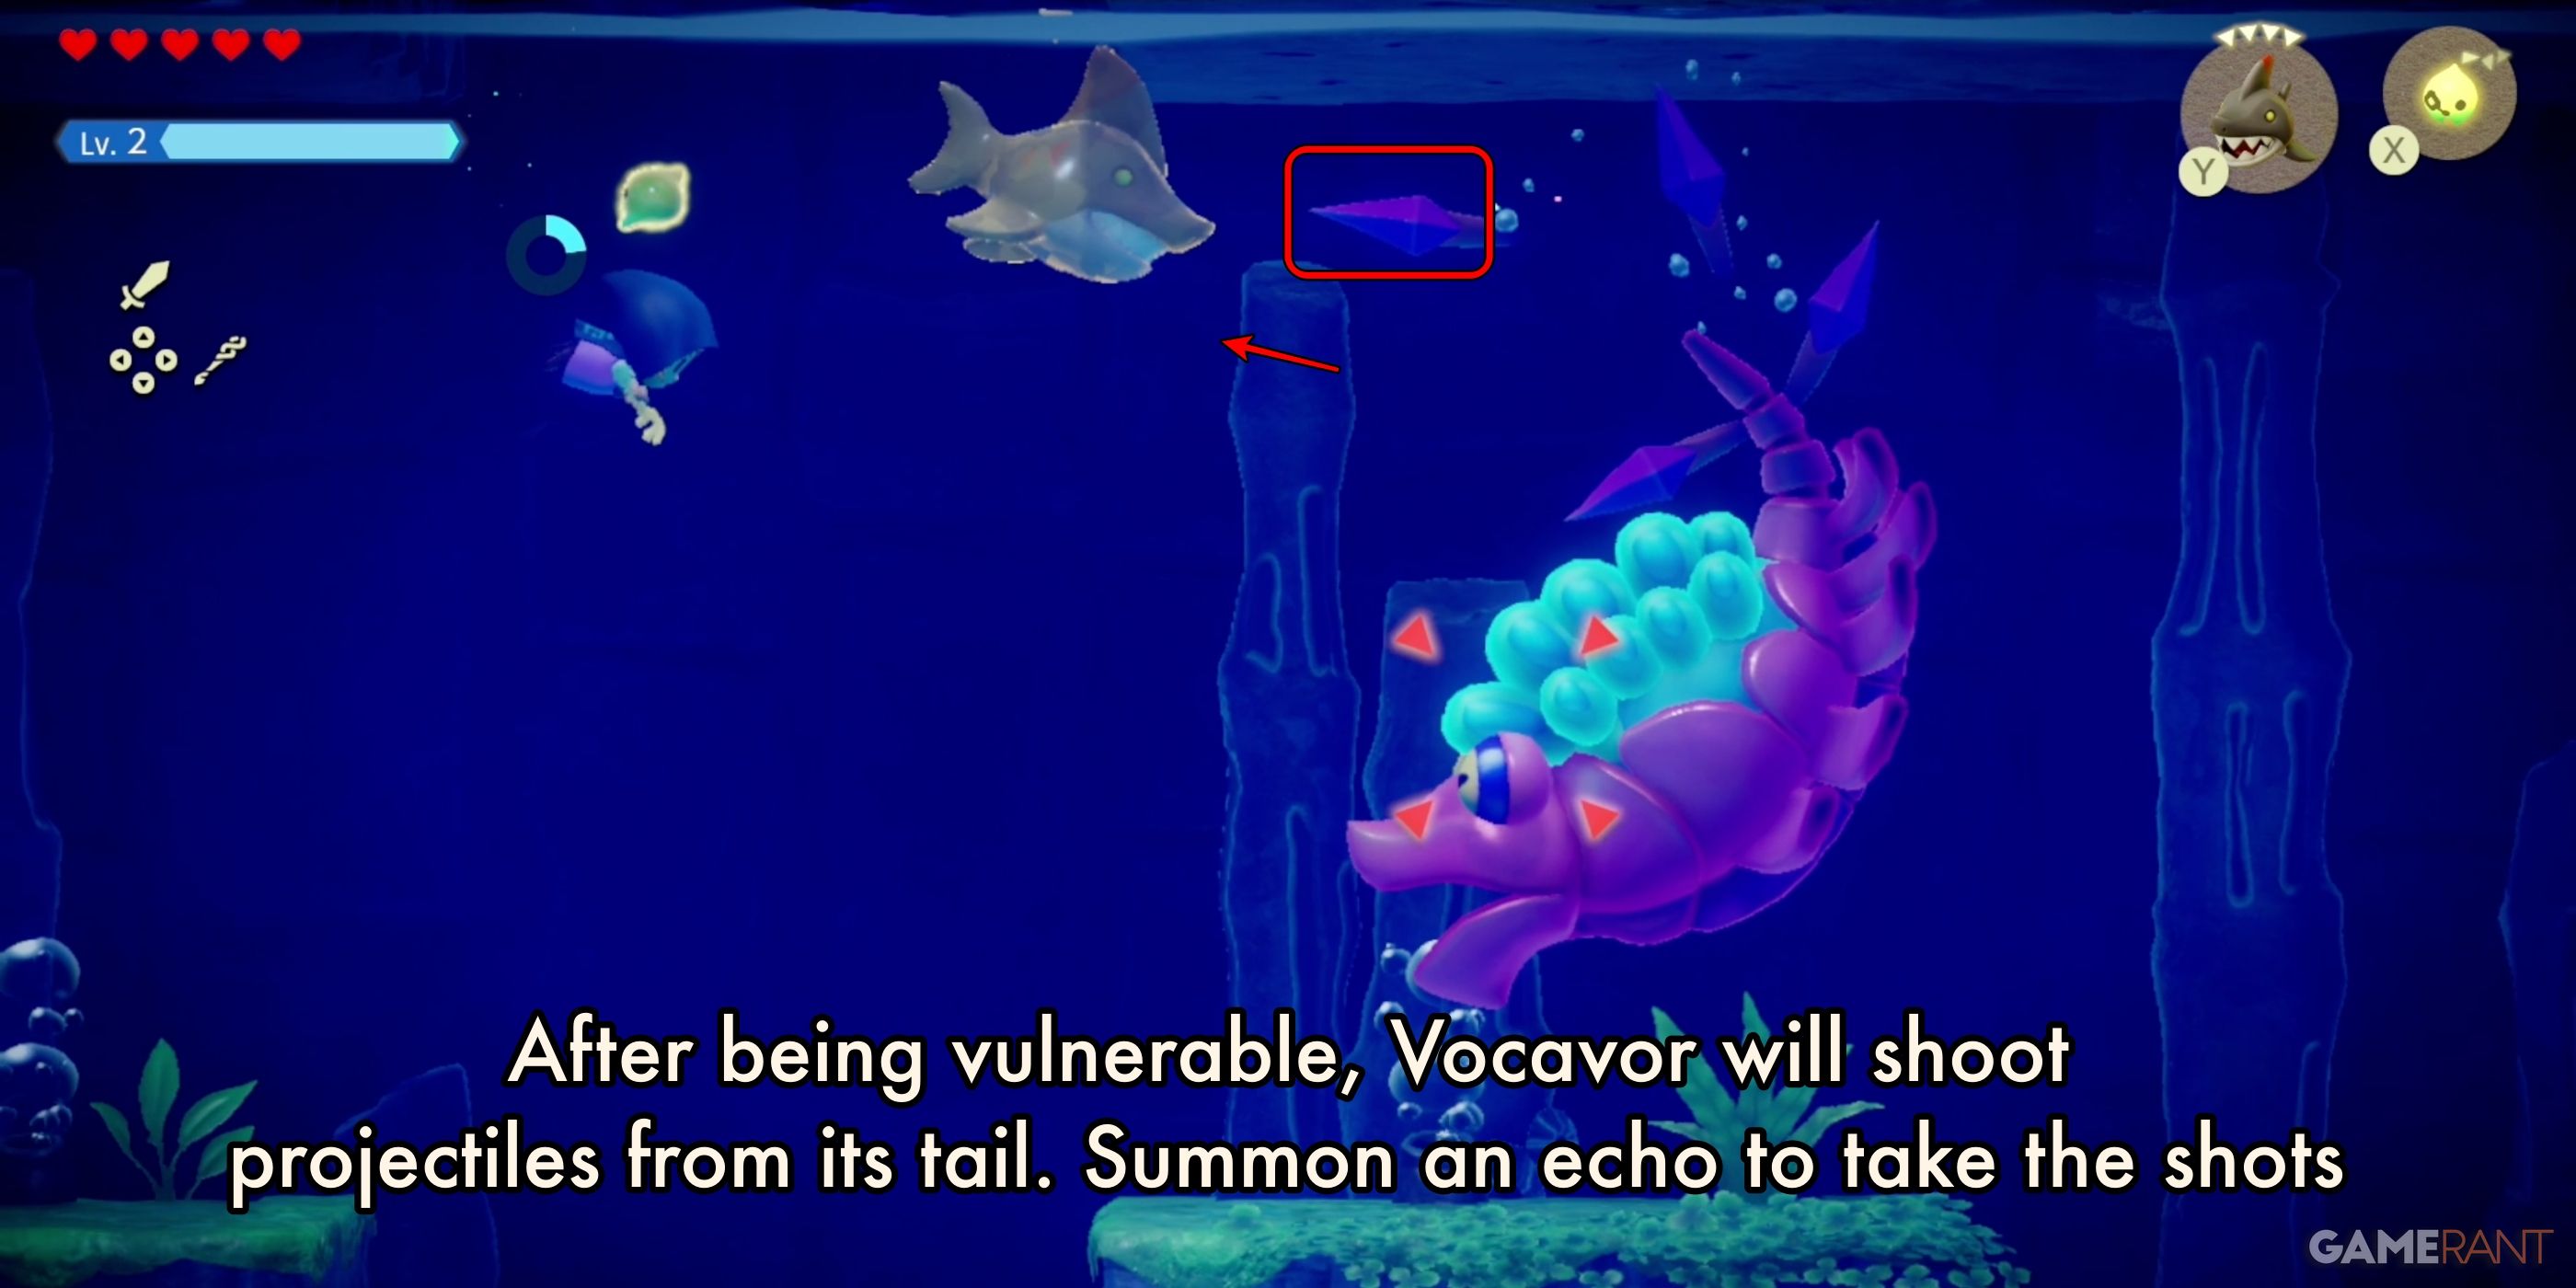
During the first phase of the fight, Vocavor will create multiple small whirlwinds that Zelda will have to dodge. After they pass, Vocavor will have a window of vulnerability. Your goal is to attack the blue area on the creatures’ backs.
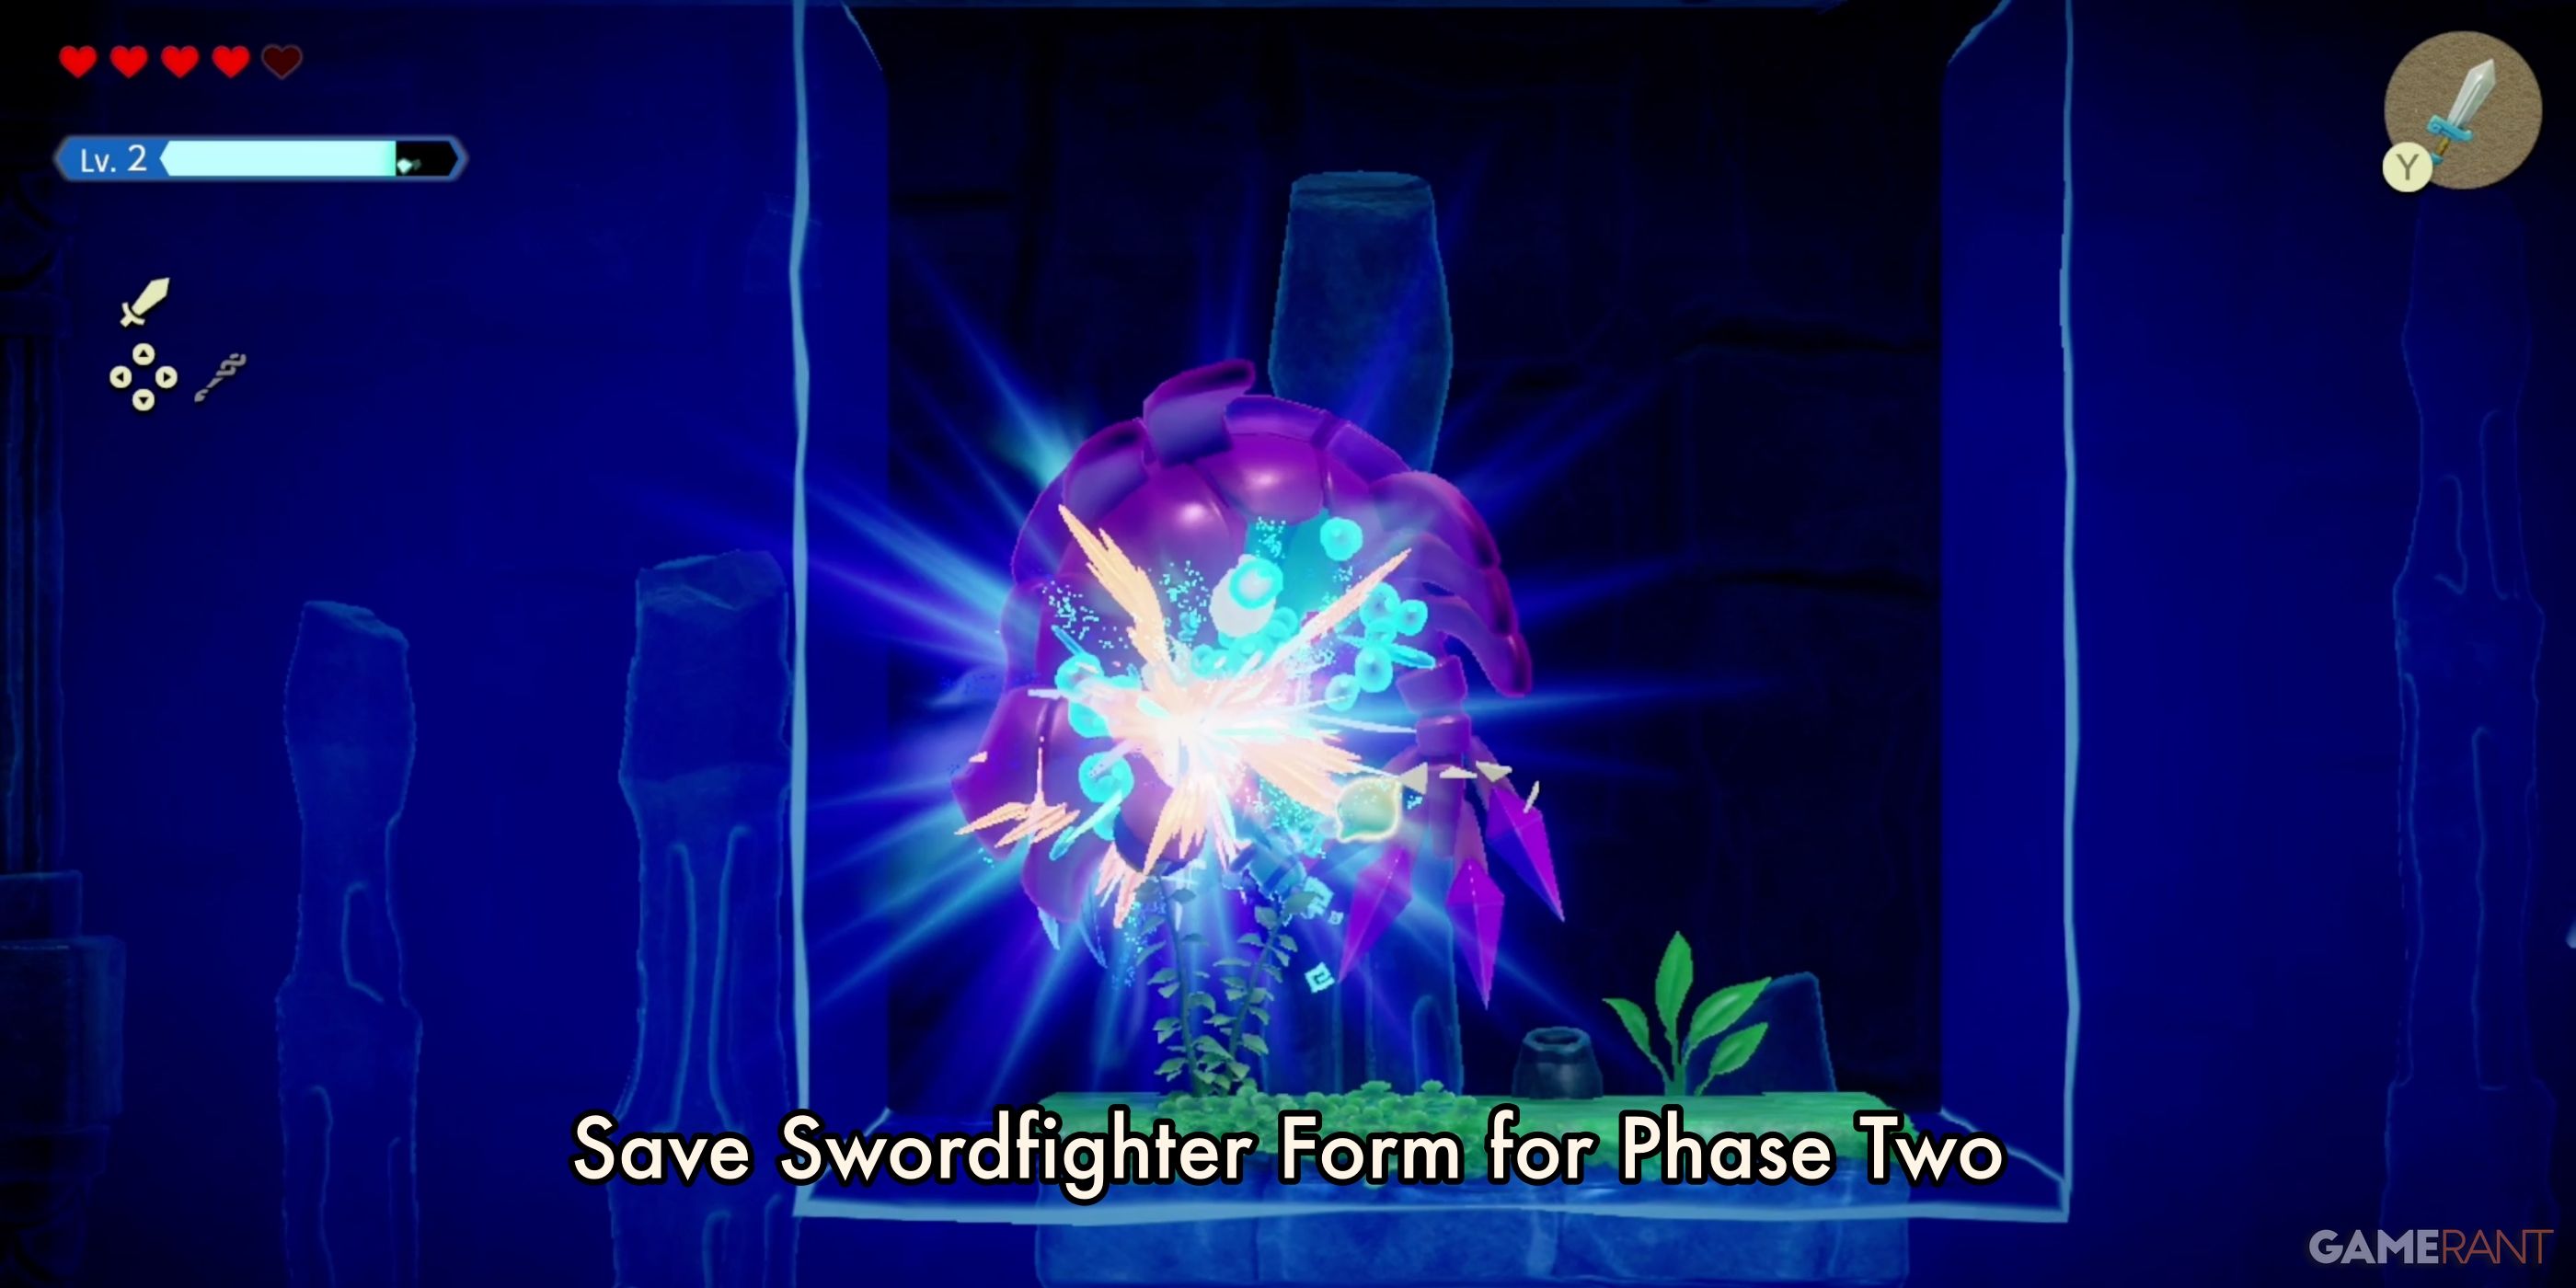
It’s best to save the Swordfighter Form for the second phase. In phase 1, use ZL to target Vocavor’s back, then summon a swimming Echo like Chompfin. Get directly above Vocavor’s back before you summon, as this gives your Echo the best position of attack. If you completely destroy the blue area, Vocavor will release several hearts.
Once the window of Vulnerability has ended, Vocavor will launch projectiles from its tail. If you have an Echo summoned, it will be targeted instead of Zelda. Complete this cycle until Phase 2 begins.
Phase 2:
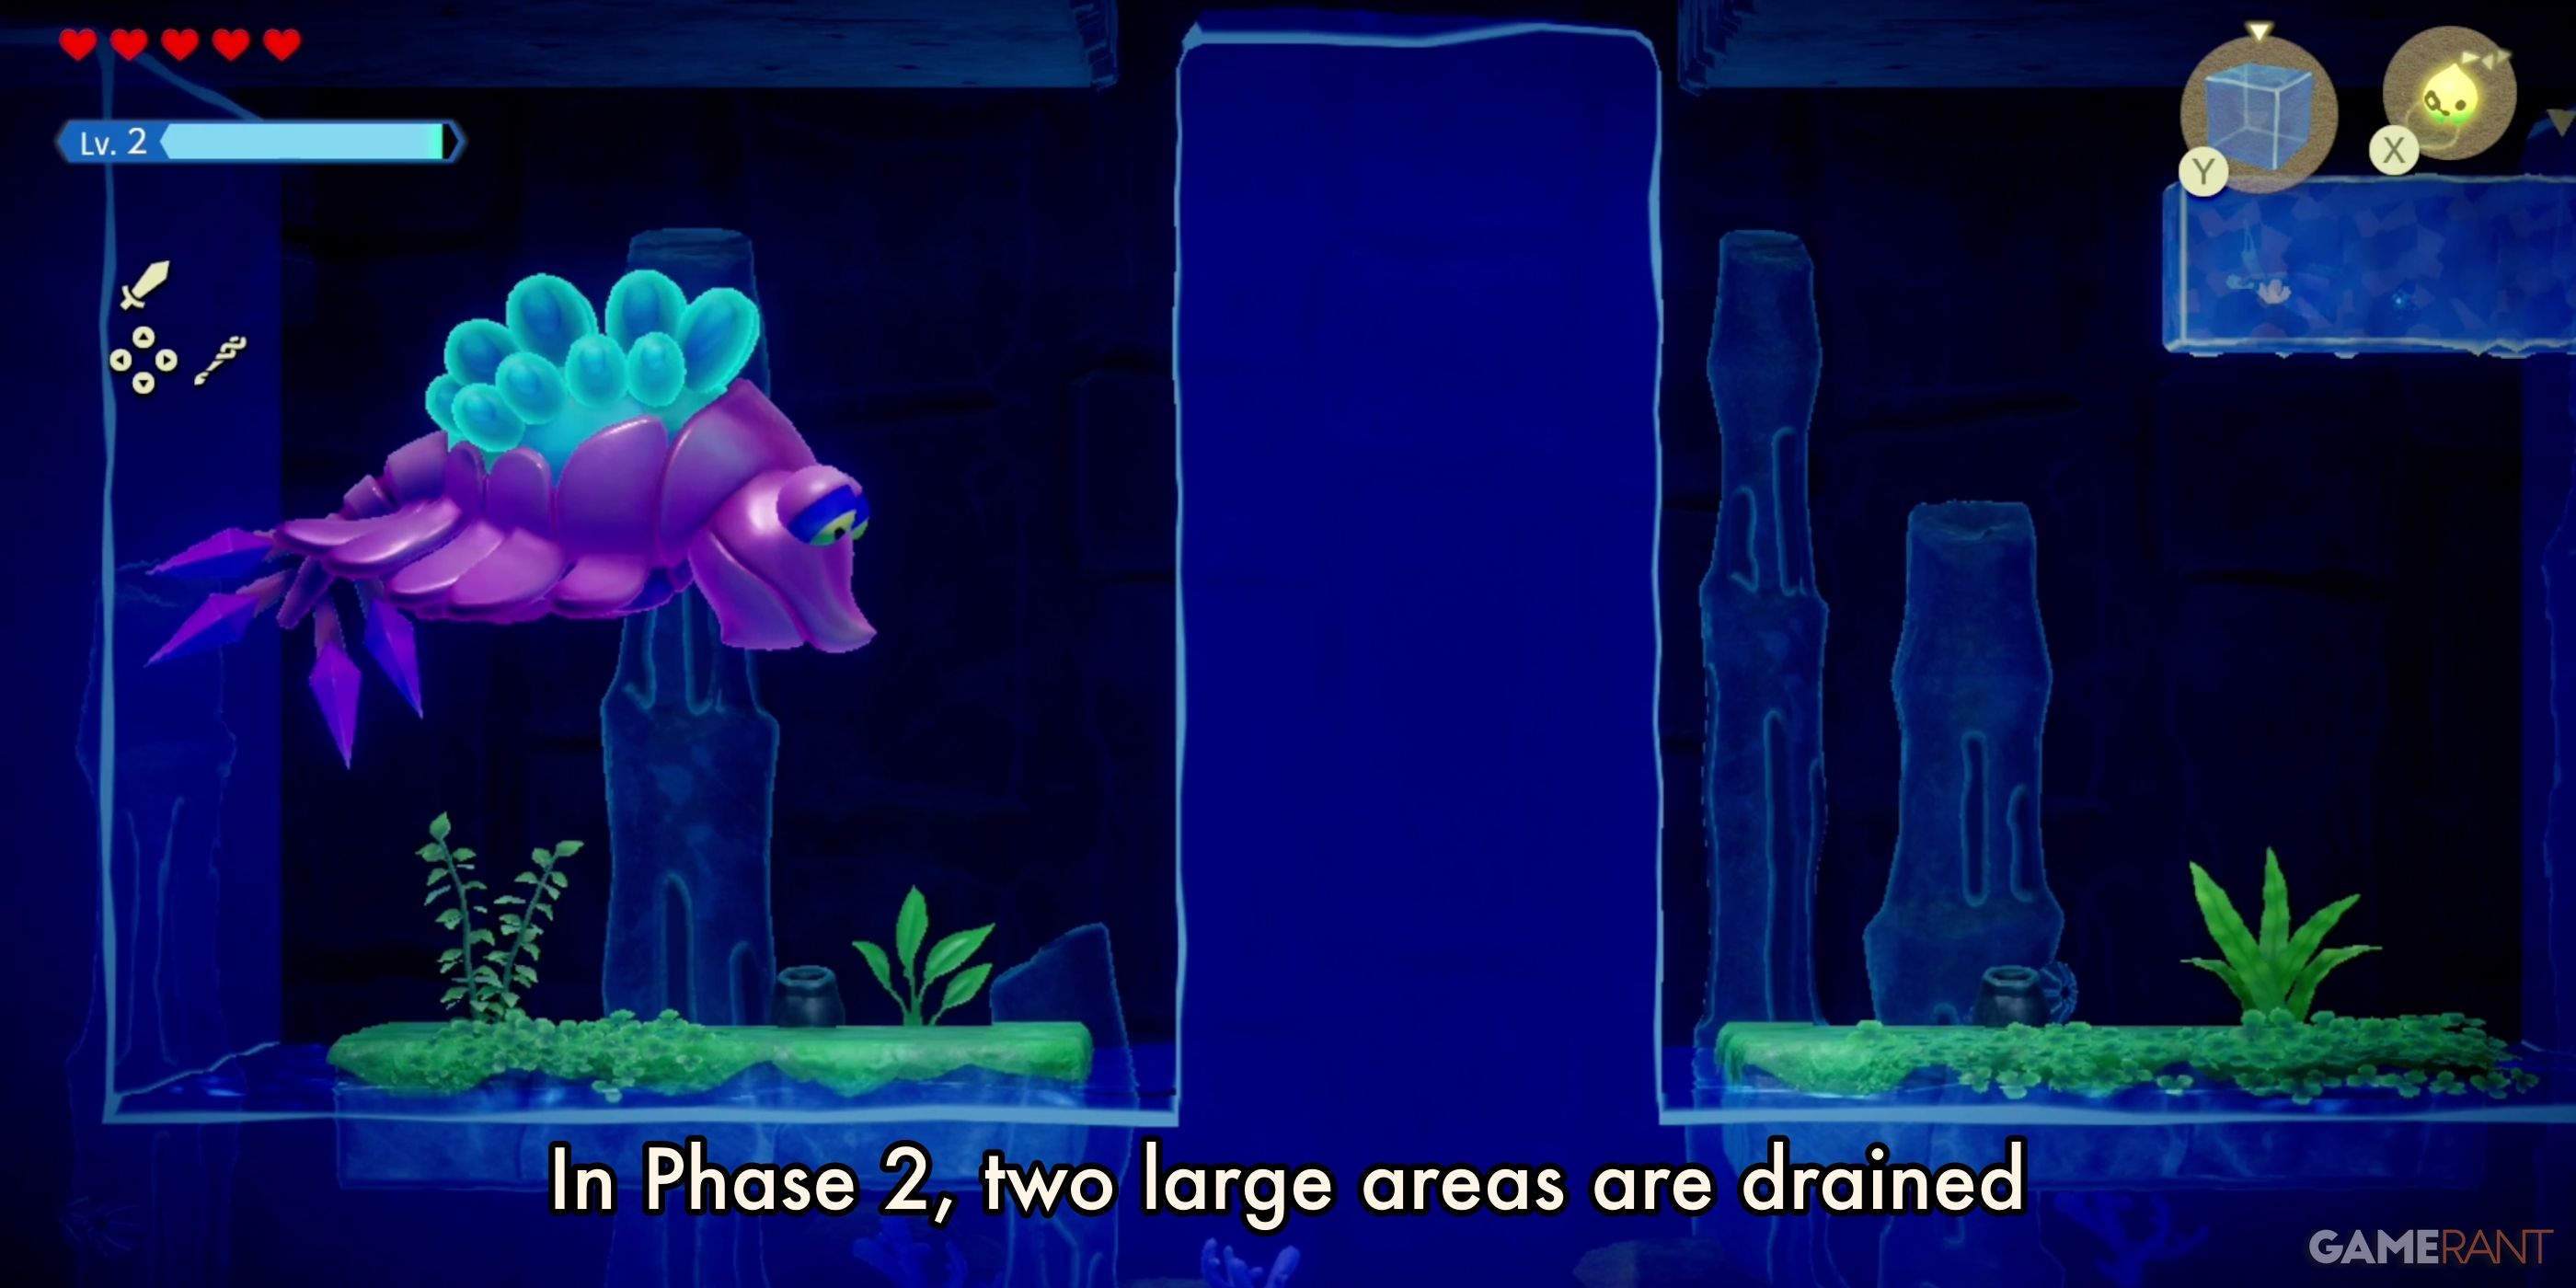
In Phase 2, two large areas will be drained from the arena. Vocavor can still float between them, but Zelda cannot.
Vocavor will now use a variety of whirlwind attacks. Zelda can use the small channel of water in the center to navigate around the attacks.
The window of vulnerability will now take place in the drained sections. This is when you want to use the Swordfighter Form. Attack Vocavor’s back as much as you can.
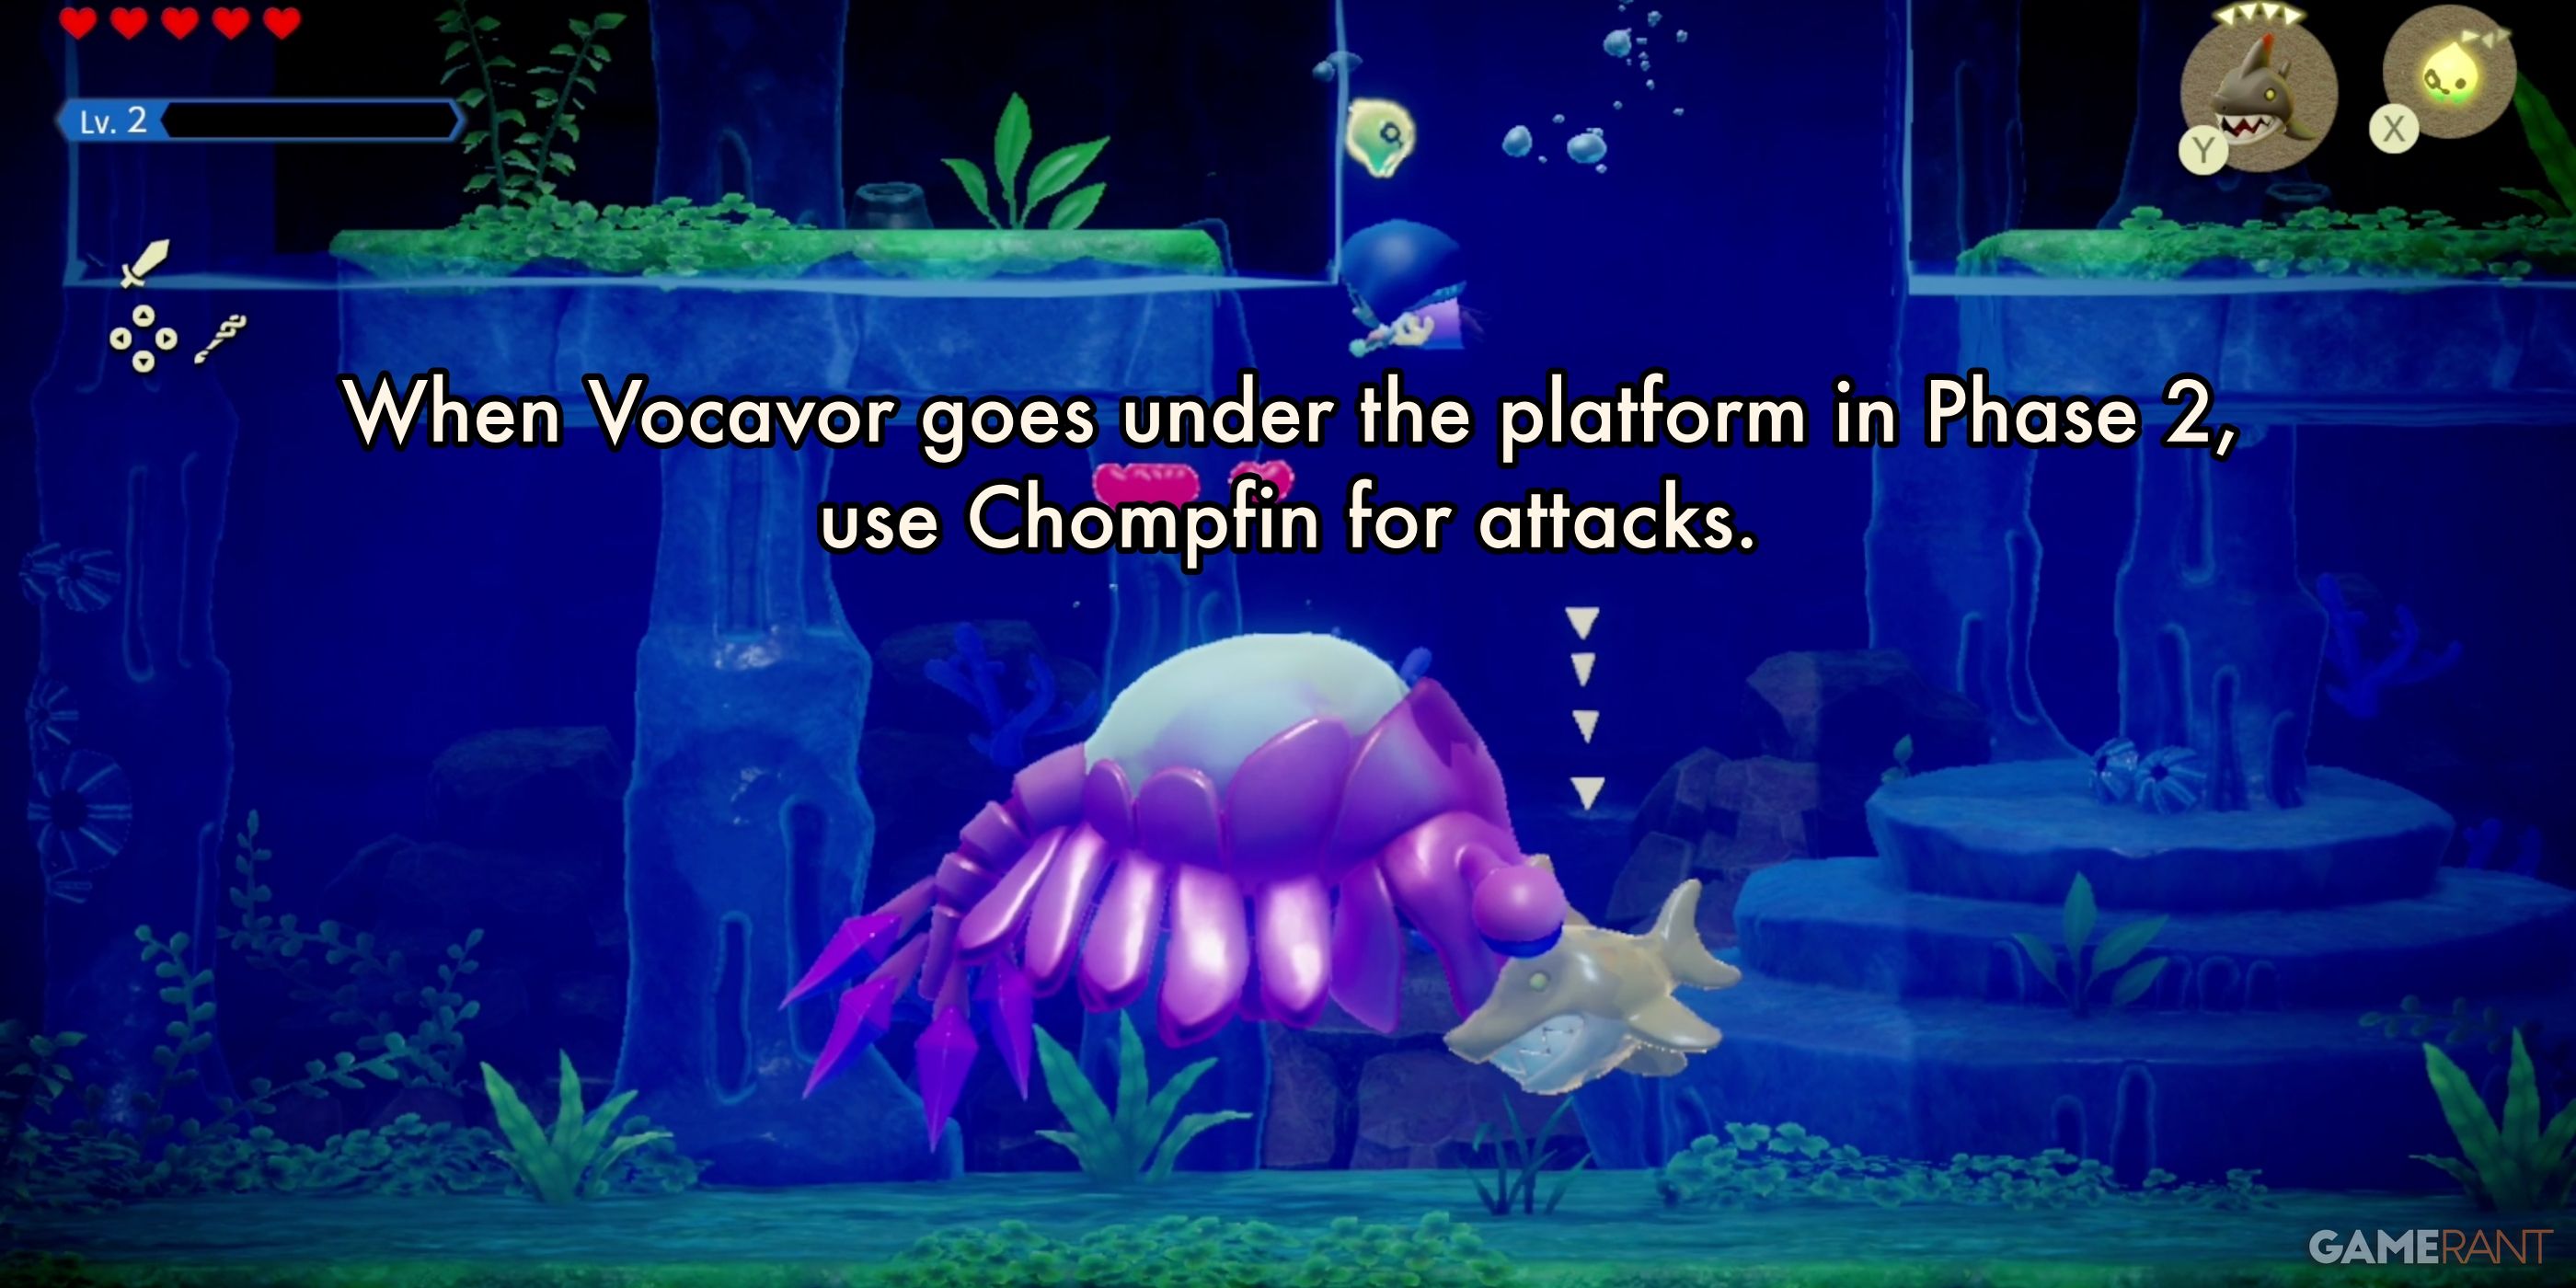
Once your energy is out, you can either use flying Echos to attack Vocavor’s back in the empty sections, or use Chompfin to attack Vocavor as it swims beneath the main platforms that Zelda fights from.
The cycle will remain the same until you defeat Vocavor, so continue to avoid the whirlwinds, and use the attacks you prefer until it is defeated.
Rewards:
Defeating Vocavor will earn you a Full Heart, Five Might Crystals, and the ability to summon Echo’s from afar.
