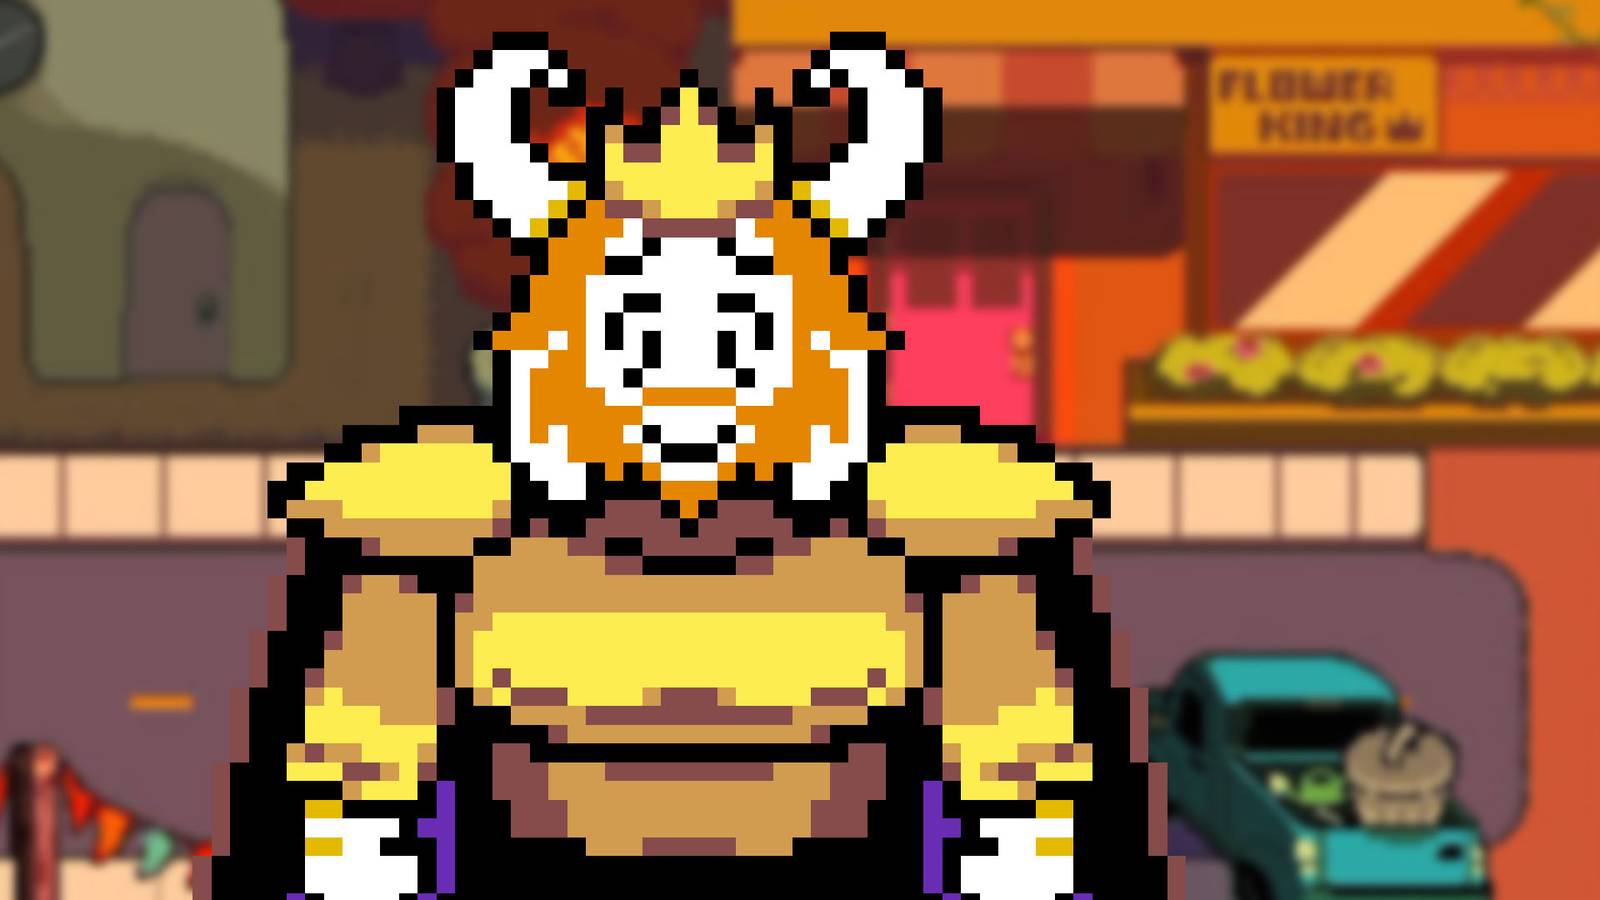
Deltarune Chapter 5 is packed with a ton of content. This time, the story leans hard into Asgore’s past and the secrets he’s been keeping in his flower shop. Chapter 5 takes place during the school festival, a day that should be full of confetti and music but slowly turns into something much stranger.
The school festival is underway, Susie and Noelle have their big date, and somewhere between the confetti and music, Kris opens a Dark Fountain inside Asgore’s flower shop. This guide covers every section in order from the opening scene to the final cutscene, so that you don’t miss out on anything in Chapter 5 of Deltarune.
Deltarune Chapter 4: 100% Walkthrough
Deltarune Chapter 4 is one of the more lore heavy parts of the game, and there are a ton of secrets to discover in between the main story beats.
Returning Home: Kris, Toriel, And Asgore
Chapter 5 opens right after Chapter 4, with Kris climbing back to their room and putting the player’s heart back inside their chest. Leave the room, interact with the hallway mirror where Kris can’t meet their own eyes, then head downstairs to find Toriel waking up on the couch.
She asks for honey toast. Use the microwave, wait about ten seconds, and hand it over. A conversation follows about the locked house and Toriel’s late night with Sans. She mentions wanting to surprise Asriel at his dorm, since his exams are wrapping up.
Leave the house, head south, then right to run into Asgore. He tells you how he and Toriel were once crowned King and Queen of the festival, which inspired the name Flower King for his shop. He also mentions wanting to help Toriel financially once he’s back on his feet. Continue down the road, grab the save point, then head into the school and through the storeroom door to enter Castle Town.
Castle Town And Susie’s Outfit
Ralsei and Lancer are buzzing with excitement, and Lancer drops that Susie has a big date today. Since Chapter 4, the cathedral in Castle Town has opened up, and you can actually sit at the piano and listen to little musical themes tied to each character if you want to take a break and explore. Save near the castle entrance, then head inside.
Cross the small race track and go through the door to find Queen measuring Susie for a date outfit. When Lancer arrives with blueprints, a customization menu opens. I chose Hair 02, Shirt 06, Pants 02, Hat 04, and Shoes 04. After the full reveal, Susie quietly takes it off and keeps her usual clothes.
Head left into the living quarters past Queen and Tenna’s room to find Ralsei’s room behind tape. Susie barges in, revealing that the room is nearly empty with only one window. Ralsei admits he’s starting to form his own opinions for the first time and asks if he deserves to feel things as a darkner. Tell him to just be himself and he gets flustered. The moment is interrupted by Susie returning with furniture item number one: a dustbin. A Ralsei plushie sits in the corner, a gift from Kris he’ll keep forever.
When ready, leave Castle Town. You can’t return for the rest of the day.
Susie And Noelle’s Date
Outside the school, head left to find Noelle, who immediately spots the trash still in Susie’s hair and laughs. Noelle joins the group, and you lead them through town. The streets are covered in confetti and every resident has something to say. It’s optional, but I talked to everyone since interactions like these might shape the ending.
A nice detail here is that Noelle’s dad has been discharged from the hospital and is setting up lights outside the town hall, and he’s visibly supportive of Susie and Noelle’s relationship.
Head north from the save point intersection to reach the festival entrance. Go right to find Berdly for a fun exchange, then go left to find a nervous resident about to perform on stage. You can send one of three nearby NPCs up to help, though the performance still collapses into one note. Keep heading right, talk to Asgore, and continue until prompted to choose between staying at the festival or heading to the beach. Once you’ve explored everything, go to the beach.
A few hours later, Susie and Noelle’s date is going well while Kris is asleep at the table. Carol calls, Susie throws the phone rather than let Noelle answer it, and then immediately worries she threw it too hard. It’s fine. They settle by the lake to watch the sunset. Susie carries Noelle into the water, and Noelle opens up about wanting to run away from home but feeling too weak. Susie tells her she’s stronger than she gives herself credit for.
How to Make Deltarune Fullscreen
Deltarune oddly boots up in a minimized screen if you’re playing on PC via Steam. Here’s how to get a better look with fullscreen mode.
Noelle finally answers Carol’s next call and, caught up in the moment, blurts out that she can’t come to the festival because she’s with Susie and really likes her. After hanging up, Susie tells her the feeling is mutual, then heads off for ice cream. Carol calls a third time with serious news: Noelle’s dad has fallen at the festival. Noelle rushes off and asks Kris to tell Susie it was an emergency.

Go left from the beach. Susie heads into Asgore’s shop to grab flowers for Noelle. While she’s inside, Kris pulls the heart out of their body, throws it in a dustbin, and draws a knife. Susie comes back looking the wrong way, giving Kris just enough time to slip around to the back entrance. The moment she turns, Kris opens a Dark Fountain inside the shop. Susie drops the flowers in shock, pushes the door open, and calls out. Kris doesn’t wait and goes in. Through the back, Kris puts the heart back and falls into the fountain.
Flower King’s Dark World And Meeting Flowery
Susie comments that this dark world feels strangely peaceful this time. Save and move forward until Susie spots Asgore above, and the game cuts to its first anime-style cutscene introducing Flowery, a golden character who claims an SSS blood type and was Asgore’s college roommate and best friend. He grows a flower from Susie’s hand, then quickly hides everyone in bushes when Asgore walks past.
Continue walking to find four wardrobes, where Ralsei pops out of the fourth. Flowery had locked him away. Continue to find Flowery behind another bush, who drops Ralsei’s old Chapter 1 costume on his head before leaving. Ralsei warns the group to hurry in case the Roaring Knight tries to kidnap Asgore like they did Toriel in Chapter 3.
The Garden Of Hopes And Dreams
This area mirrors Chapter 1’s Field of Hopes and Dreams, with cherry blossom trees blooming as you move right. Save at the point ahead, cross the bridge, and two Floradinn will ambush you. Spare or fight, then continue south and left across another bridge for a chest containing RedRibbon armor.
Head right from the bridge. Three spikes block the path, cleared by pushing the stone onto a switch. Ahead, two more spikes need a second stone that’s guarded by a Floradinn. Head south, bite the mushroom twice to grow it over Kris’s head, return to the Floradinn so the tree bark knocks the mushroom off, and a group of foxes appears. One shapeshifts into the exact stone you need. When it tries to eat the mushroom, press Z to grab and carry it to the switch.
Go through spinning scissors in the next room, then reach a huge locked door requiring a fight against a Floradinn. When Show Love turns into a running joke involving Susie and then Ralsei, use Ralsei’s Idea, where he explains love as a flower that blooms in its own time. It works, the Floradinn asks if Ralsei can find it a gamer boyfriend, and the fight ends awkwardly. The door still doesn’t open until Flowery drops from nowhere, squishes Ralsei, and forces himself into the party.
Interact with Ralsei’s remaining hat twice to have Flowery grow flowers on it, then fight the second Floradinn with Flowery in Ralsei’s place. He grabs both enemies, makes them kiss, and throws them away. The door opens. Find a save point on the left and a box of fake Flowery Dollars.
Through the door, pick up the watering can. The path ahead vanishes, but planting the eight nearby flowers with the can grows grass and forms a new route.

You can also use the watering can to unlock extra paths in the rotating scissors room.
Return to the previous room and ring the second bell, heading north to guide scissors into a tree that Sheary is caring for. This triggers a fight. Use the SalonCut act, cut the circle accurately with the arrows, and a well-placed cut fills the Mercy meter fast enough to spare both Sheary.
Pass through the newly opened area to reach a small restaurant where Asgore and Flowery are drinking. Flowery slaps noise-cancelling cups on Asgore’s ears and treats the group to root beer, which Susie chugs in one go. Save, then head right.
Immovable leaves block the path. Rush through speed torii gates and collide into them to break them apart. Loop the lower path, climb the stairs, and work through timed platform puzzles where you press a button and stand on highlighted spots with Susie and Ralsei.
Later, Ralsei smashes a puzzle blocking Susie’s path, so just climb the stairs to reunite. After more Flowery antics, including him skateboarding past a puzzle while Asgore watches in admiration, the door opens. Follow the path until Flowery blocks the group near the light world exit.
The Petal Feather And Garden Shrine
Save, take the left speed torii gate, and follow this path from the intersection: right, up, right, up, right, up, left, up. Water the black patches along the way to find a Green Tea chest. Return to the empty watering can stand, plant the path left to reach a torii gate, water the black area above right, place the can on the stand, and head inside.
Eventually, a one-on-one fight with Aqua (the little girl with the swords) begins after Ralsei makes a deal for the Petal Feather. Use Spin first for 20% Mercy, Dance for the sweeping sword rows, and Coolpose for the petal spread attack. Survive the final attack where she swings massive swords and the battle ends. She keeps her deal. Go ahead and then slide down the vine.

Save, go right at the intersection, and climb the stairs to grab the Petal Feather. Everyone feels lighter and the controls shift to a platformer style where you can swing your sword freely. Head right over platforms and press C to command the party. Either make Ralsei a platform or have Susie cut the tree down, then break the vines and keep moving.
Aqua pops up and runs a quick real-time combat with her new Bullet Pattern. Dodge projectiles, jump-attack to clear bullet patterns, and hit the statue to return to normal mode.
Deltarune: How to Find All Egg Rooms
Can’t find all the eggs in Deltarune? Here’s a complete guide on every egg room location and how to get them.
Before switching modes, use Act on a green hook point to summon Jackenstein, who stretches Ralsei into a platform. Jump across, break the Flowery coin bag, then use the statue and descend the vines.
Head right in the Way Home area. Asgore and Flowery are sitting above, on a huge plant. Asgore casually mentions a black river flowing from the ground. Flowery deflects. In the next room, hit the statue, climb the tree, and convert Ralsei into platforms at each hook point until you reach the upper cliff with the fountain visible in the distance.
Following the path brings you behind Asgore and Flowery at the fountain. Susie calls out, Flowery blasts Asgore away and warns one more step means a fight. Kris steps forward. Flowery tells everyone to meet him at Flower Castle.
Cliffs and the Seth Boss Fight
Save, climb vines, pass speed gates, use charge jumps for wider gaps, and drop into the hole at the top. Flip modes and keep going. Seth (Purple) corrects Aqua on her name in a conversation you overhear. Climb the ledges using Act on vines for platforms, fight airborne book enemies by jumping to reach them, ride a wind geyser to the top, and slide to the other side. You’ll meet a humble farmer. Climb up the vines and be mindful of the falling peaches. Eventually, you’ll run into a fight with two Leaflings.

Continue going right, flip modes again, and confront Seth and Aqua directly. Seth starts a real-time boss fight. He summons glasses while Aqua throws swords that double if they pass through the lenses. Have Susie use Rude Buster on the glasses, command Ralsei to hang on the corner to tilt them toward Kris, then jump on Ralsei and attack until they shatter. Repeat for the second pair.
Aqua flees, Seth trips, Ralsei helps them up, and both leave looking embarrassed.
Cliffs Continued and the Aqua And Seth Boss Fight
Visit the cliffs shop if you need gear, and head right into a hayfield with a Kakaw fight at the end. Push through with a Starwalker throwing projectiles at you through a speed gate.
Reactivate the Petal Feather to jump across golden flowers using pinwheels while avoiding Aqua’s swords, then deactivate and enter a wind geyser. Climb vines, find the real chest among decoys on a platform, go through the cave, reactivate the feather, and trigger Aqua and Seth for a second time. Have Susie hit a pinwheel to create an updraft while dodging swords on the way up. Save at the top.

At the castle staircase, Seth asks Aqua for the Petal Feather. She says she already gave it to friends. Choosing “Very difference” between friends and enemies triggers the Seth and Aqua boss fight. FlatterX on Seth raises his Mercy 50%, but he grabs the notification and throws it away. PoseX on Aqua adds 20% until Seth cancels it. Survive the next attacks, a duck thrown at you and then Aqua shoving Seth into the box while attacking with swords. Once Aqua flies off, Seth gets back up and starts fighting on his own. He eventually calls Aqua back, and they fly away together.
Flower Castle
Activate the Petal Feather, leap to the castle, deactivate before the final stairs, and head inside. Flowery claims he’s protecting Asgore from his family’s pain. Asgore steps out in shining armor and pushes Kris and Susie into a light pillar. Back in the real world, Kris mentions the back entrance, and Susie realizes whoever opened the fountain must have used it. They re-enter through the back.
Flowery immediately cages Susie and Kris. Eat the moss in the top right corner to make Flowery summon more as a quirky loop. Aqua joins the cell, Susie befriends her, and Seth arrives to convince Aqua that the group is her enemy. To protect her, Aqua lifts the cage. Seth asks Kris for a reward for helping create the dark world, Kris hands over a feather, Susie intercepts it, and Aqua slams the cage on Seth.
Reunite with Ralsei, climb to the next floor, go left past two Shinobeetle fights (Convince act, then spare), and find Asgore and Flowery sorting old personal notes. Asgore is building a case to prove the Roaring Knight exists. A gun enemy follows: use Ralsei’s act to pull it down, hit it until it retreats, then dodge circles as you finish it. Save and continue ahead.
Yellow guards the Yellow Key and threatens the group until they gaslight him into depression and he walks away. Unlock Yellow’s door, go left past enemies, find and wear Yellow’s hat, dig with Susie and Ralsei, and find Yellow was standing behind you the whole time.
He leads everyone toward a room with the Hyper Punishment Gun, which he’s about to use on himself. Use Yellow’s flower to jump and hit it, have Susie Rude Buster it, and keep attacking while dodging Aqua’s swords until it’s destroyed. Yellow stops, then locks himself in jail anyway.
The next room features Blue. He needs Yellow for the Blue Key and goes to find him. Save, return to the jail slide, and follow the cloud trail Blue leaves. Aqua tells Blue that Yellow is in jail. Follow Blue to the colored doors where he unlocks the blue one.
Head through, skip the stairs, take the second blue door to the jail, and Blue frees Yellow. As the group tries to sneak past, a spotlight catches them and the Yellow and Blue boss fight begins.
You need at least 40% TP to begin the trial. Blue creates a path to your heart while Yellow’s bullet follows it, so dodge both simultaneously. With enough TP, select Justice on Yellow to start the trial.
Here are all four cases.
- Case one, a Floradinn was crushed flat: Seth is guilty, evidence is PerpBook.
- Case two, Yellow’s shirt turned jet black: Green is guilty, evidence is YellowShred.
- Case three, Green’s handkerchiefs stolen: Aqua is guilty, evidence is RedSplatter.
- Case four, Yellow’s secret petals missing: Blue is guilty; the evidence is Blue String.
Blue eventually admits he took the petals. Yellow is devastated, fires his gun to vent, and blue flowers come out. Blue presents a bouquet made from both of their petals and Yellow is genuinely moved. As the group tries to leave, Blue warns them not to gaslight him.

Relax with Ralsei at the hot spring, where he warns that more Dark Fountains will bring the Roaring closer. Susie cannonballs in and ends the moment. Head right to return to the main castle area, use scissors to cut the left bush, and drop down.
Flower Castle, Continued

Save in the cafe, buy healing items, and continue right. Dodge Aqua’s swords through upper doors, activate the Petal Feather up ahead, climb to Asgore’s room where Flowery scatters his notes. Some land near the group, and Ralsei identifies them as records of every dark world they’ve visited, including mentions of the Black Shards from the Roaring Knight’s sword.
Arrange platforms with Ralsei’s help and the Petal Feather active to reach the Orange Key, then head through the orange door. Orange calls himself the strongest and fights when Ralsei mocks him. Hit the boxing gloves, watch them ricochet, and knock one toward the door to break it.

Reach the second diner to find Seth and then Green, who skips fighting entirely and serves everyone cheese before opening a shortcut back to the cafe.
Save if needed, then go through the upper door to find Aqua, who wants three foxes found before you can pass. Follow a fox through an armor room until it tires, then in the upper right room stand on the platform to reveal that most foxes are rocks. Go behind the curtain, pick any fox, and exit to turn it into Aqua or Seth. Place that character on the platform, then carry the real fox outside the red lines.

For the second fox, look at the irregularly moving bullets heading right and grab the fourth one from the left. Bring it to Aqua, who transforms into a Netskie. Use the Faker act and touch fake bullets for Mercy until the real Aqua arrives with real swords. The fight ends when Seth drags both Aquas away.
Climb up, activate the Petal Feather, use Ralsei on sword fans for hidden platforms, and head right for Seth, Aqua, and Orange’s combined glasses fight. This time, angle Orange’s boxing gloves at Seth’s glasses with four well-placed hits instead of using Rude Buster.
Orange is revealed as a tiny rat. Ralsei laughs. Orange attacks for zero damage. Everyone tells it to practice, and it storms off. Go through the next door to find Green and Orange together. Orange accuses the group of bullying it, and when it eats Green’s food, its gloves grow huge for the boss fight.
Both can be spared but require 84% TP each. Defend first to build TP, then touch Green’s dropped eggs before Orange can eat them for extra TP. At the threshold, act to get along with Orange for 25% Mercy on Orange and twenty on Green. Orange needs to eat at least five items before attacking. Use FeastX on Green when it appears. For their final combined attack, watch for red lines showing the glove’s path, dodge the following hands, and survive until it ends.
After the fight, continue forward where Ralsei quietly prays for the prophecy to change and for his friends’ safety. Flowery rises from nearby water and tells Ralsei he has a kind and loving heart before handing over vouchers for free drinks. Once the group reunites, head left, cut the second Asgore bush, grab the giant watering pot, and use it on the sprout below. It grows into a huge vine.
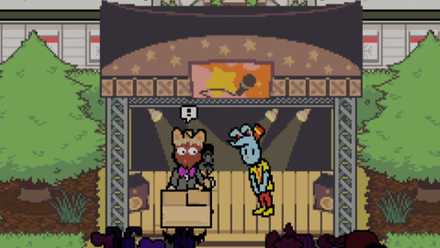
Everything to Do at the Festival in Deltarune Chapter 5
Deltarune Chapter 5 starts off with Susie, Noelle, and Kris at the town festival. Here are all the activities you can partake in during this section.
Climbing to the Castle Top and the Final Gauntlet
Climb the vine past the flowers making awkward conversation with a distant Asgore. Near the top, Asgore asks Flowery to let him fight the Roaring Knight directly. Flowery sends him flying and lets the group reach the summit, where he announces the flowers will fight with everything if the group continues. They scatter. Walk through the door and save.
Sprint right past Shinobeetle. Seth confronts the group with a Shinobeetle of their own. From this point, spare everyone. Use Convince to reach 85% Mercy, then use Convince with Kris and spare with Susie simultaneously.
Blue and Yellow appear next. Blue builds platforms while Yellow destroys any with flowers on them. Move fast, hit flowers to jump over Yellow’s lasers at the end. Head inside the castle where Flowery points out the group’s double standard, noting they haven’t sealed the Castle Town fountain. Susie says that’s their home. Flowery acknowledges it and leaves.
Rush through the next speed gate while dodging Aqua’s knives, then Seth ambushes with three Shi. Use Intimidate and press Z when Kris’s pose hits center. After sparing two, Aqua joins the last, so pose and spare it.
Green appears next and simply raises the cafe prices by a dollar. Save, then tackle the large platforming room with the Petal Feather, where you need to Rude Buster closed flowers to open them and attach Ralsei to vines mid-air. The timing is tight, and falling means starting the sequence over.
The final gauntlet hits all at once. Seth and Aqua combine attacks where Seth’s book drops spirits that Aqua converts into swords. Mix Rude Buster and sword strikes to clear them. Blue and Yellow deploy a circling UFO that sweeps lasers. Stand in the gaps, shift to avoid beams, hit it with Rude Buster, and finish it with a sword when it descends. Orange closes out with massive boxing gloves. Dodge the shadows before impact, Rude Buster heavily, and in the final phase let the two gloves crash into each other by staying out of the highlighted zones. Orange flees, Green heals the entire party. Deactivate the Petal Feather, save inside the castle, and step into the castle top.
Flowery Boss Fight

Flowery greets the group and says the fountain is just ahead. Before the final stairs, he asks if they have the power to defy fate, then disappears. Climbing the stairs reveals the fountain wrapped entirely in vines, with Flowery standing in front of it.
He reveals that all seven flowers of this world, himself, Green, Orange, Seth, Aqua, Blue, and Yellow, were part of the bouquet Asgore used to propose to Toriel. Even after the marriage ended, Asgore kept every one of them alive. With all of them lending him power, Flowery rises to his peak. The Fun Gang takes to flying flowers, and the final battle begins.
Kris’s heart shifts from red to blue after the first exchange, letting you soar through blue bamboo shoots inside the heart box. Only break the blue sections. Avoid the white ones entirely.

Flowery can be spared using acts that need 50% and then 64% TP. Defend until you reach those amounts. His first attack sends blue and white vines. Hold Z to charge the heart and release it toward the blue sections. Once TP maxes, use PoseyZ and press Z when the Kris silhouette reaches the center.
His second attack has Flowery entering the box personally. When he turns blue, hold Z and counter. Act again. His third attack strengthens the vine barrage, so charge your heart early and avoid the white cacti scattered through the middle. His fourth repeats the second but adds white flower throws after the counter. Keep dodging while countering.
The fifth turn shifts PoseyZ to BlowAwayZ. Mash Z to pull Flowery closer, since proximity grows his Mercy faster. His sixth repeats the third, and after acting, Flowery blows wind back at you, raising your Mercy meter instead. If yours reaches 100%, you lose. Seth and Aqua join him here. Rush past Seth’s scattered word boxes without touching them and touch any green words for a boost. Act to raise everyone’s Mercy, and one more act sends Seth and Aqua away.
Green and Orange step in next. Spare them the same way as before. Orange assists Flowery during his charge-in attack, so counter both simultaneously. One more act sends them away. Blue and Yellow arrive last with combined vine attacks and shattering flowers scattering pellets everywhere.
Select Justice to start a trial. Ralsei argues Flowery wrongfully jailed Susie and Kris, presenting moss as prison food evidence. Flowery counters by accusing Kris of stealing the Petal Feather. Ralsei’s argument falls apart when Flowery proves Aqua had no right to give the feather away. Ralsei gets pushed out of the fight, leaving only Kris and Susie.
Flowery’s final move scatters tiny blue sections across white vines to clear quickly, then summons four clones that attack one at a time. Counter each one.
Select Susie’s Idea from the act menu. She notices the flower stopped rising and pretends Asgore is falling from above. When Flowery looks, she throws Kris onto the vine. Climb immediately as spiked plants grow from below. Grab the blue pipes along the way for a speed boost and don’t stop until you reach the top.
Flowery absorbs every other flower and transforms into a powered-up state. Sprint right with the Petal Feather active and attack whenever he closes in. Repeat until both clash head on, then press Z when the meter line hits its marked point.
Deltarune Chapter 5 Ending
Both Kris and Flowery collapse after the clash. Asgore rushes straight to Kris and ignores Flowery. Blue heals both with rain. When Kris regains consciousness, Asgore finally tells his side of the story.
Ever since the tragedy referenced throughout this chapter, he wanted to prove that a Dark World exists and that what happened in town wasn’t his fault. After everything, he admits the effort was pointless. Nobody in his family ever actually blamed him, yet he let guilt push everyone away. He apologizes, says he’s proud of Kris, praises their friends, and asks them to seal the fountain.
Flowery tries to stop him one last time, but Asgore reveals he was playing along the whole time. His actual goal was always finding the truth. Flowery steps aside out of loyalty.
Walk right to say goodbye to each character. Every flower returns to its natural form and thanks the group for witnessing their dream. Talk to Flowery and he moves out of the way. Interact with the Dark Fountain to seal it, but something is off. Everyone stays in the dark world after it closes, and Flowery suspects another fountain has been opened.
The Roaring Knight arrives in bird form and kidnaps Asgore. Flowery sprints after them and nearly catches up when the Knight crashes into a wall. They clash, and in a single brutal moment, the Knight cuts Flowery in half. Ralsei rushes to his side and tries to heal him. Flowery says it won’t work but Ralsei tries anyway.
Before passing away, Flowery warns Susie and Kris that something deeply dangerous is building beneath their town, and only they can stop it. He transforms into an ordinary flower. Ralsei sits beside him while asking Kris and Susie to finish sealing the second fountain.
Go right past the tree and up the stairs to close it. The Flower King’s dark world ends.
Back in the real world late at night, Susie rushes to find something to repair the broken yellow flower container. Kris discovers two things hidden near the flower: a packet of yellow flower seeds with a warning label, and a piece of paper with the code to the mysterious shelter in the southern part of town. Kris starts to tear the paper, but Susie returns with tape, immediately recognizes what it is, and grabs it from their hands. Together, they fix the flower container and head outside.
Susie wonders how many people the Roaring Knight has already taken to that shelter, since Asgore is now among them. She asks Kris to walk her home because she wants to talk.
Head left and south. She talks about what a good team they make and how much she’s been thinking about “us.” Reach the school, go inside, and walk toward Castle Town. Right before entering, Susie says this isn’t just about them anymore. The whole town is in danger and someone trustworthy needs to know. She decides on Noelle.
Inside Castle Town, Susie begins preparing her room. Kris waits outside the storeroom, then quietly leaves the school. Deltarune Chapter 5 ends there, quietly and with a lot left unresolved.
Between Susie and Noelle’s date, Flowery’s genuinely emotional backstory, and that final scene that refuses to give you any real closure, Chapter 5 might just be the most personal thing Deltarune has done yet.
Chapter 5 Secret Boss
If you want to experience everything Chapter 5 has to offer, don’t skip the optional Pink secret boss. After reaching Green’s final shop, head left instead of following the route to the Fountain. Drop onto the fan to create a wind current leading down to the Pink Door. You’ll need the Mystery Key to open it. To get the Mystery Key, you need 10 Pink Coins, so it’s worth collecting those while exploring.
Pink aka Mad Mew Mew is one of the toughest fights in the chapter. The battle revolves around collecting Pink Hearts to increase your TP limit, then using Flirt ACTs to fill the Doki Meter while surviving increasingly difficult attack patterns. Between phases, Pink asks quiz questions, and incorrect answers damage the entire party, making this as much a memory test as a boss fight. Bring plenty of healing items, especially revival options, since the final phase is significantly harder than the opening.
Winning the fight rewards you with another Shadow Crystal and unlocks a hidden reward room where you can spend Pink Coins and Flowery Dollars on exclusive weapons and armor. Since you can only afford three pieces of equipment in a single playthrough, choose the rewards that best fit your preferred playstyle.

- Released
-
October 31, 2018
- ESRB
-
Teen / Language, Suggestive Themes, Mild Blood, Fantasy Violence
- Developer(s)
-
Toby Fox
- Publisher(s)
-
Toby Fox
