When you begin your journey in Little Nightmares 3, the first thing you’ll be tasked with doing is selecting either Low or Alone as your playable character. Once selected, you will not be able to swap characters, and the other will be controlled by AI or your co-op player.
After characters have been selected, you will officially begin your adventure by being tossed from a mirror into a small room. This area will give you some quick movement tutorials if you opted for those, but otherwise, you’re ready to begin Chapter 1: Necropolis.
How To Use Low And Alone’s Abilities

In this first area, your primary task will be creating a bridge for Low and Alone to cross a large gap. How you do this depends on the character you selected at the start:
|
Low |
If you’re playing as Low, you can use your bow to shoot the button and create the bridge. |
|---|---|
|
Alone |
If you’re playing as Alone, you’ll need to pick up the shoe and throw it at the button. |
From here, you’ll continue right, which will eventually lead you through a short sandy desert and up a ladder. At the top of this ladder, you will be met with your first chance to utilize one of Alone’s abilities. In the tunnel, there will be a small rock wall blocking your path. As Alone, you will need to smash through the wall with your wrench, which should take about three swings.
If you’re not playing as Alone and are playing Little Nightmares 3 solo, you can still encourage Alone to break the wall if she doesn’t do it automatically. To do this, stand near the wall and press the button to call Alone over to you.
Doll Collectible — Number One

In the room with the body hanging in the background, you will find the first doll collectible in the game. Since it’s the first one, you won’t have to deviate from the intended path to find it. Instead, it will be sitting obviously in the center of the room, but don’t expect that for any of the others. Grab it to collect it, and then you are ready to proceed.
If you think you’ll have trouble seeing the dolls since the Little Nightmares games are notoriously dark, you can turn on the option to highlight interactables in the settings menu, which will put a glow around them in the color of your choosing.
There will be a small crate against a wall that both Low and Alone will need to pull together. Doing so will reveal a small hole in the wall that they can pass through. This next area will contain a hanging crate dangling from some frayed rope.
If playing as Low, you can shoot frayed rope like this to snap it. If playing as Alone, use the aforementioned call button to encourage Low to shoot the rope.

Proceed to the next room, where you’ll find a small wheel on the ground. Using her wrench, Alone can turn this to trigger a bridge in the room to move. Once she has closed the bridge, Low can cross it and shoot the frayed rope in the wall to keep the bridge closed.

Finally, in the next room, you will find a tile with an eye symbol on it that presses down when stepped on. To keep it pressed down, pull the crate behind it onto the tile, which will reveal your path.
While this is still far from the end of the chapter, this is the conclusion of what feels like the tutorial portion of Chapter 1, which introduces you to the abilities and mechanics you will continue to use throughout the rest of Little Nightmares 3.
Where To Find The Key In Chapter 1: Necropolis

The first major obstacle you will encounter that can’t be solved by breaking or shooting things is a locked door. To find the key to the door, head left and cross a few planks to find a crank that must be turned. Have player one turn the crank while player two jumps onto the lowered crate.
Once player two is on the crate, have player one turn the crank again to raise it back up. Player two, who is now at the top, will then need to go pull a lever on the far right, lowering a ladder for player one. With both players now at the top, head to the doorway on the left and pull off the wooden plank blocking your path.
In this room, you should immediately spot a crow holding a bright, shiny key in its mouth. To make it drop the key, Low will need to fire an arrow at it. Once that’s done, the crow will fly away and drop the key for you to collect. Take the key back to the door to continue.
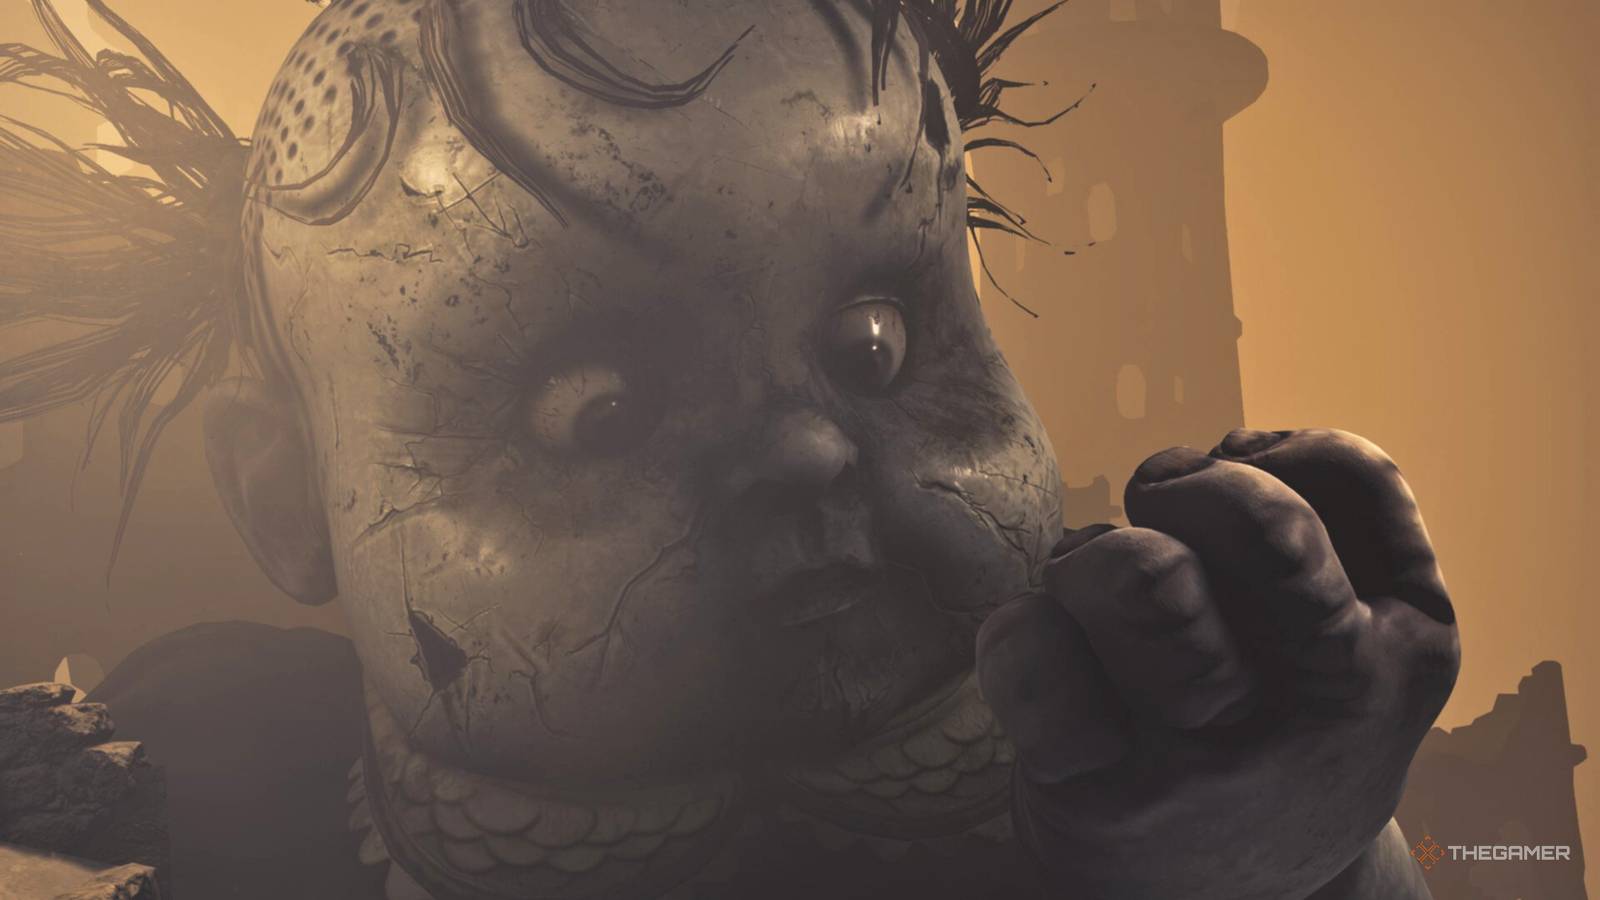
How To Avoid Monster Baby (First Encounter)

Beyond the locked door will be your first true glimpse of the main antagonist of this chapter, Monster Baby. Though all you will see here is a short scene in which its large hand grips a crow and disappears, this is a clue as to what’s to come.

Keep going right, and you will eventually reach a floor vent with air coming up through it. In order to utilize this, open the wardrobe to the far right by pulling the plank off it. When it opens, each player will receive a feather umbrella that can be used to float up over air vents or descend slowly from steep drops.
Use the umbrella over the floor vent to reach the top of the structure. At the top, take the zipline by grabbing onto it, and you will eventually find yourself in a room with a trap door on the floor.
These trap doors will be sprinkled throughout the game, but the way to open them is simply to jump simultaneously. It may take some extra effort on your part if your companion is AI, but it should still be accomplishable pretty quickly.
However, before you drop, be aware that there will be a quick-time event at the bottom.

Once you land, Monster Baby’s hand will come crashing through the wall, causing the roof to collapse. To avoid being crushed by debris, sprint to the right as soon as you land until you reach another vent you can use your umbrella on.
Once you’re at the top, have Alone smash through the wall blocking your path and then use your umbrella to slowly descend off the ledge. Not long after you land, you will find yourself in your first sneak encounter with Monster Baby.
Monster Baby will begin scanning the area you’re in with its eye, which will create a spotlight on the ground. This spotlight, as you might infer, is something you need to avoid. To do so, you’ll want to make sure both Low and Alone stay behind objects that cast a shadow.
If either Low or Alone is caught, you will have to restart. Even if the other is an AI companion.

Move from object to object when Monster Baby is looking in the direction furthest from you. When you reach the sacks on the floor, there will be a tile with an eye on it like the one from earlier.
Both players need to be standing on the tile, but once they are, the floor will begin to lower, and you’ll be out of Monster Baby’s reach, for now.
Doll Collectible — Number 2

Once the floor has stopped lowering, there will be an obvious path leading right. Ignore that for now and have Alone smash the wall on the left. On the other side, you will find a small room with the second doll collectible sitting in the middle of the floor. Grab it and then head back in the other direction to continue.
How To Defeat The Flying Beetles

When you reach the room with a small hole on the right side that you must crouch through, be prepared for a fight on the other side. The room you will drop into will immediately begin spawning flying beetles.

To defeat the beetles, Low will need to fire their bow once the beetle stops in one place. When the beetle falls, Alone must run up and smash it with a wrench while it’s still on its back. If this is not done quickly, the beetle will flip over and come after you. When it touches you, you’ll be forced to restart.
If shooting the beetles as Low, try to ensure that Alone is nowhere nearby. If Alone is standing under one when it’s shot down, it will crush her, and you’ll have to restart.
After you’ve defeated four beetles, they will stop spawning, and you can proceed into the next area by jumping up to grab the hole on the far right.
Doll Collectible — Number 3

Once you reach the exterior area where Monster Baby will pass by in the distance, continue right, and you will find yourself in a room with a small staircase along the back wall. Be sure to head up the staircase before continuing, as you will find the third doll collectible sitting at the top.
How To Avoid Monster Baby (Second Encounter)

After collecting the doll, continue using your umbrella to help you navigate windy pathways until you reach a small hallway that will begin to rumble as soon as you enter it. As you might anticipate, Monster Baby is coming.
You’ll have just a brief moment to immediately sprint right and hide behind the crate before it peeks over. Wait for a few moments, and it will eventually leave.
Once it’s gone, keep going until you reach the room with a giant rattle stuck in the floor. As you step further into the room, Monster Baby will appear, yet again, and proceed to grab the rattle. Once it yanks the rattle from the floor, the room will begin collapsing. To avoid being crushed, immediately jump into the hole the rattle leaves in the floor.

Unfortunately, as you progress, you will eventually reach an outdoor area where Monster Baby will grab you. This is an intended scene, and when it drops you, Alone and Low will experience a short cutscene of Low in what appears to be a cell of some sort.
Doll Collectible — Number 4

Once the cutscene concludes, Low and Alone will awake from the fall they experienced. Before you proceed, go left through a small hole in the wall to find doll collectible number four sitting on the floor. After you’ve collected the doll, continue along the intended path to find Monster Baby waiting for you in what will be another sneak encounter.
How To Avoid Monster Baby (Third Encounter)

Once the birds in this area scatter and alert Monster Baby to your whereabouts, it will immediately begin to scan the area with its eye again. The method of avoidance is the same as before. Low and Alone must hide behind the various items in their path to reach the door at the end.
After you’ve escaped its sight, continue on the intended path. You will briefly see it outside again, but it can’t spot you here. Keep going until you reach a room with a Dweller statue that’s tied to a bell.
How To Ring The Bell

To trigger the next event, since you’re essentially at a dead end, Alone will need to break the statue’s head. Once this is done, the rope will dangle, pulling on the one attached to the wall. Now, Low will need to fire their bow at the frayed string tied to the wall.
The bell will immediately begin to ring, and this will call Monster Baby to your location. As soon as you’re able to move again, hide behind the crate in this area. Monster Baby will grab the bell and leave you alone, at which point you can proceed to the right through the hole it made with its hand.
Doll Collectible — Number 5

After you progress through a couple more rooms, repeating similar tasks to those you’ve already done, you’ll eventually reach an outdoor alley. You’ll need to walk to the far end of the pathway to proceed, but before you head right, check the left corner to find the fifth and final doll in Chapter One.
How To Avoid Monster Baby (Fourth Encounter)

In the next room, you’ll need to use boosting for the first time. Essentially, this means one of you will need to stand in front of the ladder, just out of reach, and boost the other up to the platform to reach it. From there, whoever was boosted can help the other cross using the crate with a rope hanging from it that they can grab onto.

Once you head outside, you will encounter Monster Baby for what will be the fourth and final time. As usual, you will need to avoid being caught by the light. When you reach the last crate, however, Low will need to shoot it down so you can use it to reach the end of the pathway. When you shoot it, Monster Baby will pick it up initially. Wait for it to set it back down before hiding behind it.
After passing through that, you’ll reach a door that requires both Low and Alone to push it open. This is intentional, as there will be another quick-time event immediately on the other side. So, as soon as you get through the door, go ahead and sprint to avoid being crushed.

When you reach the rattle, hide behind it immediately, as Monster Baby is going to pick up the entire platform and begin scanning for you. While scanning, it will cause a crate to fall from a shelf. When it falls, move to hiding behind the crate as Monster Baby will then proceed to pull out the rattle and scan again.

Eventually, crows will begin flying around Monster Baby, agitating it, and it will set you down and leave. Continue on your intended path to the right until you reach a hole with a rope dangling over it. Before jumping in, equip your umbrella so that you’ll have a slow descent and won’t just splat on the ground.
At the bottom, you’ll find a mirror like the one you initially fell through. Have Low interact with the mirror and then reach for Alone. Once both are connected and touching the mirror, you will be pulled through and emerge through a different mirror.

This transition immediately triggers the start of Chapter Two: Candy Factory, meaning this is the end of Chapter One: Necropolis.
