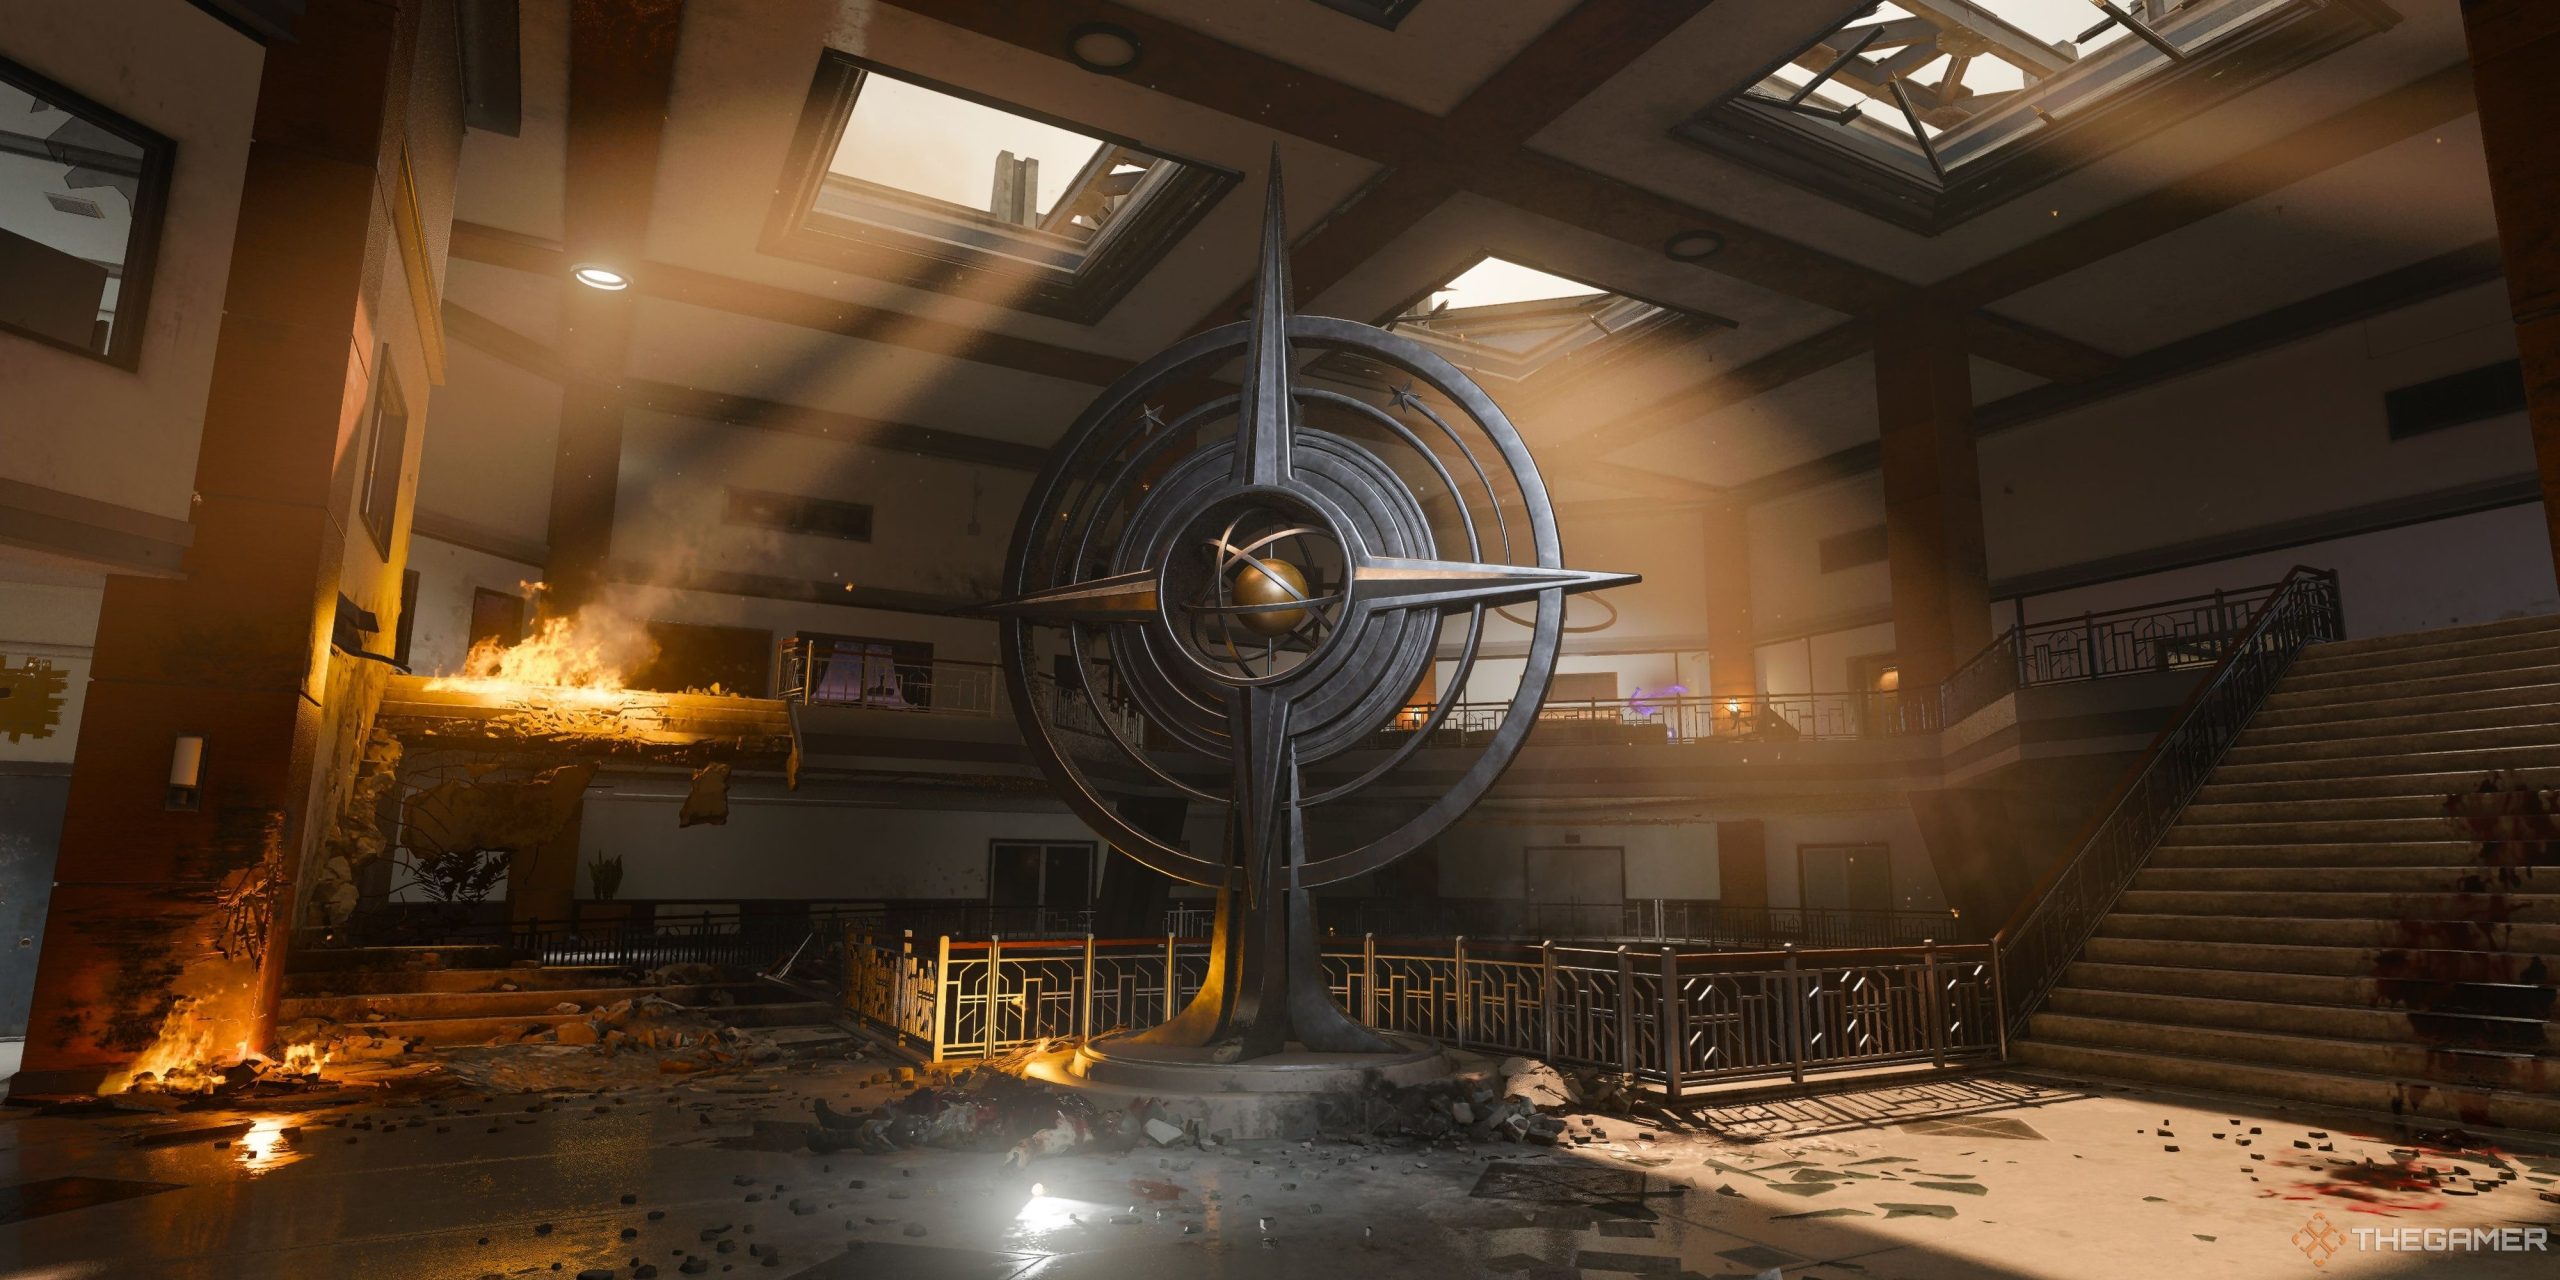
The final Zombies map of Call of Duty: Black Ops 6 is here. Reckoning picks up where Shattered Veil left off and acts as a conclusion to BO6’s Zombies storyline. But as with all Zombies maps, you’ll have to uncover the story by completing a fairly complex mainline easter egg.
Reckoning’s easter egg is far from difficult as far as puzzles are concerned, but there are quite a few preparation steps you’ll need to undergo before facing the final boss. Unlike previous maps, you have a choice of two different final fights here, so there is some replayability with this easter egg. Before you make the difficult choice of who to trust, let’s break down how to complete Reckoning’s main easter egg.
Easter Egg Prerequisites

Before you start the main easter egg, there are two requirements you need to fulfill.
- Pack-A-Punch must be unlocked.
- At least one player in your squad needs the Gorgofex wonder weapon.
The final boss is also rather durable, so make sure you bring a high DPS weapon before starting this mission. Some good picks include the GPMG-7, the AMR Mod 4, and the Maelstrom.
How To Unlock Pack-A-Punch
The in-game HUD will direct you to where Pack-A-Punch is located, so don’t worry too much about obscure steps here. Progress through the map until you reach the Executive Office at the top of Tower 2. Interact with the button in the main office to open a hidden portal. Hop inside, interact with the terminals overlooking the particle accelerator, then break 12 crystals near the accelerator device—they’ll be marked on your HUD. This will restore power to the device and unlock Pack-A-Punch in that room.
Acquire The Gorgofex
The Gorgofex is Reckoning’s signature wonder weapon, and as with all previous mainline easter eggs, it’s an essential tool you’ll need to complete the easter egg. The good news is that it’s fairly easy to get. If you can’t get one from the Mystery Box or Gobblegums, crafting one only takes a couple of rounds.
Your first step is to unlock the research chamber in T1 Mutant Research Test Area; it’s the floor where Deadshot Daiquri and PhD Flopper are located. Once inside, head to Deadshot Daiquiri and look for a monitor tuned to static. It was infrequently flash a word for a second. Record the first letter of that word.

There is a second monitor you’ll want to check that’s across from PhD Flopper. This one doesn’t always flash a word, but wait for 30 seconds just to make sure. If you see a word, record the first letter. These letters combine to create an element on the periodic table. You can find a periodic table to reference in the same room as PhD Flopper, located right next to the exit lift. Record the atomic number (top-left number) of your element.
You now have the passcode to get inside the research lab. Run up the stairs and interact with the keypad. If your number only has two digits, start with “0” before adding your numbers. If done correctly, the lab will open.

You’re looking for a pair of square, glass containers with petri dishes inside. One will have an incubating cyst. You must kill three Vermin, then three Zombies while near the cyst. If done correctly, the slain enemy will get vacuumed up the cyst and charge it. Grab it once fully charged, then make your way to T1 Quantum Computing Core—it’s the room with Melee Machiato.
Three sets of glowing fungi will react to the cyst you just grabbed. Your character will automatically draw out the cyst and begin draining the fungi cluster’s HP. Stand near it until the HP is fully drained.
You’re one-handed while draining the fungi, meaning you can’t use armor plates or ADS. Be careful.

With a charged cyst in your possession, head to T2 Dark Entity Containment where Stamin-Up is located. You’ll notice that four of the terminals near the destroyed S.A.M. AI display “Initiate Power Surge.” You must toggle all four terminals in a short timeframe. The terminals that are active in your game are random, but each gives a distinct audio cue.
Activating all four will spawn an Uber Klaus. You’ll need to break its shoulder pads and lure it in front of the S.A.M. unit. This will supercharge the Uber Klaus with Dark Aether. It’s fairly tanky, so don’t be afraid to use Field Upgrades or killstreaks here. Defeating the upgraded Uber Klaus will drop a Dark Aether orb, which you can interact with to upgrade your cyst to the Gorgofex wonder weapon.
Upgrading the Gorgofex is not required to complete the easter egg.
Find The DNA Vial

The first step of this easter egg is to get your hands on a hidden DNA vial. Once you unlock Pack-A-Punch, a random normal zombie will drop a keycard on death. Pick it up and make your way to T1 Mutant Research Lab. There’s a refrigerator located next to a doorway. Interact with it to unlock the fridge, revealing the DNA vial. You’ll need this later.
Unlock The T2 Teleportation Lab
While you’re in the Mutant Research Lab, you’ll want to grab a syringe from a centrifuge that’s located on a medical cart left of Deadshot Daiquiri. Interact with it to grab the syringe, then head to T2 Sublevel 10, the same place as Pack-A-Punch.
You’ll notice a floating zombie corpse when you get near the particle accelerator. You need to knock it off the accelerator beam. Jump to either end of the accelerator beam to transform into a ball. Collide with the corpse to force it to land. Interact with the corpse on the ground to extract its blood with the syringe you grabbed earlier. You can now insert the syringe back in the centrifuge you claimed it from.
Doing so will spawn a Klaus Mangler you’ll need to kill. It’s fairly durable, so don’t be afraid to use equipment or wonder weapons here. Defeating the boss will drop a Fowler-Mutant Injection. You’ll need this to bypass an eye scanner in T2 Dark Entity Containment—the room with Stamin-Up.

When you arrive from the elevator, hang right and run up the stairs. Pop your Fowler Mutant Injector and run up to the eye scanner to the left of the door. Interact with it, wait a few seconds, and the door should open. You may now access T2 Teleportation Lab from the newly-revealed portal.
If you fail to finish this step, you may backtrack to the centrifuge and buy another Fowler Mutant Injection. This costs 1,500 Salvage.
Reboot The Particle Accelerator

Before we can continue with the easter egg, we’ll need to lift the lockdown on the particle accelerator so we can start the process of unlocking the third Janus Tower. Around the map are four dossiers containing information on Samantha’s belongings. There are six possible dossiers that can spawn, so some folders might not be present in your game. One seems guaranteed to spawn in the T2 Teleporation Lab.
Interacting with the dossier will reveal a date of creation. You need to record these dates and order them from oldest to newest. The month in which the folder was created is the number you’ll need to crack a terminal in T2 Teleportation Lab. Fortunately for you, we have already figured out the numbers. Find the four folders, walk up to the terminal in the Teleportation Lab, input the numbers we have listed below based on what spawned in your game, and you’ll finish this step.
Samantha Folder Locations And Codes

All of these folders may also spawn in T2 Teleportation Lab, located on a table next to the entry portal.
Entries are listed in order from oldest to newest.
|
Folder |
Number |
Location |
|---|---|---|
|
BND Badge |
6 |
T1 Executive Suite Coffee table next to Elemental Pop |
|
Notso’s Collar |
1 |
T1 Director’s Office Coffee table in the office |
|
Scarf |
3 |
T1 Director’s Office On a desk |
|
Wristwatch |
4 |
T1 Executive Suite On a table |
|
Combat Goggles |
5 |
T1 Director’s Office Next to a lamp |
|
Katana |
2 |
T1 Executive Suite On a table outside the director’s office. |
Build A Franken-Klaus Unit

Getting the portal online in T2 Teleportation Lab is going to require the help of a Klaus robot. The good news is you can make one yourself out of spare parts. This step requires you to get two Klaus arms and two Klaus legs. You can use these components to forge a friendly Klaus unit in T2 Android Assembly, located right outside the exit launcher on the lower floor.
How To Get Klaus Arms
Klaus arms are obtained by shooting the arms of Klaus units during special rounds. You may only get one arm per round. Special waves are an infrequent occurrence, so be sure to get an arm whenever the Klaus units start spawning. It doesn’t matter which arm you break when spawning them; you just need two.
How To Get Klaus Legs

Klaus legs are hidden in T2 Android Assembly. There are five potential spawn locations. Only two will spawn in your match.
- Quadrant D1: Behind a broken mirror resting on the wall.
- Quadrant C4: In a pile of Klaus scrap.
- Quadrant G2: Next to a broken door that’s close to the exit launch ring (lower floor).
- Quadrant G7: On the floor near an assembly line.
- Quadrant C6: Atop a shelf next to a doorway.
Building Franken-Klaus

Now that you have a set of limbs in your inventory, head to the dormant Klaus unit next to the exit launch ring (lower floor) to assemble Franken-Klaus. You’ll need to power the robot before it’ll do anything. Wait until an Uber Klaus spawns on a later round. When it spawns, lure it to the Franken-Klaus and have it perform any electricity attack. This will power your friendly Klaus robot and start a defense sequence. Kill any enemies that get near Franken-Klaus while it hacks a terminal.
After a few minutes, it’ll move to T2 Dark Entity Containment and travel towards a S.A.M. Trial. If one isn’t active, you’ll need to wait until one spawns. Activate the trial so Franken-Klaus can begin hacking it. Finish the trial, and then make your way to T2 Teleportation Lab. Klaus will be there and explain that you’ll need a spare brain to power the portal to the third Janus Tower.
Finding A Purple Brain

Melee Macchiato is required for this step.
You can find a spare brain in T1 Quantum Computing Core. In the room with Melee Macchiato is a circular arrangement of terminals in the middle. You can melee one of them to reveal a spare brain. Grab it and immediately book it to T2 Teleportation Lab—you’re timed here, so be quick. Interact with the machine near Franken-Klaus to preserve the brain.
Activate The T2 Teleportation Lab Portal

The only thing left is to activate the portal in T2 Teleportation Lab to unlock the final boss. Doing so is a three-step process.
- Break the crystals blocking the portal.
- Charge a zombie head to empower the portal.
- Insert four Janus canisters into a terminal to create a stable connection to Janus Tower 3.
Based on our limited playtime, it seems that you can complete these steps in any order you please. Just beware that using the portal before all three objectives are complete will kill you. Be careful, especially when completing the zombie head step.
Break The Crystals Surrounding The Portal

Aether crystals have formed around the portal, making it impossible to use. Fortunately, the Gorgofex may be empowered by the particle accelerator to break these crystals for you. Doing so is fairly simple.
Head to Pack-A-Punch and reach the terminals on the second floor. There should be a red button you can push. This will start a short event where ethereal Vermin will spawn in the arena. You must kill five ethereal Vermin and a handful of Zombies with the Gorgofex. Once done, head back upstairs and interact with the soul pylon you charged. You now have a charged Gorgofex.
Do not shoot the Gorgofex after this point. Firing the gun will require you to restart this step.
Backtrack to T2 Teleportation Lab and use your newly-charged Gorgofex to free the portal. A single, fully-charged shot will break the crystals.
Charge A Zombie Head

As strange as this sounds, you’ll need to find a fungal zombie head in T1 Quantum Computing Lab. In the room with Melee Macchiato, you should see a dimly-lit window on the upper floor above you. Use a fully-charged Gorgofex to detonate the fungal growth in the window. This will drop a zombie head on the floor you can grab.
You’ll need to charge the zombie head with souls, but it seems it’s so gross that not even souls want to get near it. A bath is in order. Look around the map for a yellow mop bucket that can retain water. It can spawn in T1 Reception, T1 Executive Suite, T2 Android Assembly, and T2 Sublevel 10. Once you find one, melee it until it gets near a fire sprinkler. These sprinklers randomly activate, but you can force one to trigger by lighting a nearby smoke detector on fire. Molotovs work best for this.
Interacting with the water-filled bucket will dunk the head inside and ‘clean’ it. You should be able to grab it now to start gathering souls. Zombies need to be near you for their souls to get trapped. If the lower movement speed is bugging you, the head may be dropped at any point and be charged from its current location. Regardless, fully charge the head and head back to T2 Teleportation Lab. You may now place the head at the foot of the teleporter to charge it.
Activate The Portal

Four Janus canisters are scattered around the map that you must collect. With all the steps you’ve completed, these should now be accessible by holding the interact key. They spawn in the following locations:
- T1 Project Janus Reception (Quadrant H5).
- T2 Android Assembly (Quadrant D7).
- T2 Dark Entity Containment (Quadrant D5).
- T2 Teleportation Lab.
Interacting with a canister will cause a nearby item to become possessed and float around the map. Throw the Kazimir you just claimed from the Janus canister to suck in the object. After you’ve done this with all four objects, return to the Teleportation Lab and insert the devices into the portal terminal. This will start a short defense section. Interact with six red levers in the room to lift the lockdown
Choose Your Boss Fight

Once you use the T2 Teleportation Lab portal, this will start the final boss fight. You cannot back out once you’ve used the teleporter. Make sure your team is ready.
Now that the portal is charged, interact with it to reach the third Janus Tower. Inside will be a lift with the Sentinel Artifact from The Tomb. Once you interact with it, you must choose which boss to fight: S.A.M. or Richtofen. S.A.M. is significantly easier if you have a decent long-range weapon, so we suggest going with this option if you just want to finish the easter egg. Charge the lift by killing zombies near LTG devices and, on the second floor, destroy Aether crystals to reach the final boss.
S.A.M. Boss Fight
S.A.M. is effectively a floating orb with glowing weakpoints around its chassis. Slide away from S.A.M.’s beam attacks, focus on damaging their glowing weakpoints, and complete the S.A.M. Trial that starts between DPS phases. It’s a simple fight, albeit a little tricky due to the combat space. Make good use of Tribologist from PhD Flopper to avoid their attacks, and you should be just fine.
Richtofen Boss Fight
Richtofen is a tougher variant of the Uber Klaus enemies that spawn in this map. Richtofen will attack you with lasers, player equipment like Molotovs, and even the Wunderwaffe once he reaches his second phase. Break Richtofen’s shoulders, damage his head, and stick to cover whenever possible. The equipment spam can get especially annoying here, so make sure you have some Gobblegums ready to make this fight a little easier.
Regardless of which boss you choose, defeating either of them will finish the main easter egg and play a cutscene. You may choose to continue the match or leave. Staying will grant all perks and some weapon upgrades for your trouble.
