Quick Links
- All Moons In Lethal Company
- 71-Gordion (Company Building)
If you want scrap in Lethal Company, you’ll have to visit different moons, but there are eight of them to choose from. Each moon has different weather conditions, layouts to navigate, dangerous enemies ready to eat you, and unique aspects like permanent hazards or weather conditions.
Lethal Company: Every Ship Upgrade, Explained
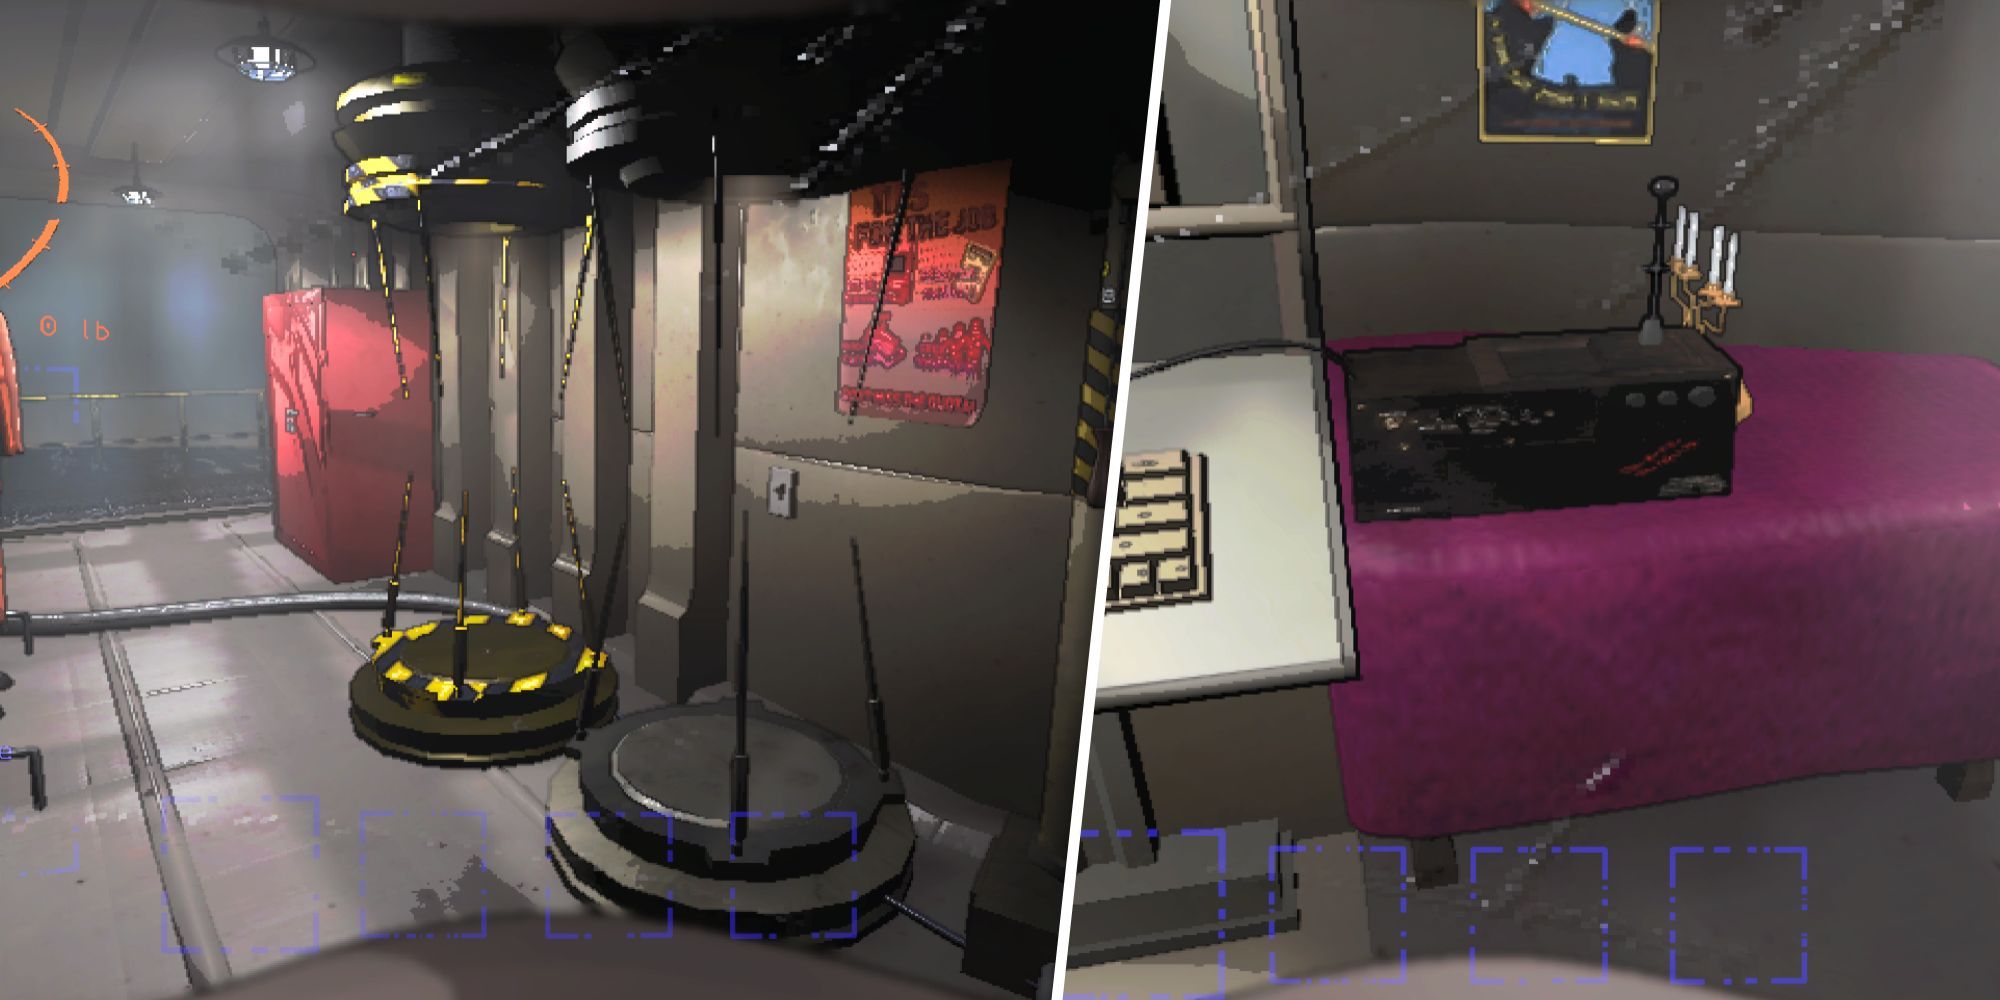
Because, let’s face it, even in a retro-futuristic hellscape, a well-equipped ship makes dying a bit more bearable.
Whether you’re a solo scrap-collector, or running with a team, you’ll want to take into account each Moon’s attributes before you route your ship to them. We’ll go over each moon and give you some helpful details about each of them, so you can have a better chance at surviving and making your quota.
All Moons In Lethal Company
Embarking on a scrap-collecting journey in Lethal Company involves navigating through a plethora of moons, each presenting its own set of challenges and unique features. Here’s a quick overview before we dive deeper:
|
Moon |
Difficulty |
Cost |
|---|---|---|
|
71-Gordion |
Safe |
0 |
|
41-Experimentation |
Easy |
0 |
|
220-Assurance |
Easy |
0 |
|
56-Vow |
Easy |
0 |
|
21-Offense |
Intermediate |
0 |
|
61-March |
Intermediate |
0 |
|
85-Rend |
Hard |
550 |
|
7-Dine |
Hard |
600 |
|
8-Titan |
Hard |
700 |
71-Gordion (Company Building)
As Lethal Company is in Early Access, information about the Moons in the game is subject to change and additional Moons may be added in the future.
|
Average Hazard Level |
Cost To Fly To |
Possible Weather Conditions |
Data Logs |
|---|---|---|---|
|
Safe |
0 |
Permanent Rain |
1 |
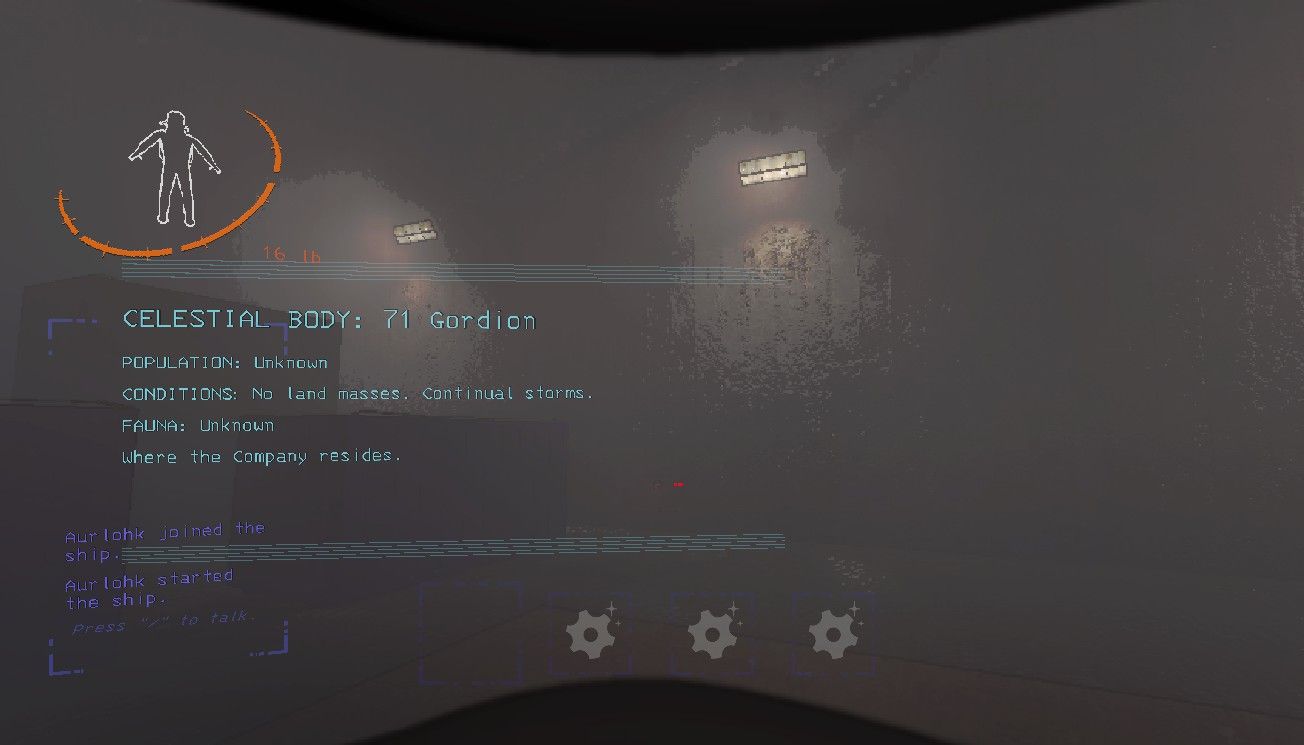
The Company you work for resides on Gordion, and it’s where you’ll bring all the scrap you’ve obtained back to for selling. Gordion is one of the first moons available to visit in the game, and the game requires you to return to it at least every four in-game days.
Gordion is the smallest Moon of them all in terms of map size, though the majority of it isn’t explorable.
It’s primarily made up of the massive Company building, which houses the Company Monster, the entity that you sell your scrap to at a counter on the building’s side.
This moon features permanent rainy weather, and doesn’t feature any hazards outside the Company Monster if you irritate it enough, or jump off the edge.
Gordion is also the only moon where time doesn’t pass, making it a safe place to stay if you need to step away for a time, or want to purchase a lot of items without the quota being affected.
41-Experimentation
|
Average Hazard Level |
Cost To Fly To |
Possible Weather Conditions |
Data Logs |
|---|---|---|---|
|
B |
0 |
Foggy, Flooded, Rainy, Stormy, and Eclipsed |
2 |
Experimentation is one of the three Easy difficulty Moons, and often the first moon you’ll visit, as the game defaults to Experimentation for your first location to land.
This Moon has the smallest map size next to Gordion, and is fairly straightforward to navigate due to the main complex being a short distance away from where you land, and visible from the landing zone.
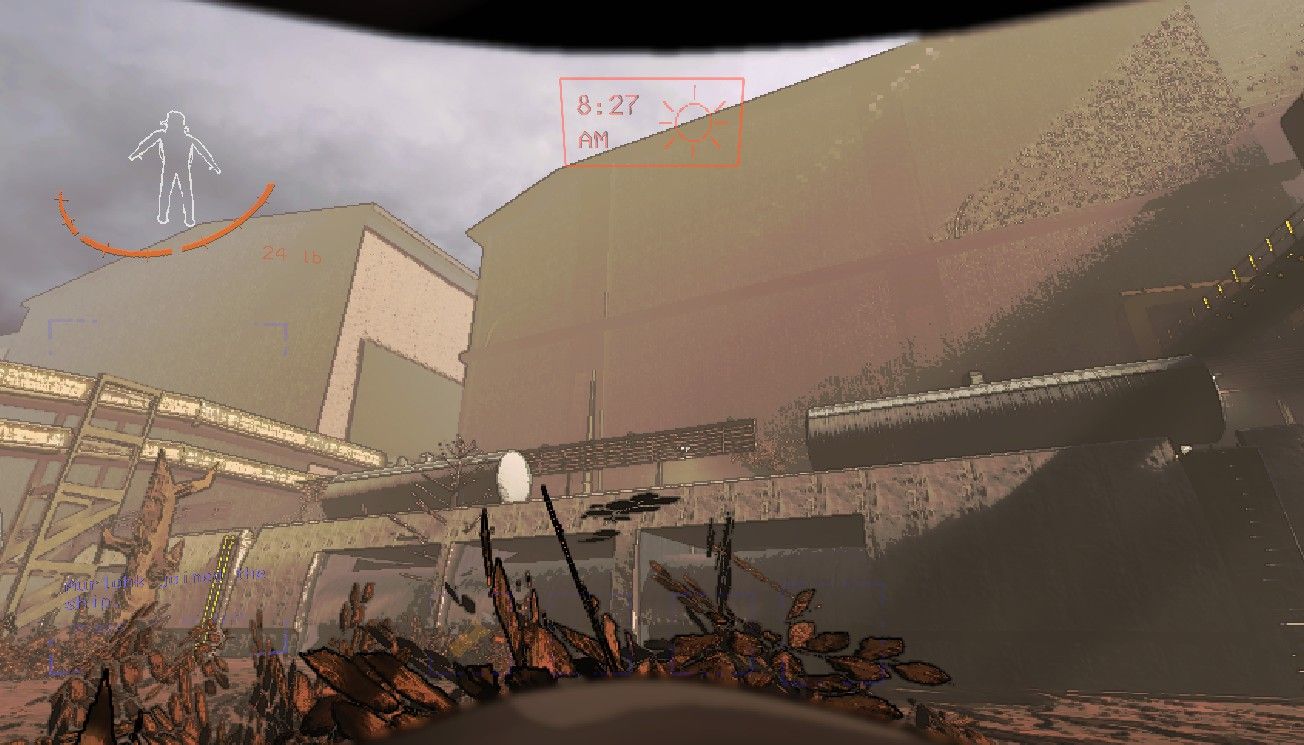
Experimentation’s landscape is primarily made up of its complex, along with a few smaller buildings, and rarely has giant pumpkin or rock formations spawn on it, giving you less cover if things spawn.
Despite being an Easy moon, Experimentation often gets a Hazard Level of B, which can make the inside of its complex more difficult than the other two easy Moons, Assurance and Vow.
Experimentation’s outside is relatively safer even with a Hazard Level of B, as its two enemies, Eyeless Dogs and Earth Leviathans, spawn much later in the day than they do on other moons, generally at around 8pm or later.
220-Assurance
|
Average Hazard Level |
Cost To Fly To |
Possible Weather Conditions |
Data Logs |
|---|---|---|---|
|
D |
0 |
Rainy, Flooded, Stormy, and Eclipsed |
1 |
Alongside Experimentation and Vow, Assurance is one of the three Easy Moons you get access to at the start of the game.
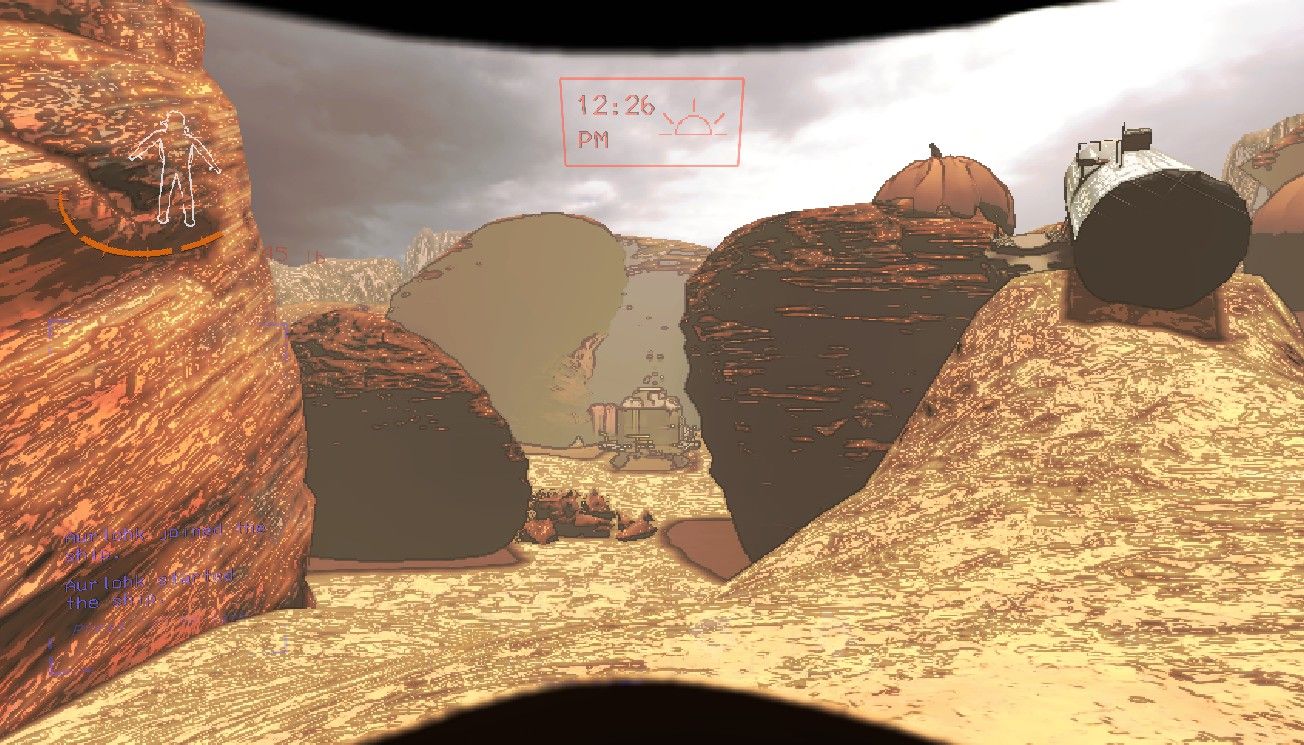
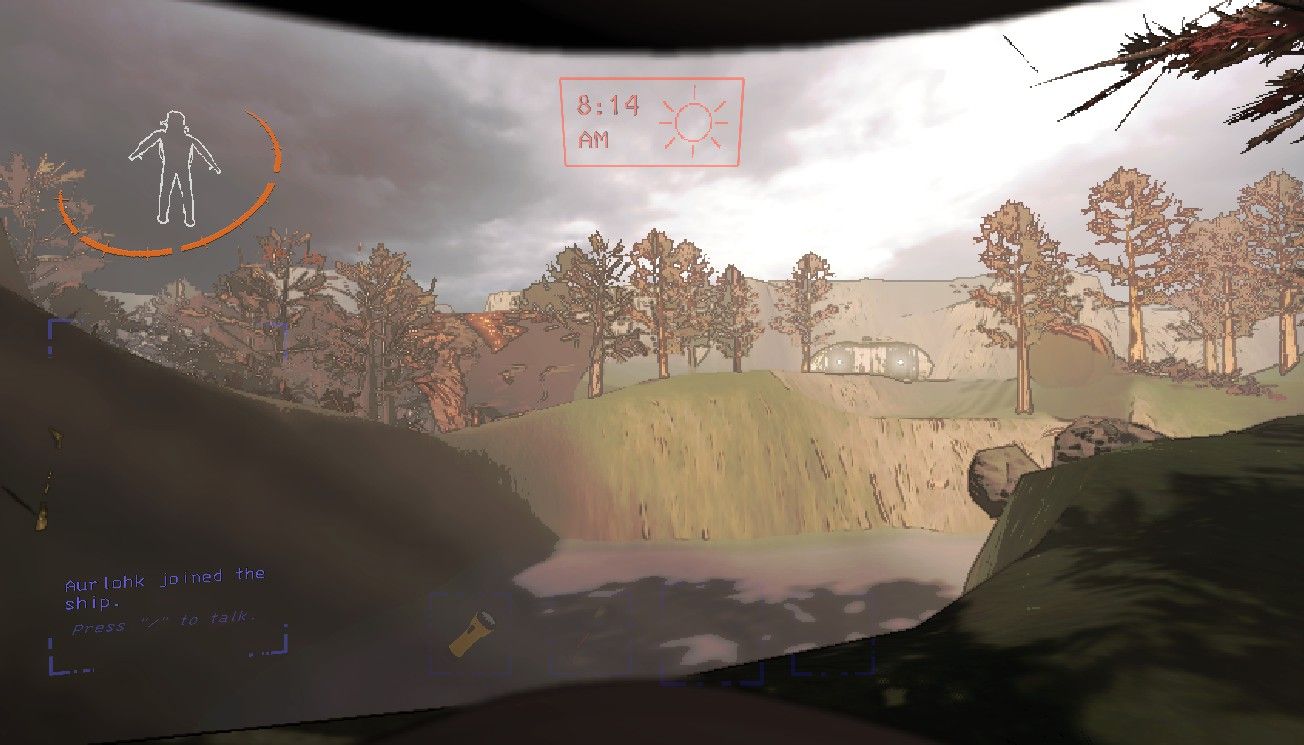
Boasting lots of hills and giant rock formations, Assurance’s desert world is slightly larger than Experimentation, and requires a bit more navigation.
Its main complex isn’t too far from where your ship lands, but you’ll often have to curve around or go over several hills to get to it.
Thanks to its environment, Assurance won’t get Foggy weather, and the Flooded weather isn’t as dangerous as it can be on other planets as the water doesn’t rise as high, and the flat terrain prevents giant pools of water from forming.
At times, giant rocks or pumpkins can block areas off as well, making the path back to your ship more time-consuming, and enemies like Eyeless Dogs can corner you easily.
Even though it’s considered an Easy Moon, Assurance has a pretty high spawn rate for scrap, especially compared to Vow, and most scrap from it will fetch a decent price, so it’s a great moon to visit as long as it isn’t Eclipsed, and you can handle Snare Fleas.
56-Vow
|
Average Hazard Level |
Cost To Fly To |
Possible Weather Conditions |
Data Logs |
|---|---|---|---|
|
C |
0 |
Foggy, Flooded, Stormy, and Eclipsed |
1 |
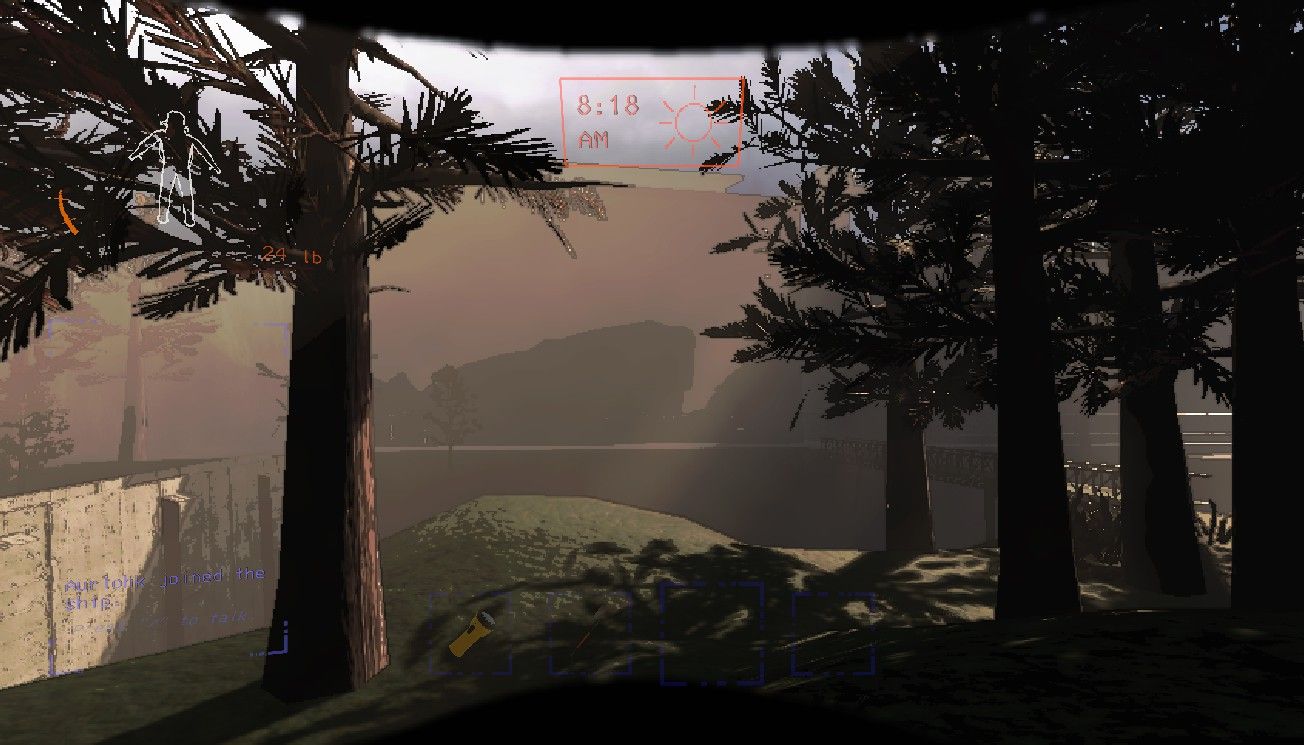
Vow is the third and final Easy Moon, and unlike Experimentation and Assurance’s mountainous, desert environments, Vow sports green grass, plenty of plants, and a forest of large trees and hills that can work for you and against you.
Vow’s map is slightly bigger than Experimentation and Assurance, but it’s fairly easy to navigate during the day thanks to the main complex being directly right of where your ship lands.
This moon is unique in that it has two ways to reach its main complex, not including Fire Exits, and one of them can be permanently broken for that run if you aren’t careful.
If Vow’s bridge breaks, it only lasts while you’re on the planet, and going back to it on another day will reset the bridge.
And fitting in with the environment, some of the most common enemies that spawn on Vow are plant-based: the dangerous, but sometimes only curious Forest Keeper, and the Bracken, an eerie, humanoid-plant that loves to stalk you.
21-Offense
|
Average Hazard Level |
Cost To Fly To |
Possible Weather Conditions |
Data Logs |
|---|---|---|---|
|
B |
0 |
Rainy, Flooded, Stormy, and Eclipsed |
0 |
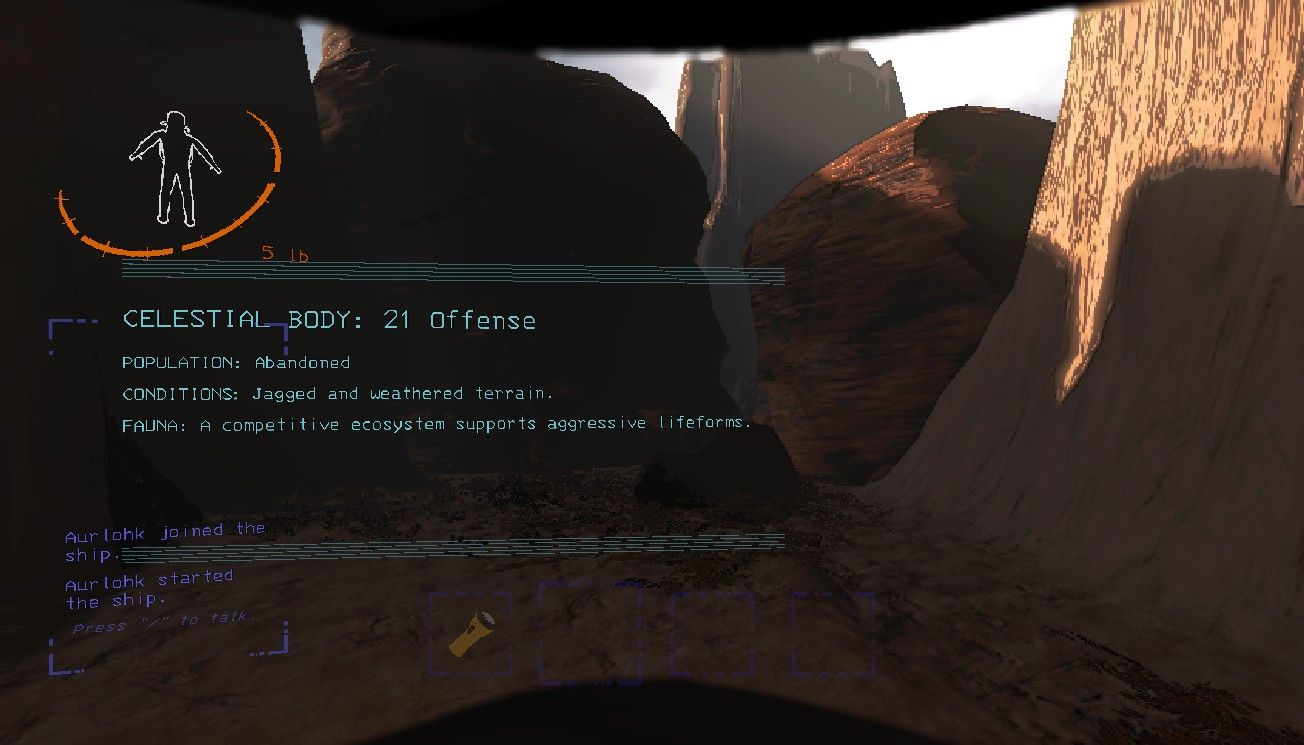
Offense is one of the two Intermediate Moons, and lore-wise, it’s thought to have split off from Assurance sometime in the past.
It shares a similar layout to Assurance, and has a lot of the same environmental aspects: large rock formations, hills, mountains, and industrial ruins.
This moon has the fifth-largest map size, and you’ll need to do some navigation, and occasionally some parkour, to get to Offense’s main complex, since rock formations and giant pumpkins can block off pathways and hills.
Offense has a unique aspect to it as well: it’s the only moon where you have to use an Extension Ladder to get to its Fire Exit, or do some potentially dangerous parkour to get to it.
The pipeline on Offense makes it less dangerous than other moons if you get the Flooded or Eclipsed weather conditions, since it gives you access to the Fire Exit without needing to be on the ground.
You’ll also find you can make some decent money on Offense as long as you don’t mind the Thumpers and Bunker Spiders, as Offense has the highest minimum scrap count of 14 outside the three Hard moons, and its scrap has pretty high average values.
61-March
|
Average Hazard Level |
Cost To Fly To |
Possible Weather Conditions |
Data Logs |
|---|---|---|---|
|
B |
0 |
Foggy, Flooded, Stormy, and Eclipsed |
1 |
March is the other Intermediate moon besides Offense, and is the twin to Vow, sporting a fairly dense forest and a lot of hills to navigate.
It has constant rain like Gordion, and it gives March permanent quicksand spots no matter the weather.
Most of the quicksand spots are near the ship, so you and your teammates will need to be careful going in and out of the ship, especially if you’re trying to avoid enemies, or they’re already chasing you.
March has four Fire Exits, the highest number of any moon, and they’re spread out across the map, with one in almost every corner of the map save for where the main complex is.
March also has the second-largest potential complex size, so utilize all four Fire Exits to keep from getting lost or access portions of the complex without losing too much time.
You’ll want to avoid this moon when it’s Flooded too: March’s giant lake and lower ground make the waters reach much higher than the height of a player, and none of the Fire Exits are up high, so you can quickly get stranded.
85-Rend
|
Average Hazard Level |
Cost To Fly To |
Possible Weather Conditions |
Data Logs |
|---|---|---|---|
|
A |
550 |
Stormy and Eclipsed |
2 |
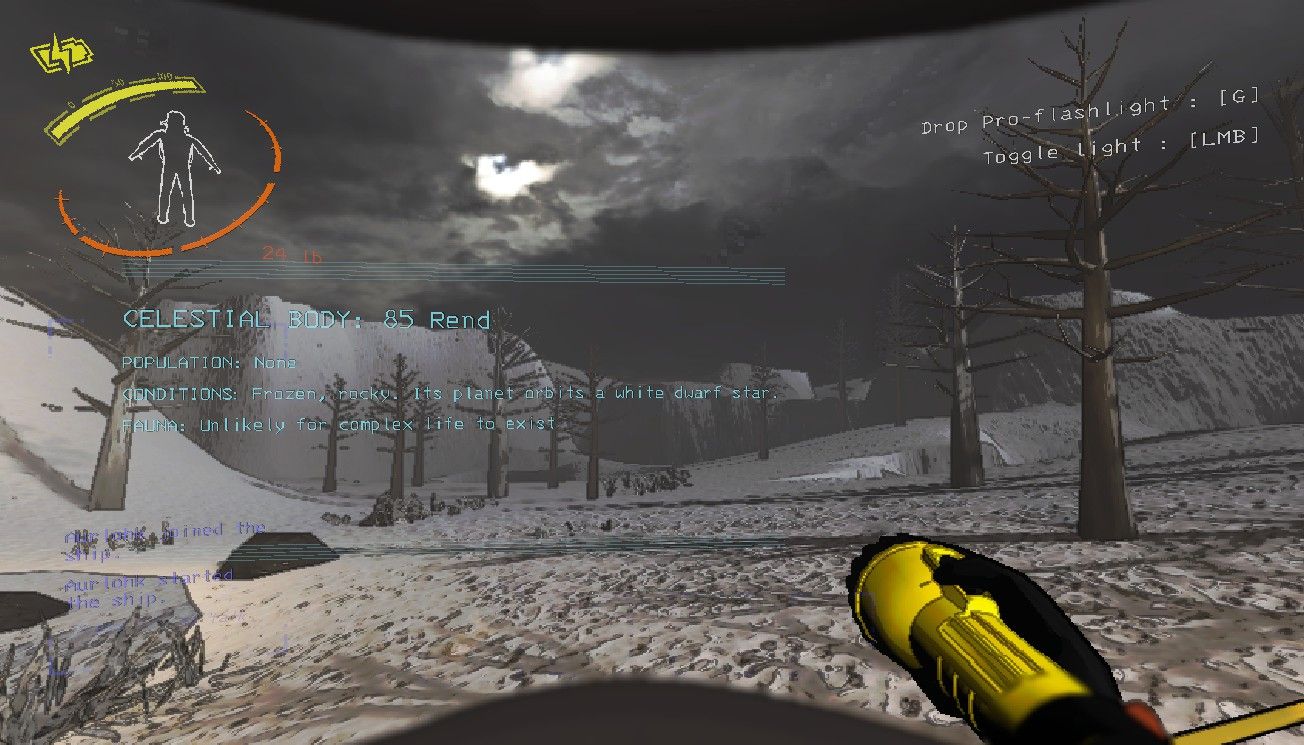
Rend is one of the three Hard moons, and you’ll find this moon is under a constant blizzard that makes it extremely difficult to navigate, especially when combined with other weather conditions.
Alongside it’s sibling moon Dine, Rend is one of the only two moons whose default complex layout is the Mansion. You’ll have to navigate new room types and set-ups on these moons unless you’ve gotten lucky and had a Mansion spawn on an earlier moon.
All three hard moons, including Rend, also introduce several new scrap types, like the Painting, Fancy Lamp, and Perfume Bottle, which have some of the highest minimum values.
It costs 550 Credits to fly to and orbit Rend each time, but you can avoid multiple charges by staying on Rend for the entire quota length, and not flying to or orbiting another moon.
The only creatures you’ll find outside are dangerous enemies like Eyeless Dogs, Forest Keepers, and Earth Leviathans, and the snowstorms don’t keep them from hearing or seeing you as usual.
7-Dine
|
Average Hazard Level |
Cost To Fly To |
Possible Weather Conditions |
Data Logs |
|---|---|---|---|
|
S |
600 |
Flooded and Eclipsed |
0 |
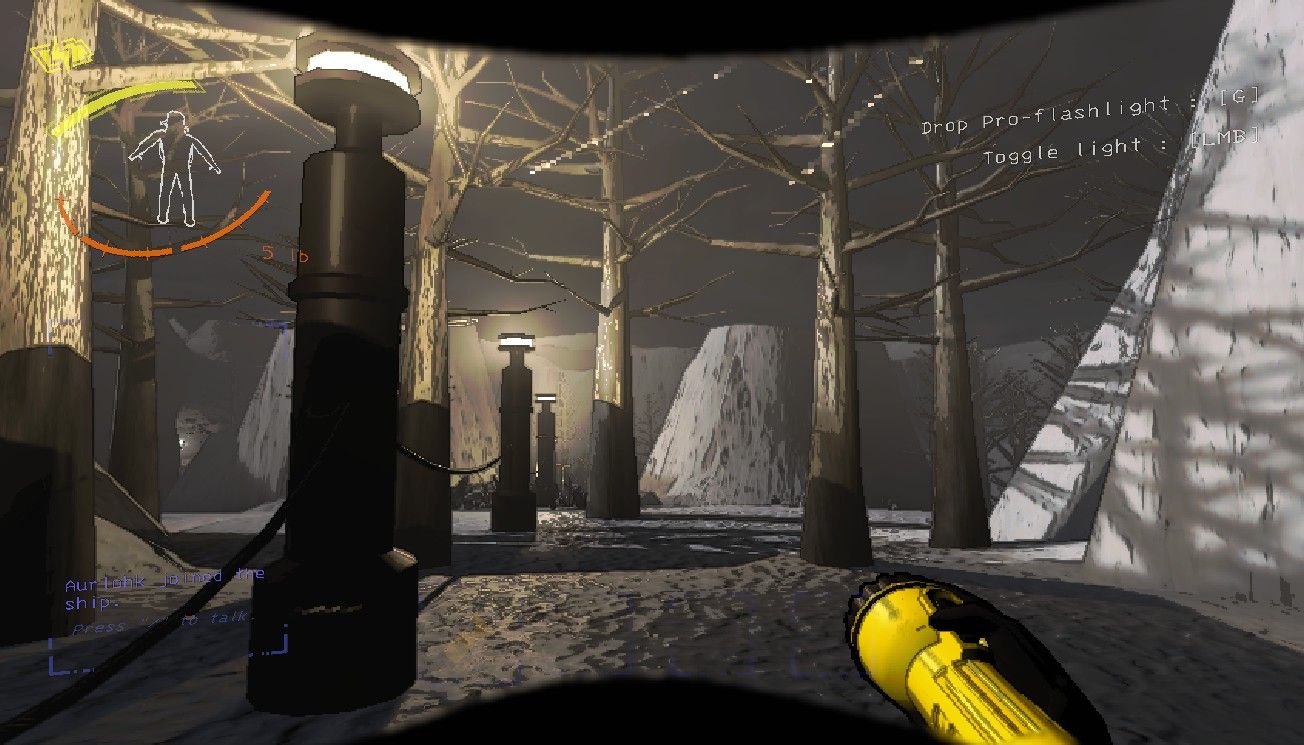
Like Rend, Dine also has a constant blizzard going on that makes navigation and communication difficult, and you’re encouraged to follow the path of lit lamps to and from the main entrance to keep from getting lost.
Despite all the snow, Dine can get the Flooded weather condition, and water can quickly consume the entire landscape, even earlier than it does on other moons.
Not only is the water itself a hazard, but the rain and rising waters can make the lighted path even more difficult to locate.
Daytime creatures like Manticoils can’t live on Dine either, so you’ll mostly be dealing with enemies like Eyeless Dogs and Earth Leviathans, similar to Assurance and Offense.
Forest Keepers can spawn on Dine too, but they’re less likely to show up than the other two.
Once you get into the complex, you’ll find Dine’s default layout is also the Mansion, so you’ll have to navigate through densely-packed rooms and bookcase-covered pathways if you want to find valuable scrap.
8-Titan
|
Average Hazard Level |
Cost To Fly To |
Possible Weather Conditions |
Data Logs |
|---|---|---|---|
|
S+ |
700 |
Foggy, Stormy, and Eclipsed |
0 |
Titan is the last of the three Hard moons, and comes first in several categories: having the largest complex map size, sporting some of the most valuable scrap, and the highest number of potential indoor spawns at 18.
This moon’s got a snowy, mountain environment similar to both Rend and Dine, but it lacks the permanent blizzard that affects them, instead opting for a different sort of danger.
The enemies on Titan can spawn at any time of day, and with the small outside map, you and your teammates have few places to hide.
Inside the massive complex, you’ll most commonly be dealing with the most dangerous enemies, such as the initially unassuming Jester, the gun-toting Nutcrackers, and the creepy Coil-Heads.
Between the dangerous outside, and the number of enemies that can spawn inside, Titan’s the most dangerous moon of them all, but you can make plenty of money here too.
Lethal Company: Weather Conditions, Explained
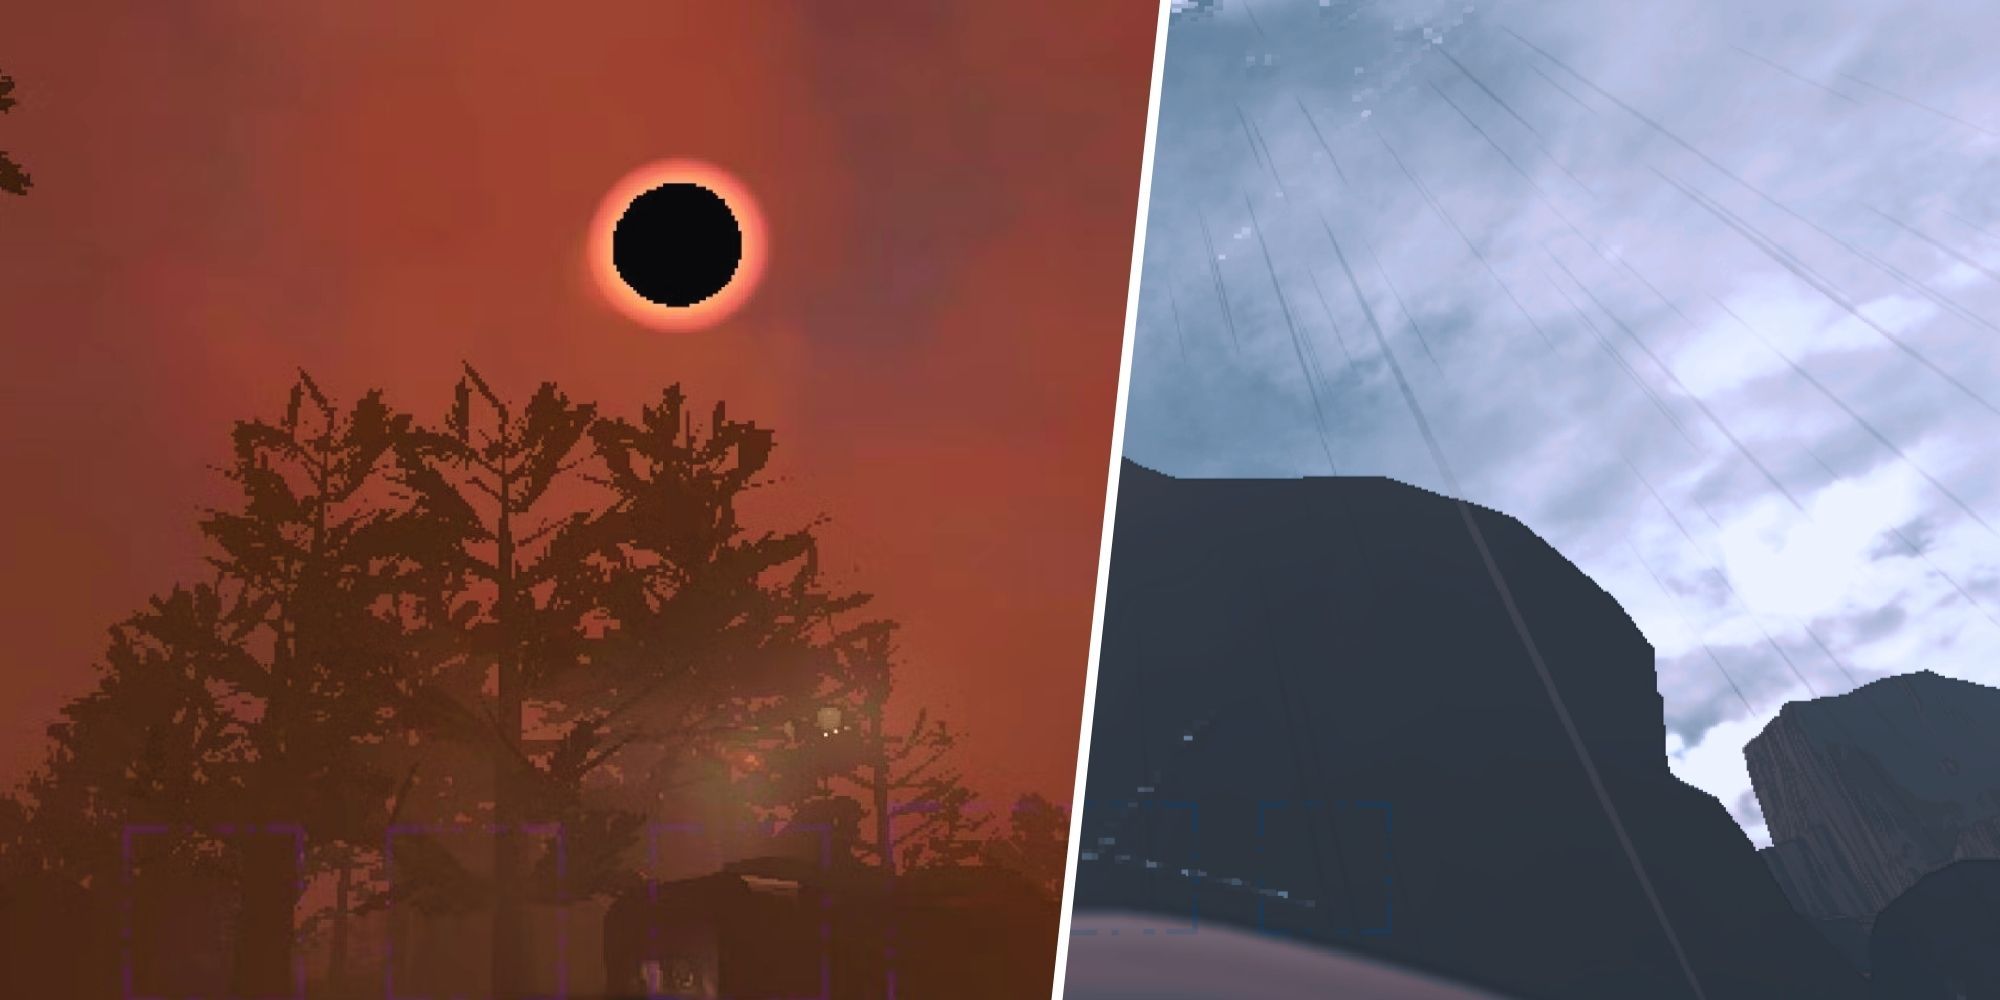
Keeping an eye on how the weather can impede your progress in Lethal Company is an important key to survival.


