There is nothing more frustrating in a survival game than running out of inventory space, and this is especially true in Subnautica 2. For much of the early game, you will find yourself desperately hoping for a way to add inventory slots to your character, and luckily, you won’t have to go too far to locate the first Biobeds, most of which provide a small expansion. Finding them all, however, is a much longer proposition. To that end, this guide will show you where to find every Biobed inventory expansion location in Subnautica 2.

What Happens When You Die in Subnautica 2? Explained
Wondering what the repercussions are when you die while exploring the underwater depths in Subnautica 2? Here’s what you need to know.
A Note on Coordinates: Subnautica 2 is a massive underwater world, with no map to help pinpoint locations. When collecting data on distance and depth, minor differences in the starting location can result in small differences in distance for each player. Given that Subnautica 2 is in Early Access, some locations may also change slightly with subsequent updates. If you have trouble locating any Biobed, please let me know in the comments.
Biobed Location Overview – Subnautica 2
- There are currently seven known Biobed locations in Subnautica 2. They are usually found in abandoned habitats and wreckage. For precise details of each Biobed location, check the step-by-step guides below.
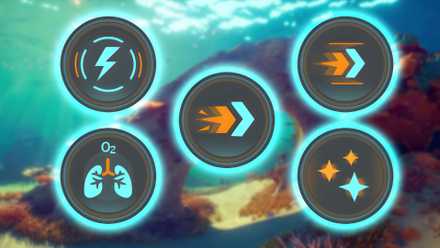
- There are two types of Biobed inventory upgrades. The first and most prominent are basic Endurance inventory expansions, each adding three new slots to your inventory. The second type, called Dexterity upgrades, adds another slot to your Quickbar.
- There are five basic inventory Biobeds, and two Quickbar upgrade Biobeds.
What do I need to find every Biobed in Subnautica 2?
While most of the Biobeds in Subnautica 2 can be collected without special tools, the final two on the list are an exception. Tools like the Wavemaker and Tadpole will always be recommended, if not required. Consider preparing with this checklist:
|
Biobed Location |
Upgrade Type |
Distance From Lifepod |
Depth |
Key Requirement |
|---|---|---|---|---|
|
Quaker’s Meetinghouse |
Endurance; +3 Inventory Slots |
220m SE |
42m |
N/A |
|
Anita’s Garden |
Endurance; +3 Inventory Slots |
90m NE |
30m |
N/A |
|
Salvage Colonist Bunker |
Dexterity; +1 Quickbar Slot |
220 NE |
85m |
N/A |
|
Unauthorized NOA Modification Bunker |
Endurance; +3 Inventory Slots |
265 SW |
85m |
N/A |
|
Sophie’s Retreat |
Endurance; +3 Inventory Slots |
440 N |
65m |
N/A |
|
Nahema’s Lab |
Dexterity; +1 Quickbar Slot |
365m SE |
90m |
Heat Tolerance Adaptation |
|
Cicada Wreck |
Endurance; +3 inventory Slots |
475 E |
75m |
Heat Tolerance Adaptation |
Where to Find Every Biobed Location in Subnautica 2
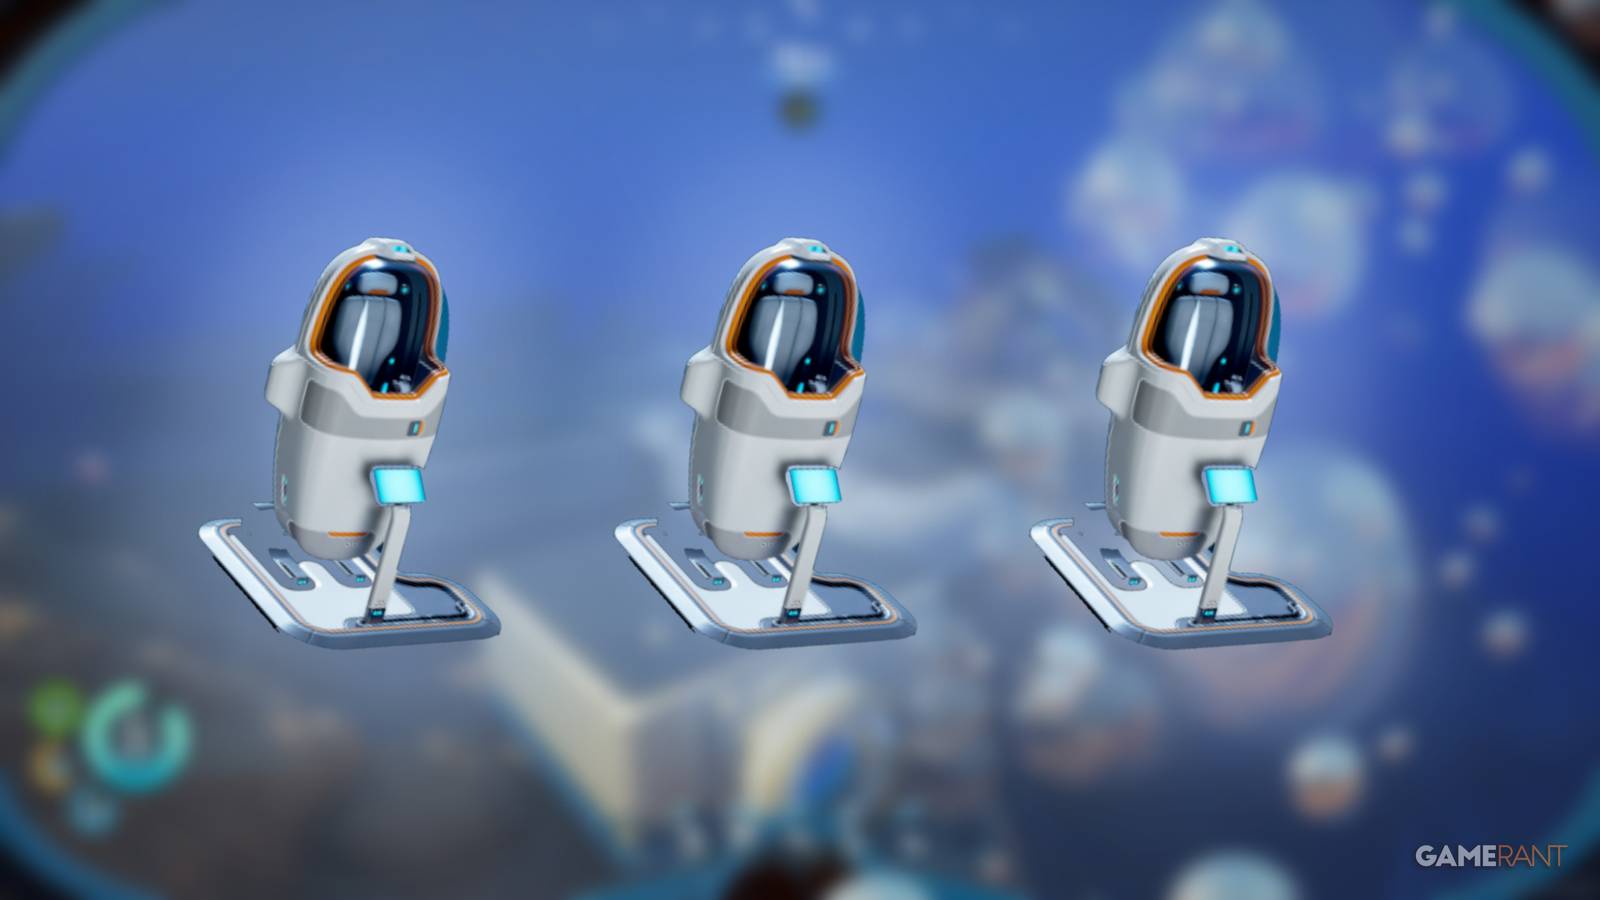
Biobed Inventory Expansion 1 – Quaker’s Meetinghouse (Chap’s Blackbox):
This Biobed is not the closest to the Lifepod, but it was the first Biobed I encountered due to the fact that it is directly connected to an early-game mission from NOA. Once you unlock the signal for Chap’s Blackbox, you’ll have the exact destination. If you’ve already visited Chap’s Blackbox, you can turn the signal back on in the main menu by heading to the “Signals” tab and switching it on.
Location: Chap’s Habitat, 220 meters south-east of the Lifepod
Depth: 42m
Upgrade: Endurance – three additional inventory slots.

To find the first Endurance Biobed, you can simply wait until NOA gives you the signal for Chap’s Blackbox, as it takes you to the exact destination very early in the game.

If you missed it while there, simply head to the Signals tab in the main menu and turn Chap’s Blackbox signal back on. This will lead you 220 meters south-east of the Lifepod, to a large underwater plateau with an extensive cave system carved out of it.

If you float over the plateau, you can see the entrance to the cave. Swim down to the bottom of the cave and enter the habitat hatch. Inside you’ll find the Biobed.

Interact with the screen to receive three additional basic inventory slots.
Biobed Inventory Expansion 2 – Anita’s Garden:
- Location: Entrance is about 90 meters north-east of the Lifepod. Use a bearing of around 70 degrees.
- Depth: Around 30 meters down.
- Upgrade: Endurance – three additional inventory slots.

From the Lifepod, make your way about 90 meters at a bearing of 70 degrees, between east and north-east. You’ll see a large piece of wreckage, and just to the right of that is a small plateau with a cave entrance on top.

There is a large downward-pushing current at the cave’s entrance. Allow it to take you and send you to the bottom of the cave.
At the bottom of the cave, turn to the east and head past the platform until you reach an Oxygen Tunic. From the plant, turn to the right and look for a tunnel entrance with a red Feather Kelp near the entrance.
Enter the tunnel and proceed down the passage until you come across a habitat entrance hatch on the right.

Enter the hatch, then head to the back room to find the Biobed chamber. Approach the screen and interact with the screen to unlock the inventory expansion. This Biobed will provide you with three additional inventory slots.
How to Build a Scanner Station & Track Materials in Subnautica 2
Here’s how to unlock and build the Scanner Station in Subnautica 2 to track resources and materials.
Biobed Inventory Expansion 3 – Salvage Colonist Bunker:
- Location: Cave entrance is 210 meters north-north-east of the Lifepod. Bearing of 15 degrees. Use Anita’s Blackbox signal as a guide.
- Depth: Cave entrance is at 35m. The bunker entrance is 85m down.
- Upgrade: Dexterity — adds a single slot to your Quickbar.

To find this Biobed, you can use Anita’s Blackbox as a guide, if you’ve got the signal unlocked. If not, you can use the Digestion Angel Comb as a guide.

From the Lifepod, you want to follow a 15-degree north-eastern bearing to a sea floor platform just beyond the Digestion Angel Comb. To the left of the platform is a cave with green flowers marking the entrance.
Enter the cave and make your way down to about 70 meters, then head north-west into the next chamber. As you move through the tunnel, look to the left, and you’ll see a light post on a rock ledge.

The entrance to the Salvage bunker is just below the ledge.

Enter the habitat, and you’ll see the Biobed, which provides an additional Quickbar slot.
Biobed Inventory Expansion 4 – Unauthorized Noa Modification Bunker (Great Jaw):
- Location: Colonist Bunker near the Great Jaw, 265m south-west of the Lifepod
- Depth: 85 meters
- Upgrade: Endurance – three additional basic inventory slots
This Biobed is found significantly deeper than the previous locations. You will not be in danger of lowering oxygen efficiency yet, but it is deep enough that returning to the surface to get air may not be an option if you have an emergency. For this reason, the risks will be much lower if you visit once you have a Tadpole vehicle or the High Capacity Air Tank.

If you’ve visited the Great Jaw Clam Leviathan, which sits about 350 meters south-west of the Lifepod, then you’ll know the general location of this Biobed.
To reach it, you’ll need to head south-west from the Lifepod. The total trip is about 255 meters at a perfect south-west heading.

Around the 100-meter mark, you’ll reach the edge of a cliff that marks the end of the early-game shallows.
You’ll notice that the cliff wall will remain on your right as you descend. You can use the wall to guide you to your destination.
Follow the wall until you reach the end, and you’ll see a rock pillar sticking up from the sea floor. Turn right here to find the entrance to the Unauthorized NOA Modification bunker.
You’ll find the Biobed in the north-western corner.
Alternatively, if you know where the Great Jaw is located, the bunker entrance is about 100m to the north.
Biobed Inventory Expansion 5 – Sophie’s Retreat Bunker:
- Location: Sophie’s Retreat Bunker, Cave about 440 meters north of Lifepod — just beyond Wu “Wu” Lianghai building.
- Depth: Cave entrance is 45 meters. Bunker is 65m.
- Upgrade: Endurance – three basic inventory slots.

From the Lifepod, you will want to head about 440 meters north. You’ll eventually reach the Old Habitat and Wu “Wu” Lianghai buildings. Using the signals from either building can act as a perfect guide.

Once you reach the buildings, continue for about 30 meters, then turn right to find a cave entrance on a raised rock ledge.
Enter the cave, then continue east and south-east through the tunnels until you see the bunker hatch entrance.
The Biobed is found inside. Interact with the screen to receive the Endurance inventory expansion.
All Biomods in Subnautica 2 & How to Get Them
Biomods are passive and active skills in Subnautica 2 that can provide you with essential buffs for exploration and survival. Here’s all of them!
Biobed Inventory Expansion 6 – Nahema’s Lab Bunker
- Location: Nahema’s Lab Bunker, 355 meters south-east from the Lifepod, heading of 120 degrees.
- Depth: 90 meters
- Upgrade: Dexterity – one additional slot in Quickbar.

From the Lifepod, head south-east at a bearing of 120 degrees for 355 meters. This leads into hot waters that require the Heat Tolerance Adaptation.

Around 250 meters into the trip, the water temperature will change, and you’ll reach a large trench that splits into two passages. Follow the passage on the right, and stick to the wall of the central plateau between passages, which will be on your left side.

Follow the wall until you see a small cave with the only grass in the area at the entrance. Enter the cave, and you’ll see the entrance to Nahema’s Lab.

The Biobed is inside the lab. Interact with the screen to receive another slot on your Quickbar.

Biobed Inventory Expansion 7 – Cicada Wreck:
- Location: Cicada Wreck, near Tadpole Pens. 475 directly east.
- Depth: 75 meters
- Upgrade: Endurance – three additional inventory slots.

The final Biobed is also located in the hot waters of the Graveyard, and all the precautions required for the previous Biobed apply here.
From the Lifepod, head east for 475 meters. About 200 meters into the trip, the water temperature will begin to change, and the sulfur in the water will make it yellow and murky.

Continue east, and you’ll eventually come across the massive wreck of the Cicada, stuck in a giant web of coral.
You should find yourself on the western side of the structure, which is exactly where you want to be. Approach the structure, and look for a large section of exposed framing, where the white panel that normally covers the exterior is now missing. This is located just before the large rock pillar resting against the side.
Head to the bottom of the exposed area, and you’ll see a small open section where you can enter.
Pass through the first chamber, and make a left into the hallway. Head down the hallway, then make a turn into the chamber on the left.

Inside, you’ll find the final Biobed. Interact with the screen to receive the final Endurance inventory upgrade.
Looking to find the rarest crafting materials in Subnautica 2? Check out this collection of guides!
