Horror never sleeps in Dead by Daylight, and the never-ending Trials inside the Fog keep on attracting Survivors desperate to escape, as well as Killers who would love nothing more than to cherish the hunt. It’s for this reason that Chapter 39: All-Kill: Comeback shocked gamers for being the first Chapter not to include a Killer, for being a sequel to another Chapter, and for the Survivor to be a “twist” on an existing Killer. As the game introduces K-Pop idol Kwon Tae-Young, so too did players dive deep into his relationship with the Trickster, who was implied to have been responsible for his “death” and awakening in the Fog.

7 Chapters Dead By Daylight Needs After Five Nights at Freddy’s
FNaF is confirmed as Dead by Daylight’s next chapter, but there are still plenty of horror legends missing from the roster.
However, players who want to skip the lore and head straight to brutal shenanigans will appreciate the plethora of Killers available at their disposal. With more than 42 Killers to choose from, both from crossovers and original material, Dead by Daylight players can relive their favorite horror flicks or just enjoy the thrill of the hunt in intense matches. Although judging by the way some players use specific Killers, some of these villains are just a cut above the rest. Some early-release Killers outpace more recent additions, and other unexpected crossover characters outshine some of the game’s original creations.
10
The Dark Lord
Multi-Form Menace To Keep Up With Pursuits
Keeping up with the “traditional” vampire powerset, the Dark Lord from Castlevania brings his shapeshifting prowess to eliminate Survivors in the Trials. By default, the Dark Lord can cast his pillars of flame with his signature Hellfire Spell, which should hit Survivors who focus too much on objectives. Should Survivors begin the chase, the Dark Lord has two Shapeshift options. The more aggressive approach is the Wolf, which possesses a Pounce attack paired with better sight (Scratch Marks and Pools of Blood), a speed boost (with Scent Orbs), and may Killer Instinct on Rushing Survivors. The stealthier alternative is the Bat, making them invisible save for a lullaby heard by nearby Survivors, as well as a nifty Teleport ability.
With the ability to transform into the vile denizens of the woods and conjure unnatural flames, all mortals shall succumb to The Dark Lord’s vengeance. – Official Description
At its core, the Dark Lord’s straightforward kit can seem rather easy to predict: the Wolf Pounce has bad control, so Survivors can just lure it in loops and turn at the last second. Meanwhile, the Bat can’t attack, and the lullaby is practically a sign to disperse or hide. However, a Dark Lord who knows when to transition to his other forms will dominate a Trial quickly. For inexperienced Draculas, identifying when to switch between the Bat and the Wolf is key – but it’s important to always keep switching. Do not second-guess or pause, as this is exactly what Survivors want to try and get away.
The key to the Dark Lord’s supremacy in hunts is the rhythm of using his forms: always pursue long distance with the Bat, then turn into the Wolf for aggressive attacks. Pounce while as close to the Survivor as possible to guarantee hits.
9
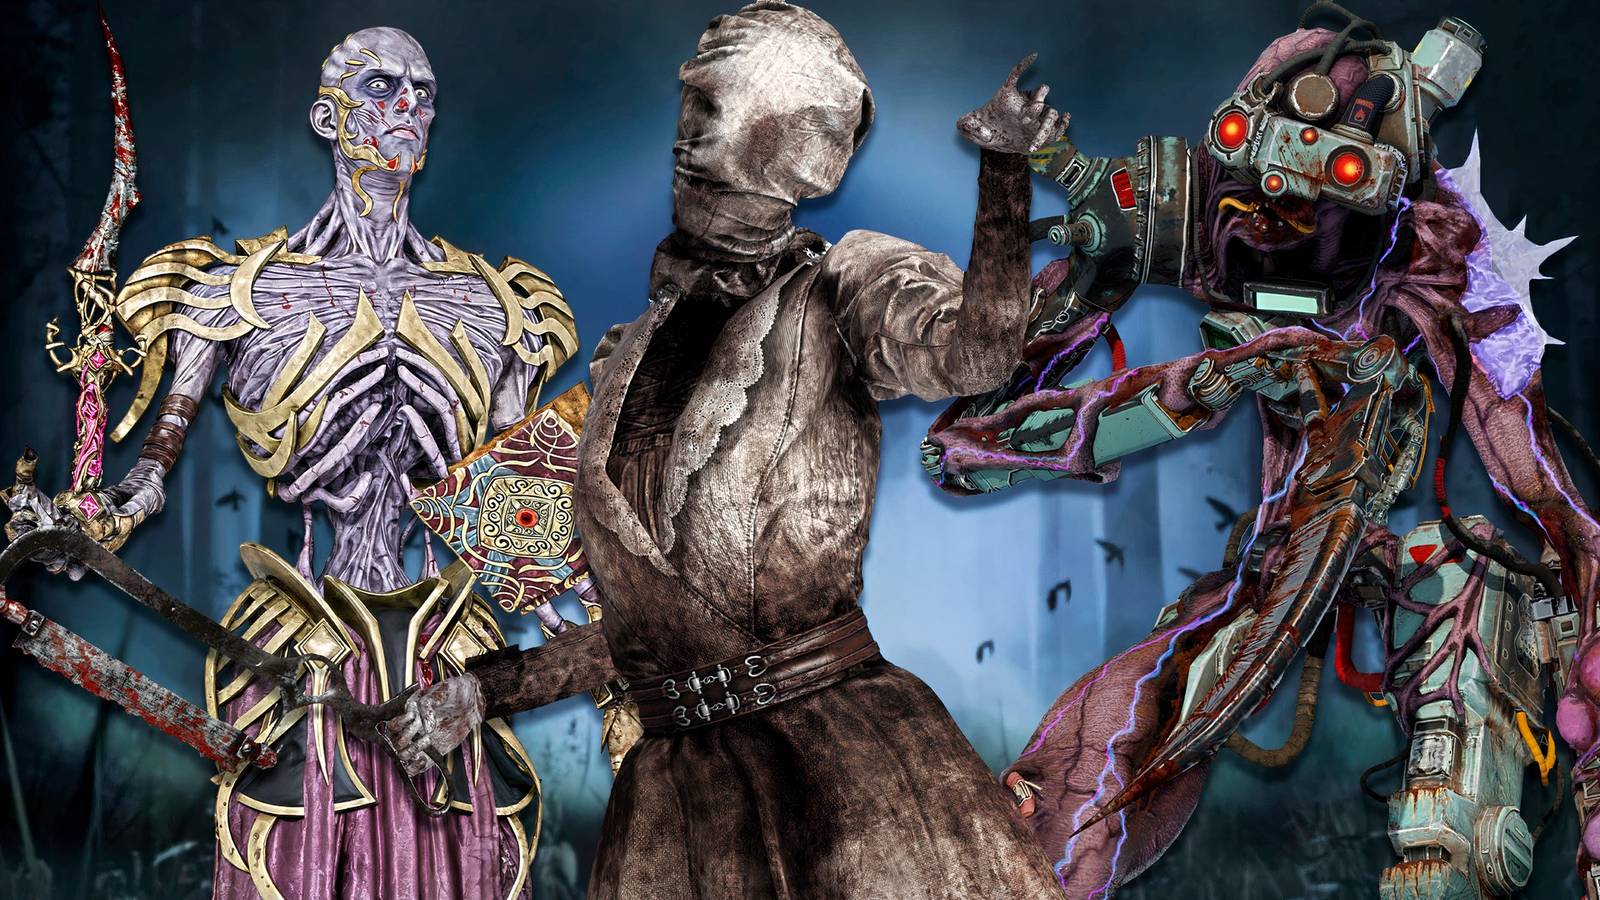
The Singularity
Area Control And Visibility Add Unpredictability
The Singularity in Dead by Daylight has more challenging gameplay than the norm: players need to show absurd map control to secure the advantage. Their ability to view many places at once makes their playstyle similar to Cypher from Valorant or Crypto from Apex Legends, but this time, demanding more aggressive input, as the Singularity doesn’t have a lot of damaging abilities in their kit. With Quantum Instantiation, the Singularity can place up to eight Biopods across the map. They can “see” through them and target Survivors, of which those hit will be afflicted by Temporal Slipstream.
Its spread is inevitable, with the ability to materialize across the Map through a network of organic Biopods. – Original Description
Temporal Slipstream makes them detectable via a 3-second Killer Instinct, with the affliction spreading to nearby Survivors for a short period. This also makes them susceptible to Splitstream Teleportation, moving them to the afflicted’s location while buffing the Killer with haste. Survivors playing against the Singularity can stop some Biopods with EMPs scattered along the map, but this shouldn’t discourage Singularity players.
Instead, try throwing Biopods during the chase – set up Biopods along the trajectory of the Survivor, so they’re always second-guessing where to go. Even if they EMP a Biopod, there will be plenty more where it came from.
8
The Ghoul
High-Mobility Who Snowballs His Toolkit Across The Game
For a character released through an anime crossover, the Ghoul is a surprisingly competent Killer. Having an innate speed buff and an easy-damaging ability can make Kaneki a quick Killer to pick up, but learning the groove of his overall kit can take time, especially when other Killers have more straightforward approaches to stalking their prey. With his One-Eyed Terror, the Ghoul can use the Kagune Leap to attach to surfaces for quick movement, then use another Leap in a chain.
If you see a black and scarlet eye blazing above a grotesque grin, it’s already too late… – Official Description
On the off-chance that Kaneki uses the Leap onto a Survivor, they inflict a Deep Injury and apply a Kagune Mark. This triggers Enraged Mode, giving Kaneki yet another Leap to chain with. As long as a Survivor has a Kagune Mark, Kaneki maintains the Mode. Despite his speed, Kaneki’s kit is unfortunately not built for fast-paced downs, but he can definitely lure Survivors into wars of attrition. When fighting a cluster of Survivors, he should injure one after the other instead of hyper-focusing. This forces Survivors to choose between Mending to get the Mark off them or running at a disadvantage, which gives Kaneki the perfect opening.
Play around Pallets and Vaults, if possible, as Survivors often use this to lure Kaneki into wasting his Leaps.
7
The Hillbilly
Master The Chainsaw, Master The Chase
Technically inspired by Leatherface, the Hillbilly was iconic not just for being among the game’s original roster of Killers but also for his enduring playstyle: should the Hillbilly get to reach a Survivor with his Chainsaw, it’s game over. After revving it up, the Hillbilly can do a ridiculously fast Chainsaw Sprint in the direction he’s facing. Doing this enough times will fill up its Overdrive Meter, practically giving the Hillbilly charge and movement speed, as well as lower revving cooldowns. This running-oriented toolkit makes the Hillbilly perfect for chases, and he’s still a popular pick today for how straightforwardly chase-friendly his gameplay can become.
Capable of traversing great distances at a rapid pace, those in his path will be rudely introduced to one-hundred gnashing chainsaw blades. – Official Description

Dead by Daylight: 10 Most Annoying Killers To Play Against, Ranked
These Killers are more trouble than they’re worth from a Survivor’s perspective and often too annoying to enjoy playing against.
Thankfully, the game makes it painstakingly hard to use the Hillbilly, too. The Chainsaw Sprint is disastrously done in a straight line with barely any way to control it. If the Hillbilly wastes it or hits anything but the Survivor, he’s practically stunned, so his biggest weakness and counter is a Survivor who loops well. As such, the best approach to hunting Survivors is to “tease” – click to rev instead of holding to keep the meter at a consistent 70 to 80, so Overdrive can be achieved faster. If the loop is inevitable, time the Chainsaw’s “curve” to sway past obstacles and stay on course.
The Chainsaw Sprint is more effective for map traversal. If the Survivor has a high likelihood of slipping away, just use the default Hammer attack. Only rev the Chainsaw into Overdrive if the Survivor is close enough for a guaranteed hit.
6
The Twins
Trap The Survivors With Area Coverage
It’s not all the time that a Dead by Daylight Killer will let players juggle multiple “bodies” at once, so the arrival of the Twins posed an initial challenge in “getting” the groove with them. While Trials often start with control given to Charlotte, players can Switch to the other sibling at will. Being able to “detatch” (Unbind Victor), the smaller twin Victor was the Killer’s central mechanic, as speedy Victor can see Pools of Blood, search for Survivors in Lockers, and he can Pounce to latch onto Survivors and Injure (with Broken, Incapacitated, and Oblivious) them. Players aren’t even required to use Victor when he’s unbound, as he can stay put while they resume the hunt with Charlotte. Thanks to Victor’s Shriek Radius, anyone entering his immediate space will trigger Killer Instinct, allowing players to switch back into Victor and go for the Pounce.
Down Survivors with Victor and hook them with Charlotte, an oppressive tandem that can quickly disrupt even the best-laid plans. – Official Description
Naturally, the Killer’s main weakness revolves around the difficulty of juggling control over both of them at once. If Victor is latching onto a Survivor, control is given to Charlotte. Ideally, Charlotte gets there in time to down the Survivor, but the Survivor has a chance to Crush the other twin – forcing a brief cooldown. The technique is to position Victor near objectives while Charlotte goes for the chase, then lure them to Victor’s general location so he can guarantee the Pounce.
Victor should only Pounce when close enough to a Survivor to guarantee the latch, as doing this at long distances can be fairly unreliable.
Find all 10 pairs
Find all 10 pairs
5
The Xenomorph
Tunneling Mechanic Can Be Extremely Oppressive
Built for being the perfect predator and reducing space stations to lifeless husks, the Xenomorph made its way to Dead by Daylight as a Killer with a penchant for ambushes. Maps always get Tunnels when playing the Xenomorph, wherein travel inside grants invisibility and an incredible speed boost, with the bonus of Tracking Footsteps of running and walking Survivors in their immediate aboveground. Should the Xenomorph choose to reveal itself, its exit of choice gets a Killer Instinct aura while all nearby Turrets are temporarily disabled. When on the prowl, the Xenomorph can switch to a Crawler Mode that reduces its detection radius in exchange for a lethal Tail Strike.
Xenomorph is a relentless and cunning specimen. It stalks prey through subterranean tunnels… – Official Description
Gameplay-wise, the Xenomorph adds a layer of unpredictability to roaming Survivors. There’s no need for an immediate chase if the Xenomorph has a “shortcut” near a vital objective. The only line of defense against it is if Survivors grab Turrets from Control Stations – the same entrances and exits to the Tunnels. Enough damage from Turrets can get the Xenomorph out of Crawler Mode, so this is a natural obstacle to avoid and to break on sight. Once players learn how to maneuver with the Tail Strike, this becomes a difficult attack to dodge for Survivors.
There’s a strafe mechanic tucked within the Tail Strike. Always face diagonally away from the direction where the Tail Strike occurs, as though turning to where the Survivor is expected to dodge. This boosts the likelihood of hitting them.
4
The Wraith
Invisibility Adds A Layer Of Pressure To Survivors
At first glance, players might dismiss the Wraith for being a one-trick pony: its Wailing Bell is a glorified invisibility mechanic. The Wraith stays Cloaked most of the time, so it’s invisible and moves much faster, but can’t necessarily attack Survivors. They have to Uncloak to hit Survivors, but this produces a very audible noise and an animation that Survivors can use to run away. With these in mind, the Wraith can seem extremely clunky to play with. However, mastering this straightforward kit can make the Wraith extremely oppressive in the Trials, as they essentially make Survivors second-guess if they need to focus on the objective or be prepared to lure the Wraith away.
A hit-and-run specialist, The Wraith is adept at keeping everybody injured. – Official Description
Given the predictability of his kit, the Wraith won’t win in straightforward chases. Instead, Uncloak while Survivors are busy to guarantee injuries, then Cloak while tailing them. Force them to Mend instead of the objective, so the Wraith can oppress them with sustained hits without forcing them into unnecessary chases.
The Wraith’s best strategy is hit-and-run. Choose Survivors to attack based on their activity. If they’re genning or helping another Survivor, they’re not using that time to dodge.
3
The Lich
Very Adaptable Toolkit For Easy Wins
Part of a D&D crossover, The Lich is a surprisingly competent addition to Dead by Daylight for his vastly adaptable kit. True to Vecna’s wizardly roots, his Vile Darkness Power gives him access to certain Spells: ignore Pallets and Windows (Fly), summon Flying Entities that hit Survivors in their way (Flight of the Damned), disable Magic Items and reveal Survivors (Dispelling Sphere), and move Pallets out of the way (Mage Hand). Survivors can retrieve random Magic Items that hinder these Spells, and get a tremendous advantage with the Hand of Vecna (teleport to lockers) and Eye of Vecna (invisibility), but they should be careful, as the Lich downing them while retrieving these Artefacts opens them for an insta-kill.
A master of magic and calculated conqueror, the archlich Vecna is relentless in his pursuit for dominance. – Official Description
Since Vecna’s Spells have individual cooldowns and Survivors might possess their Magic Item counters, it’s important to master those CDs as soon as possible. However, players who get used to them will have a Killer who can essentially control loops. Timing the Sphere properly can reveal Survivors and disable their Magic Items, leaving them wide open for the Damned. Mage Hand can render obstacles useless, while Fly can make the chase mere child’s play.
The Dispelling Sphere can be extremely oppressive and Survivors will want to remove this quickly. Take advantage of this tendency to lure Survivors out and switch to Flight of the Damned on the offense.
2
The Blight
Stellar Mobility In Exchange For A Miserable Learning Curve
Players running the Blight for the first time will be surprised by his sheer mobility, as he can keep up with Survivors while barely needing to use his Abilities. However, taking charge and maximizing his toolkit can reward players with a nigh-unstoppable Killer capable of ending chases quickly. Thanks to his Blighted Corruption, he can Rush to a direction until he Slams, with which he can use the Chain Rush Window to get into a Lethal Rush to destroy Pallets, Breakable Walls, and hit Survivors. The big caveat here is that the Blight suffers from Fatigue after failing a Slam or ending a Lethal Rush, which can give Survivors time to escape.

Dead by Daylight: 5 Survivors You Should Unlock First
Some Survivors in Dead By Daylight have specific advantages, meaning players should strive to unlock them first.
Capable of gaining ground on Survivors in mere moments, The Blight’s lethal efficiency must never be underestimated. – Official Description
This means the optimal strategy against the Blight is to loop and bait them into hitting obstacles, of which the most ideal counter at best is map awareness and knowing when to flick for some added maneuverability. With the right training, the Blight can take advantage of Rushes to close the gap and score hits easily, especially with Perks that grant early game pressure (Lethal Pursuer), constant tracking (Barbecue & Chill), and slowing down Generators (Grim Embrace).
The Blight’s Rush comes with the opportunity to “flick” and turn to another direction before the full wind-up happens.
1
The Nurse
Easy To Learn Chaser Once Her Teleportation Kit Is Mastered
Being a part of the base game, the Nurse is among the first villains for players to try, and her challenging nature can make her easy to dismiss in favor of more straightforward Killers. However, her learning curve can be vastly rewarding, as the Nurse is one of the best chasers in the game. The Nurse uses Spencer’s Last Breath to Blink in a straight line, passing through walls and obstacles. This is chainable for a second time, and the teleportation distance can be changed for both Blinks by aiming at a point closer (for shorter) or higher (if there’s another floor).
Using her Blink ability, The Nurse can teleport great distances in moments, predicting and cutting off Survivor routes. – Official DBD Description
While her teleportation gives the Nurse unprecedented movement, it also comes with the caveat that she’s naturally slower than a running Survivor. This means teleports are more rewarding when going to where Survivors are spotted last to see if they double back (then they’re easier to hit) or relative direction (easier to follow). Nurses can observe Survivors with behavioral ticks such as double-backers or preferred looping areas, so they can catch them at opportune moments.
Players can look away while charging their TP to make Survivors think they’re going elsewhere.
