As Zelda and Tri in adventure across Hyrule to seal the rift. The Legend of Zelda: Echo of WisdomYou'll make all kinds of new friends who need your help. Your quest to seal the rift will take you to various temples filled with puzzles, enemies, and challenges to face.
The Paron wetlands are a lush and thriving place, and the temple is no exception. Together with Zelda, you must use your wits to navigate the jungle of this dungeon, defeat the boss within and restore the Rift to save all of Hyrule from imminent danger.
Paron Temple 4F
When you first approach Paron Marsh Temple, the way forward is blocked. Activate waypoint Go here to use it later. Then go back outside. you must move to the right of the temple Go up to the 4th floor It penetrates into it.
When you reach the top of the temple, you will find: Thick spider webs everywhereThere are two blue watch eyes in the upper room. move the rock in the room block their gazeThen go to the room on the right.
hop down Please activate the button at the bottom beneath you lower the bar Located on the third floor, it provides easy access to the main rooms of the temple.
The northernmost gate is locked.
Enter the room on the right. Four blue eyes will watch you. Be careful when passing in front of the statue. they will move Once you get into their path. Go in front of the two statues and enter the room on the right.
There is a block here that allows you to cross the gap. Wait patiently until they line up where you are standing. ride them across One at a time. Attack the green gem On the way open the door from now on.
Climb the ladder on the right and go down into the water-filled alcove in the bottom right of the room, where you can:
Destroy and learn Armos Echo
Then find a treasure chest full of rupees.
Go into the room to the northwest and open the box here. Get a map of the dungeon. This will make it easier to explore the rest of Faron Temple.
Paron Temple 3rd floor
Climb the ladder on the left and go downstairs. Here the red and gold platforms act like scales. you must Lower the weight of one to raise the other. Cross over and continue west to find a spider and a Deku plant.
using echo Eliminate the threat and move west Until you reach the ladder that leads to the crack above. This will lead you to the outdoor area of the rift.
Within the crack,
passage to the southeast
It will take you back to the main room of the temple.
Use the echo to move up the temple and across the top. Go east until you find 4 Armos Statues. In place. The second one is blocking the passage, so move the passage and enter the temple.
In this room you will need to: Activate all three green gems. Two are located next to each other above the water, and the third is in the gap to the right. Once all three gems are activated, a chest will appear.
Inside is
small key
you can use
Open the northernmost door
In the main chamber!
First Faron Factory Miniboss

When you get back to the main chamber, go to the locked door and open it. Inside Find the giant Deku factory With two heads. do my best Offensive echo of attack Defeat the miniboss and weaken its health.
trial
attack the red bead
This can cause additional damage to your neck!
If you defeat it, all the small Deku bulbs on this floor will disappear. wither and disappear.
Paron Temple 2F
Enter the room on the left and proceed to the ladder hidden in the bushes. When it gets dark below, light your way south until you reach a passage. When you come out the other side, there is light. But the door is closed behind you.
The Armos statue begins to move. Time your steps so that both people press the button on the floor at the same time. This will unlock the gate and allow you to go into the room on the right.
Activate waypoint
This room for easy and quick travel later!
Jump into the puddle and head south. You will appear outside the temple in the Rift Lagoon. Circle to the right and burn the cobwebs along the wall to reveal a hidden cave entrance.
Inside is another Armos button puzzle. To open the door in front of you, you must activate both buttons simultaneously. The next room contains an Electric Wizzrobe that must be defeated before entering the dark part of the temple once again.
Here's another waypoint for you to use!
Go to the end. Northwest section of this dark dungeon room, where you will be Find several braziers and ladders We go deeper into the temple. come down the ladder Go west through the watery underground..
You will see a ladder at the top of the room. Go there to re-enter the darkness. Turn on the fire in the brazier in the room So you can see. you should also Activate all three green gems In the room to open the west door.
Be warned! Brown-striped orbs will explode towards the enemies you must defeat!
In this chamber two large scales To do that you need to strike a balance. Both buttons are pressed at the same time. Carefully position the two Armos echoes to ensure their movements are synchronized. Landing on the button will unlock the doors to the north and west.
The door is
North leads to a large gate
You will need a large key to unlock it.
If you go through the western door, you will find a chest containing a small key. Then tie Tri to the south wall. Enter the forested area of the temple to open the secret passage. Go west until you reach another ladder..
Climb the ladder and use the Echo in the new room to lower the weight on the scale on the right. then, climb the rock wall Slide under the left scale get blue eyes. This grants access to c.A chest at the top of the room containing a small key..
Return to the easternmost waypoint on the second floor and climb the ladder in the northwest corner. Use the scale here to reach the locked block on the ledge to the right, then activate the waypoint here before entering the room to the north.
Second Faron Factory Miniboss

In this room you'll find the Deku Factory boss again. But this time there are two more heads. this Hydra plants will become stronger Be prepared to handle more than the first one.
Check out our full Faron Temple boss fight guide here!
using the best echo Causes damage to 4 people Lower your head while out of reach. Avoid the poisonous clouds it emits Focus on red nodes This involves tying the head of the plant to the body.
Knock down the head and the plant will open, revealing a large chest. Inside is big key what you need to do Confront the dungeon's main boss!
Paron Temple 1F

Go back to the first floor use a big key to open a big door. Boss Gohma can't be messed with, so be prepared before going inside.
Goma Boss Battle

This spider-like boss will harass you quite a bit, but thankfully it also has a weakness you can exploit. avoid eggs Gohma fires at you Use fire to burn them every. that Weak to electricitySurprisingly, so I do my best to keep the lights on Cause a lot of damage!
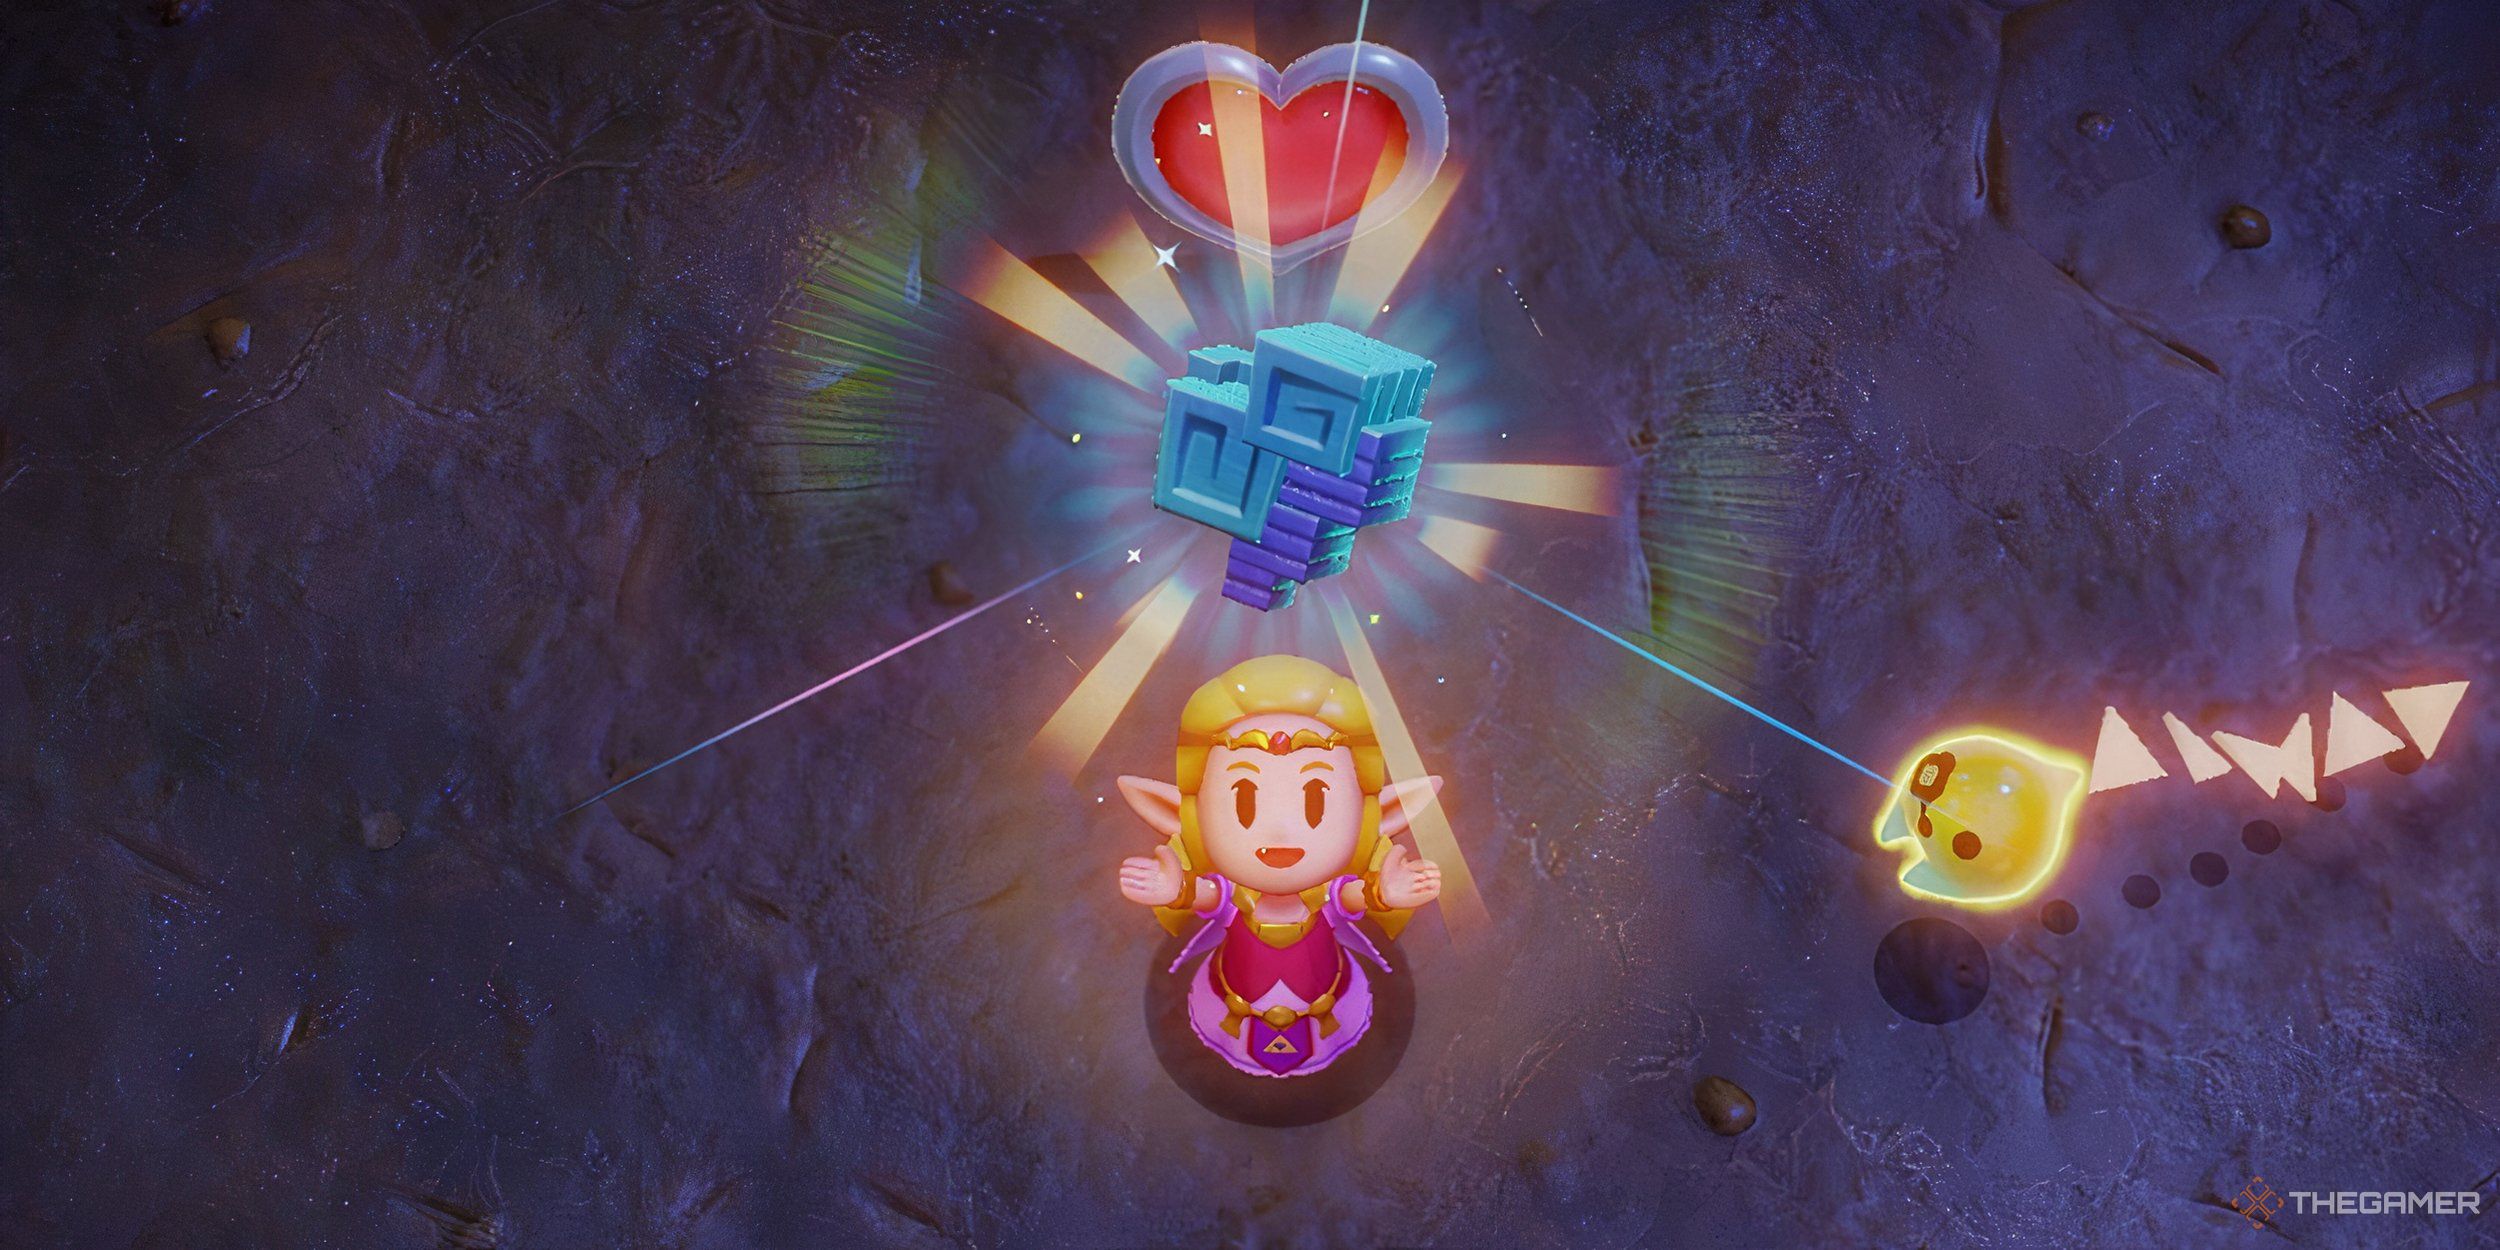
After Goma was defeated, Tree's friends will be freed And they can repair the cracks. you will be You are rewarded with 5 Strength Crystals. Thank you for your efforts, take care in the future. Save Hyrule with Zelda!
